Table of Contents
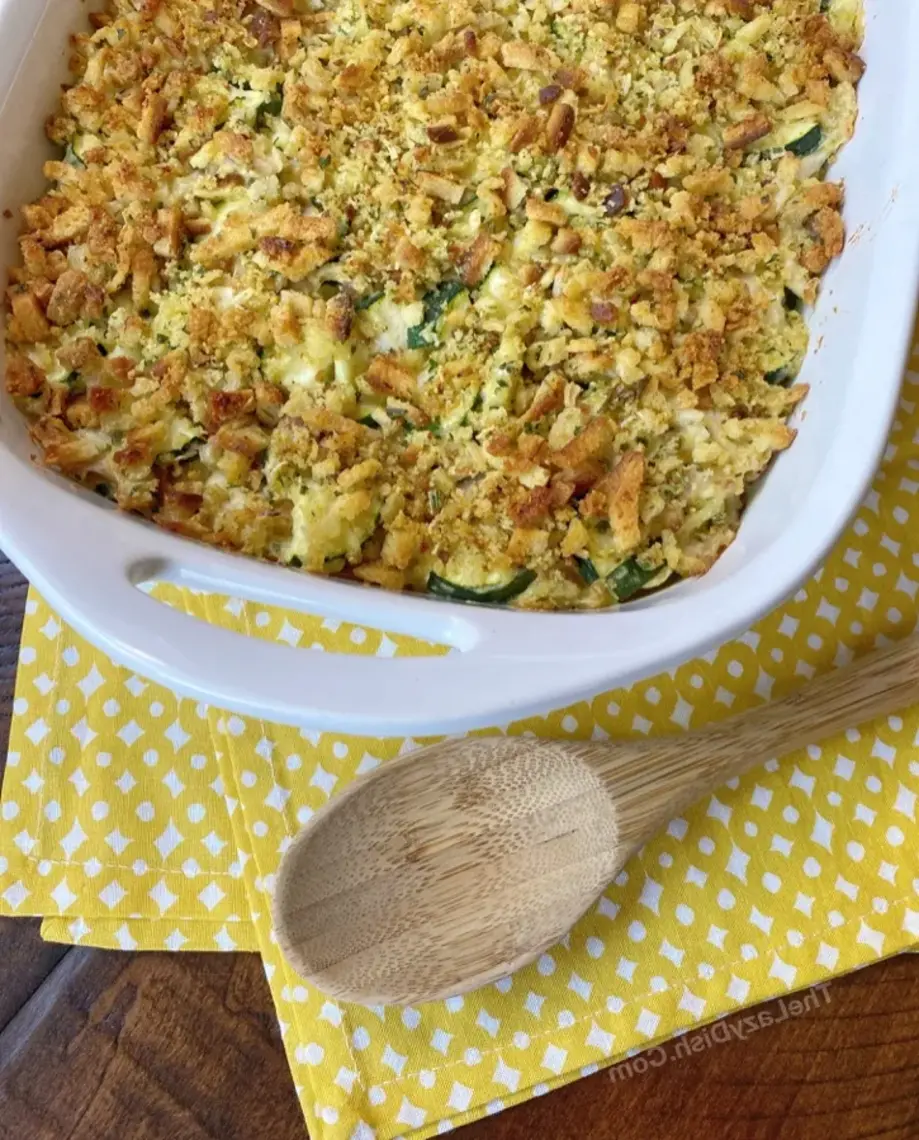
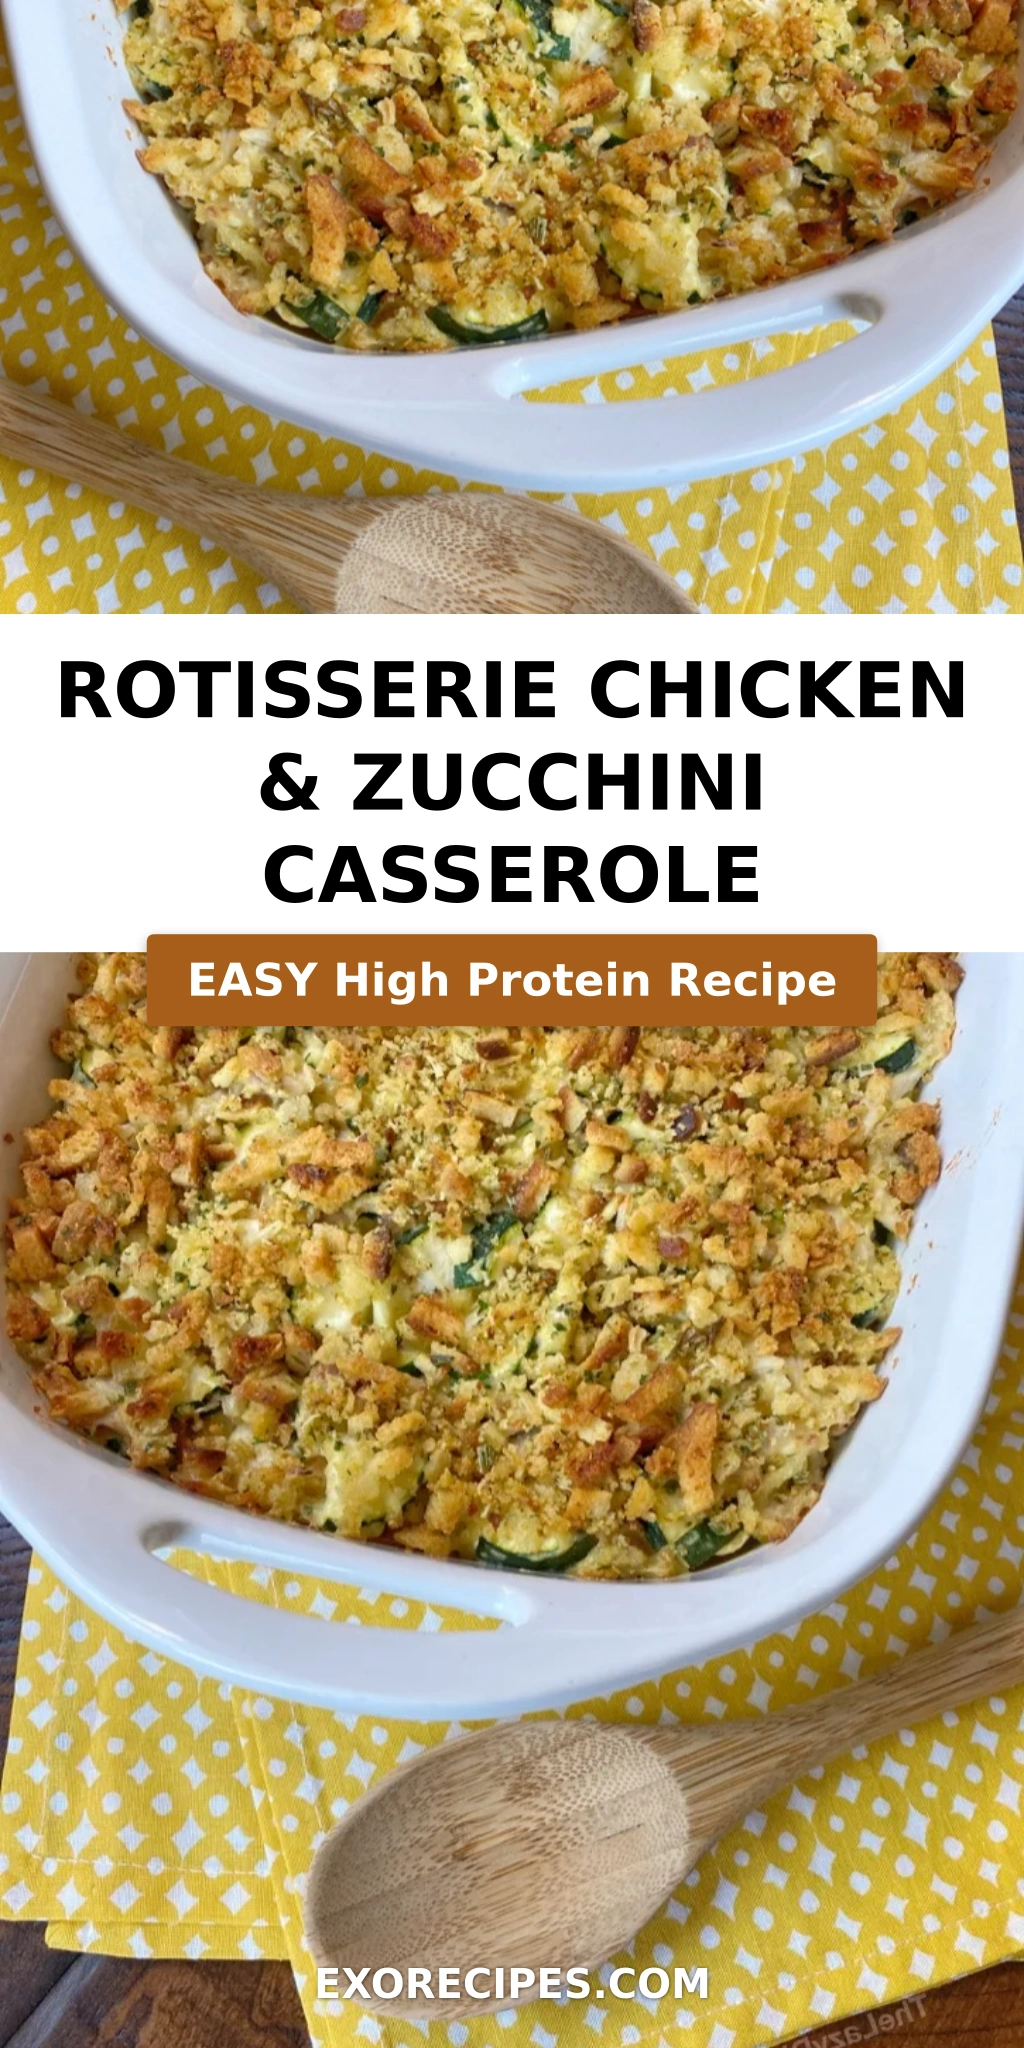
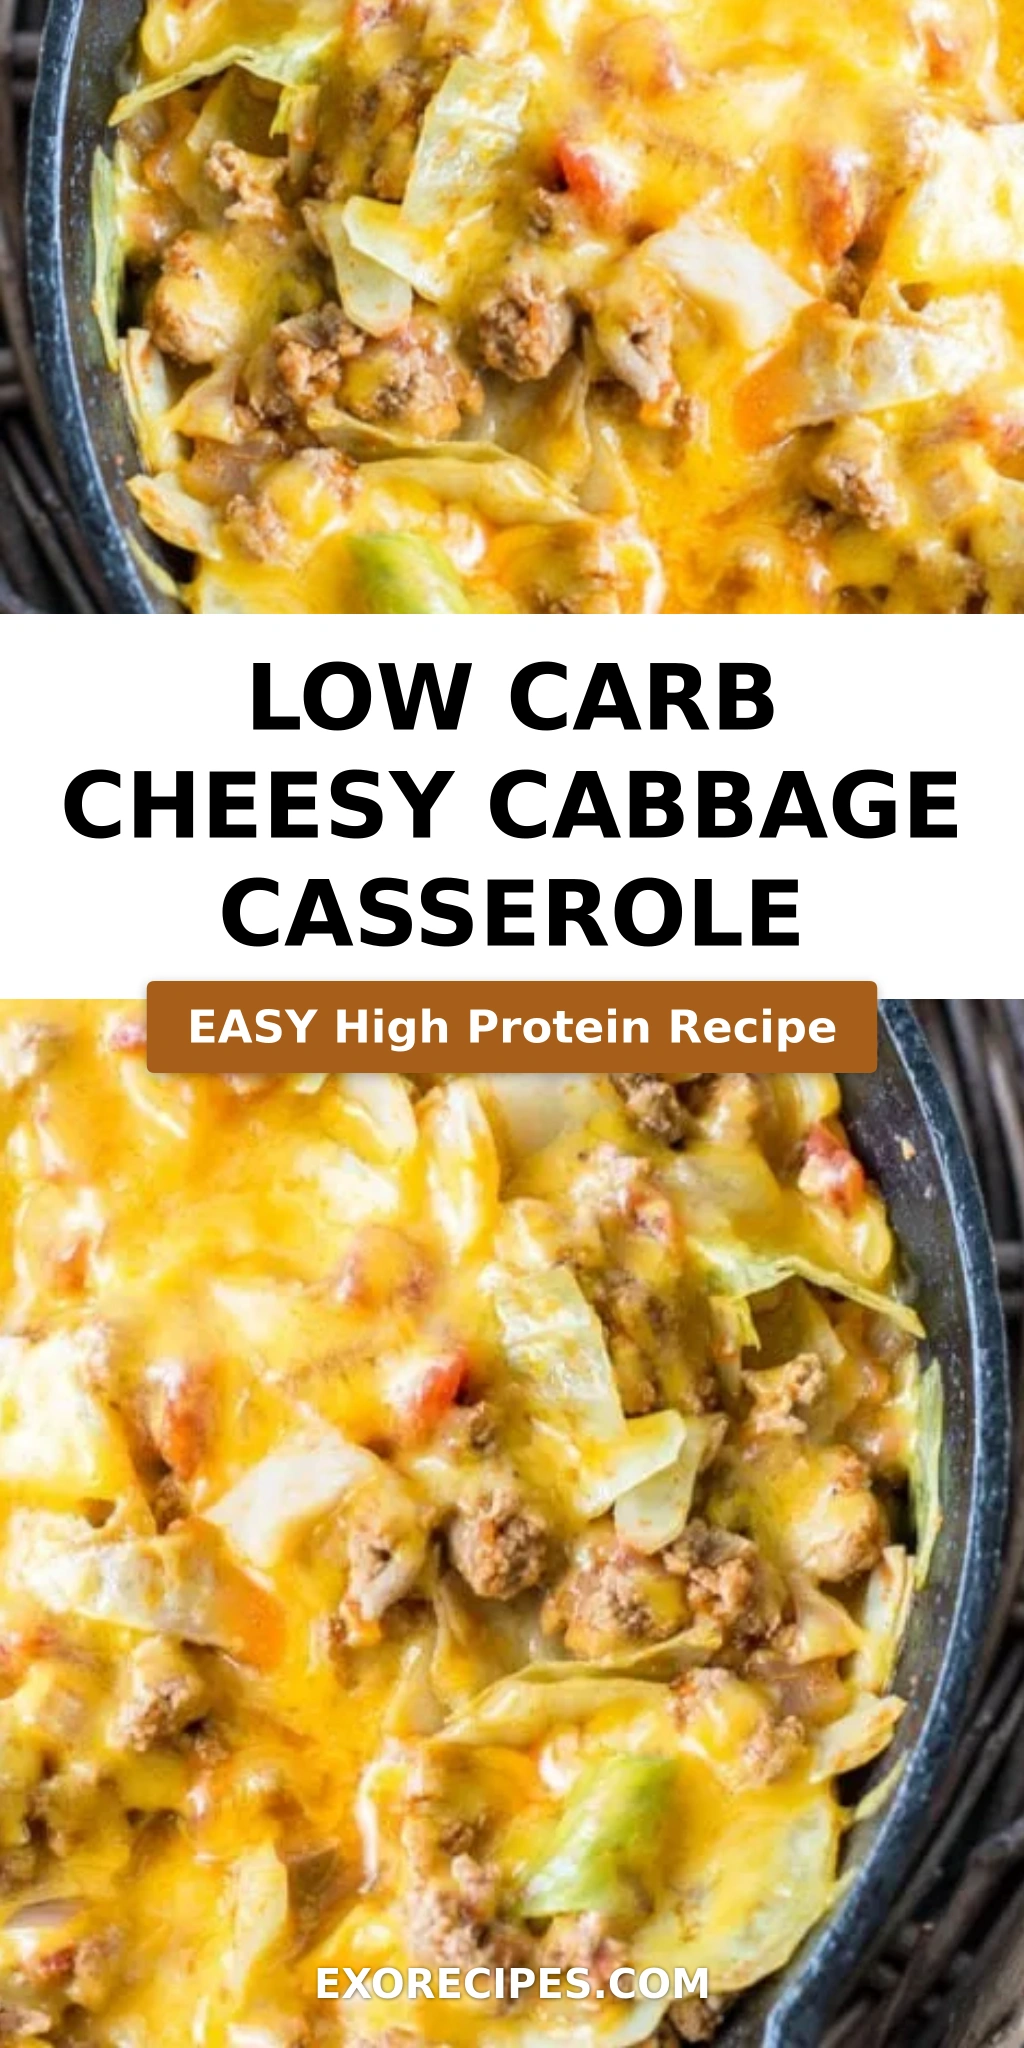
Low Carb Cheesy Cabbage Casserole – One Pan 30-Minute Keto Dinner
Growing up in Morocco, my mother would often simmer cabbage with warm spices and a touch of tomato — a humble dish that filled our tiny kitchen with the most incredible aroma. Now, as a professional cook living in New York City, I’ve taken that memory and turned it into something that fits my busy, low-carb lifestyle. This low carb cheesy cabbage casserole is my weeknight hero: it comes together in one skillet, takes just 30 minutes, and delivers all the comfort of a cheesy casserole without the carbs. Under 9 net carbs per serving, it’s the kind of keto-friendly meal that even picky eaters will ask for seconds.
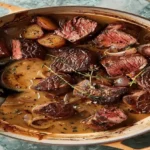
Imagine tender, slightly sweet cabbage mingling with seasoned ground meat, all bathed in a smoky tomato sauce with a hint of green chile heat. The whole thing gets topped with a blanket of melted cheddar or Colby Jack, which forms a golden, bubbly crust as it rests off the heat. Every forkful gives you that satisfying contrast — soft, juicy cabbage against the rich, gooey cheese. The chili powder and garlic powder add a gentle warmth that reminds me of the souk in Marrakech, but the execution is pure French practicality: one pan, minimal fuss, maximum flavor.
Why do I reach for this low carb cabbage recipe over and over? Because it’s virtually foolproof. In my years at culinary school in Paris, I learned that the best dishes aren’t the most complicated — they’re the ones that respect the ingredients. Here, I let the cabbage shine by not overcooking it (I cook it just until tender, keeping a bit of bite), and I use a trick from my mother: brown the meat well first for that deep, savory base. A common mistake is skipping the browning step, which leaves the casserole flat. Trust me, that caramelized flavor makes all the difference. Ready to see how easy this keto cabbage casserole truly is? Let’s get cooking.
Why This Low Carb Cheesy Cabbage Casserole Recipe Is the Best
The Flavor Secret — In my Moroccan kitchen, we layered spices to build complexity. Here, I bring that approach by adding a can of tomatoes with green chilies, which gives the dish a subtle kick and brightness that cuts through the richness of the cheese and meat. The chili powder and garlic powder are non-negotiable — they create a savory backbone that makes this taste like it simmered for hours, not just twenty minutes. And because everything cooks in one pan, those flavors meld beautifully as the cabbage softens.
Perfected Texture — I learned from my French chef instructors that texture is paramount. Cabbage can easily turn into a soggy mess, so I chop it into medium chunks (about 1-inch pieces) and cook it covered over medium heat, stirring only occasionally. This allows the cabbage to steam in its own moisture and the tomato sauce, becoming tender but still holding its shape. The final rest under the lid with the cheese ensures the cheese melts slowly, without breaking or turning oily — a trick I picked up making fondue in Paris.
Foolproof & Fast — This cheesy cabbage casserole is the definition of a one-pan wonder. You brown the meat, sauté the onion, add everything else, and let it simmer. No pre-cooking the cabbage, no separate baking dish, no complicated steps. Even if you’ve never made a keto casserole before, the visual cues (cabbage that yields easily to a fork, cheese that’s fully melted and slightly golden at the edges) let you know exactly when it’s done. It’s the kind of recipe that builds confidence in the kitchen — and leaves you with a satisfying meal and hardly any cleanup.
Low Carb Cheesy Cabbage Casserole Ingredients
I pick up my cabbage at the Union Square Greenmarket on Saturday mornings — the green cabbages there are incredibly sweet and crisp. The tomatoes with green chilies I’ve been loyal to since a trip to Santa Fe reminded me of the preserved lemons and chiles my mom used back home. Every ingredient in this list is chosen to keep carbs low and flavor high.
Ingredients List
- 1 pound ground beef or turkey (browned and drained)
- 1 small onion (diced)
- 1/2 head of cabbage chopped into medium chunks (roughly 3 cups)
- 1 (10 ounce) can tomatoes with green chilies (undrained)
- 1 (8 ounce) can of tomato sauce
- 1 teaspoon chili powder
- 1 teaspoon garlic powder
- salt and pepper to taste
- 1 cup shredded cheese (cheddar or Colby Jack is our favorite)
Ingredient Spotlight
Cabbage: Use green cabbage for the best balance of sweetness and structure. Look for a head that feels heavy for its size, with tightly packed leaves. Savoy cabbage works too but will cook a bit faster and become more tender. Avoid napa cabbage — it’s too delicate and will turn mushy in this dish.
Tomatoes with green chilies: This is the flavor shortcut that elevates the entire casserole. The brand I trust is Ro*Tel Original. If you can’t find it, substitute one 10-ounce can of diced tomatoes plus one small diced jalapeño (seeds removed if you prefer mild heat).
Cheese: Cheddar brings a sharp, salty punch that cuts through the cabbage’s sweetness. Colby Jack melts beautifully and has a milder flavor. For a more sophisticated twist, try smoked Gouda — it adds a gorgeous smoky note that pairs perfectly with the chili powder.
| Original Ingredient | Best Substitution | Flavor / Texture Impact |
|---|---|---|
| Ground beef | Ground turkey or chicken | Lighter taste; add 1 tbsp olive oil for moisture |
| Cabbage | Savoy cabbage or green cabbage only | Slightly faster cooking, softer texture |
| Tomatoes w/ green chilies | Diced tomatoes + 1 small fresh jalapeño | Brighter, more acidic; adjust heat to taste |
| Cheddar cheese | Smoked Gouda or Monterey Jack | Smokier (Gouda) or milder (Monterey) |
How to Make Low Carb Cheesy Cabbage Casserole — Step-by-Step
Grab your largest skillet (I use a 12-inch cast iron) and let’s make this keto cabbage casserole happen. It’s straight forward, but I’ll share the little chef secrets that take it from good to unforgettable.
Step 1: Brown the Meat Well
Heat your skillet over medium-high heat. Add the ground beef or turkey and cook, breaking it apart with a spoon, until it’s deeply browned — about 5-6 minutes. Don’t stir constantly; let it sit for a minute at a time to develop that crust. Drain off all but 1 tablespoon of the fat (or discard all if you prefer, but that tablespoon adds flavor).
💡 mia’s Pro Tip: For the most flavor, use 85/15 ground beef. The extra fat keeps the cabbage from drying out and carries the spices beautifully.
Step 2: Sauté the Onion
Reduce heat to medium. Add the diced onion to the skillet with the drained meat. Cook for 3 to 5 minutes, stirring occasionally, until the onion is translucent and softened. The moisture from the onion will help lift any browned bits from the bottom of the pan — that’s pure flavor waiting to happen.
⚠️ Common Mistake to Avoid: Adding the onion before you drain the meat fat — the onion will just fry in grease and become greasy itself. Always drain first, then sauté.
Step 3: Add Cabbage and Tomatoes
Stir in the chopped cabbage, the undrained can of tomatoes with green chilies, the tomato sauce, chili powder, garlic powder, and a generous pinch of salt and pepper. Stir everything together until the cabbage is well coated.
💡 mia’s Pro Tip: Taste the sauce before covering — the cabbage will absorb salt, so season slightly heavier than you think you need. I usually add about ½ teaspoon of salt at this point.
Step 4: Cover and Simmer
Cover the skillet with a tight-fitting lid and reduce the heat to medium. Let it cook for 15 to 18 minutes, stirring once or twice. After 12 minutes, start checking the cabbage — it should be tender when pierced with a fork but not falling apart. If you prefer firmer cabbage, check at 14 minutes.
⚠️ Common Mistake to Avoid: Lifting the lid too often releases steam and slows cooking. Trust the process — check only once after the first 12 minutes.
Step 5: Top with Cheese and Rest
When the cabbage is perfectly tender, remove the pan from the heat. Sprinkle the shredded cheese evenly over the top, then cover again. Let it sit for 2 minutes — the residual heat will melt the cheese into a gorgeous, creamy layer without baking it dry.
💡 mia’s Pro Tip: Use cheese straight from the fridge; it melts more slowly and evenly. If you want a little browning on top, pop the skillet under a broiler for 60 seconds—watch it like a hawk!
| Step | Action | Duration | Key Visual Cue |
|---|---|---|---|
| 1 | Brown ground meat | 5-6 mins | Deeply browned, no pink |
| 2 | Sauté onion | 3-5 mins | Translucent, softened |
| 3 | Add cabbage & tomato mixture | 2 mins to stir | Cabbage evenly coated in red sauce |
| 4 | Cover and simmer | 15-18 mins | Cabbage tender, not mushy |
| 5 | Top with cheese & rest | 2 mins covered off heat | Cheese fully melted, slightly bubbly |
Serving & Presentation
I love serving this low carb cheesy cabbage casserole straight from the skillet for a casual, cozy dinner. It keeps the cheese molten and the cabbage warm. If you’re plating individually, use a slotted spoon to lift the cabbage mixture onto plates, then spoon a little of the saucy tomato liquid over the top — it adds moisture and color. Finish with a sprinkle of fresh cilantro or parsley for a bright, herby note that echoes the green chilies.
In my NYC apartment, I often pair this with a simple side salad of arugula tossed with lemon juice and olive oil — the peppery greens contrast the rich cheese beautifully. Sometimes I’ll add avocado slices on the side for extra healthy fat. For a Moroccan touch, I grate a little fresh cilantro and a pinch of cumin over the finished dish; it’s how my mother would serve it at home.
| Pairing Type | Suggestions | Why It Works |
|---|---|---|
| Side Dish | Arugula salad, sautéed zucchini, cauliflower rice | Fresh acidity or extra veggies round out the meal |
| Sauce / Dip | Sour cream, plain Greek yogurt, or hot sauce | Cool creaminess balances the smoky tomato & chili |
| Beverage | Unsweetened iced tea, sparkling water with lime, or a light red wine | Neutral or crisp drinks cut the richness |
| Garnish | Fresh cilantro, green onions, or a squeeze of lime | Adds brightness and visual contrast |
Make-Ahead, Storage & Reheating
My Manhattan schedule is packed, so I often make this casserole on Sunday evening and enjoy it for lunch or dinner throughout the week. The flavors actually deepen overnight as the cabbage absorbs the tomato and spice — it’s one of those rare dishes that tastes even better the next day.
| Method | Container | Duration | Reheating Tip |
|---|---|---|---|
| Refrigerator | Airtight container | Up to 5 days | Reheat in a skillet over medium-low with a splash of water or broth, covered, 4-6 minutes. |
| Freezer | Freezer-safe container or zip-top bag | Up to 3 months | Thaw overnight in fridge. Reheat in skillet, covered, adding 2 tbsp water; 8-10 minutes. |
| Make-Ahead | Prepare through step 4, cool, then refrigerate | Up to 2 days in advance | Reheat covered on the stove, then add cheese and melt as directed. |
One thing I’ve learned from working in New York restaurants: never microwave cabbage — it turns rubbery. Instead, reheat gently on the stovetop. If the casserole seems dry after refrigeration, add a tablespoon of water or unsalted chicken broth before reheating. The steam will revive the cabbage beautifully.
Variations & Easy Swaps
| Variation | Key Change | Best For | Difficulty Impact |
|---|---|---|---|
| Spicy Moroccan | Add 1 tsp cumin, ½ tsp cinnamon, ¼ tsp cayenne | Warming, exotic twist | Easy |
| Dairy-Free / Low-Dairy | Skip cheese OR use ½ cup nutritional yeast + 1 tbsp olive oil | Dairy-free, still rich | Easy |
| Add More Vegetables | Stir in 1 cup chopped bell pepper or zucchini with the cabbage | Extra nutrients, color | Easy |
Spicy Moroccan Variation
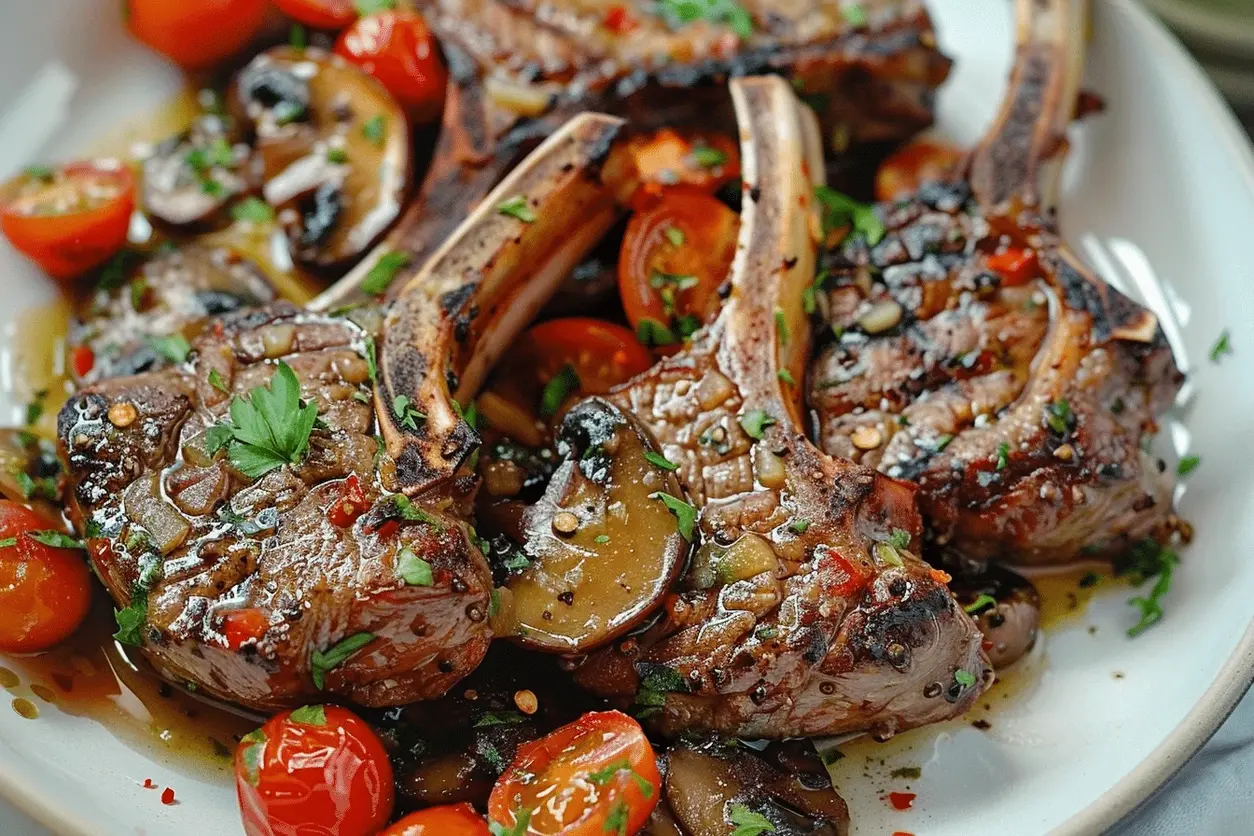
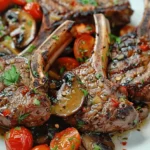
This is my personal favorite — it brings the flavors of my childhood to life. Add 1 teaspoon ground cumin, ½ teaspoon ground cinnamon, and ¼ teaspoon cayenne pepper along with the chili powder. The cinnamon adds a subtle warmth that pairs beautifully with the tomato and cabbage, while the cayenne gives a gentle heat. It’s the same spice combination my mother used for a lamb and cabbage tagine, but in a much quicker weeknight form. Serve with a dollop of Greek yogurt to cool things down.
Dairy-Free / Low-Dairy Version
If you’re avoiding dairy, don’t skip this casserole! Omit the cheese entirely and stir in ½ cup of nutritional yeast along with the tomato sauce for a cheesy, umami flavor without the dairy. Nutritional yeast won’t melt like cheese, so the texture will be saucier, but it’s still incredibly satisfying. Alternatively, use a dairy-free shredded cheese that melts well (I like the brand Violife). Add it at the same step and let it rest covered — the moisture will help it melt.
Loaded Vegetable Version
On trips to the NYC farmers market, I often grab whatever’s in season and toss it in. Red bell peppers, zucchini, or even a handful of spinach (stirred in at the last 2 minutes) work beautifully. Add about 1 cup of chopped bell pepper or zucchini along with the cabbage — they’ll cook in the same time. This version boosts the fiber and makes the casserole even more colorful. Just be careful not to overload the pan — stick to one extra veggie at a time to keep the cooking even.
How do you keep low carb cheesy cabbage casserole from getting watery?
Great question — this is the number one concern I hear from readers. The key is to not add any extra liquid beyond the canned tomatoes and tomato sauce, and to cook the cabbage uncovered for the last 2-3 minutes if you see too much liquid pooling. Also, make sure to chop the cabbage into medium chunks rather than very small pieces — larger pieces release less water during cooking. Finally, using a high-quality, heavy skillet (like cast iron) helps evaporate excess moisture more efficiently than a thin nonstick pan.
What cheese works best in a low carb cabbage casserole?
Cheddar and Colby Jack are my top picks because they melt smoothly and have enough flavor to stand up to the cabbage and tomato sauce. If you want something with a smoky kick, try smoked Gouda — it’s fantastic. For a milder, creamier result, Monterey Jack is excellent. Avoid cheeses that are too crumbly, like feta or goat cheese, as they won’t melt into a cohesive layer. Also, shred your own cheese from a block rather than using pre-shredded — it melts much more evenly because it doesn’t have the anti-caking coating.
Can you freeze low carb cheesy cabbage casserole for later?
Yes, you can! This casserole freezes beautifully. Let it cool completely after cooking, then transfer to an airtight container or a freezer-safe zip-top bag. It will keep for up to 3 months. To reheat, thaw overnight in the refrigerator, then reheat in a covered skillet over medium-low heat with a splash of water or broth to restore moisture. The texture of the cabbage is best when reheated gently — avoid the microwave, which can make it rubbery. You can also freeze it in individual portions for quick lunches.
How long do you bake low carb cheesy cabbage casserole?
This recipe is actually cooked entirely on the stovetop — no baking required! It’s a one-skillet dish that comes together in about 30 minutes from start to finish. However, if you’d like to bake it for a slightly different texture, you can transfer the cooked mixture to a baking dish, top with cheese, and bake at 375°F for 10-12 minutes until bubbly. But honestly, the stovetop method is quicker and works just as well. The cabbage becomes tender under the lid without needing oven heat.
Can I use ground pork or chicken instead of beef?
Absolutely — this low carb cheesy cabbage casserole is flexible with the protein. Ground turkey, chicken, or pork all work well. If using lean ground turkey or chicken, add a tablespoon of olive oil to the pan when browning to prevent dryness. Ground pork brings a nice richness that complements the cabbage. Just be sure to drain any excess fat after browning, especially with pork, so the casserole doesn’t become greasy. Season the meat with the same chili powder and garlic powder for consistent flavor.
Is this recipe really keto-friendly?
Yes, it is! With under 9 net carbs per serving (9g total carbs, minus fiber), this casserole fits easily into a standard ketogenic diet. Cabbage is a low-carb vegetable, and the recipe has no added sugar or starchy thickeners. The main carb sources are the tomatoes and the cabbage itself. To keep it extra keto, use full-fat cheese and ground beef (85/15 or 80/20) for healthy fats. If you’re strictly tracking macros, you can also adjust the serving size to fit your daily carb limit.
Can I add mushrooms or other vegetables?
Definitely — this is a great way to use up extra veggies! Sliced mushrooms, bell peppers, or even diced zucchini can be added along with the cabbage. If adding mushrooms, throw them in after the onion and sauté for 3-4 minutes before adding the cabbage; they release moisture and need a head start. For bell peppers, add them with the cabbage. Zucchini should be added about 5 minutes before the end of cooking so it doesn’t turn to mush. Just keep in mind that adding extra vegetables may increase the overall carb count slightly, so check your macros.
Why is my cabbage still crunchy after 15 minutes?
A few reasons: your cabbage might have been chopped into very large chunks, your lid might not be sealing tightly (allowing steam to escape), or your heat was too low. For medium chunks (about 1-inch pieces), 15-18 minutes covered over medium heat should yield perfectly tender cabbage. Make sure your skillet has a tight-fitting lid — if not, you can cover it with a sheet of foil before putting the lid on. Also, check that the heat is truly at medium, not medium-low. If you prefer very soft cabbage, simply continue cooking covered for another 3-5 minutes.
Share Your Version!
I love hearing how this low carb cheesy cabbage casserole turns out in your kitchen. Did you try the spicy Moroccan twist? Or did you add extra veggies from your farmers market haul? Let me know in the comments below — I read every single one and answer as quickly as I can. And if you snap a photo of your creation, tag me on Pinterest or Instagram @exorecipes — there’s nothing that makes me happier than seeing my recipes come to life in your homes.
If you loved this recipe, please give it a 5-star rating! It helps other home cooks find this keto cabbage casserole and gives my little blog a huge boost. And here’s a question I’d love your answer to: what’s your go-to low-carb weeknight dinner when you’re short on time? I’m always looking for new ideas to test in my NYC kitchen. Drop your answer in the comments — let’s share and inspire each other!
From my NYC kitchen to yours — I hope this recipe brings as much warmth to your table as it does to mine. — mia 🧡
Love This Recipe? Save It to Pinterest!
If you enjoyed this Low Carb Cheesy Cabbage Casserole recipe, don’t let it get lost in your browser tabs! 😄 Pin it now so you can find it again anytime — and explore hundreds more tried-and-tested recipes waiting for you on my Pinterest boards.
👉 Follow mia on Pinterest @chefrecipes2
📌 Pin this recipe · 🔁 Re-pin your favorites · 💬 Tag me when you make it — I love seeing your creations!
💬 Rate this recipe & leave a comment below! 🧡
Click a star to rate — then tell me how yours turned out!

Low Carb Cheesy Cabbage Casserole
Description
This Keto One Pan Cabbage Casserole is a low carb, easy dinner ready in 30 minutes! The perfect easy keto dinner! Under 9 net carbs per serving!
Ingredients
- 1 pound ground beef or turkey (browned and drained)
- 1 small onion (diced)
- 1/2 head of cabbage chopped into medium chunks (roughly 3 cups)
- 1 10 ounce can tomatoes with green chilies (undrained)
- 1 8 ounce can of tomato sauce
- 1 teaspoon chili powder
- 1 teaspoon garlic powder
- salt and pepper to taste
- 1 cup shredded cheese (cheddar or colby jack is our favorite)
Instructions
- Brown your beef or turkey over medium heat in a large skillet and drain off any grease.
- Add the diced onion and sauté for 3-5 minutes.
- Add the chopped cabbage and tomatoes with green chili, tomato sauce, and spices and stir well.
- Cover and reduce heat to medium, cooking for 15-18 minutes, stirring occasionally.
- When the cabbage has reached your desired tenderness, top with cheese and remove from heat. Place the lid on the skillet and allow the cheese to melt for about 2 minutes.
Nutrition
- Calories: 240 kcal
- Sugar: 3.7 g
- Fat: 14.4 g
- Carbohydrates: 9 g
- Protein: 18.9 g
Tried This Recipe? Leave a Comment!
Did you make this recipe? I’d love to hear how it turned out! Please leave a comment and a rating below. Your feedback helps other home cooks and supports cheerychop.com!
For more delicious inspiration, follow me on Pinterest!