Table of Contents
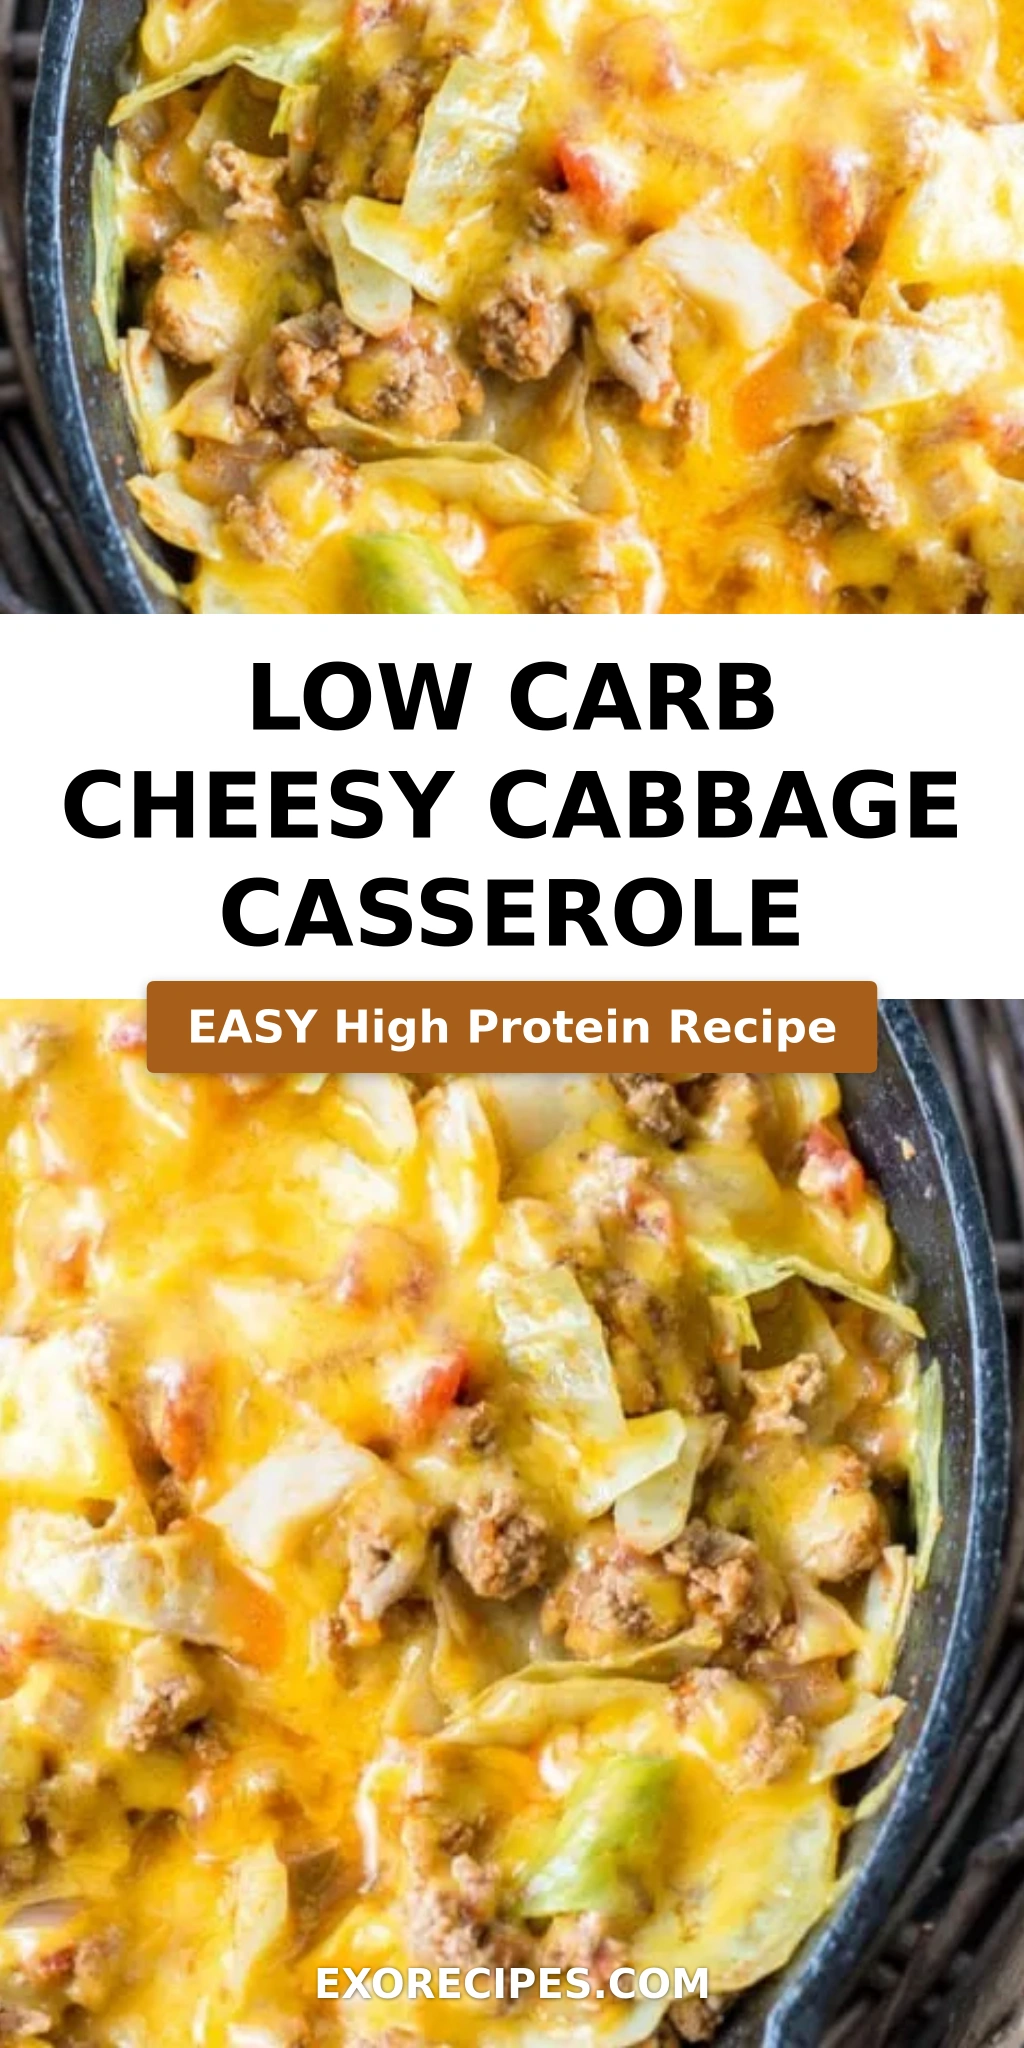
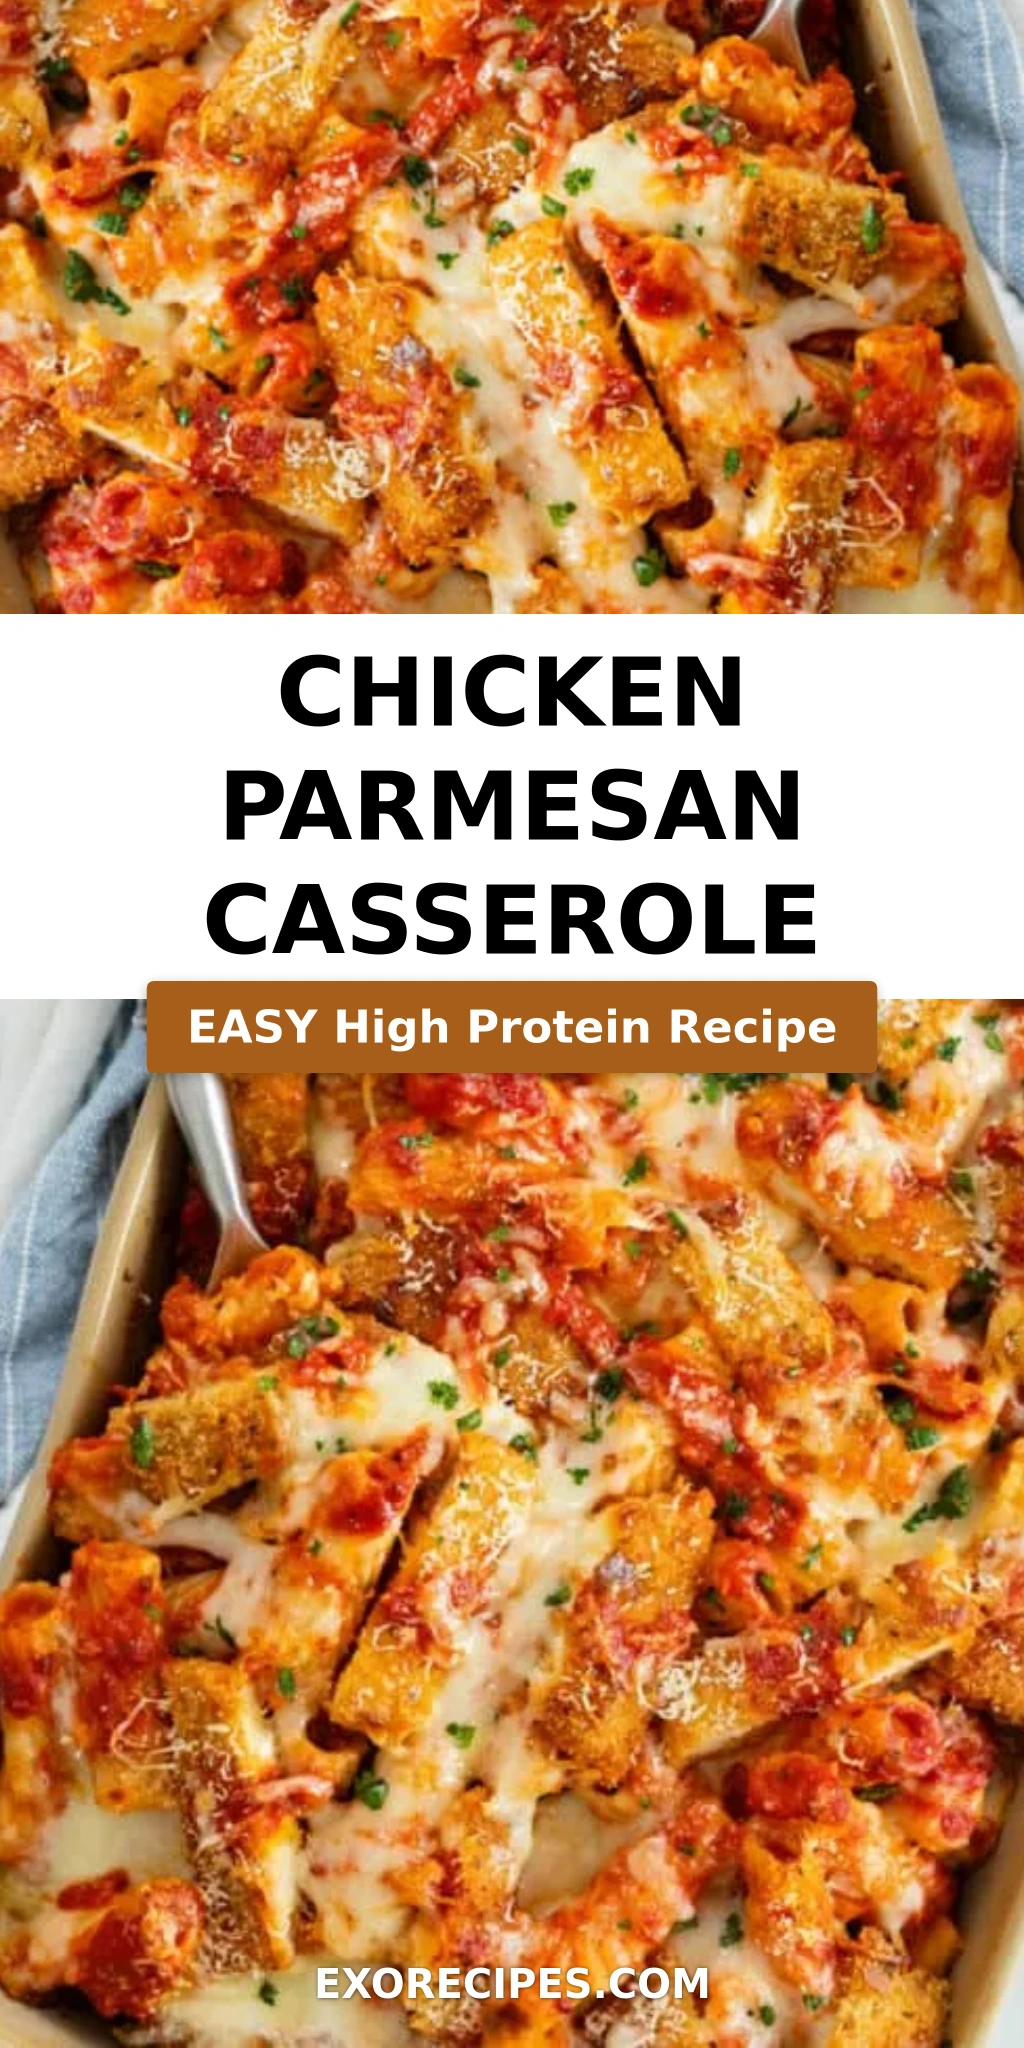
Chicken Parmesan Casserole Three Ways – Cheesy Pasta Bake, the Ultimate Comfort Food
Growing up in Morocco, my mother’s kitchen was a symphony of bold spices and slow-simmered sauces — but Friday nights were reserved for something golden and crispy, usually served with a side of laughter and warm bread. When I moved to Paris for culinary school, I learned to take that same crispy chicken and bathe it in a rich tomato sauce, then blanket it with cheese until it bubbled like a dream. Now, living in New York City, I’ve combined both worlds into this easy Chicken Parmesan Casserole: a hearty, cheesy pasta bake that brings the soul of Italian-American comfort food straight to your table. Whether you use homemade breaded chicken, frozen tenders, or leftover rotisserie chicken, this baked chicken Parmesan casserole delivers every single time.
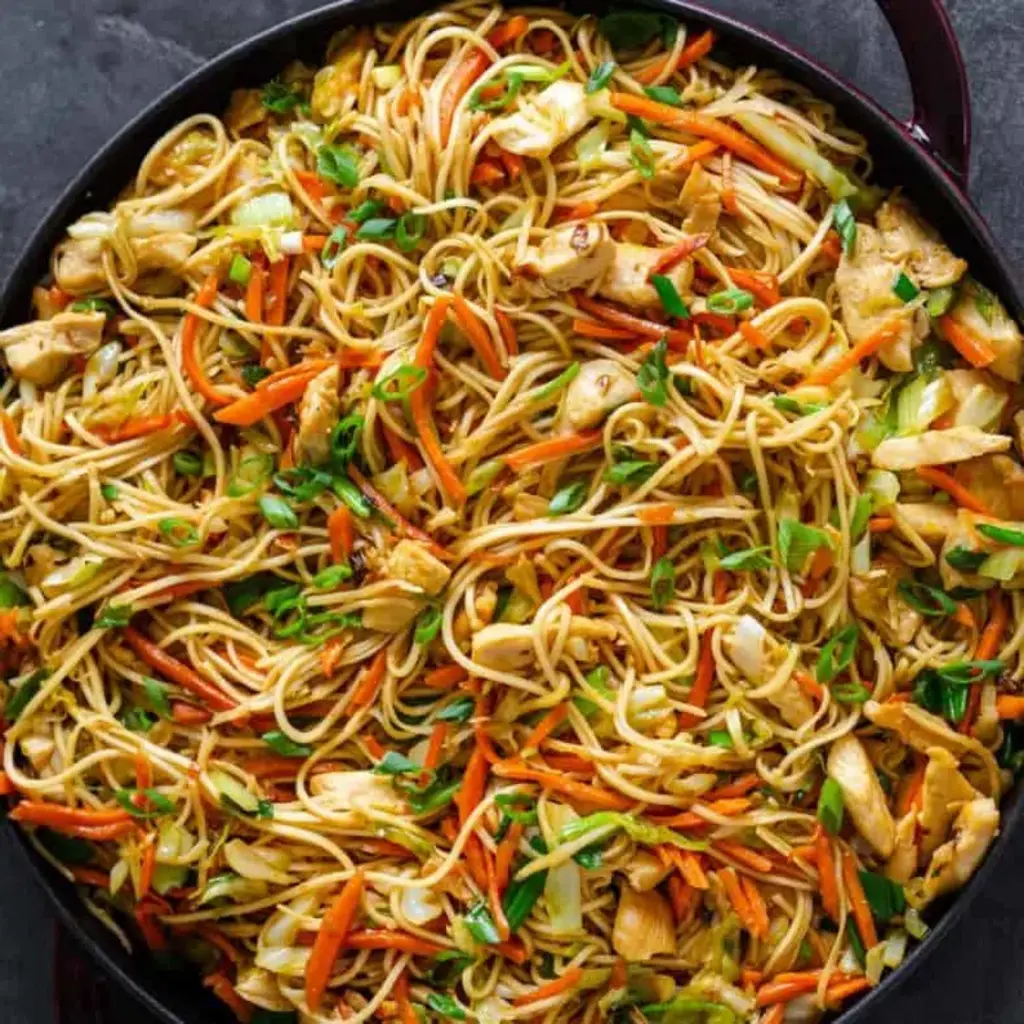
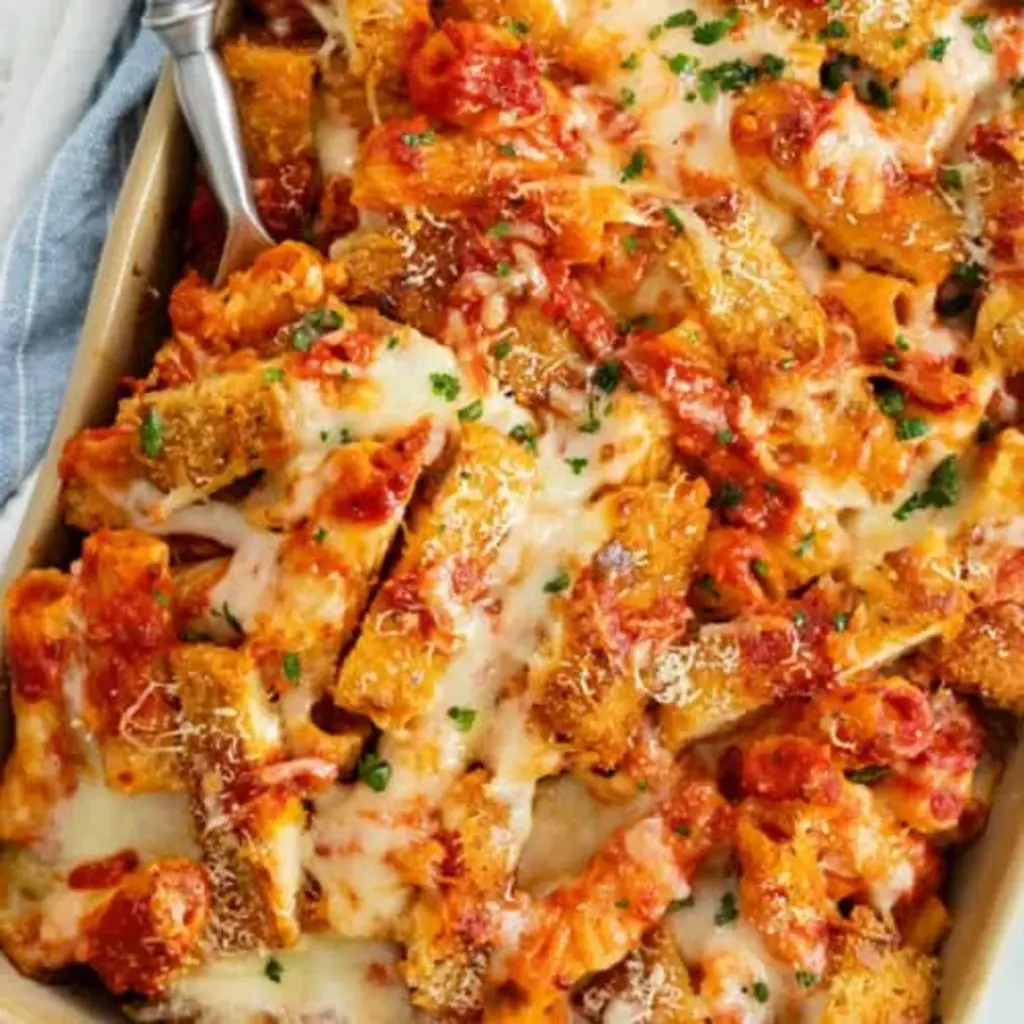
Imagine this: tender rigatoni cloaked in a robust marinara sauce, layered with golden, crispy chicken strips, and topped with a blanket of mozzarella and Parmesan that melts into a glorious, bubbly crust. Each bite brings a contrast of textures — the slight chew of al dente pasta, the juicy crunch of the chicken, and the rich, gooey cheese pulling apart as you lift your fork. A whisper of seasoned salt and butter-browned breadcrumbs adds depth, while fresh parsley cuts through the richness with a bright, herbal note. It smells like Sunday supper in an Italian trattoria — except you made it in your own kitchen on a busy Tuesday night.
What sets this chicken casserole dinner apart is its versatility and my chef-tested technique: breading the chicken while the pasta water boils, frying it in butter and oil for that signature golden crust, then slicing it into bite-sized pieces so every forkful has a bit of everything. I also toss the pasta with sauce and cheese before layering, which infuses every bite of pasta with flavor from the inside out. 💡 mia’s Pro Tip: Use your palms to gently flatten the breaded chicken strips just before frying — this ensures even cooking and a superior crunch. And if you’re short on time, swap in frozen chicken tenders or shredded rotisserie chicken — the casserole adapts beautifully. One common mistake? Overcooking the pasta. Cook it one minute less than al dente — it will finish cooking in the oven and stay perfectly firm.
Why This Chicken Parmesan Casserole Recipe Is the Best
The Flavor Secret. My Moroccan roots taught me that seasoning is everything. The flour dredge gets a generous dose of seasoned salt and black pepper — a simple trick that ensures every bite of chicken is flavorful, not bland. And by browning the chicken in a combination of vegetable oil and butter, you get that deep, nutty richness that makes the whole casserole taste like it simmered all day. The marinara sauce does the heavy lifting, but layering it with Parmesan inside the pasta mixture means the flavor runs all the way through, not just on top.
Perfected Texture. In Paris, I learned that great texture comes from technique. Frying the chicken strips in batches at medium-high heat creates that shatteringly crisp crust without greasiness. Draining them on paper towels locks in the crunch. Then, by slicing the strips before layering, every spoonful of this baked chicken Parmesan has a piece of crispy chicken. The pasta, cooked shy of al dente, absorbs just enough sauce in the oven to stay tender without turning mushy. The final high-heat blast at 425°F gives you that browned, bubbly cheese crust that everyone fights over.
Foolproof & Fast. This easy chicken parmesan recipe is designed for real life. You can use homemade breaded chicken for a special weekend dinner, or shortcut it with frozen chicken tenders or rotisserie chicken for a 30-minute weeknight win. The instructions are broken down into simple steps with clear visual cues — golden brown chicken, al dente pasta, bubbly cheese — so even a beginner can nail it. Plus, it’s all made in one 9×13 dish, which means minimal cleanup. That’s the kind of cooking I love: big flavor, less fuss.
Chicken Parmesan Casserole Ingredients
I source my ingredients from the Union Square Greenmarket and my favorite Italian specialty shop in Brooklyn. The smell of fresh basil and aged Parmesan always takes me back to the cheese markets in Paris. Here’s everything you’ll need for this cheesy chicken casserole.
Ingredients List
- ¾ pound rigatoni pasta
- 32 oz. marinara sauce (or up to 48 oz. for saucier pasta)
- 3 cups shredded mozzarella cheese (divided)
- ⅓ cup grated Parmesan cheese (divided)
- 2 small boneless skinless chicken breasts
- ¾ cup flour
- 2 teaspoons seasoned salt
- ¼ teaspoon pepper
- 2 eggs
- 1 ½ cups Italian breadcrumbs
- ¾ cup vegetable oil
- 2 Tablespoons butter
- Fresh Parsley (to garnish)
Ingredient Spotlight
Chicken Breasts: Boneless, skinless chicken breasts are the classic choice. Look for small to medium breasts (about 6 oz each) for quick, even cooking. If using frozen chicken breasts, thaw completely and pat very dry — excess moisture is the enemy of a crispy crust. For a shortcut, use 1.5 lbs of frozen breaded chicken tenders (baked according to package directions) or 3 cups of shredded rotisserie chicken.
Marinara Sauce: A good-quality jarred marinara is perfectly fine here — I like Rao’s or Carbone for their rich, low-sugar flavor. The sauce is the backbone of this easy chicken parmesan recipe, so don’t use a watery or overly sweet brand. If you want a saucier casserole, go up to 48 oz. — the rigatoni loves to soak it all up.
Italian Breadcrumbs: These are seasoned with herbs like oregano and parsley, which adds a layer of Italian flavor without extra work. If using plain breadcrumbs, add 1 teaspoon of dried Italian seasoning. For a gluten-free option, use gluten-free panko or crushed pork rinds for a low-carb twist. Panko breadcrumbs will give an even crunchier texture — just mix with a pinch of salt and garlic powder.
Mozzarella & Parmesan: Freshly shredded mozzarella melts much better than pre-shredded (which contains anti-caking agents that prevent smooth melting). I like to buy a block of whole-milk mozzarella and grate it myself. For the Parmesan, use a Microplane to grate it finely — the fine texture helps it integrate into the sauce and pasta layers seamlessly.
| Original Ingredient | Best Substitution | Flavor / Texture Impact |
|---|---|---|
| Boneless chicken breasts | Frozen breaded chicken tenders (baked) | Less crispy but much faster; still very good |
| Italian breadcrumbs | Gluten-free panko + Italian seasoning | Slightly lighter crunch; works well for GF diet |
| Rigatoni pasta | Penne, ziti, or gluten-free pasta | Similar shape and texture; adjust cook time per package |
| Whole-milk mozzarella | Part-skim mozzarella or dairy-free shreds | Part-skim melts well; dairy-free is less stretchy |
How to Make Chicken Parmesan Casserole — Step-by-Step
Trust me — if you can bread chicken and boil pasta, you can make this show-stopping chicken Parmesan casserole. I’ll walk you through every step with chef-level tips so you get perfect results the first time.
Step 1: Boil the Pasta
Bring a large pot of salted water to a rolling boil. Add the rigatoni and cook for 1 minute less than the package’s recommended al dente time. Drain the pasta, then return it to the pot. Toss with 32 oz. of marinara sauce, 2 tablespoons of Parmesan, and 1 cup of the shredded mozzarella. Stir until the cheese begins to melt and every piece of pasta is coated.
💡 mia’s Pro Tip: Cook the pasta in heavily salted water — it should taste like the sea. This is your only chance to season the pasta from the inside out.
Step 2: Prepare the Chicken
Pat the chicken breasts dry with paper towels — this is crucial for the breading to stick. Slice each breast into strips about ½-inch thick. Set up your breading station: Bowl 1 with ¾ cup flour, 2 teaspoons seasoned salt, and ¼ teaspoon pepper, whisked together. Bowl 2 with 2 eggs, lightly beaten. Bowl 3 with 1½ cups Italian breadcrumbs.
Step 3: Bread the Chicken
Dredge each chicken strip first in the flour mixture, shaking off excess. Dip briefly into the beaten eggs, then press firmly into the breadcrumbs, turning to coat evenly. Place the breaded strips on a plate. Use your palms to gently flatten each strip just a bit — this ensures even cooking and a wider crispy surface.
⚠️ Common Mistake to Avoid: Don’t let the chicken sit in the egg wash — a quick dip is all you need. Too much egg will make the breading soggy and heavy.
Step 4: Fry the Chicken
Add about ¼ inch of vegetable oil to a large skillet along with 2 tablespoons of butter. Heat over medium-high until the butter melts and sizzles. Using kitchen tongs, carefully lower the chicken strips into the hot oil — work in batches to avoid overcrowding. Cook for about 4 minutes per side, until deep golden brown. Transfer to a paper towel-lined plate to drain. Once cool enough to handle, slice each strip into bite-sized pieces.
💡 mia’s Pro Tip: The butter helps the chicken develop a rich, golden color that oil alone can’t achieve. Don’t skip it — it’s the secret to that restaurant-quality look.
Step 5: Layer the Casserole
Preheat your oven to 375°F. Lightly grease a 9×13-inch casserole dish. Spread half of the rigatoni-sauce mixture evenly across the bottom. Top with half of the chicken pieces, sprinkle 2 tablespoons of Parmesan, and 1 cup of mozzarella. Repeat with the remaining pasta, the rest of the chicken, and the remaining Parmesan and mozzarella.
Step 6: Bake and Finish
Bake uncovered for 25 minutes, until the cheese is melted and the edges are bubbly. If you love a browned, crispy top (I do!), increase the oven temperature to 425°F and bake for an additional 5 minutes. Remove from the oven and let rest for 5 minutes before garnishing with fresh parsley. Serve with garlic bread with cheese for the ultimate comfort meal.
⚠️ Common Mistake to Avoid: Don’t over-bake! 25 minutes at 375°F is enough to melt the cheese and heat everything through without drying out the chicken or turning the pasta mushy.
| Step | Action | Duration | Key Visual Cue |
|---|---|---|---|
| 1 | Boil pasta | 8-10 mins | Tender but still firm (1 min less than al dente) |
| 2 | Bread chicken | 8-10 mins | Fully coated, slightly flattened strips |
| 3 | Fry chicken | 8 mins per batch | Deep golden brown on both sides |
| 4 | Layer casserole | 5 mins | Even layers of pasta, chicken, and cheese |
| 5 | Bake | 25-30 mins | Bubbling edges, melted cheese, browned top |
Serving & Presentation
This chicken Parmesan casserole is a meal in itself, but I love to serve it with a crisp green salad dressed in lemon vinaigrette — the acidity cuts through the richness beautifully. Garlic bread with cheese is non-negotiable in my house; the crunchy, buttery edges are perfect for sopping up any extra marinara sauce on the plate. For a touch of freshness, garnish generously with chopped fresh parsley and a final flourish of grated Parmesan.
Growing up in Morocco, we always ate from shared platters, and this casserole has that same generous, family-style spirit. Place the baking dish right on the table with a large serving spoon and let everyone dig in. It pairs wonderfully with a bold red wine like Chianti or a Sangiovese — the bright acidity complements the tomato sauce. For a non-alcoholic option, try a sparkling water with lemon or a tart cherry limeade.
💡 mia’s Pro Tip: Let the casserole rest for 5-7 minutes after baking. This allows the layers to set slightly so you get clean, beautiful servings instead of a soupy mess.
| Pairing Type | Suggestions | Why It Works |
|---|---|---|
| Side Dish | Green salad with lemon vinaigrette, roasted broccoli, or sautéed spinach | Bright acidity and greens balance the cheesy richness |
| Sauce / Dip | Extra warm marinara, garlic butter, or spicy arrabbiata | Adds moisture and extra flavor to each bite |
| Beverage | Chianti, Sangiovese, or sparkling water with lemon | Acidity in wine cuts through fat; citrus water refreshes |
| Garnish | Fresh parsley, extra Parmesan, red pepper flakes, fresh basil | Adds color, freshness, and a pop of flavor |
Make-Ahead, Storage & Reheating
As a busy NYC food blogger and mom to a toddler, I live by make-ahead meals. This chicken Parmesan casserole is one of my favorite freezer-friendly dinners. I often assemble it on Sunday, pop it in the fridge, and bake it on Monday after work. Here’s how to store and reheat it like a pro.
| Method | Container | Duration | Reheating Tip |
|---|---|---|---|
| Refrigerator | Airtight container or covered baking dish | Up to 4 days | Reheat at 350°F for 15-20 mins, uncovered |
| Freezer | Freezer-safe dish, tightly wrapped in foil + plastic wrap | Up to 3 months | Thaw overnight in fridge, then bake at 350°F for 25-30 mins |
| Make-Ahead | Assemble in baking dish, cover, refrigerate | Up to 24 hours in advance | Add 5-8 mins to bake time if baking from cold |
For best results, reheat individual portions in the oven rather than the microwave — the oven keeps the chicken crispy and the cheese bubbly. If using the microwave, heat in 30-second bursts and expect some softening of the breading. The casserole also freezes beautifully: assemble it completely but don’t bake, then freeze. When ready to eat, thaw overnight and bake as directed. 💡 mia’s Pro Tip: If freezing, reserve the final sprinkle of Parmesan and add it just before baking — it stays fresher and more flavorful.
Variations & Easy Swaps
One of the things I love most about this easy chicken parmesan recipe is how adaptable it is. Whether you’re cooking for dietary restrictions or just want to switch things up, here are four tried-and-tested variations I’ve developed in my NYC kitchen.
| Variation | Key Change | Best For | Difficulty Impact |
|---|---|---|---|
| Shortcut Weeknight | Frozen breaded chicken tenders (baked) + jarred marinara | Busy weeknights, meal prep beginners | Easier — skip breading and frying |
| Gluten-Free | Gluten-free pasta + gluten-free panko + GF flour | Celiac or gluten-sensitive guests | Same — just swap ingredients |
| Spicy Arrabbiata Twist | Use arrabbiata sauce + add red pepper flakes to breading | Heat lovers, adventurous eaters | Same — just change the sauce |
| Rotisserie Chicken | Skip breading/frying; use 3 cups shredded rotisserie chicken | Ultra-fast prep, using leftovers | Easiest — no frying needed |
Shortcut Weeknight Version
This is the version I make when I’m exhausted but still want something satisfying. Bake 1.5 lbs of frozen breaded chicken tenders according to package directions, let them cool slightly, then slice into bite-sized pieces. Toss with the pasta, sauce, and cheese layers as directed. The texture is slightly less crispy than homemade, but the flavor is still incredible — and you save about 25 minutes of active cooking time. My toddler devours this version, so it’s a win in our house.
Gluten-Free Version
I developed this version for my best friend who has celiac — and honestly, my gluten-eating family can’t tell the difference. Use a good gluten-free pasta blend (I like Barilla or Jovial), replace the flour with a cup-for-cup gluten-free flour blend, and use gluten-free panko breadcrumbs seasoned with Italian herbs. Everything else stays the same. The key is to not overcook the gluten-free pasta — cook it 2 minutes less than al dente to prevent mushiness in the oven.
Spicy Arrabbiata Twist
Inspired by the bold flavors I grew up with in Morocco, this version kicks up the heat. Swap the marinara for a good arrabbiata sauce (or add 1-2 teaspoons of red pepper flakes to your regular marinara). Add another ½ teaspoon of red pepper flakes to the flour dredge for chicken that has a subtle, building heat. Finish with fresh parsley and a drizzle of extra-virgin olive oil. The spice cuts through the richness of the cheese beautifully — serve with a chilled glass of Pinot Grigio to balance the heat.
Can I use frozen chicken breasts for chicken parmesan casserole?
Yes, you can use frozen chicken breasts, but you must thaw them completely first. Place them in the refrigerator overnight or use the cold water method (sealed bag submerged in cold water, changing water every 30 minutes). Pat the thawed chicken very dry with paper towels before breading — excess moisture is the enemy of a crispy crust. If you’re short on time, skip the homemade breading entirely and use frozen breaded chicken tenders (bake them first, then slice) for a faster, equally delicious shortcut.
What can I substitute for breadcrumbs in chicken parmesan casserole?
You have several excellent options. For a gluten-free substitute, use crushed pork rinds or gluten-free panko breadcrumbs — both give a crispy texture. For a low-carb alternative, try finely ground almonds or crushed pork rinds mixed with Italian seasoning. Panko breadcrumbs (which are lighter and flakier than Italian breadcrumbs) work beautifully and create an extra-crunchy crust. If you’re out of breadcrumbs entirely, you can crush up plain crackers, cornflakes, or even potato chips for a fun, crunchy twist.
How long should I bake chicken parmesan casserole to keep it from drying out?
The magic baking time is 25 minutes at 375°F, uncovered. This is long enough to melt the cheese and heat everything through without drying out the chicken or turning the pasta mushy. If you want a browned, crispy top, increase the oven temperature to 425°F for the last 5 minutes. The key to preventing dryness is twofold: first, cook the pasta 1 minute less than al dente so it absorbs sauce in the oven without becoming waterlogged; second, use enough marinara sauce (at least 32 oz.) so the pasta stays moist. If you’re using rotisserie chicken, the casserole may be done even faster — start checking at 20 minutes.
Should I cover chicken parmesan casserole with foil while baking?
For this recipe, I recommend baking it uncovered. The open baking allows the cheese to brown and bubble, creating that beautiful golden crust that makes chicken Parmesan casserole so appealing. Covering it with foil would trap steam, which can make the breading on the chicken soggy and prevent the cheese from browning. If you notice the top is browning too quickly (which is unlikely at 375°F), you can loosely tent with foil for the last 10 minutes, but I’ve never needed to. If you’re reheating leftovers, a quick uncovered bake at 350°F for 15-20 minutes restores the crispiness best.
Can I make chicken parmesan casserole ahead of time?
Absolutely — this is one of my favorite make-ahead meals. Assemble the entire casserole completely (including all layers of pasta, chicken, and cheese) but do not bake it. Cover tightly with plastic wrap or aluminum foil and refrigerate for up to 24 hours. When you’re ready to bake, remove the covering and bake at 375°F for 30-35 minutes (the extra time accounts for the cold start). Alternatively, you can freeze the unbaked casserole for up to 3 months — thaw overnight in the refrigerator before baking. I often make two: one for dinner tonight and one for the freezer.
What type of pasta works best for chicken parmesan casserole?
Rigatoni is my top choice because its ridged surface catches the sauce and cheese beautifully, and the large tubes hold up well to the casserole baking process. Penne, ziti, or any short, sturdy pasta shape works wonderfully too. Avoid delicate pastas like angel hair or thin spaghetti, which can become mushy when baked. For a gluten-free option, use a brown rice or chickpea-based pasta blend and cook it 2 minutes less than the package directs — gluten-free pastas are more prone to softening in the oven. Whatever pasta you choose, cook it 1 minute less than al dente for best results.
How do I keep the chicken crispy in a chicken parmesan casserole?
This is the million-dollar question, and I have a few chef-tested tricks. First, fry the chicken in a mix of oil and butter until deep golden brown — that initial crispiness is your foundation. Second, drain the fried chicken on paper towels to remove excess oil. Third, slice the chicken into bite-sized pieces after frying (not before) to preserve the crust. Fourth, bake the casserole uncovered so steam can escape. And finally, let the casserole rest for 5 minutes after baking before serving — this allows the steam to settle and the crust to firm up. For the crispiest top, finish with 5 minutes at 425°F.
Can I use rotisserie chicken instead of breaded chicken?
Yes, absolutely! This is one of the three ways I mention in the recipe title. Using rotisserie chicken transforms this into a super-fast weeknight dinner. Simply shred about 3 cups of rotisserie chicken (skip the skin) and layer it into the casserole just as you would the breaded chicken. You’ll miss the crispy texture of the breaded version, but the flavor is still fantastic — the rotisserie chicken adds a lovely roasted depth. To add some texture, I recommend sprinkling an extra ½ cup of Italian breadcrumbs mixed with 2 tablespoons of melted butter over the top before baking. This gives you a crunchy topping without the fried chicken step.
What can I serve with chicken parmesan casserole?
This casserole is hearty enough to be a meal on its own, but I love serving it with a few simple sides that round out the plate. A crisp green salad with lemon vinaigrette or simple balsamic dressing cuts through the richness with bright acidity. Garlic bread with melted mozzarella or a crusty baguette with olive oil and herbs is perfect for sopping up any extra sauce. Roasted vegetables like broccoli, asparagus, or zucchini add color and nutrition. For a truly Italian-American feast, start with a small Caesar salad and end with a scoop of vanilla gelato — but honestly, the casserole is the star of the show.
How many calories are in chicken parmesan casserole?
One serving of this chicken Parmesan casserole (based on 6-8 servings) contains approximately 599 calories, 64g of carbohydrates, 22g of fat, 35g of protein, and 7g of sugar. This makes it a fairly balanced meal with a good amount of protein to keep you satisfied. If you’re looking to reduce calories, you can use part-skim mozzarella, decrease the oil for frying, or use whole-wheat pasta for more fiber. The rotisserie chicken version with reduced cheese can come in around 480 calories per serving. As always, these values are estimates and will vary based on the specific brands and quantities you use.
Share Your Version!
I absolutely love hearing how this easy Chicken Parmesan Casserole turns out in your kitchen! Did you use homemade breaded chicken, frozen tenders, or rotisserie chicken? Did you try the spicy arrabbiata twist or go classic with marinara? Drop a star rating and a comment below — your feedback helps other readers know what works and inspires me to keep creating recipes for you.
And please, tag me on Instagram or Pinterest @exorecipes when you make this cheesy chicken casserole — there’s nothing that makes my day like seeing your beautiful baking dishes covered in bubbly cheese! If you have a question I didn’t answer in the FAQ, just ask in the comments. I read every single one and answer personally. Now go get that golden, crispy, cheesy goodness into your oven — you’ve got this!
From my NYC kitchen to yours — I hope this recipe brings as much warmth to your table as it does to mine. — mia 🧡
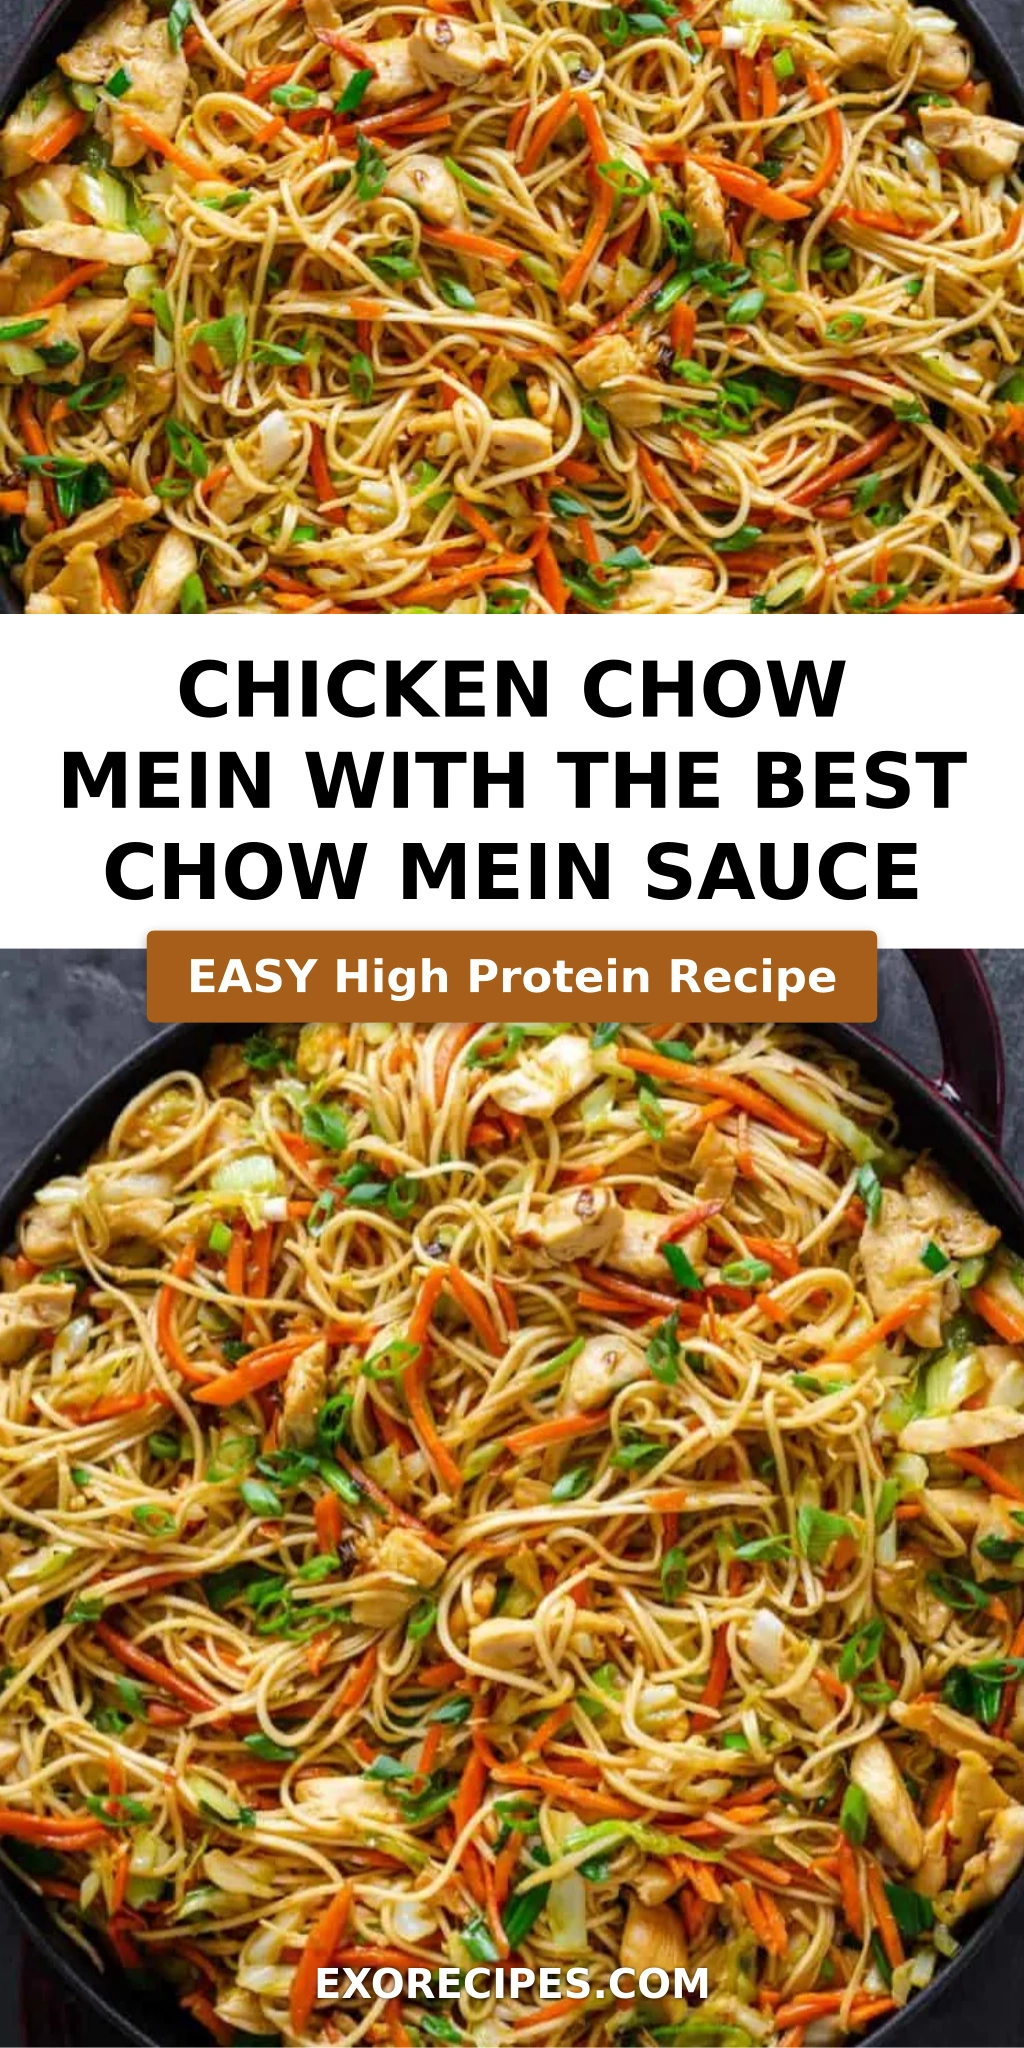
Love This Recipe? Save It to Pinterest!
If you enjoyed this Chicken Parmesan Casserole recipe, don’t let it get lost in your browser tabs! 😄 Pin it now so you can find it again anytime — and explore hundreds more tried-and-tested recipes waiting for you on my Pinterest boards.
👉 Follow mia on Pinterest @exorecipe
📌 Pin this recipe · 🔁 Re-pin your favorites · 💬 Tag me when you make it — I love seeing your creations!
💬 Which version will you try first? Homemade crispy, frozen tenders, or rotisserie? Tell me in the comments — I read every single one!
⭐️ Loved this recipe? Leave a 5-star rating below and help others find it too!

Chicken Parmesan Casserole
Description
Make this easy Chicken Parmesan Casserole with homemade crispy chicken, frozen chicken tenders, or with leftover rotisserie chicken! Add in some pasta and lots of mozzarella and Parmesan cheese!
Ingredients
- ¾ pound rigatoni pasta
- 32 oz. marinara sauce (or up to 48 oz. for saucier pasta)
- 3 cups shredded mozzarella cheese (divided)
- 1/3 cup grated Parmesan cheese (divided)
- 2 small boneless skinless chicken breasts
- ¾ cup flour
- 2 teaspoons seasoned salt
- 1/4 teaspoon pepper
- 2 eggs
- 1 ½ cups Italian breadcrumbs
- ¾ cup vegetable oil
- 2 Tablespoons butter
- Fresh Parsley (to garnish)
Instructions
- Tip: Bread the chicken while you wait for your pasta water to boil and for the pasta to cook.
- Boil water and cook the rigatoni for 1 minute less than al dente- (Refer to package for cooking time).
- When the pasta is ready, drain it add it back to the pot. Toss with 32 oz. of sauce, 2 tbsp. of Parmesan cheese, and 1 cup of the mozzarella. Set aside.
- Pat the chicken dry with paper towels and cut into strips about ½ inch thick.
- Create an assembly line for breading the chicken:
- Bowl #1: 3/4 cup flour + 2 tsp seasoned salt + 1/4 tsp pepper.
- Bowl #2: 2 whisked eggs.
- Bowl #3: 1.5 cups breadcrumbs
- Dredge the chicken in the flour mixture, then briefly in the whisked eggs, then smother them in the breadcrumb mixture until completely covered. Use your palms to gently flatten the chicken a little bit more once its coated in the breadcrumbs.
- Add ¼ inch of oil to a pan along with the butter, which helps give the chicken a golden color. Turn to medium-high heat.
- Once the pan is heated, use kitchen tongs to carefully lower the chicken into the oil, youll need to cook the strips in batches. Cook for about 4 minutes per side, until golden brown. You may need to add more oil as the chicken cooks.
- Place the cooked strips on a paper towel lined plate. The paper towels absorb the excess oil, leaving you with crispier chicken.
- Slice the strips into smaller bite-sized pieces.
- Preheat the oven to 375 degrees.
- Lightly grease a 9 x 13 inch casserole dish. Add half of the rigatoni/sauce mixture. Top with half of the chicken strips, 2 tbsp. Parmesan cheese, and 1 cup of mozzarella cheese.
- Add the remaining rigatoni. Add the chicken strips and the remaining Parmesan and mozzarella cheese.
- Bake uncovered for 25 minutes. If you prefer a browner, crisper top, increase heat to 425 and bake for about 5 more minutes.
- Garnish with fresh parsley. Serve with Garlic Bread with Cheese!
Nutrition
- Calories: 599 kcal
- Sugar: 7 g
- Fat: 22 g
- Carbohydrates: 64 g
- Protein: 35 g
Tried This Recipe? Leave a Comment!
Did you make this recipe? I’d love to hear how it turned out! Please leave a comment and a rating below. Your feedback helps other home cooks and supports cheerychop.com!
For more delicious inspiration, follow me on Pinterest!