English Muffin Breakfast Pizza: A Quick and Customizable Morning Treat

breakfast muffin pizza, easy breakfast pizza, English muffin pizza recipe, customizable breakfast ideas, savory breakfast pizzas

English Muffin Breakfast Pizza: A Versatile Morning Delight

English Muffin Breakfast Pizza offers a perfect blend of flavors and convenience, making it a great breakfast or brunch option. This recipe is customizable, allowing you to mix and match toppings to suit your preferences.

Enhance your morning spread by pairing it with Sheetpan Pancakes: A Simple Breakfast Delight for a variety-packed meal.


Why English Muffin Breakfast Pizza is Perfect for Any Morning

  • Quick and Easy: Ready in under 30 minutes, perfect for busy mornings.
  • Customizable: Suitable for individual tastes with endless topping options.
  • Nutritious and Balanced: A combination of protein, carbs, and healthy fats.

For a complementary dish, explore Reinventing Breakfast with Pancake Muffins, adding a sweet and savory twist to your table.


Ingredients You’ll Need

Core Ingredients:

  • English Muffins: Whole-grain or regular, split and toasted.
  • Eggs: Scrambled or fried for protein.
  • Meat: Bacon, sausage, or ham.
  • Cheese: Shredded cheddar, mozzarella, or any melting cheese.
  • Vegetables: Bell peppers, onions, spinach, or tomatoes.

Optional Add-ons:

  • Salsa, avocado slices, or hot sauce for extra flavor.
  • Herbs like parsley or cilantro for garnish.

Tools You’ll Need

  • Toaster or oven for toasting muffins.
  • Non-stick skillet for cooking eggs and meat.
  • Baking sheet for assembling and broiling.

Step-by-Step Recipe

1. Toasting the Muffins

  • Split the muffins and lightly toast them until golden.
  • For a crispier base, broil them for 2 minutes.

2. Cooking the Toppings

  • Cook bacon or sausage until crispy; drain excess grease.
  • Scramble or fry eggs, keeping them slightly undercooked to finish during broiling.

3. Assembling the Breakfast Pizza

  • Lay the toasted muffin halves on a baking sheet.
  • Spread a layer of salsa or butter as the base (optional).
  • Top with eggs, cooked meat, and a generous sprinkle of cheese.

4. Broiling and Serving

  • Broil the assembled muffins for 2–3 minutes until the cheese melts and is bubbly.
  • Garnish with parsley or avocado slices and serve immediately.

Creative Variations

  1. Vegetarian Breakfast Pizza
    • Replace meat with sautéed mushrooms, spinach, or roasted peppers.
  2. Mexican-Inspired Pizza
    • Add black beans, pico de gallo, and pepper jack cheese.
  3. Spicy Kick
    • Use spicy sausage or add red chili flakes and hot sauce.
  4. Healthier Option
    • Use whole-grain English muffins and turkey sausage.

Pairings and Serving Suggestions

  • Serve with Kentucky Butter Cake for a sweet dessert.
  • Pair with fresh orange juice or coffee for a complete breakfast experience.

Storing and Reheating

  • Refrigeration: Store assembled but not broiled pizzas in the fridge for up to 3 days.
  • Reheating: Warm in the oven at 350°F for 5 minutes or microwave for 30 seconds.

Tips for Success

  • Use a baking sheet to broil multiple pizzas at once.
  • Prep toppings the night before for quicker assembly in the morning.
  • Experiment with different cheeses and toppings to suit your family’s tastes.

Frequently Asked Questions (FAQs)

Q1: Can I freeze English Muffin Breakfast Pizzas?
A: Yes, wrap assembled pizzas in foil and freeze for up to 1 month. Reheat in the oven for best results.

Q2: What can I use instead of English muffins?
A: Bagels, toast, or pita bread are excellent alternatives.

Q3: Are these pizzas gluten-free?
A: Use gluten-free English muffins or bread to make this recipe gluten-free.

Q4: How can I make this recipe kid-friendly?
A: Let kids choose their toppings, such as mini pepperoni or mild cheddar cheese.

Q5: What side dishes pair well with this recipe?
A: Fresh fruit salad, hash browns, or breakfast potatoes.


Internal Linking Opportunities


Conclusion

English Muffin Breakfast Pizza is a delicious, customizable meal that’s perfect for busy mornings, brunch gatherings, or family-friendly breakfasts. With endless topping possibilities and quick preparation, it’s a recipe you’ll come back to time and again. Try this easy and satisfying breakfast idea today!

Pineapple Chicken and Rice: A Sweet and Savory One-Pot Recipe

chicken pineapple rice, tropical chicken recipes, sweet and savory chicken rice, one-pot pineapple chicken, Hawaiian chicken and rice

Pineapple Chicken and Rice: A Sweet and Savory Delight

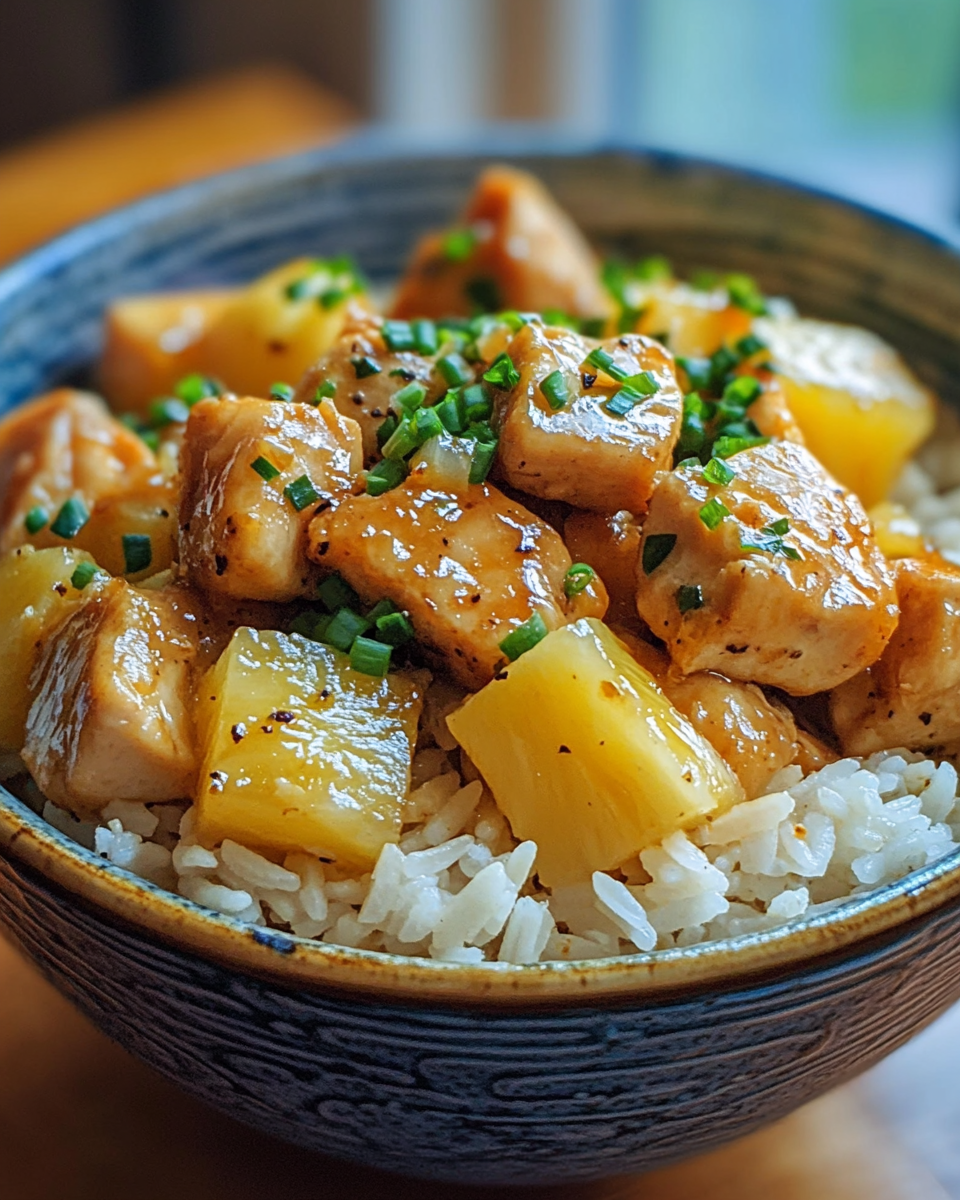
Pineapple Chicken and Rice combines the best of sweet and savory flavors in a single dish. With tender chicken, tropical pineapple, and fluffy rice, it’s a meal that satisfies every palate. Let’s dive into how to create this one-pot wonder!

Pair this recipe with Rediscovering Comfort: Sour Cream and French Fried Onion Pork Chops for a hearty meal or Delightful Mini Pineapple Upside-Down Cakes to complete the tropical theme.


Why Pineapple Chicken and Rice Stands Out

  • Perfect Balance of Flavors: The sweetness of pineapple contrasts beautifully with the savory chicken and soy sauce.
  • One-Pot Convenience: Minimal cleanup required!
  • Customizable: Add your favorite vegetables or spice levels.

For a quick dessert, try Easy No-Bake Banana Split Cheesecake to round out the meal.


Ingredients Needed

Core Ingredients:

  • Chicken: Boneless, skinless thighs or breasts.
  • Rice: Jasmine or long-grain rice.
  • Pineapple: Fresh or canned (in juice, not syrup).
  • Flavor Enhancers: Soy sauce, garlic, ginger, and sesame oil.
  • Vegetables: Bell peppers, onions, or peas for color and nutrition.

Optional Toppings:

  • Toasted cashews for crunch.
  • Red chili flakes for heat.
  • Fresh cilantro for garnish.

Tools You’ll Need

  • Large skillet or wok with a lid.
  • Wooden spoon for stirring.
  • Sharp knife for cutting chicken and vegetables.

Step-by-Step Recipe

1. Preparing the Chicken

  • Dice the chicken and marinate with soy sauce, garlic, and ginger for 20 minutes.
  • Heat oil in a skillet and sear the chicken until golden brown. Remove and set aside.

2. Cooking the Rice and Vegetables

  • In the same skillet, sauté onions, garlic, and bell peppers.
  • Add rice, stir to coat in the flavors, then add pineapple chunks and juice.

3. Simmering to Perfection

  • Return the chicken to the skillet.
  • Pour in chicken broth, cover, and simmer on low heat until the rice is cooked.
  • Stir occasionally to prevent sticking.

Tips for Success

  • Use Fresh Pineapple: It enhances the flavor and texture.
  • Even Cooking: Cut all ingredients to similar sizes.
  • Low Heat: Prevents rice from burning or sticking.

Creative Variations

  1. Spicy Pineapple Chicken and Rice: Add chopped chilies or a splash of sriracha.
  2. Vegetarian Version: Replace chicken with tofu or chickpeas and use vegetable broth.
  3. Hawaiian Style: Add diced ham or bacon for a twist.
  4. Low-Carb Option: Use cauliflower rice for a lighter dish.

Pairings and Suggestions


Storing and Reheating

  • Refrigeration: Store leftovers in an airtight container for up to 3 days.
  • Reheating: Warm on the stovetop with a splash of chicken broth to restore moisture.

Frequently Asked Questions (FAQs)

Q1: Can I use brown rice instead of white rice?
A: Yes, but it will require more liquid and longer cooking time.

Q2: What’s the best way to keep the rice from getting mushy?
A: Use the correct rice-to-liquid ratio and cook on low heat.

Q3: Can I freeze this dish?
A: Yes, freeze portions in airtight containers for up to 2 months.

Q4: How do I make it gluten-free?
A: Substitute soy sauce with tamari or coconut aminos.

Q5: What vegetables can I add?
A: Broccoli, snap peas, or zucchini are excellent options.


Internal Linking Opportunities


Conclusion

Pineapple Chicken and Rice is a vibrant, satisfying dish perfect for busy weeknights or casual gatherings. The combination of sweet pineapple, tender chicken, and perfectly cooked rice is irresistible. Try this recipe today and make it your own with creative variations!

Taco Bell Nacho Fries: The Ultimate Crispy and Cheesy Treat

nacho fries recipe, seasoned fries with cheese, homemade nacho fries, Taco Bell fries, cheesy fries recipe

Taco Bell Nacho Fries: A Crispy and Cheesy Delight

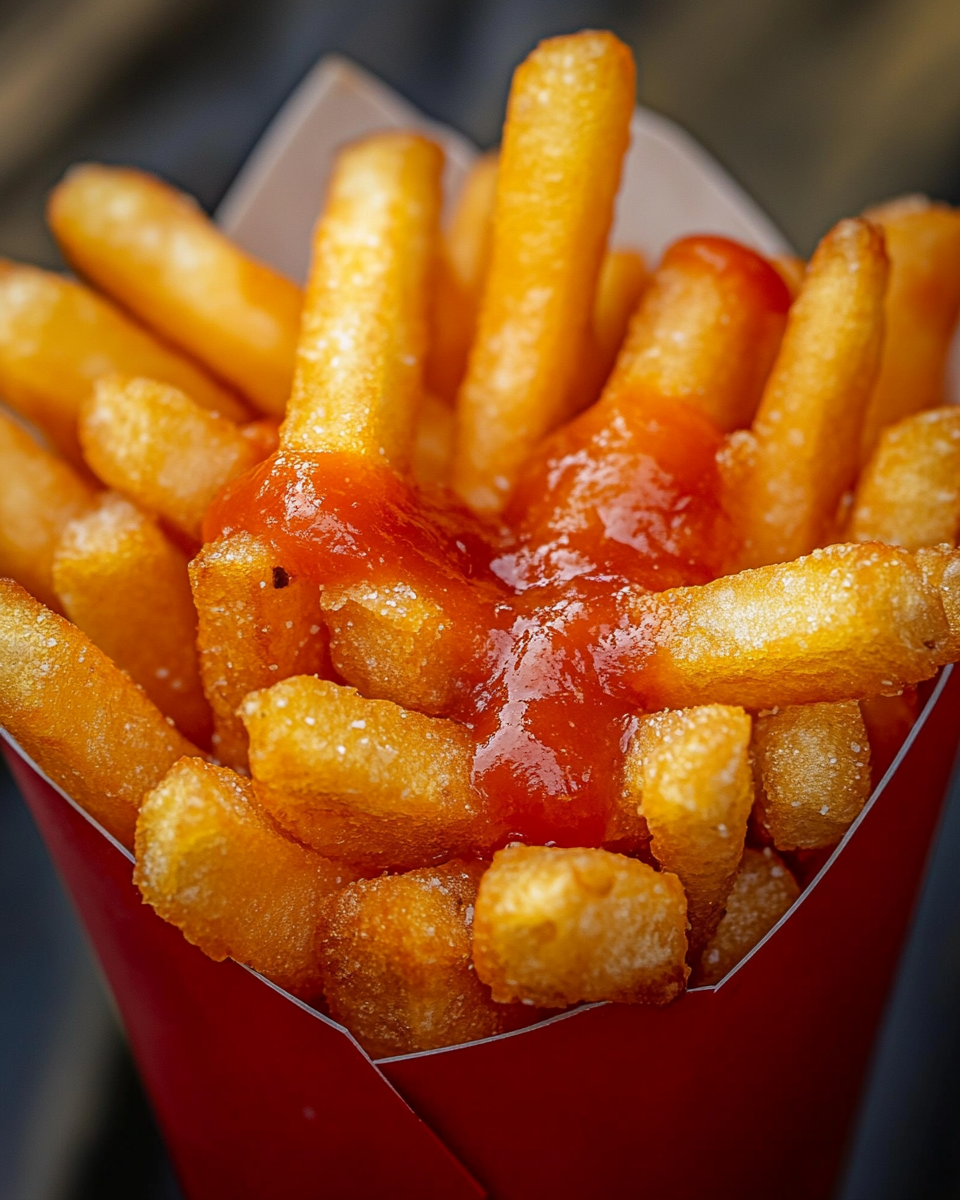
Taco Bell Nacho Fries have captured the hearts of fast food enthusiasts with their perfect combination of crispy, seasoned fries and creamy nacho cheese dip. Whether you’re enjoying them as a snack or a side, they offer bold flavors that redefine traditional fries.

For a complementary dish, check out Rediscovering Comfort: Sour Cream and French Fried Onion Pork Chops for a hearty pairing.


Why Nacho Fries Stand Out

  • Unique Flavor Profile: Seasoned with bold Mexican spices.
  • Versatile Menu Addition: Can be customized into loaded fries or paired with tacos.
  • Limited-Time Offering: The exclusivity makes them even more desirable.

For a creative spin, try Dorito Chicken Casserole as a crunchy and cheesy counterpart.


Ingredients Needed to Recreate at Home

Core Ingredients:

  • Potatoes: Freshly cut into thin fries.
  • Seasoning: Paprika, garlic powder, onion powder, chili powder, and salt.
  • Cheese Sauce: Cheddar cheese, milk, butter, and a dash of cayenne pepper.

Optional Add-ons:

  • Ground beef, jalapeños, or guacamole for loaded fries.
  • Ranch or spicy chipotle dip for variation.

Tools You’ll Need

  • Baking sheet or frying pan
  • Mixing bowls for seasoning
  • Saucepan for cheese dip

Step-by-Step Recipe

1. Preparing the Fries

  • Wash and cut the potatoes into thin strips.
  • Toss with olive oil and a blend of spices.
  • Bake at 425°F for 20–25 minutes or fry until golden brown.

2. Making the Nacho Cheese Sauce

  • Melt butter in a saucepan and add flour to create a roux.
  • Gradually whisk in milk until smooth.
  • Add shredded cheddar and stir until creamy.

3. Assembling Nacho Fries

  • Place fries on a serving dish.
  • Drizzle with cheese sauce and top with optional add-ons like beef or jalapeños.

Creative Variations

  1. Loaded Nacho Fries Supreme
    • Add seasoned beef, diced tomatoes, sour cream, and guacamole.
  2. Vegan Nacho Fries
    • Use plant-based cheese and bake fries instead of frying.
  3. Spicy Nacho Fries
    • Add cayenne pepper or hot sauce to the cheese sauce.

Pairings and Suggestions


Tips for Success

  • Double-Bake for Extra Crispiness: Bake fries, let them cool, and bake again for added crunch.
  • Keep Cheese Sauce Warm: Use a slow cooker or insulated bowl.
  • Experiment with Seasonings: Try smoked paprika or taco seasoning for a twist.

Frequently Asked Questions (FAQs)

Q1: Are Nacho Fries always available at Taco Bell?
A: No, they are a limited-time item but frequently return due to high demand.

Q2: Can I make them gluten-free?
A: Yes, use gluten-free flour for the cheese sauce.

Q3: How do I make them extra crispy?
A: Soak cut fries in cold water before baking or frying to remove excess starch.

Q4: What’s the best cheese for the dip?
A: Sharp cheddar or a blend of cheddar and Monterey Jack works well.

Q5: Are Nacho Fries spicy?
A: The seasoning is mildly spicy but can be adjusted with additional chili powder or cayenne.


Internal Linking Opportunities


Conclusion

Taco Bell Nacho Fries are more than just a side dish—they’re a culinary experience. Their perfect blend of crispiness and bold flavors makes them a crowd-pleaser for any occasion. Whether you’re recreating them at home or indulging in the real deal, Nacho Fries are always a hit!

French Onion Beef and Noodles: A One-Pot Comfort Food Classic

one-pot beef noodles, French onion pasta, creamy beef noodles recipe, comfort food beef and noodles, savory French onion dish

French Onion Beef and Noodles: A Comforting One-Pot Meal

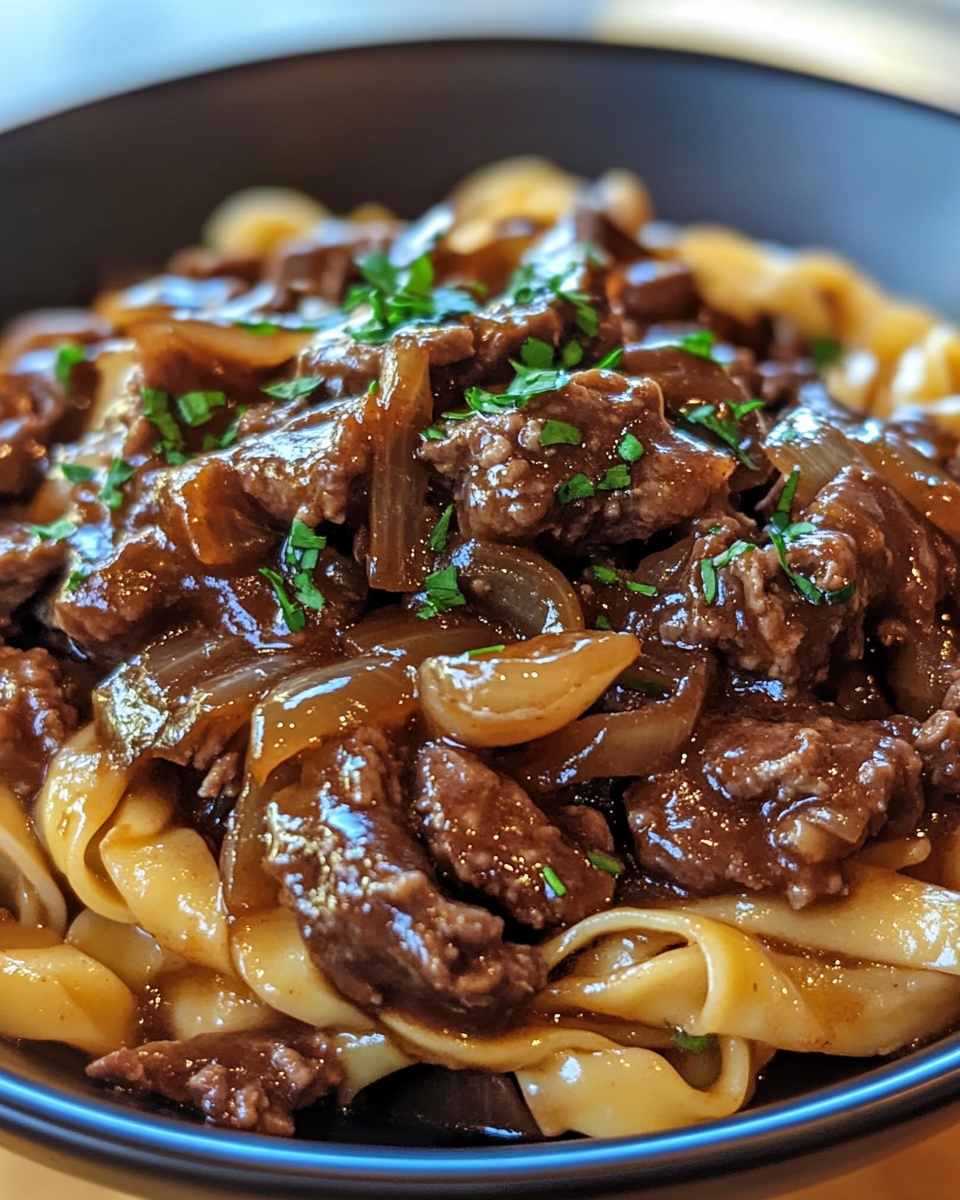
French Onion Beef and Noodles is a hearty, flavorful dish that combines tender beef, rich French onion soup flavors, and creamy noodles. Perfect for busy weeknights, this recipe is easy to make and satisfies every craving for comfort food.

Pair this dish with The Ultimate Comfort Food: Crockpot Potato Soup with Hashbrowns for a well-rounded, comforting meal.


Why French Onion Beef and Noodles is a Crowd-Pleaser

  • Rich Flavor Profile: Infused with the savory depth of French onion soup.
  • One-Pot Convenience: Easy to cook and clean up.
  • Customizable Options: Suitable for various preferences with substitutions and add-ins.

For a complementary dish, try Slow Cooker Magic: Crockpot Baked Ziti to expand your meal.


Ingredients You’ll Need

Main Ingredients:

  • 1 lb beef stew meat or sirloin
  • 12 oz egg noodles
  • 1 can (10.5 oz) French onion soup
  • 3 cups beef broth
  • ½ cup sour cream
  • ¼ cup grated Parmesan cheese
  • 1 cup French fried onions (for topping)

Optional Add-ins:

  • Sautéed mushrooms
  • Fresh thyme or parsley for garnish
  • Gruyère cheese for extra richness

Tools You’ll Need

  • Dutch oven or large pot
  • Wooden spoon for stirring
  • Ladle for serving

Step-by-Step Instructions

1. Preparing the Beef

  • Heat olive oil in a Dutch oven over medium-high heat.
  • Season the beef with salt, pepper, garlic powder, and onion powder.
  • Sear until golden brown on all sides, then remove and set aside.

2. Building the Flavor Base

  • Add French onion soup and beef broth to the pot.
  • Scrape the bottom to deglaze and collect all flavorful bits.
  • Return the beef to the pot and simmer for 10–15 minutes.

3. Cooking the Noodles

  • Add egg noodles directly to the pot.
  • Stir occasionally to ensure even cooking and prevent sticking.
  • Cook until tender, about 8–10 minutes.

4. Adding the Creamy Finish

  • Remove from heat and stir in sour cream and Parmesan cheese.
  • Mix thoroughly until the dish becomes creamy and smooth.

5. Topping and Serving

  • Sprinkle French fried onions generously over the dish.
  • Garnish with fresh thyme or parsley and serve immediately.

Creative Variations

  1. Cheesy French Onion Beef and Noodles
    • Add shredded Gruyère or mozzarella cheese and broil for a cheesy crust.
  2. Vegetarian Option
    • Replace beef with mushrooms and use vegetable broth for a meat-free alternative.
  3. Low-Carb Version
    • Swap egg noodles for spiralized zucchini or cauliflower rice.

Serving Suggestions


Storing and Reheating

  • Refrigeration: Store in an airtight container for up to 3 days.
  • Reheating: Warm on the stovetop with a splash of beef broth to restore creaminess.

Tips for Success

  • Use High-Quality Beef: Tender cuts ensure a better texture.
  • Avoid Overcooking Noodles: Cook until just tender to maintain the right consistency.
  • Enhance Flavors: Add Worcestershire sauce or a splash of red wine for depth.

Frequently Asked Questions (FAQs)

Q1: Can I use a different type of noodles?
A: Yes, fettuccine, pappardelle, or gluten-free options work well.

Q2: How do I make the dish creamier?
A: Add extra sour cream or a touch of heavy cream.

Q3: What can I substitute for French onion soup?
A: Use caramelized onions and beef stock with a splash of Worcestershire sauce.

Q4: Can I make this dish ahead of time?
A: Prepare the beef and broth in advance, then add noodles when reheating.

Q5: How do I add more crunch?
A: Double the French fried onions or include toasted breadcrumbs.


Internal Linking Opportunities


Conclusion

French Onion Beef and Noodles is a one-pot wonder that brings rich, comforting flavors to your table. Perfect for family meals or cozy evenings, this recipe is easy to prepare and endlessly satisfying. Try it today and enjoy a new favorite comfort food!

Strawberries and Cream Puff Pastries: A Perfect Dessert for Any Occasion

strawberry puff pastries, cream-filled pastries, strawberry dessert recipe, puff pastry cream desserts, easy fruit pastry

Strawberries and Cream Puff Pastries: A Heavenly Dessert Experience

Strawberries and Cream Puff Pastries are the epitome of elegance and flavor, combining light puff pastry, sweet strawberries, and creamy Chantilly cream. Whether for a summer gathering, a tea party, or a casual treat, these pastries are both simple and delightful to make.

Pair this dessert with Homemade Oreo Donuts for a whimsical and sweet menu addition.


Why Strawberries and Cream Puff Pastries Are Perfect for Any Occasion

  • Light and Refreshing: Perfect balance of sweet and creamy flavors.
  • Versatile: Can be customized with various fruits or toppings.
  • Easy to Make: Minimal ingredients, but maximum sophistication.

For a complementary fruity dessert, try No-Bake Banana Split Cheesecake for another refreshing option.


Ingredients You’ll Need

Core Ingredients:

  • 1 sheet puff pastry, thawed
  • 300ml heavy cream
  • 30g powdered sugar
  • 1 tsp vanilla extract
  • 1 punnet fresh strawberries, sliced

Optional Toppings:

  • Fresh mint leaves
  • Shaved white or dark chocolate
  • Icing sugar for dusting

Tools You’ll Need

  • Baking tray and parchment paper
  • Mixing bowl and whisk
  • Piping bag (optional)

Step-by-Step Instructions

1. Preparing the Puff Pastry

  • Preheat the oven to 220°C (200°C for fan ovens).
  • Roll out puff pastry and cut into rectangles.
  • Place on a baking tray lined with parchment paper and prick with a fork.
  • Bake for 10–12 minutes until golden and crispy. Allow to cool completely.

2. Whipping the Chantilly Cream

  • Combine heavy cream, powdered sugar, and vanilla extract in a chilled bowl.
  • Whisk until soft peaks form. Be careful not to overwhip.

3. Assembling the Pastries

  • Slice the puff pastry pieces in half horizontally.
  • Spoon or pipe Chantilly cream onto the bottom layer.
  • Arrange sliced strawberries over the cream.
  • Add the top pastry layer and dust with icing sugar.

Tips for Perfect Pastries

  • Use Cold Cream: Ensures the cream whips up light and fluffy.
  • Prevent Soggy Pastry: Assemble just before serving.
  • Customize the Flavor: Add a splash of liqueur or citrus zest to the cream.

Creative Variations

  1. Chocolate Lovers’ Pastries:
    • Add a drizzle of melted chocolate over the assembled pastries.
  2. Berry Medley Pastries:
    • Combine strawberries with raspberries or blueberries for added flavor.
  3. Savory Puff Pastries:
    • Swap the cream and strawberries for herbed goat cheese and smoked salmon for a unique appetizer.

Serving Suggestions

  • Pair with Kentucky Butter Cake for a diverse dessert spread.
  • Serve with a glass of sparkling wine or freshly brewed tea.

Storing and Reheating

  • Refrigeration: Store unassembled components for up to 2 days.
  • Freezing: Freeze baked pastry layers for up to 1 month.
  • Reheating: Warm pastry layers in the oven for 5 minutes at 180°C.

Frequently Asked Questions (FAQs)

Q1: Can I use frozen strawberries?
A: Yes, but fresh strawberries provide the best flavor and texture.

Q2: What other fruits work well?
A: Raspberries, blueberries, or sliced peaches are excellent alternatives.

Q3: How do I prevent the cream from deflating?
A: Use cold ingredients and avoid overwhipping.

Q4: Can I make this dessert ahead of time?
A: Assemble shortly before serving to keep the pastry crisp.

Q5: Are there low-sugar options?
A: Replace powdered sugar with a sugar substitute for the cream.


Internal Linking Opportunities


Conclusion

Strawberries and Cream Puff Pastries are a delightful dessert that balances crispy pastry with luscious cream and fresh fruit. Their simplicity and elegance make them perfect for any occasion, and with endless customization options, they’re sure to please every palate. Try this recipe today and experiment with your favorite flavors!