“`html
Table of Contents
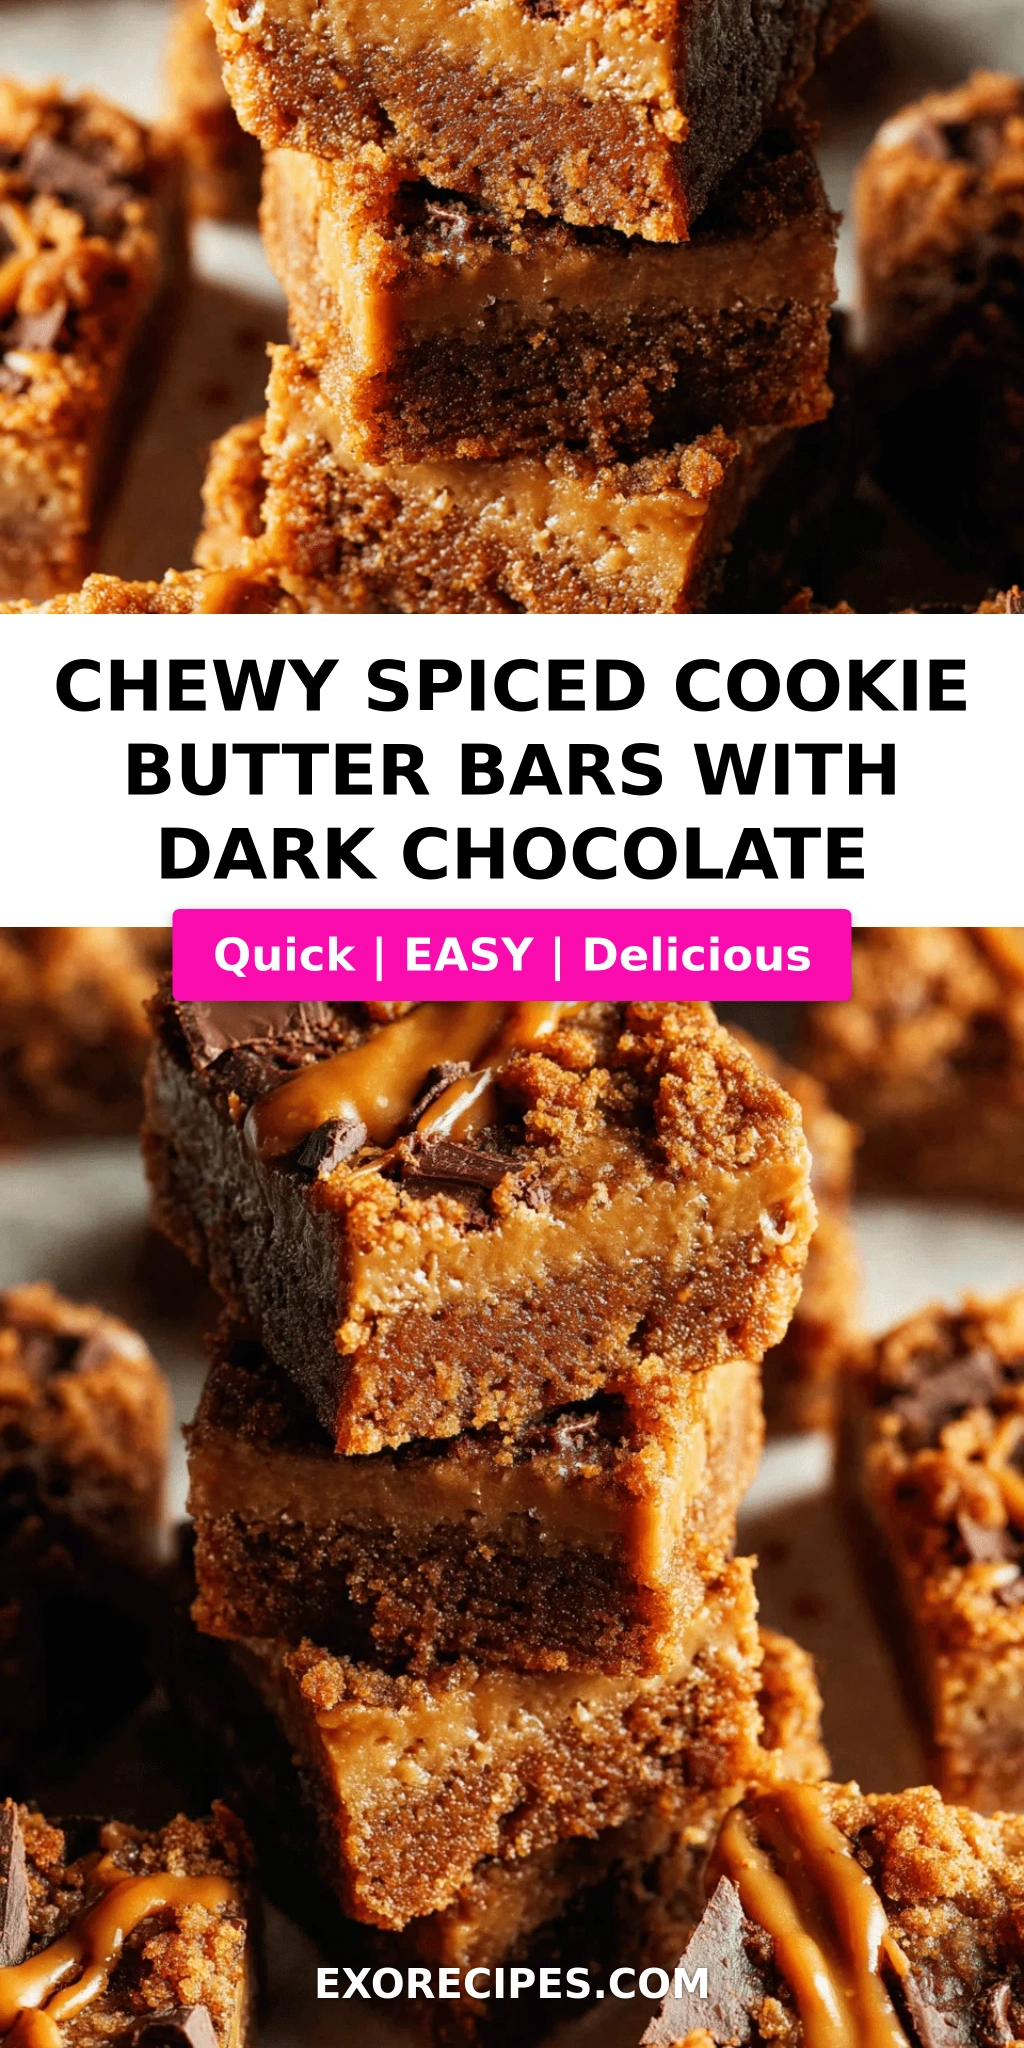
Chewy Spiced Cookie Butter Bars with Dark Chocolate – The Ultimate Easy Cookie Butter Dessert
There are some desserts that feel like a warm hug the moment you take a bite, and these Chewy Spiced Cookie Butter Bars with Dark Chocolate are exactly that. Inspired by the spiced cookies I grew up with in Morocco and refined through my pastry training in Paris, this easy cookie butter dessert brings together the best of both worlds. Living in NYC, I’m always looking for a treat that’s both deeply satisfying and simple to whip up on a busy weekend. This cookie butter bars recipe has become my go-to for potlucks, bake sales, and quiet nights in — and I have a feeling it will become yours, too.
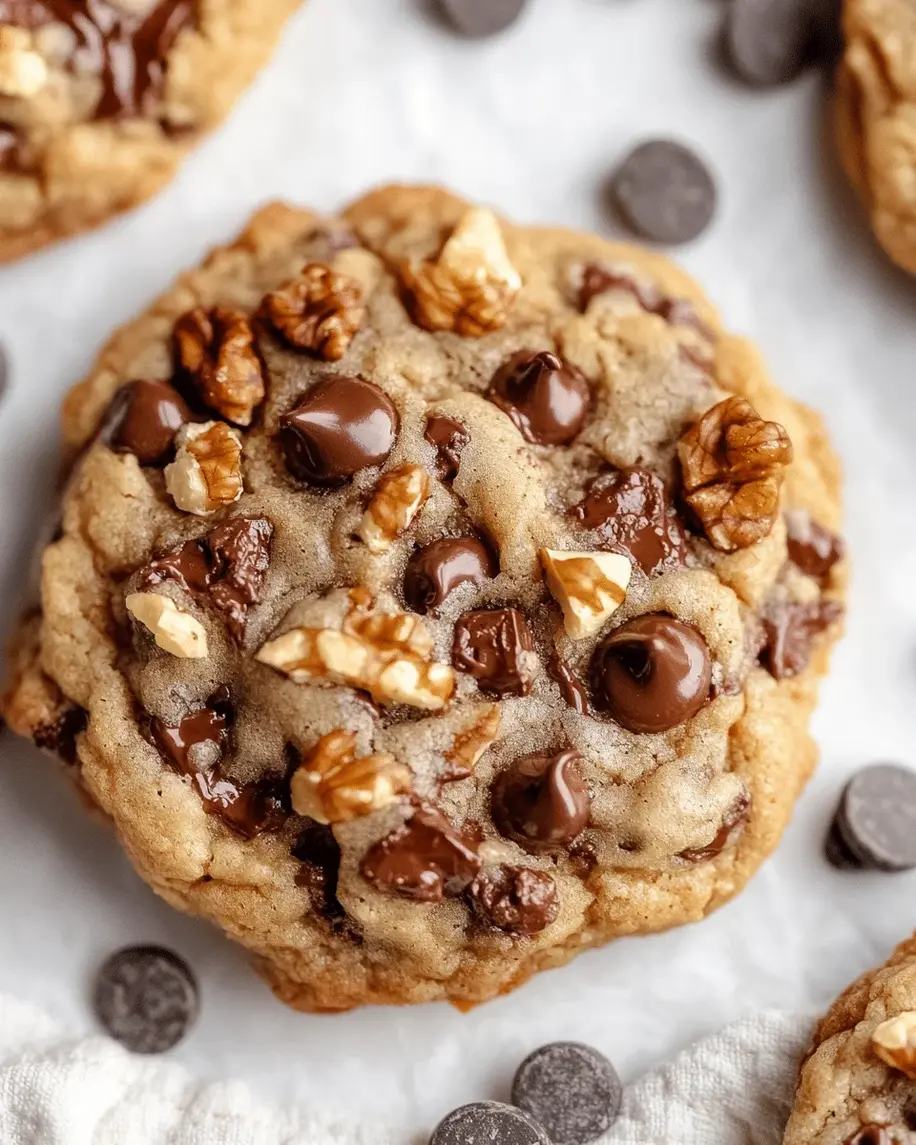
Imagine a perfectly chewy cookie bar, rich with brown sugar and warm cinnamon, ginger, and cloves. Swirled throughout is creamy, spiced cookie butter — my personal obsession — and generous chunks of dark chocolate that melt into pools of bittersweet richness. The aroma that fills your kitchen is absolutely intoxicating: caramelized butter, toasty Biscoff, and fragrant spices that remind me of my mother’s spice cabinet in Marrakech. Each bite is a symphony of textures, from the slightly crisp edge to the soft, gooey center.
I’ve tested this recipe dozens of times to nail that signature chewy cookie bars with dark chocolate texture. The secret, as I learned in Le Cordon Bleu, lies in the balance of melted butter and brown sugar, and the restraint to not overbake. In this post, I’ll walk you through every step, share my 💡 mia’s Pro Tip for getting that ultra-chewy center, and show you why this is the ultimate cookie butter bars recipe for any skill level. Let’s get baking!
Why This Recipe Is the Best
The Flavor Secret: The magic starts with cookie butter. Its blend of baking spices and caramelized flavor perfectly complements the cinnamon, ginger, and cloves we add to the dough. Dark chocolate chunks add a sophisticated bitterness that cuts through the sweetness, creating a complex, adult-friendly treat that kids love too. This isn’t just another easy cookie butter dessert — it’s a perfectly balanced flavor experience.
Perfected Texture: We use melted butter and brown sugar, which creates a dense, fudgy, and impossibly chewy cookie bar. The technique of browning the butter is optional but highly recommended — it adds a nutty depth that Dorie Greenspan herself would approve of. Over the years, I’ve learned that the ratio of wet to dry ingredients is the backbone of any great bar cookie, and this one is engineered for maximum chewiness.
Foolproof & Fast: This spiced cookie bars recipe comes together in one bowl — no stand mixer required. It’s so reliable that I teach it in my beginner baking classes here in NYC. The hardest part is waiting for them to cool before slicing! Whether you are a seasoned baker or a complete novice, these dark chocolate cookie bars will turn out perfectly every single time.
Cookie Butter Bars Recipe Ingredients
I love picking up my ingredients for these chewy spiced cookie butter bars at different spots around NYC. I grab Biscoff cookie butter from Fairway, high-quality dark chocolate from the Union Square Greenmarket, and fragrant spices from the little中东 market on Atlantic Avenue. Using the best ingredients really elevates this simple cookie butter bars recipe. Here is everything you will need:
Ingredients List
- 1/2 cup unsalted butter, melted
- 1/2 cup brown sugar, packed
- 1/4 cup granulated sugar
- 1 large egg
- 1 teaspoon vanilla extract
- 1 cup all-purpose flour
- 1/2 teaspoon baking soda
- 1/4 teaspoon salt
- 1/2 teaspoon ground cinnamon
- 1/4 teaspoon ground ginger
- 1/4 teaspoon ground cloves
- 1/2 cup cookie butter (such as Biscoff or Speculoos)
- 1/2 cup dark chocolate chips or chopped dark chocolate
Ingredient Spotlight
Cookie Butter: This is the star of the show. Biscoff spread is the most widely available, but Trader Joe’s Speculoos works beautifully too. It provides a caramelized, spiced base that infuses the entire bar with flavor. Avoid using natural peanut butter as a substitute, as the flavor profile is completely different.
Dark Chocolate: I recommend using a bar of dark chocolate that you chop yourself (around 60-70% cacao) rather than pre-made chips. The irregular chunks create beautiful pools of chocolate and melt more evenly. A good quality dark chocolate is the key to making these dark chocolate cookie bars truly decadent.
Spices (Cinnamon, Ginger, Cloves): This trio is the foundation of the “spiced” flavor in these spiced cookie bars. If you can, use freshly ground spices — they are significantly more potent and aromatic. The warmth of the cinnamon, the zing of the ginger, and the earthiness of the cloves create a complex flavor profile that pairs perfectly with the cookie butter.
| Original Ingredient | Best Substitution | Flavor / Texture Impact |
|---|---|---|
| Cookie Butter | SunButter (for nut-free) or Homemade Speculoos | SunButter is less sweet, more savory. Homemade is closer but more work. |
| Dark Chocolate (60-70%) | Milk Chocolate or Semi-Sweet Chips | Milk chocolate makes bars much sweeter and creamier. Semi-sweet is a safe middle ground. |
| Unsalted Butter | Salted Butter (reduce added salt to 1/8 tsp) | Adds a touch more saltiness, which can enhance the overall flavor. |
| All-Purpose Flour | Gluten-Free 1:1 Baking Blend | GF blend may result in a slightly more tender, less chewy crumb. Works well! |
How to Make Chewy Spiced Cookie Butter Bars — Step-by-Step
Trust me when I say this is one of the easiest cookie butter bars recipe you will ever make. We are going to build layers of flavor from the bottom up. Just follow along, and you will have a pan of the most incredible chewy cookie bars with dark chocolate in no time.
Step 1: Prep the Pan and Oven
Preheat your oven to 350°F (175°C). Line an 8×8-inch baking pan with parchment paper, leaving a 2-inch overhang on two opposite sides. This creates a “sling” that will allow you to lift the entire block of bars out cleanly later.
💡 mia’s Pro Tip: Lightly butter the pan before adding the parchment paper — it helps the parchment stay in place while you are spreading the batter.
Step 2: Mix Wet Ingredients
In a large bowl, whisk together the melted butter, brown sugar, and granulated sugar until the mixture is smooth and glossy. Make sure the melted butter isn’t piping hot — just warm enough to melt the sugars. Add the egg and vanilla extract and whisk vigorously until well combined and slightly pale, about 1 minute.
⚠️ Common Mistake to Avoid: Adding the egg to hot butter! This will scramble the egg. Let your melted butter cool for 2-3 minutes before adding the egg.
Step 3: Combine Dry Ingredients
In a separate, smaller bowl, whisk together the all-purpose flour, baking soda, salt, ground cinnamon, ground ginger, and ground cloves. Whisking ensures the spices and leavening are evenly distributed throughout the flour.
💡 mia’s Pro Tip: If your cloves are particularly old or have been sitting in the cabinet for a while, sift them into the bowl to avoid any bitter, clumpy bits.
Step 4: Fold Everything Together
Gradually add the dry ingredients to the wet ingredients, folding gently with a rubber spatula until just combined. A few streaks of flour are okay. Next, add the dollops of cookie butter and the dark chocolate chunks. Fold 2-3 times to distribute them evenly. Do not overmix!
⚠️ Common Mistake to Avoid: Overmixing the batter once the flour is added. This develops gluten, which will make your dark chocolate cookie bars tough and cakey instead of tender and chewy.
Step 5: Bake to Perfection
Spread the batter evenly into the prepared pan. Bake for 20-25 minutes, until the edges are golden brown and the top is set but the center still looks slightly soft and underdone. A toothpick inserted 1 inch from the center should come out with a few moist crumbs attached.
💡 mia’s Pro Tip: For the ultimate chewy spiced cookie butter bars, underbake slightly! The residual heat in the pan will continue to cook the center as they cool. Pull them when the center still has a slight jiggle.
Step 6: Cool and Slice
Allow the bars to cool completely in the pan on a wire rack. This is crucial! Once cool, use the parchment sling to lift the entire block onto a cutting board. Use a sharp chef’s knife to cut clean squares.
⚠️ Common Mistake to Avoid: Cutting into the bars while they are still warm. They will crumble, the chocolate will smear, and you will lose the beautiful clean edges. Patience, my friend!
| Step | Action | Duration | Key Visual Cue |
|---|---|---|---|
| 1 | Prep Pan | 5 mins | Parchment sling in place |
| 2 | Mix Wet Ingredients | 2 mins | Smooth, glossy mixture |
| 3 | Combine Dry Ingredients | 1 min | Evenly distributed spices |
| 4 | Fold Dough | 2 mins | Just combined, no flour streaks |
| 5 | Bake | 20-25 mins | Golden edges, soft center |
| 6 | Cool & Slice | 2+ hours | Completely cool to touch |
Serving & Presentation
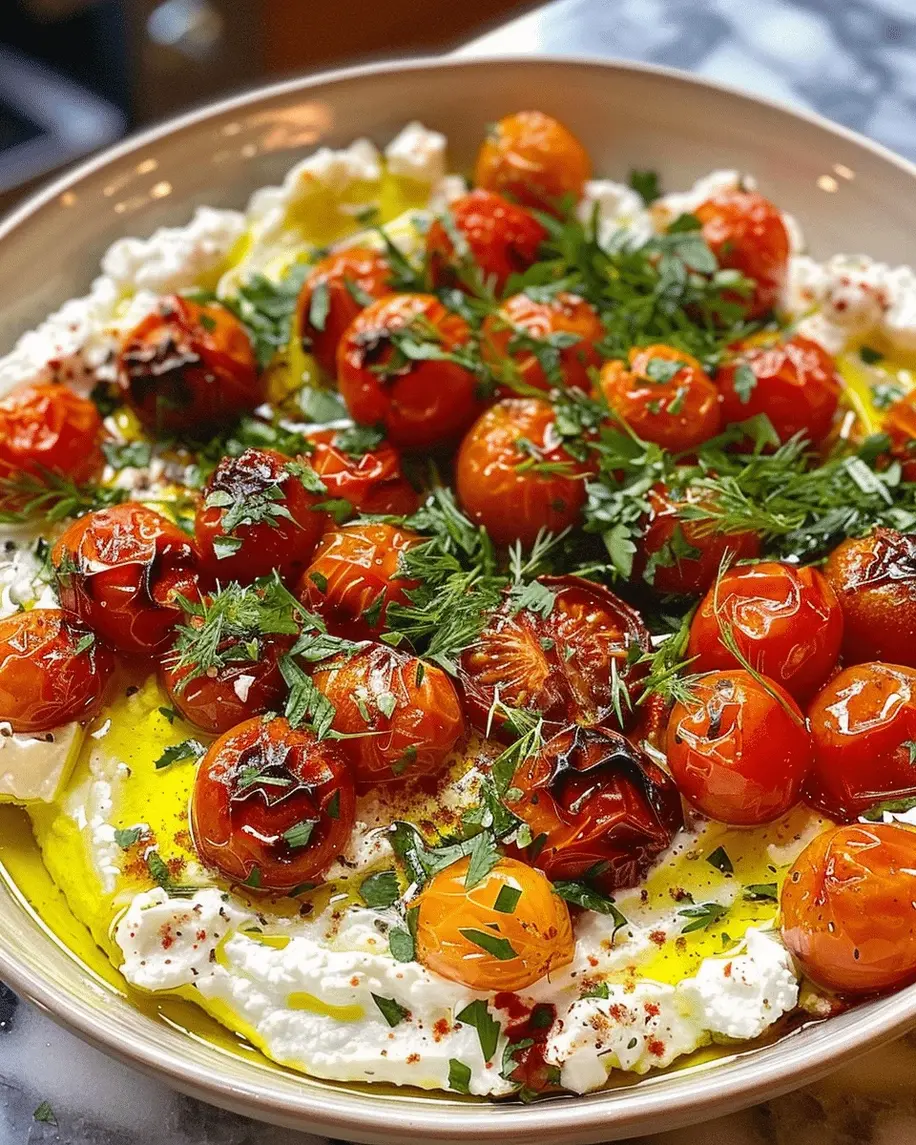
Serving these chewy spiced cookie butter bars is where you can really make them your own. I love to finish them with a light dusting of flaky sea salt (a trick I picked up in Paris that contrasts beautifully with the sweet, spiced crumb). A small sprinkle of finely chopped crystallized ginger on top also adds a lovely pop of color and heat.
For a truly decadent experience, serve a warm bar (just 10 seconds in the microwave) with a scoop of vanilla bean ice cream or a dollop of lightly whipped crème fraîche. The cold, creamy dairy against the warm, gooey dark chocolate cookie bars is nothing short of magical. It is a dessert that feels fancy enough for a dinner party but is simple enough for a Tuesday night.
Pair them with a robust cup of coffee for an afternoon pick-me-up (a classic NYC bakery move) or a glass of cold brew for a more modern vibe. My Moroccan roots also love a side of hot mint tea — the freshness of the tea cuts through the richness perfectly. However you serve them, these easy cookie butter dessert bars are guaranteed to disappear quickly.
| Pairing Type | Suggestions | Why It Works |
|---|---|---|
| Side Dish | Vanilla Ice Cream, Roasted Pears, Fresh Berries | Cold/creamy or tart/fresh elements balance the rich, spiced bar. |
| Sauce / Dip | Salted Caramel, Espresso Ganache, Whipped Cream | Adds another layer of indulgence and texture. |
| Beverage | Cold Brew Coffee, Spiced Chai Latte, Cabernet Sauvignon | Coffee and spice enhance the cookie butter. Tannins in wine cut sweetness. |
| Garnish | Flaky Sea Salt, Orange Zest, Cinnamon Stick | Adds visual appeal and a final flavor punch. |
Make-Ahead, Storage & Reheating
One of the best things about this cookie butter bars recipe is how well it fits into a busy schedule. As a food blogger and mom in NYC, I am a huge proponent of making things ahead. These bars actually develop more flavor and become even more tender the day after they are baked, as the spices and cookie butter have time to meld together.
| Method | Container | Duration | Reheating Tip |
|---|---|---|---|
| Refrigerator | Airtight container | Up to 5 days | Microwave for 10-12 seconds for a gooey center. |
| Freezer | Freezer-safe bag or container | Up to 3 months | Thaw in fridge overnight or on counter for 30 mins. Reheat gently. |
| Make-Ahead | Baked & cooled, wrapped tightly | 2 days in advance | Bars taste even better on day two! Bring to room temp before serving. |
If you are freezing the baked chewy spiced cookie butter bars, I recommend wrapping them individually in plastic wrap and then placing them in a freezer bag. This way, you can pull out one or two bars whenever a craving strikes. To reheat, simply pop a frozen bar in the microwave for 20-30 seconds, or let it come to room temperature on the counter. The texture remains remarkably chewy and delicious!
You can also freeze the unbaked dough. Press the batter into the parchment-lined pan, cover tightly with plastic wrap and foil, and freeze for up to 3 months. When ready to bake, bake directly from frozen, adding 5-8 minutes to the baking time. This is a lifesaver for unexpected guests!
Variations & Easy Swaps
I love how versatile this cookie butter bars recipe is. Over the years, I have tested countless variations to suit different dietary needs and flavor cravings. Below is a quick reference table for three of my favorite twists on the classic recipe.
| Variation | Key Change | Best For | Difficulty Impact |
|---|---|---|---|
| Gluten-Free | Use GF 1:1 baking flour | Celiac or gluten-sensitive guests | Easy — barely any change in texture |
| Dairy-Free | Use vegan butter & dairy-free chocolate | Vegan or lactose-intolerant friends | Easy — ensure butter substitute is high-fat |
| Spiced Orange | Add 1 tsp orange zest & 1 tbsp orange juice | A bright, holiday-inspired twist | Easy — brightens the flavor beautifully |
Gluten-Free Cookie Butter Bars
To make these spiced cookie bars gluten-free, simply substitute the all-purpose flour with a high-quality gluten-free 1:1 baking blend. I have tested this with Bob’s Red Mill 1:1 and Cup4Cup, and both work wonderfully. The texture will be slightly more tender and a little less chewy, but they are absolutely delicious and no one will be able to tell the difference. This is a fantastic option for serving a crowd with mixed dietary needs.
Dairy-Free Cookie Butter Bars
For a dairy-free version of this easy cookie butter dessert, use a high-quality vegan butter stick (like Miyoko’s or Country Crock Plant Butter) in place of the unsalted butter, and ensure your dark chocolate is dairy-free (most 70% dark chocolate is). Cookie butter itself is typically dairy-free, which makes this an easy adaption. The flavor remains incredibly rich and decadent — the vegan butter provides the necessary fat for that signature chewy texture.
Spiced Orange Cookie Butter Bars
One of my favorite ways to dress up this cookie butter bars recipe is by adding a bright, citrusy note. I finely grate the zest of one large orange directly into the sugar mixture and add a tablespoon of fresh orange juice along with the egg. The orange oil from the zest works wonderfully with the cinnamon and cloves, reminiscent of the orange-scented pastries I used to enjoy in the markets of Marrakech. It adds a lovely freshness that cuts through the richness of the dark chocolate cookie bars.
Can I substitute the dark chocolate with milk chocolate or white chocolate in chewy spiced cookie butter bars?
Absolutely. If you prefer a sweeter cookie butter bars recipe, milk chocolate is a great substitute. White chocolate will also work but will ramp up the sweetness considerably. Because dark chocolate (60-70%) provides a bitter counterpoint to the rich, spiced cookie butter, if you do use a sweeter chocolate, consider cutting back the sugar by 2 tablespoons to balance the overall flavor. The texture of the bars will remain the same, but the flavor profile will lean much sweeter and less complex.
How do I make sure the cookie butter bars stay chewy and don’t turn out too dry?
The key to perfect chewy cookie bars with dark chocolate is twofold. First, use melted butter and brown sugar, which naturally yield a chewier texture than creamed butter. Second, pull the bars from the oven when the edges are golden brown but the center still looks slightly soft and underdone. A toothpick inserted 1 inch from the center should come out with a few moist crumbs. Overbaking is the fastest way to dry them out. Also, be sure to store them in an airtight container to maintain moisture.
What spices work best for the spiced flavor in cookie butter bars?
I use a classic Moroccan-inspired blend of cinnamon, ginger, and cloves for these spiced cookie bars. This trio creates a warm, layered flavor that pairs beautifully with the cookie butter. You can also add a pinch of nutmeg or allspice for extra depth, but don’t skip the ginger and cloves—they give the bars their signature “snap” and holiday-like warmth. If you are in a pinch, you could substitute 1 teaspoon of pumpkin pie spice for the ginger, cinnamon, and cloves, though the flavor will be slightly milder.
Should I refrigerate chewy spiced cookie butter bars before slicing them?
Yes, I highly recommend it! Chilling the bars for at least 30 minutes (or up to 2 hours) before slicing sets the chocolate and firms up the cookie butter swirl, allowing for incredibly clean, sharp cuts. If you try to slice them while they are still warm, the dark chocolate cookie bars will crumble and the chocolate will smear. For the best presentation, chill completely, then use a sharp knife to cut perfectly neat squares. Wipe the knife clean between cuts for the best results.
Can I use crunchy cookie butter instead of smooth in this easy cookie butter dessert?
Yes, you can use crunchy cookie butter in this easy cookie butter dessert. It will add a lovely textural contrast with little bits of Speculoos cookies throughout the bars. The flavor is identical, so it’s purely a matter of textural preference. If you’re using crunchy, gently fold it in at the end to avoid crushing the cookie pieces. I actually love the extra crunch it provides—it reminds me of the texture of a classic Belgian Speculoos cookie.
Can I make these cookie butter bars without eggs?
While I haven’t tested this exact recipe without eggs, you can try a standard egg substitute. A “flax egg” (1 tablespoon flaxseed meal + 3 tablespoons water) or a commercial egg replacer would work best. Keep in mind that the texture may be slightly less tender and more cakey, rather than the dense, chewy texture this cookie butter bars recipe is known for. The egg provides structure and moisture, so for best results, I recommend sticking with the egg if you can.
How do I know when the spiced cookie bars are done baking?
For the perfect chewy spiced cookie butter bars, look for these signs: the edges will be set, golden brown, and just starting to pull away from the sides of the pan. The top will look dry and matte, but the center should still have a slight jiggle when you gently shake the pan. A toothpick inserted 1-inch from the edge should come out clean, but the center will be soft. Remember, they will continue to bake as they cool in the hot pan, so it is better to underbake slightly than to overbake.
Can I double this cookie butter bars recipe to make a 9×13 pan?
Absolutely! To make a larger batch of these dark chocolate cookie bars, simply double all of the ingredients and bake them in a greased and lined 9×13-inch pan. The baking time will need to be increased slightly—start checking around 28-30 minutes. You are looking for the same visual cues: golden brown edges and a set but slightly soft center. You’ll get about 24-32 bars from a 9×13 pan, making it perfect for parties, bake sales, or meal prep.
Why did my cookie butter bars turn out cakey rather than chewy?
A cakey texture typically comes from too much flour, over-creaming the butter and sugar, or overmixing the batter after adding the flour. For chewy cookie bars with dark chocolate, we use melted butter (which limits gluten formation) and mix the batter gently until just combined. If you measure your flour by scooping directly from the bag, you might be adding too much. I highly recommend using the “spoon and level” method: spoon the flour into your measuring cup and level it off with a knife.
Can I freeze the unbaked cookie bar dough?
Yes, this easy cookie butter dessert freezes beautifully before baking. Press the batter into a parchment-lined pan, cover it tightly with plastic wrap and foil, and freeze for up to 3 months. When you are ready to bake, you can bake directly from frozen. Simply add 5-8 minutes to the original baking time, covering loosely with foil if the top browns too quickly. This is a fantastic make-ahead strategy for the busy holiday season or for last-minute guests.
Share Your Version!
I absolutely love seeing how these Chewy Spiced Cookie Butter Bars with Dark Chocolate turn out for you. Did you add a pinch of something special? Did you serve them at a party? I want to hear all about it! Leave a star rating and a comment below to let me know how it went. Your feedback helps me and the entire exorecipes community.
And don’t forget to snap a photo and share it on Instagram or Pinterest. Tag me @exorecipes so I can see your beautiful creations. If you have a question that wasn’t covered in the FAQ, please drop it in the comments—I read every single one and I love troubleshooting with you. From my NYC kitchen to yours — I hope this recipe brings as much warmth to your table as it does to mine. — mia 🧡
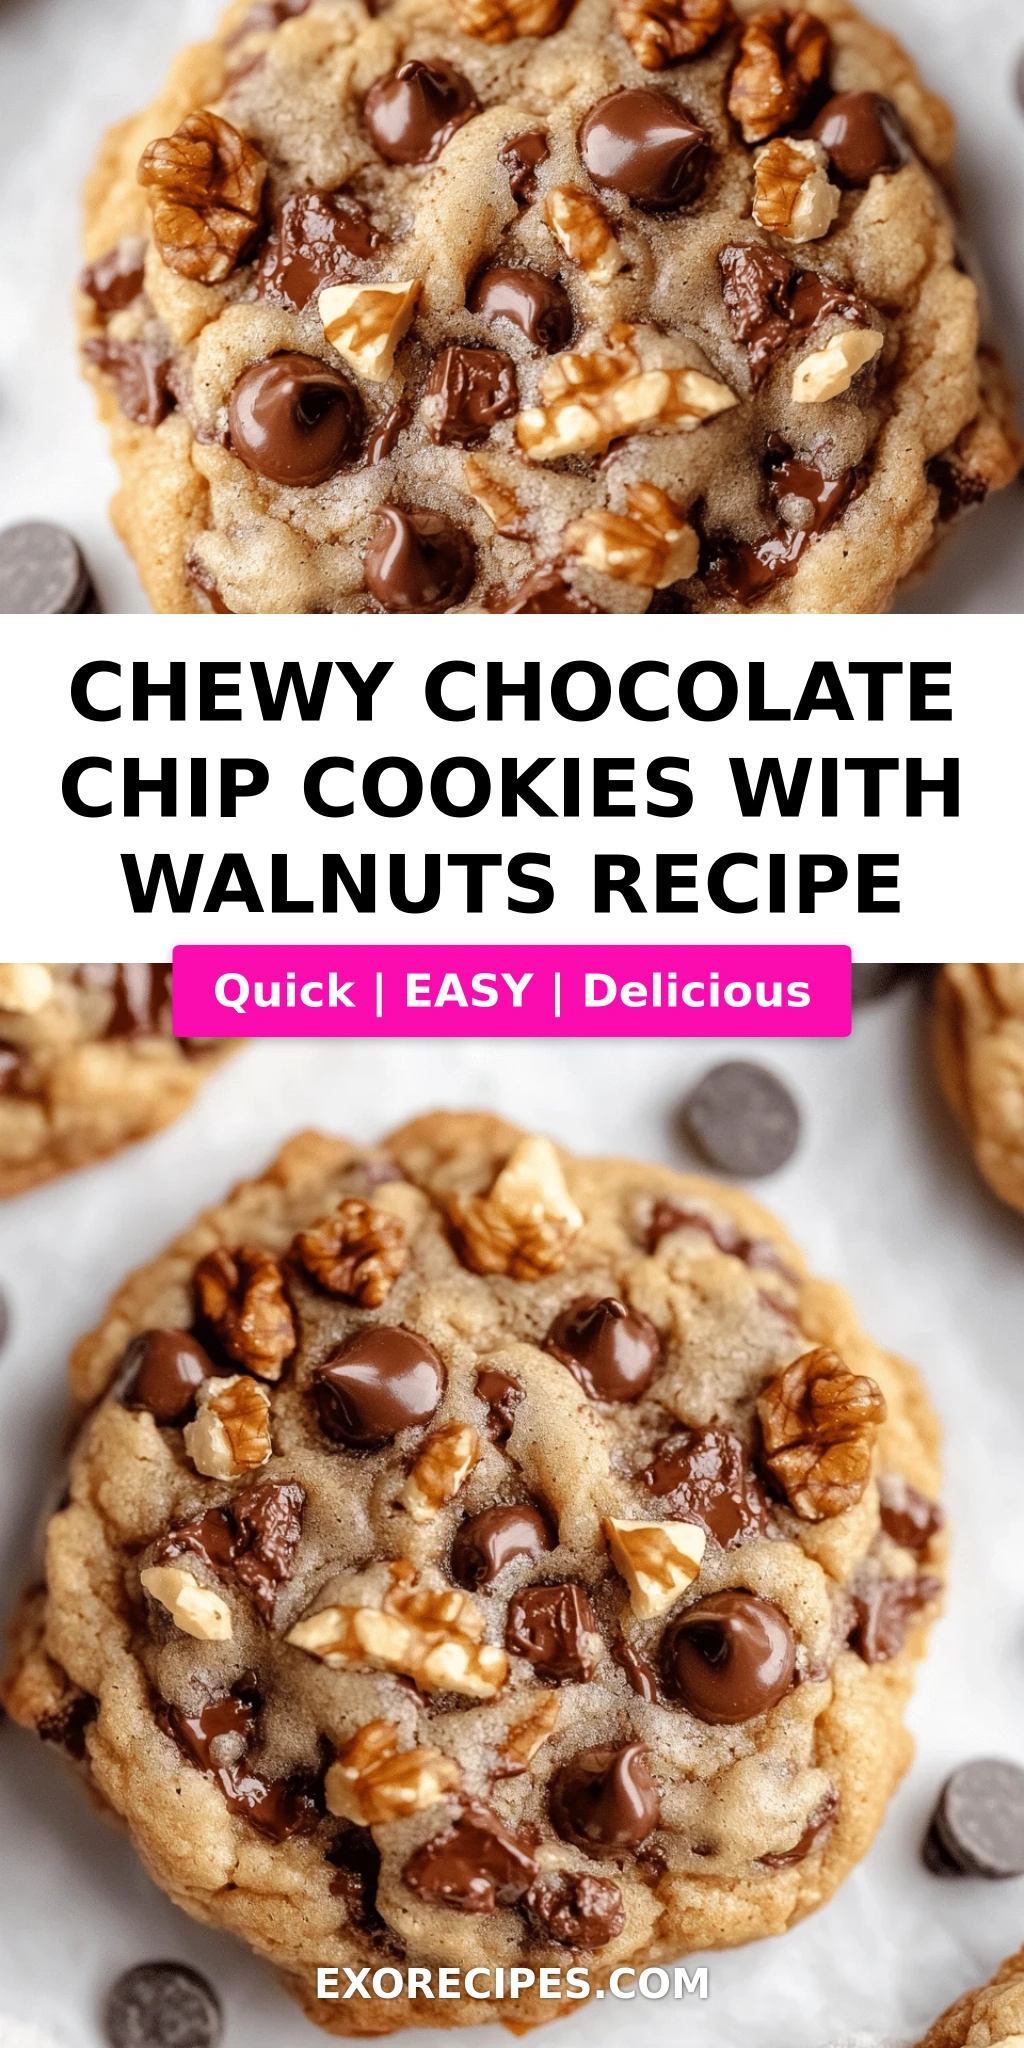
Love This Recipe? Save It to Pinterest!
If you enjoyed this Chewy Spiced Cookie Butter Bars with Dark Chocolate recipe, don’t let it get lost in your browser tabs! 😄 Pin it now so you can find it again anytime — and explore hundreds more tried-and-tested recipes waiting for you on my Pinterest boards.
👉 Follow mia on Pinterest @exorecipe
📌 Pin this recipe · 🔁 Re-pin your favorites · 💬 Tag me when you make it — I love seeing your creations!
“`
Print
Chewy Spiced Cookie Butter Bars with Dark Chocolate
- Prep Time: 15 minutes
- Cook Time: 20-25 minutes
- Total Time: 35-40 minutes
- Yield: 16 bars 1x
- Method: Dessert
- Cuisine: American
Description
These chewy cookie butter bars are swirled with spiced cookie butter and topped with dark chocolate for a decadent treat.
Ingredients
- 1/2 cup unsalted butter, melted
- 1/2 cup brown sugar, packed
- 1/4 cup granulated sugar
- 1 large egg
- 1 teaspoon vanilla extract
- 1 cup all-purpose flour
- 1/2 teaspoon baking soda
- 1/4 teaspoon salt
- 1/2 teaspoon ground cinnamon
- 1/4 teaspoon ground ginger
- 1/4 teaspoon ground cloves
- 1/2 cup cookie butter (such as Biscoff or Speculoos)
- 1/2 cup dark chocolate chips or chopped dark chocolate
Instructions
- Preheat oven to 350°F (175°C). Line an 8×8-inch baking pan with parchment paper.
- In a large bowl, whisk together melted butter, brown sugar, and granulated sugar until smooth.
- Add egg and vanilla extract; mix until well combined.
- In a separate bowl, whisk together flour, baking soda, salt, cinnamon, ginger, and cloves.
- Gradually add dry ingredients to wet ingredients, mixing until just combined.
- Fold in cookie butter and dark chocolate chips until evenly distributed (do not overmix).
- Spread batter evenly into prepared pan.
- Bake for 20-25 minutes, until edges are golden and center is set but still soft.
- Allow to cool completely in pan before cutting into bars.
Notes
For extra chewiness, underbake slightly and let cool completely before cutting. Store in an airtight container at room temperature for up to 5 days.
Nutrition
- Calories: 210 kcal
- Sugar: 18 g
- Fat: 10 g
- Carbohydrates: 28 g
- Protein: 2 g
Tried This Recipe? Leave a Comment!
Did you make this recipe? I’d love to hear how it turned out! Please leave a comment and a rating below. Your feedback helps other home cooks and supports cheerychop.com!
For more delicious inspiration, follow me on Pinterest!