“`html
Table of Contents
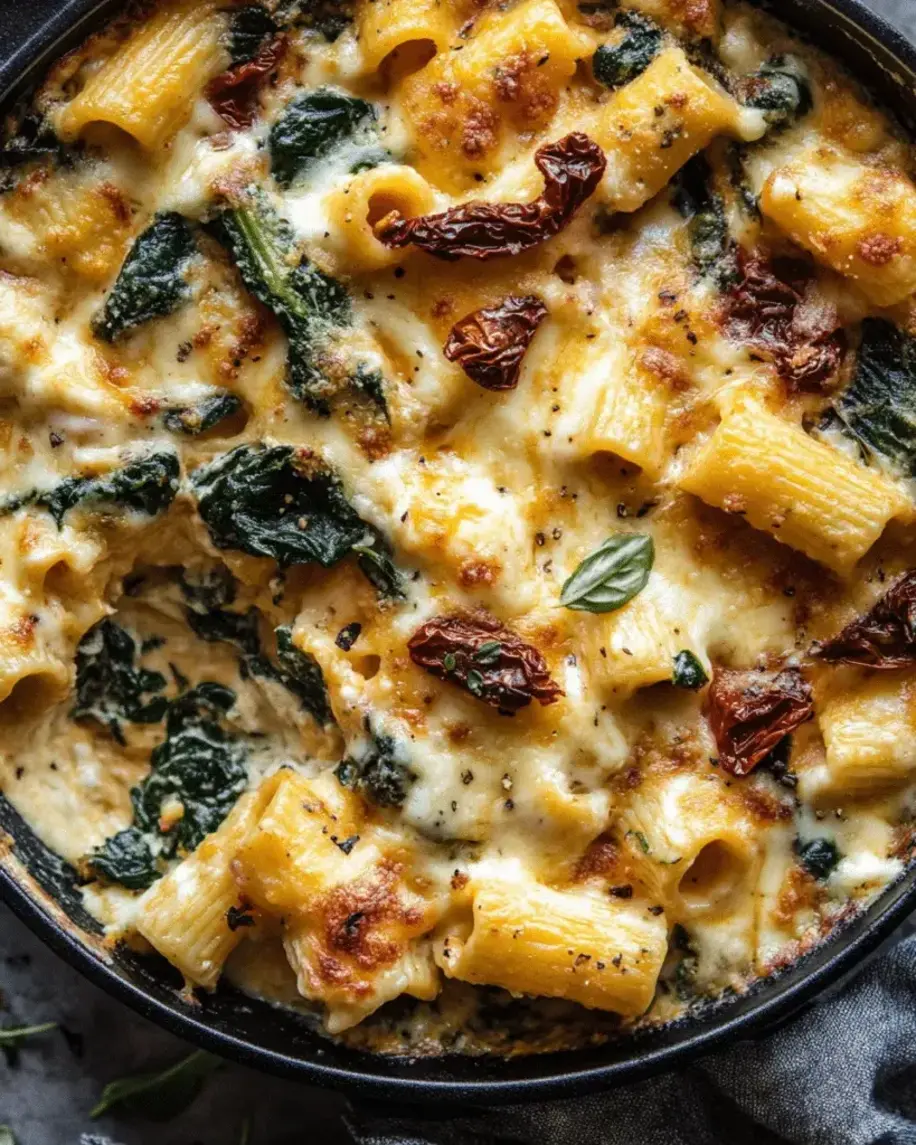
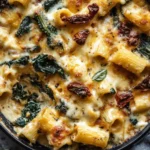
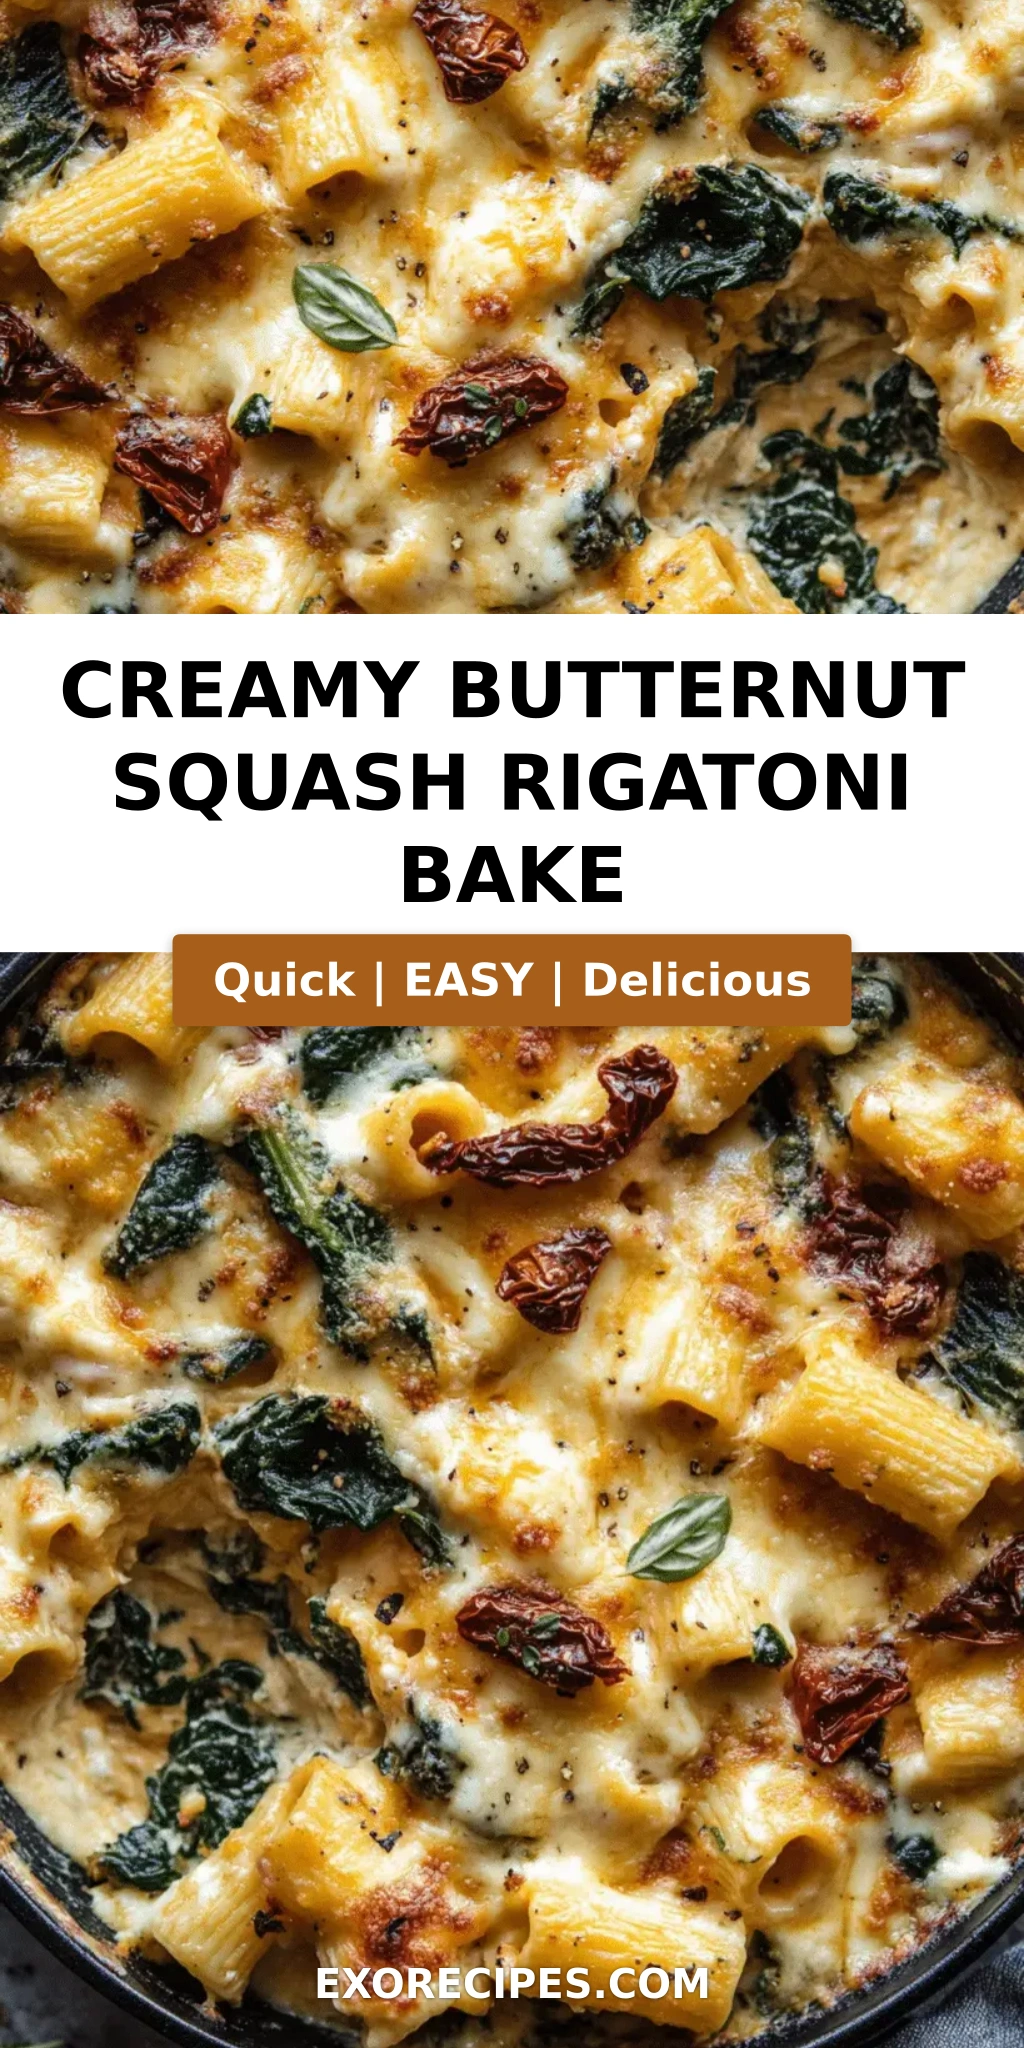
Creamy Butternut Squash Rigatoni Bake – A Cozy Fall Classic
The first time I tasted butternut squash, I was standing in a bustling NYC farmers market, long after I’d traded my mother’s Moroccan spice-scented kitchen for the technical kitchens of Paris. That sweet, nutty flavor took me right back to the tagines of my childhood. This creamy butternut squash rigatoni bake is a bridge between those worlds. It takes the comforting, cheesy goodness of an American pasta bake and elevates it with a classic French Mornay technique and a whisper of North African warmth. It’s the fall pasta bake you’ll crave all season long.
Imagine tender rigatoni nestled in a velvety, golden sauce that’s subtly sweet from roasted squash, savory from aged Parmesan and creamy ricotta, and kissed with a trace of warm nutmeg. The top is bubbly and browned under a blanket of mozzarella, while crispy fried sage leaves add a final, earthy crunch. It’s a dish that delivers on every level — rich without being heavy, familiar yet excitingly sophisticated.
My secret? Instead of just folding roasted squash into the pasta, I mash half of it directly into a classic French Mornay sauce. This creates an incredibly silky, naturally sweet base that clings beautifully to every ridge of the pasta. 💡 mia’s Pro Tip: Roasting the squash until it’s deeply caramelized is non-negotiable — that’s where the deep, complex sweetness comes from. ⚠️ Common Mistake to Avoid: Overcooking the pasta! It will continue to cook in the oven, so boil it for a full minute less than the package directions. Trust me, this creamy rigatoni recipe will become your new favorite cozy weeknight dinner.
Why This Creamy Butternut Squash Rigatoni Bake Recipe Is the Best
The Flavor Secret: This isn’t just another baked pasta. My French training taught me how a classic Mornay sauce can be a canvas for seasonal flavors. By incorporating roasted butternut squash pasta directly into the sauce, we get a naturally sweet, velvety richness without relying solely on heavy cream. A touch of nutmeg — a spice I first fell in love with in my mother’s kitchen — ties the squash and cheese together beautifully.
Perfected Texture: Rigatoni is the only pasta for this job. Those big, wide ridges are designed to catch and hold every bit of the creamy sauce, and the sturdy tube shape ensures the pasta stays firm and satisfying after a long bake. We also undercook the pasta slightly so it finishes cooking in the oven, absorbing all that incredible flavor.
Foolproof & Fast for a Weeknight: Despite its elegant results, this dish is surprisingly straightforward. The most active part of your time is spent making the sauce — everything else is hands-off roasting and baking. It’s a one-dish wonder (well, one baking dish) that comes together in just over an hour, making it the perfect showstopper for a cozy dinner at home.
Creamy Butternut Squash Rigatoni Bake Ingredients
Whenever fall rolls around and the markets here in NYC start overflowing with winter squash, I stock up. The ingredients for this butternut squash pasta bake are simple, but each one plays a crucial role in building the ultimate comfort dish. Here’s everything you’ll need to get started.
Ingredients List
- 1 medium butternut squash, peeled, seeded, and cubed (about 4 cups)
- 2 tablespoons olive oil
- Salt and black pepper to taste
- 1 pound rigatoni pasta
- 2 tablespoons butter
- 2 cloves garlic, minced
- 2 tablespoons all-purpose flour
- 2 cups whole milk
- 1/2 cup heavy cream
- 1 cup grated Parmesan cheese, divided
- 1 cup ricotta cheese
- 1 cup shredded mozzarella cheese
- 1/2 teaspoon ground nutmeg
- 1/4 cup chopped fresh sage (optional)
Ingredient Spotlight
Butternut Squash: Look for a squash that feels heavy for its size with a matte, unblemished skin. This indicates it’s fresh and full of moisture, which will concentrate beautifully during roasting. I grab mine from the Union Square Greenmarket whenever I can.
Parmesan Cheese: Please, for the love of all that is holy, buy a wedge of real Parmigiano-Reggiano and grate it yourself. Pre-grated cheeses often contain anti-caking agents that prevent them from melting into the smooth, silky sauce we’re aiming for. The nutty, salty flavor of real Parmesan is the backbone of this dish.
Nutmeg: This is the secret spice that bridges the savory squash with the creamy dairy. I insist on freshly grated nutmeg. The pre-ground stuff loses its volatile oils and can taste dusty. A few swift passes on a microplane is all it takes to transform this dish.
| Original Ingredient | Best Substitution | Flavor / Texture Impact |
|---|---|---|
| Heavy Cream | Half & Half | Sauce will be slightly less rich and velvety, but still creamy. |
| Whole Milk | 2% Milk | Thinner sauce, may be slightly less stable when reheated. |
| Parmesan | Pecorino Romano | Saltier and more pungent flavor. Reduce added salt in the recipe. |
| Ricotta | Cottage Cheese (blended) | Tangier, slightly grainier texture. Blend until smooth before adding. |
How to Make Creamy Butternut Squash Rigatoni Bake — Step-by-Step
Making this roasted butternut squash pasta is easier than you think. Let’s break it down into simple, manageable steps. I promise, if you can make a cheese sauce, you can absolutely nail this recipe.
Step 1: Roast the Squash
Preheat your oven to 400°F (200°C). Toss the cubed butternut squash with olive oil, salt, and pepper. Spread them in a single layer on a baking sheet. Roast for 25–30 minutes, flipping halfway, until they are tender and deeply browned on the edges. This caramelization is the foundation of the dish’s flavor. Reduce the oven temperature to 375°F (190°C) when done.
💡 mia’s Pro Tip: Cut your squash into uniform 1/2-inch cubes. This ensures they all roast at the same rate and are perfectly tender when you blend them into the sauce later.
Step 2: Cook the Pasta
While the squash roasts, bring a large pot of generously salted water to a rolling boil. Add the rigatoni and cook until it is just al dente, which is about 1 minute less than the package directions. It will finish cooking in the oven. Drain the pasta (do not rinse it!) and set it aside.
⚠️ Common Mistake to Avoid: Rinsing the pasta! You need that starchy surface to help the sauce cling to the rigatoni. Just drain it well.
Step 3: Make the Creamy Mornay Sauce
In a large saucepan, melt the butter over medium heat. Add the minced garlic and cook for just 1 minute until fragrant. Whisk in the flour and cook for 1–2 minutes, stirring constantly, until the mixture turns a light golden color. This is called a roux. Gradually whisk in the milk and heavy cream, stirring constantly until the sauce is smooth and has thickened enough to coat the back of a spoon (about 5 minutes).
💡 mia’s Pro Tip: Add the milk slowly while whisking vigorously. This prevents lumps from forming and guarantees a perfectly smooth sauce every time.
Step 4: Combine Sauce and Squash
Remove the saucepan from the heat. Stir in 3/4 cup of the Parmesan, the ricotta, nutmeg, salt, and pepper until everything is melted and smooth. Fold in most of the roasted butternut squash, reserving about 1/2 cup for the top of the bake. Using a fork or potato masher, gently mash some of the squash directly into the sauce to create a beautifully creamy, orange-tinged base.
⚠️ Common Mistake to Avoid: Forgetting to season the sauce well. Pasta and squash need a well-seasoned sauce. Taste it! It should be bold and flavorful.
Step 5: Assemble and Bake
Combine the cooked rigatoni with the squash sauce, stirring to coat every piece. Transfer the mixture to a greased 9×13-inch baking dish. Top with the shredded mozzarella, the remaining 1/4 cup Parmesan, and the reserved roasted squash cubes. Bake for 20–25 minutes, until the sauce is bubbly and the top is golden and delicious. If using fresh sage, sprinkle it over the top during the last 5 minutes of baking. Let the dish rest for at least 5 minutes before serving.
💡 mia’s Pro Tip: Letting the bake rest is crucial! It allows the sauce to settle and thicken slightly, so your slices hold their shape beautifully instead of turning into a soupy mess.
| Step | Action | Duration | Key Visual Cue |
|---|---|---|---|
| 1 | Roast Squash | 25-30 mins | Deep golden brown edges |
| 2 | Cook Pasta | 8-10 mins | Al dente (chewy center) |
| 3 | Make Sauce | 8-10 mins | Coats the back of a spoon |
| 4 | Assemble | 5 mins | Uniformly coated pasta |
| 5 | Bake | 20-25 mins | Bubbly & golden top |
Serving & Presentation
This creamy butternut squash rigatoni bake is a meal in itself, but the right sides and garnishes can elevate it into a truly memorable dinner. I like to serve it straight from the baking dish, family-style, so everyone can dig in and help themselves. The contrast between the creamy, cheesy pasta and a bright, acidic side is absolutely perfect.
For a touch of Parisian elegance, I finish each portion with a few crispy fried sage leaves and a generous grating of fresh Parmesan. If I’m feeling nostalgic for Morocco, I might sprinkle a pinch of toasted cumin seeds or a few pomegranate arils over the top for a pop of color and flavor. In my NYC apartment, this dish is the definition of comfort.
| Pairing Type | Suggestions | Why It Works |
|---|---|---|
| Side Dish | Simple arugula salad with lemon vinaigrette, sautéed spinach with garlic | The peppery, acidic greens cut through the richness of the creamy pasta. |
| Beverage | Crisp Sauvignon Blanc, unoaked Chardonnay, dry hard cider | High acidity in these drinks cleanses the palate and complements the squash. |
| Garnish | Fried sage leaves, toasted walnuts, pomegranate arils | Adds textural contrast (crunch) and a pop of freshness or color. |
| Bread | Crusty sourdough or a warm baguette | Essential for sopping up every last bit of that incredible creamy sauce. |
Make-Ahead, Storage & Reheating
As a busy NYC food blogger, I live for recipes that work with my schedule. This bake is incredibly forgiving and tastes just as amazing — if not better — the next day. It is the perfect candidate for a Sunday meal prep. Prepare everything up to the point of baking, then refrigerate or freeze it for a zero-effort weeknight dinner.
| Method | Container | Duration | Reheating Tip |
|---|---|---|---|
| Refrigerator | Airtight container or tightly covered baking dish | Up to 4 days | Reheat covered at 350°F for 15-20 mins, adding a splash of milk if dry. |
| Freezer | Freezer-safe baking dish (wrap well in plastic & foil) | Up to 3 months | Thaw in fridge overnight. Reheat covered at 350°F for 30-40 mins. |
| Make-Ahead | Assemble in baking dish, do not bake | 1 day in advance | Add 5-10 mins to the baking time if baking straight from the fridge. |
My favorite trick for leftovers? Portion them into individual gratin dishes. They reheat faster and feel like a special treat just for me. If the sauce seems a little thick after refrigeration, don’t worry — just stir in a splash of milk or chicken broth before reheating to bring it back to life.
Variations & Easy Swaps
One of the things I love most about this creamy rigatoni recipe is how adaptable it is. Whether you need it to fit a dietary restriction or you just want to play with different flavors, there’s a variation here for you. I’ve tested all of these in my own kitchen, so you can swap with confidence.
| Variation | Key Change | Best For | Difficulty Impact |
|---|---|---|---|
| Moroccan Spiced | Add ras el hanout & roasted red peppers | Adventurous palates | Easy |
| Gluten-Free | Use GF rigatoni & gluten-free flour blend | Gluten-free diets | Easy |
| Lighter Cream Sauce | Sub heavy cream for evaporated milk | Lighter weeknight meal | Easy |
Moroccan Spiced Variation
For a taste of my heritage, stir 1 teaspoon of ras el hanout (a beautiful Moroccan spice blend) into the butter along with the garlic. Swap 1/2 cup of the roasted butternut squash for 1/2 cup of chopped roasted red peppers. The warm, fragrant spices and the sweet peppers take this pasta in a stunning new direction. Finish with a sprinkle of fresh cilantro instead of parsley.
Gluten-Free & Dairy-Free Variation
This is incredibly easy to adapt! Use a high-quality gluten-free rigatoni — I love the brown rice and quinoa blends. For the roux, swap the butter for a good dairy-free butter or olive oil, and use a 1:1 gluten-free flour blend. Use unsweetened oat milk or cashew milk for the cream base, and a dairy-free Mozzarella and Parmesan shred for the top. The flavor is still rich and satisfying.
Lighter Cream Sauce Variation
If you want to cut down on the richness without sacrificing creaminess, replace the 1/2 cup of heavy cream with 1/2 cup of evaporated milk. It sounds counterintuitive, but evaporated milk has a surprisingly silky texture and won’t curdle when baked. It makes this butternut squash pasta bake a little lighter on the stomach, perfect for a busy weeknight when you still want something deeply comforting.
What type of pasta works best for a creamy butternut squash rigatoni bake?
Rigatoni is absolutely the best shape for this dish. Its large diameter and deep ridges are perfect for trapping the thick, velvety butternut squash sauce. Other good options include penne, ziti, or cavatappi. Avoid delicate shapes like angel hair or farfalle, as they will break apart during the bake and won’t hold up to the hearty sauce.
Can I use frozen butternut squash instead of fresh for this recipe?
Yes, you can use frozen butternut squash in a pinch! However, fresh squash is preferred for this recipe because it caramelizes better during roasting, leading to a deeper, sweeter flavor. If you use frozen, do not thaw it first. Toss it directly with oil and roast for 10-15 minutes longer, spreading it out well so it steams less and roasts more. You may need to drain off some excess liquid before adding it to the sauce.
How do you keep the cream sauce from separating when baking rigatoni?
The key to a stable cream sauce that won’t separate or curdle in the oven is a properly made roux and using full-fat dairy. The roux (butter and flour cooked together) acts as a stabilizer, suspending the fats and liquids. Additionally, using whole milk and heavy cream, and not overheating the sauce before baking, will ensure it stays silky. Adding a bit of the pasta’s starchy water to the sauce can also help bind everything together.
What can I substitute for heavy cream to make this dish lighter?
If you’d like to lighten this dish, you have several great options. For a very similar texture with fewer calories, use half-and-half. For a non-dairy option, full-fat canned coconut milk (the kind from a can) adds richness, though it will lend a slight coconut flavor. Evaporated milk is another fantastic low-fat substitute that is very stable for baking and won’t curdle, giving you a creamy result with significantly less fat.
Can I add protein like chicken or sausage to this bake?
Absolutely! This creamy butternut squash rigatoni bake is wonderful with added protein. For sausage, cook some spicy or sweet Italian sausage links, slice them, and fold them in before baking. For chicken, you can stir in 2 cups of shredded rotisserie chicken or leftover roasted chicken. If you want to keep it light, sauté some cremini mushrooms with garlic and thyme for an earthy, vegetarian protein boost.
Can I prepare this creamy butternut squash rigatoni bake ahead of time?
Yes, this is a fantastic make-ahead meal. You can assemble the entire dish completely (including the sauce and pasta) in the baking dish, but do not bake it. Cover it tightly with plastic wrap or aluminum foil and store it in the refrigerator for up to 24 hours. When you’re ready to eat, simply bake it as directed, adding about 10-15 minutes to the baking time since you’re starting from a cold dish.
How do I prevent the pasta from becoming mushy in the oven?
The #1 rule to prevent mushy pasta in any baked pasta dish is to undercook it. Boil the rigatoni for 1 to 2 minutes less than the package directions call for. It should still have a very firm, chalky white center. The pasta will continue to absorb liquid and cook in the oven as it bakes in the sauce, resulting in the perfect al dente texture by the time it hits the table.
What can I use instead of rigatoni if I don’t have it?
If you don’t have rigatoni, don’t worry! Other tube-shaped pastas are your best bet for this dish. Penne, ziti, and even large elbow macaroni are all excellent substitutes. The key is to choose a pasta shape that is sturdy and has some texture to help the creamy sauce adhere. Avoid thin, flat, or delicate pastas like spaghetti, linguine, or farfalle for the best results.
Share Your Version!
I absolutely love seeing how you bring my recipes to life in your own kitchens. Did you try the Moroccan spice twist? Or maybe you opted for the gluten-free version? Drop a comment below and let me know how it turned out — your feedback not only makes my day but also helps other home cooks who are thinking about making this dish.
If you shared a photo on Instagram or Pinterest, make sure to tag me @exorecipes so I can see your beautiful creations. I can’t wait to see your version of this cozy, creamy bake! Happy cooking, and remember — in my kitchen, a little bit of love (and a lot of cheese) makes everything better.
From my NYC kitchen to yours — I hope this recipe brings as much warmth to your table as it does to mine. — mia 🧡
Love This Recipe? Save It to Pinterest!
If you enjoyed this Creamy Butternut Squash Rigatoni Bake recipe, don’t let it get lost in your browser tabs! 😄 Pin it now so you can find it again anytime — and explore hundreds more tried-and-tested recipes waiting for you on my Pinterest boards.
👉 Follow mia on Pinterest @exorecipe
📌 Pin this recipe · 🔁 Re-pin your favorites · 💬 Tag me when you make it — I love seeing your creations!
“`
Print
Creamy Butternut Squash Rigatoni Bake
- Prep Time: 15 minutes
- Cook Time: 55 minutes
- Total Time: 1 hour 10 minutes
- Yield: 6 1x
- Method: Main Course
- Cuisine: American
Description
A comforting and creamy baked pasta dish featuring roasted butternut squash, rich ricotta, and mozzarella, perfect for a cozy weeknight dinner.
Ingredients
- 1 medium butternut squash, peeled, seeded, and cubed (about 4 cups)
- 2 tablespoons olive oil
- Salt and black pepper to taste
- 1 pound rigatoni pasta
- 2 tablespoons butter
- 2 cloves garlic, minced
- 2 tablespoons all-purpose flour
- 2 cups whole milk
- 1/2 cup heavy cream
- 1 cup grated Parmesan cheese, divided
- 1 cup ricotta cheese
- 1 cup shredded mozzarella cheese
- 1/2 teaspoon ground nutmeg
- 1/4 cup chopped fresh sage (optional)
Instructions
- Preheat oven to 400°F (200°C). Toss cubed butternut squash with olive oil, salt, and pepper. Spread on a baking sheet and roast for 25-30 minutes until tender and lightly browned. Remove from oven and reduce oven temperature to 375°F (190°C).
- While squash roasts, cook rigatoni in a large pot of salted boiling water until al dente (about 1 minute less than package directions). Drain and set aside.
- In a large saucepan, melt butter over medium heat. Add garlic and cook for 1 minute. Whisk in flour and cook for 1-2 minutes until golden. Gradually whisk in milk and heavy cream, stirring constantly until smooth and thickened (about 5 minutes).
- Remove saucepan from heat. Stir in 3/4 cup Parmesan cheese, ricotta cheese, nutmeg, salt, and pepper until smooth. Add roasted butternut squash (reserve 1/2 cup for topping if desired) and gently mash some of the squash into the sauce for a creamy texture.
- Combine the sauce with the cooked rigatoni. Transfer the mixture to a greased 9×13-inch baking dish. Top with mozzarella cheese, remaining 1/4 cup Parmesan, and reserved squash cubes if using.
- Bake for 20-25 minutes until bubbly and golden on top. If using sage, sprinkle over the top during the last 5 minutes of baking. Let rest for 5 minutes before serving.
Notes
For a vegan version, substitute olive oil for butter, use unsweetened almond milk and plant-based cream, and use vegan cheeses. Roasting the squash can be done up to 2 days ahead.
Nutrition
- Calories: 520
- Sugar: 8g
- Fat: 24g
- Carbohydrates: 62g
- Protein: 22g
Tried This Recipe? Leave a Comment!
Did you make this recipe? I’d love to hear how it turned out! Please leave a comment and a rating below. Your feedback helps other home cooks and supports cheerychop.com!