Table of Contents
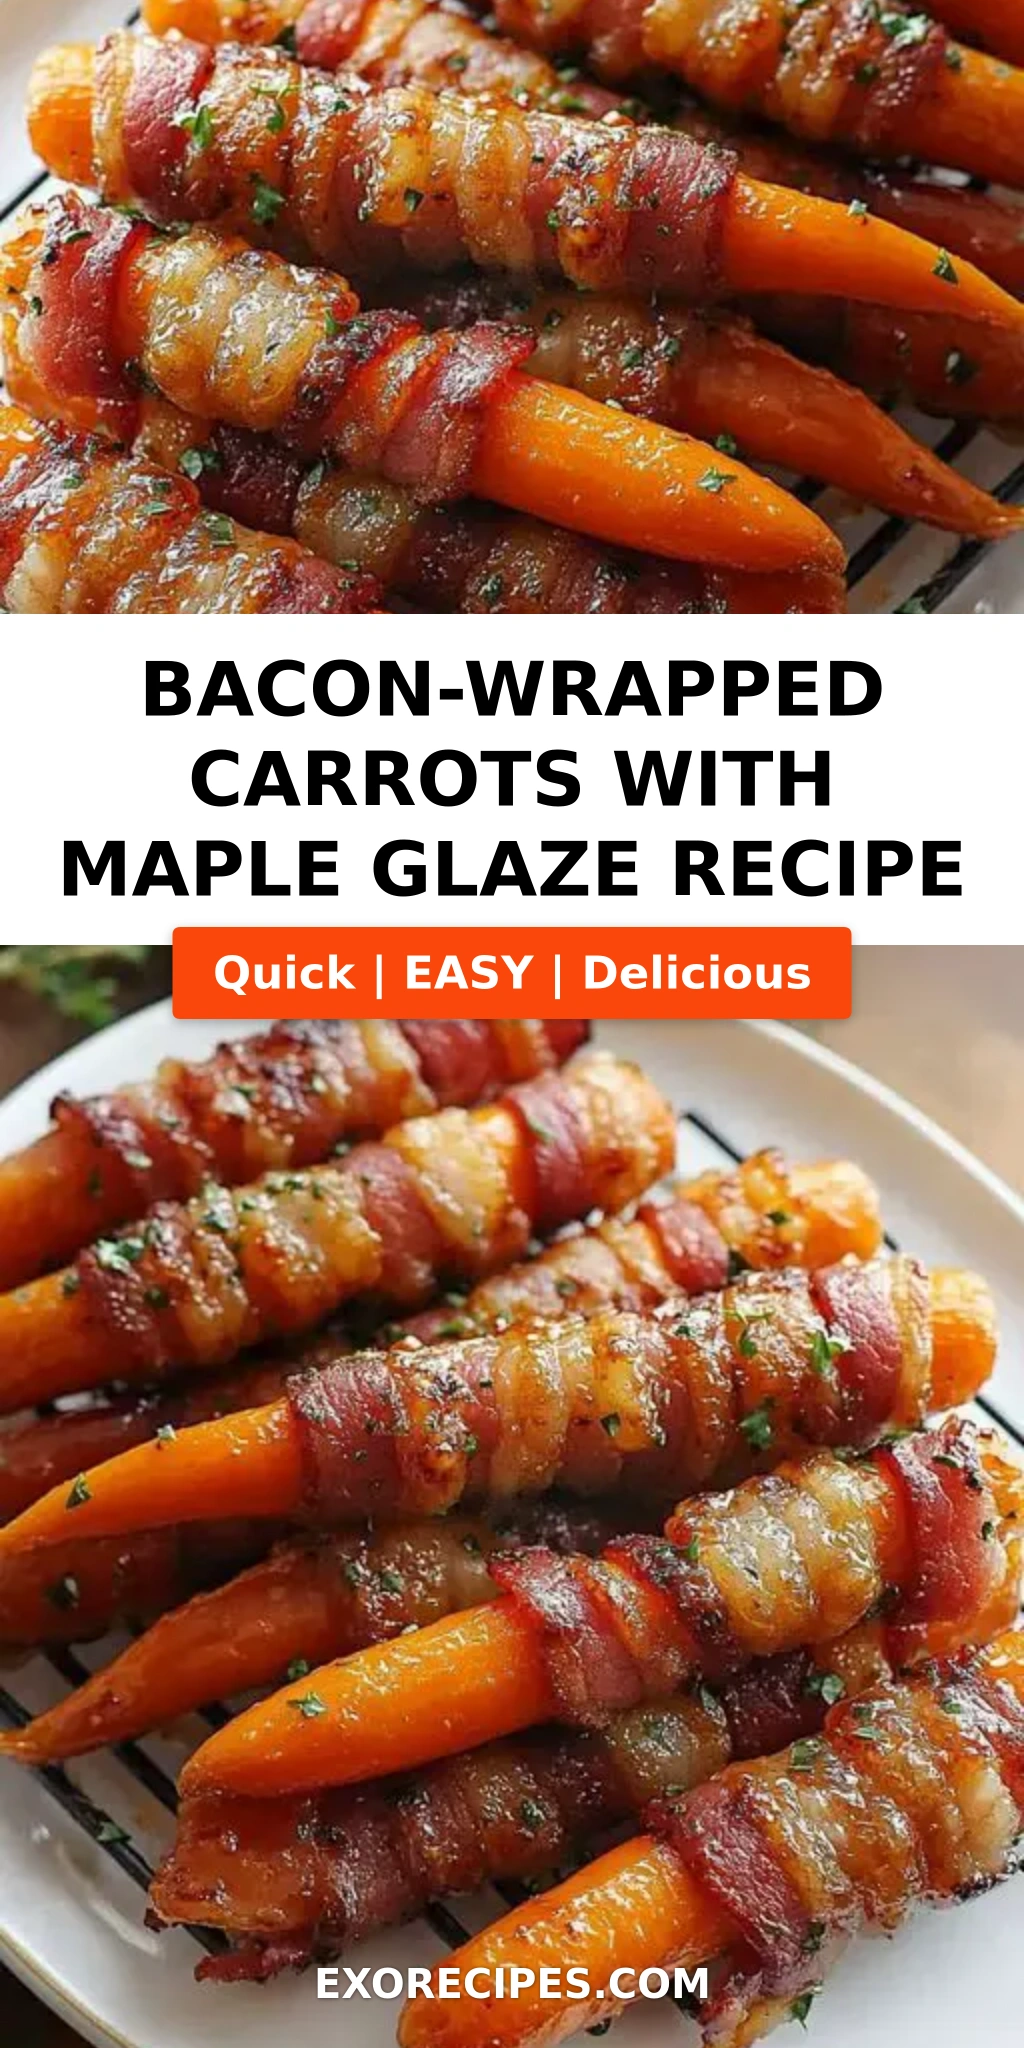
Bacon-Wrapped Carrots with Maple Glaze – Sweet & Savory Perfection
I still remember the first time I made bacon wrapped carrots with a maple glaze – it was a chilly fall evening in my tiny Paris kitchen, just after my culinary school class on glazing techniques. My Moroccan mother would wrap carrots in lamb for special occasions, but in Paris I discovered the magic of bacon: the smoky saltiness that makes any vegetable sing. Now, living in New York City, I’ve perfected this maple glazed carrots recipe for busy weeknights and holiday tables alike. It’s the ultimate easy vegetable side dish that steals the show.
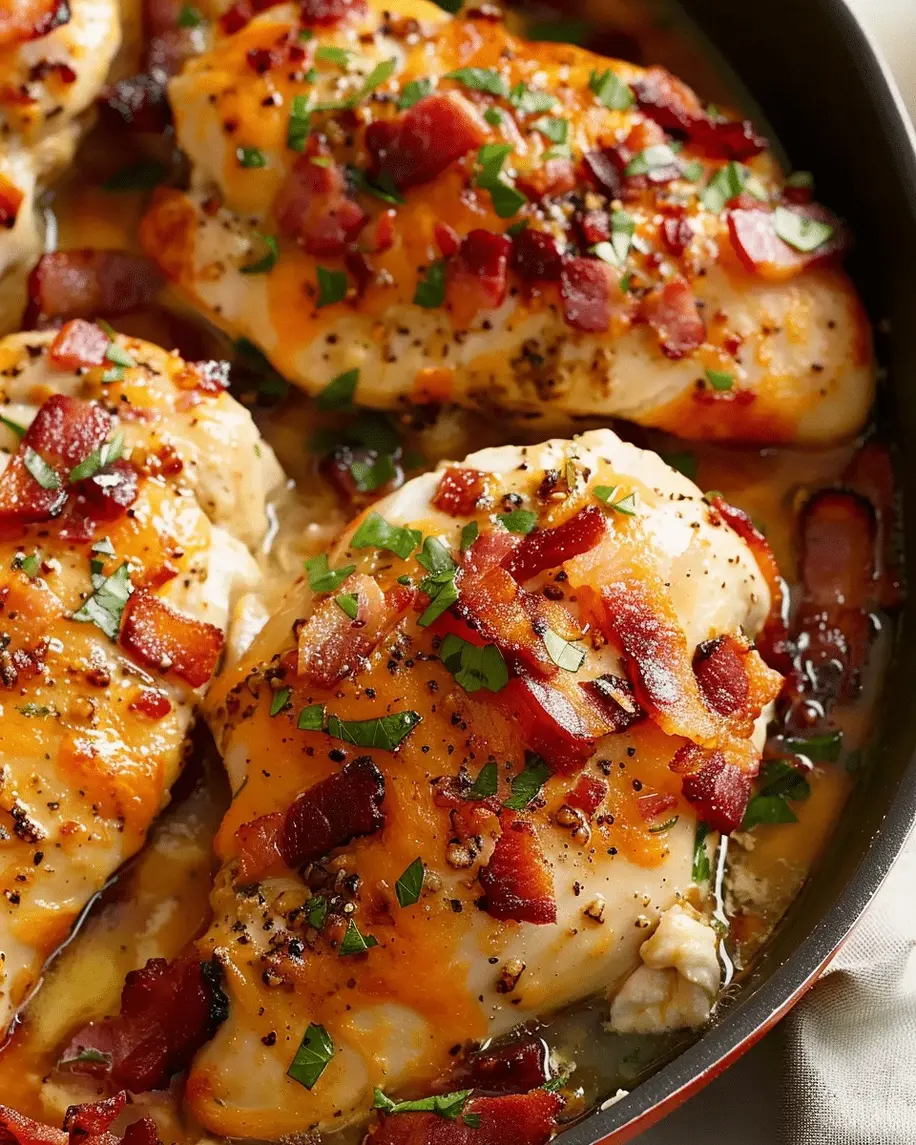
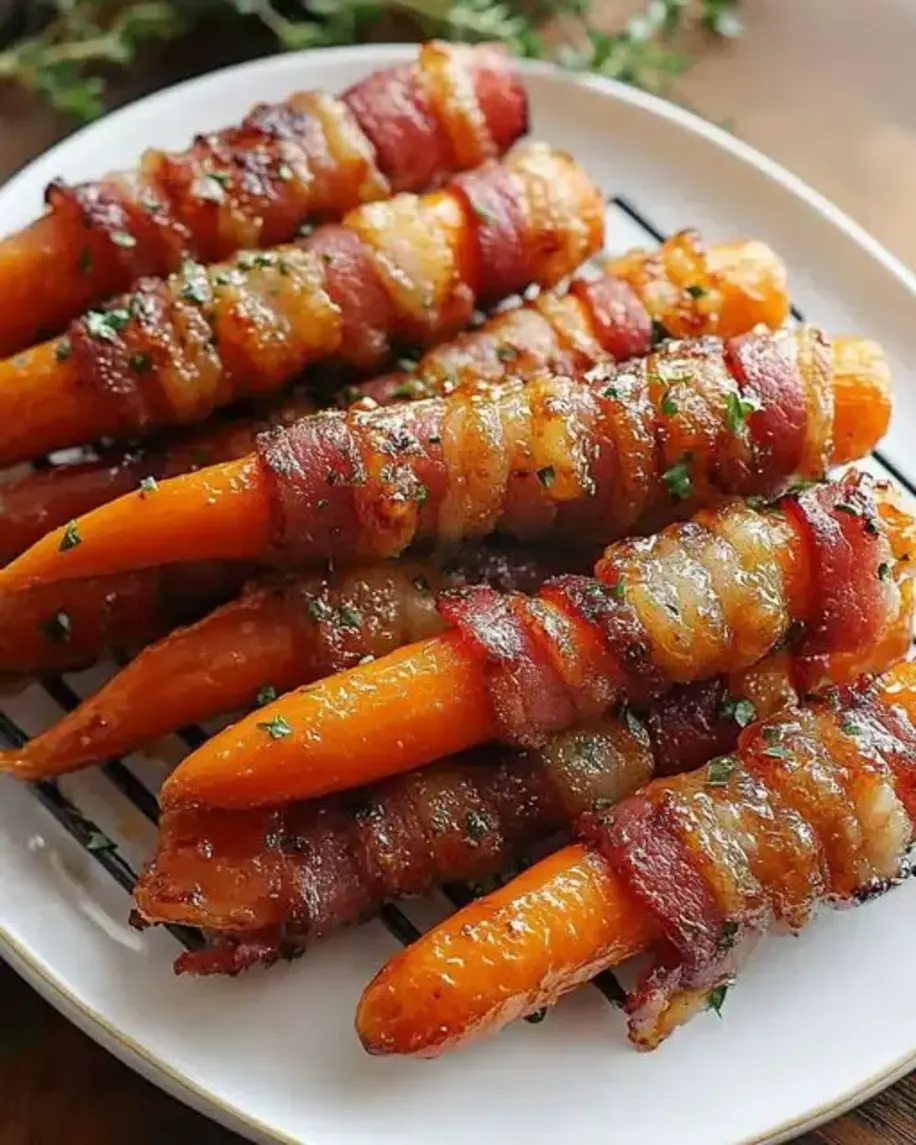
The moment these roasted bacon wrapped carrots come out of the oven, your kitchen fills with a sweet-savory aroma that’s pure comfort. The carrots soften into buttery tenderness while the bacon crisps up into salty little spirals. A glossy maple glaze caramelizes around every edge, creating a sticky, golden coating that’s both decadent and simple. I love how the natural earthiness of the carrots balances the rich, smoky bacon – it’s a flavor marriage that even my French chef instructors would applaud.
What sets my version apart? I use a high-heat roasting method (400°F) that ensures the bacon gets crispy without burning, and I brush the glaze halfway through for a double layer of flavor. I also add a pinch of sea salt at the very end to wake up every note. Whether you’re looking for a caramelized carrots recipe or just a foolproof way to get vegetables on the table, these bacon-wrapped beauties deliver. Let me walk you through every step.
Why This Bacon-Wrapped Carrots Recipe Is the Best
The Flavor Secret: Growing up in Morocco, I learned that sweet and savory pairings are the heart of so many dishes – think lamb with apricots or chicken with preserved lemons. Here, I bring that same North African intuition to a classic American combination. The maple syrup does double duty: it caramelizes the bacon and sweetens the carrots naturally. A touch of black pepper and salt ties it all together, but the real secret is brushing the glaze twice – once before roasting and once halfway – to build layers of flavor that taste like you labored for hours.
Perfected Texture: In my years behind the stove in Paris, I obsessed over texture contrast. For these roasted bacon wrapped carrots, I trim the carrots to roughly the same thickness so they cook evenly. Wrapping them tightly in bacon ensures every bite gets a bit of crispiness. The high heat (400°F) gives the bacon enough time to render fat and crisp up without drying out the carrots. I also give them space on the baking sheet – crowding leads to steaming, and we want roasting, not boiling.
Foolproof & Fast: This is seriously the easiest vegetable side dish you’ll ever make. No marinating, no complicated steps – just wrap, glaze, and roast. Even if you’re new to cooking, you can nail this on the first try. I’ve tested it with both thick-cut and regular bacon, and both work beautifully. The total hands-on time is under 10 minutes, which means you can have this on the table alongside a weeknight roast chicken or a holiday ham without breaking a sweat.
Bacon-Wrapped Carrots Ingredients
I often pick up my carrots from the Union Square Greenmarket on Saturday mornings – the sweet, slender ones are perfect for wrapping. In a pinch, any standard grocery store carrots work just fine. Here’s what you’ll need for these maple glazed carrots.
Ingredients List
- 1 lb carrots, peeled and trimmed
- 8 slices bacon (regular or thick-cut)
- 1/4 cup maple syrup (pure, not pancake syrup)
- 2 tablespoons butter, melted
- 1/4 teaspoon salt
- 1/8 teaspoon black pepper
Ingredient Spotlight
Carrots: The star of the show. Look for carrots that are roughly the same diameter – about 1 inch thick – so they wrap evenly and cook at the same rate. Baby carrots work too, but they’re trickier to wrap neatly. I prefer rainbow or orange carrots for visual appeal.
Bacon: I use standard-cut bacon because it wraps nicely without being too thick. If you use thick-cut, par-cook it for 3 minutes in the microwave to render some fat first – this prevents it from being under-crisped. Smoked bacon adds an extra layer of flavor that complements the maple beautifully.
Maple Syrup: Please use real maple syrup – the flavor is pure and complex, and it caramelizes much better than imitation syrups. Grade A or B both work; I prefer dark amber for a richer taste. If you’re out of maple, honey or brown sugar thinned with a tablespoon of water can substitute, but the flavor shifts.
| Original Ingredient | Best Substitution | Flavor / Texture Impact |
|---|---|---|
| Maple syrup | Honey (same amount) | Sweeter, less complex; caramelizes slightly faster |
| Butter | Coconut oil or olive oil | Dairy-free; olive oil adds fruity note |
| Bacon | Turkey bacon (reduce salt) | Lighter, less fat; won’t crisp as much |
How to Make Bacon-Wrapped Carrots — Step-by-Step
Trust me, these bacon wrapped carrots come together in minutes. Follow these steps and you’ll have a showstopper side dish that looks like a pro made it.
Step 1: Preheat and Prep
Preheat your oven to 400°F (200°C). Line a rimmed baking sheet with parchment paper for easy cleanup. Peel and trim your carrots – if they’re long, you can cut them in half crosswise to fit the bacon slices better. Pat them dry with a paper towel so the glaze sticks.
💡 mia’s Pro Tip: Use carrots that are about 4-5 inches long. If your carrots are thicker than your thumb, slice them lengthwise into thinner sticks – this ensures they cook through at the same speed as the bacon.
Step 2: Wrap the Carrots
Take one slice of bacon and wrap it tightly around a carrot, spiraling from one end to the other. Slight overlap is fine; just make sure the bacon stays in place. Place each wrapped carrot seam-side down on the prepared baking sheet. Leave a little space between them so the heat circulates.
⚠️ Common Mistake to Avoid: Don’t wrap too loosely – the bacon will puff up and separate as it cooks. Press it gently against the carrot as you wrap.
Step 3: Make the Glaze
In a small bowl, whisk together the melted butter, maple syrup, salt, and pepper. Taste it – you should get a balanced sweet-salty note. If it’s too sweet, add a pinch more salt.
💡 mia’s Pro Tip: Warm the butter and syrup slightly in the microwave (10 seconds) so they blend seamlessly instead of separating.
Step 4: Glaze and Roast
Using a pastry brush or the back of a spoon, brush half the glaze over the wrapped carrots. Reserve the rest for later. Roast for 20-25 minutes, turning each carrot over halfway through – this ensures even browning. At the 15-minute mark, brush on the remaining glaze.
⚠️ Common Mistake to Avoid: Forgetting to turn the carrots. Set a timer for 12 minutes, then flip them with tongs. If you skip this, the undersides will be pale and soft while the tops burn.
Step 5: Finish and Serve
The carrots are done when they’re fork-tender and the bacon is deep golden and crispy. Let them rest for 2 minutes on the baking sheet – this lets the glaze set. Transfer to a platter, drizzle any pan juices left behind, and sprinkle with optional fresh thyme or flaky sea salt.
💡 mia’s Pro Tip: For extra crunch, switch the oven to broil for the last 1-2 minutes. Watch closely – bacon goes from perfect to burnt in seconds!
| Step | Action | Duration | Key Visual Cue |
|---|---|---|---|
| 1 | Preheat & line tray | 5 minutes | Oven at 400°F |
| 2 | Wrap carrots in bacon | 5 minutes | Bacon spiraled snugly |
| 3 | Whisk glaze | 2 minutes | Smooth, amber liquid |
| 4 | Roast (with turn & second glaze) | 20-25 minutes | Bacon golden, carrots tender |
| 5 | Rest & serve | 2 minutes | Glaze set, bacon crisp |
Serving & Presentation
These roasted bacon wrapped carrots are gorgeous on a platter – serve them whole with a sprinkle of fresh thyme or parsley. The glossy maple glaze catches the light, and the bacon spirals look like little presents. I often arrange them in a circular pattern on a wooden board for a rustic holiday table.
Growing up in Morocco, my mother would serve carrots with a drizzle of honey and sesame seeds. This maple version has a similar sweet-salty vibe but feels American and festive. For a New York twist, I love pairing them with a dollop of herbed crème fraîche or a pinch of smoked paprika – it nods to both the deli counter and the French bistro.
| Pairing Type | Suggestions | Why It Works |
|---|---|---|
| Side Dish | Roast chicken, grilled steak, glazed ham | Sweet-savory complements meat |
| Sauce / Dip | Crème fraîche + lemon, ranch dressing | Creamy tang cuts richness |
| Beverage | Crisp white wine (Sauvignon Blanc), apple cider | Acidity balances sweetness |
| Garnish | Fresh thyme, chopped parsley, sesame seeds | Adds freshness and color |
Make-Ahead, Storage & Reheating
On busy NYC weeks, I often prep these maple glazed carrots ahead. You can wrap the carrots and refrigerate up to 24 hours before roasting – just keep the glaze separate until ready to cook. Leftovers store beautifully, and the flavor actually deepens overnight.
| Method | Container | Duration | Reheating Tip |
|---|---|---|---|
| Refrigerator | Airtight container | 3-4 days | Oven at 350°F for 8-10 minutes |
| Freezer | Freezer-safe bag or container | 2 months | Thaw overnight, then reheat at 375°F until hot |
| Make-Ahead | Covered tray (unbaked) | Up to 24 hours before | Add glaze right before roasting |
To reheat, I recommend the oven over the microwave – it keep the bacon crispy. Place leftovers on a baking sheet and warm at 350°F until heated through (about 8 minutes). If the bacon has lost its crunch, a quick 30-second broil brings it back. Avoid reheating in the microwave; it softens the bacon and makes the carrots mushy.
Variations & Easy Swaps
| Variation | Key Change | Best For | Difficulty Impact |
|---|---|---|---|
| Spicy Maple Chipotle | Add 1 tsp chipotle powder to glaze | Smoky heat lovers | Easy |
| Honey-Garlic Twist | Replace maple with honey, add 2 minced garlic cloves | Savory garlic lovers | Easy |
| Herb & Lemon | Add zest of 1 lemon + 2 tbsp fresh rosemary | Bright, fresh pairing | Easy |
Spicy Maple Chipotle
For a smoky kick – a nod to the bold flavors I grew up with in North Africa – whisk 1 teaspoon of chipotle powder into the maple glaze. The heat builds slowly and pairs beautifully with the sweet bacon. This variation is fantastic with grilled meats or as a game-day appetizer.
Honey-Garlic Twist
If you’re out of maple or want a more savory profile, swap in honey and add two finely minced garlic cloves to the butter mixture. This version is all about depth – the garlic caramelizes and mellows in the oven, while honey gives a floral sweetness. I make this when I’m craving a more rustic, French-inspired side.
Herb & Lemon
In spring, when fresh herbs are overflowing at the greenmarket, I add lemon zest and chopped rosemary to the glaze. The citrus cuts the richness, and rosemary’s piney notes make the carrots feel elegant. Serve with a simple roast chicken for a weeknight dinner that feels like Sunday.
How do you keep the bacon from getting soggy when wrapping carrots?
The key to crispy bacon on roasted carrots is high heat and proper spacing. Roast at 400°F, which is hot enough to render the fat quickly before the carrots release too much moisture. Also, pat the carrots dry before wrapping – any water on the surface will steam the bacon. Turn the carrots halfway through to ensure even browning on all sides. If you’re using thick-cut bacon, par-cook it for 2-3 minutes in the microwave to render some fat before wrapping. Finally, don’t overcrowd the pan: give each wrapped carrot room so steam can escape. Brush the glaze sparingly for the first half of roasting, then add the remaining glaze after the turn for a final caramelized coating.
Can I use honey instead of maple syrup for the glaze on bacon-wrapped carrots?
Absolutely, honey is a wonderful substitute for maple syrup in this recipe. Use the same amount – 1/4 cup – and proceed as directed. The flavor will be slightly different: honey has a floral, fruity sweetness that pairs beautifully with bacon, while maple syrup adds a more woodsy, caramelized note. Honey also caramelizes a little faster, so keep an eye on the oven during the last 5 minutes to prevent burning. If you want to mimic the complexity of maple, try a dark, robust honey like buckwheat. For a more neutral sweetness, use clover honey. Both will give you gorgeous, glossy bacon-wrapped carrots.
What temperature should you bake bacon-wrapped carrots to make them crispy?
Bake bacon-wrapped carrots at 400°F (200°C) for the crispiest results. This temperature is hot enough to render the bacon fat quickly while still allowing the carrots to become tender without burning the glaze. If you bake at 350°F, the bacon will be soft and the carrots mushy. At 425°F or higher, the glaze may burn before the bacon crisps. I’ve tested this dozens of times, and 400°F is the sweet spot. For an extra-crunchy finish, you can turn the oven to broil for the last 1-2 minutes, but watch carefully – bacon can go from perfect to charred in seconds. Also, line your baking sheet with parchment for easy cleanup and to prevent sticking.
How far in advance can I prepare bacon-wrapped carrots with maple glaze before serving?
You can prepare these bacon-wrapped carrots up to 24 hours in advance. The best method is to wrap the carrots in bacon and arrange them on the baking sheet, then cover tightly with plastic wrap and refrigerate. Keep the maple glaze in a separate sealed container in the fridge. When you’re ready to roast, remove the tray from the refrigerator, brush on the glaze, and proceed with baking. You may need to add 2-3 extra minutes to the cooking time if starting from cold. I don’t recommend fully roasting them ahead and then reheating – they lose some crispiness. Leftovers, however, store well in the fridge for 3-4 days and can be revived in a 350°F oven for 8 minutes.
What type of bacon works best for wrapping carrots?
Standard-cut bacon (about 1/16 inch thick) works best for wrapping carrots. It’s thin enough to wrap tightly and cook through at the same rate as the carrots. Thick-cut bacon can be used if you prefer a meatier bite, but I recommend par-cooking it for 3 minutes in the microwave to render some fat first – otherwise it may stay soft in the center. Avoid bacon that’s too thin, like center-cut, because it can break or burn before the carrots are done. Smoked bacon adds a lovely depth that complements the maple glaze. Turkey bacon is a lighter option, but it won’t crisp as much and has less fat, so brush it with a little oil before wrapping.
Can I use baby carrots for this recipe?
Yes, you can use baby carrots, but there are a few adjustments. Baby carrots are already peeled and roughly uniform in size, which is convenient. However, they’re smaller – typically 3-4 inches long – so you may need to cut the bacon slices in half crosswise to avoid too much overlap. Wrap each baby carrot with a half-slice of bacon, spiraling gently. Because baby carrots are thinner, they will cook faster, so start checking for doneness at 15 minutes instead of 20. The flavor is slightly milder than full-size carrots, but the maple glaze and bacon make up for it. For the best texture, choose baby carrots that are firm and not too skinny.
Should I parboil the carrots before wrapping them in bacon?
Parboiling is not necessary for this recipe, especially if you use medium-thick carrots and roast at 400°F. The carrots will become perfectly tender during the 20-25 minute roasting time. Parboiling can actually make the carrots too soft – they may fall apart when you wrap them, and the excess moisture can steam the bacon, preventing crispiness. If you’re using very thick carrots (more than 1.5 inches in diameter), you can slice them in half lengthwise instead of parboiling. That way they cook evenly alongside the bacon. The only reason to parboil would be if you prefer a very soft carrot, but for this recipe the goal is a tender yet slightly firm bite that contrasts with the crispy bacon.
Can I make these bacon-wrapped carrots dairy-free?
Absolutely, this recipe is easy to adapt for dairy-free diets. Simply replace the butter with an equal amount of coconut oil, olive oil, or a dairy-free butter alternative like Miyoko’s. Coconut oil will add a subtle tropical note that pairs well with the maple – I love using refined coconut oil for a neutral flavor. Olive oil will give a fruity, peppery note that’s lovely with the bacon. The rest of the ingredients are naturally dairy-free (carrots, bacon, maple syrup, salt, pepper). Just check your bacon labels, as some brands may use smoked flavorings that are dairy-free. The texture and glaze will be just as glossy and delicious.
How do I prevent the maple glaze from burning in the oven?
Maple syrup contains natural sugars that can burn if exposed to high heat for too long. To prevent this, use a two-step glazing method: brush half the glaze on before roasting, and reserve the rest for the halfway point. The first application caramelizes gently, while the second application adds a fresh layer that won’t have time to burn. Also, be sure to line your baking sheet with parchment paper – the glaze can stick and scorch on bare metal. If you notice the glaze starting to darken too quickly in the last 5 minutes, you can loosely tent the pan with foil. Finally, avoid using a dark non-stick pan, as it absorbs more heat and can cause uneven browning.
What main dish goes well with bacon-wrapped carrots with maple glaze?
These sweet and savory bacon-wrapped carrots are incredibly versatile. They pair beautifully with roast chicken – the maple complements the bird’s natural sweetness, and the bacon adds richness. For a holiday spread, serve them with glazed ham or turkey. They’re also fantastic alongside steak, especially a seared ribeye or strip steak; the sweetness balances the beef’s savory char. For a lighter meal, try them with grilled pork chops or roasted salmon. And don’t limit them to dinner – these make a wonderful appetizer for brunch when served next to fried eggs and toast. Their crowd-pleasing flavor means they’ll suit almost any menu.
Share Your Version!
I’d love to hear how your bacon wrapped carrots with maple glaze turn out! Did you add a spicy kick, swap in honey, or go all-in on the herbs? Leave a star rating and a comment below – your feedback helps other home cooks and makes this community so much warmer. And if you snap a photo, tag me on Instagram or Pinterest @exorecipes – I adore seeing your creations.
What’s one twist you’d love to try on these carrots? I’m always experimenting in my NYC kitchen, and your ideas might just inspire my next post. Drop your question or variation in the comments – I reply to every single one.
From my NYC kitchen to yours — I hope this recipe brings as much warmth to your table as it does to mine. — mia 🧡
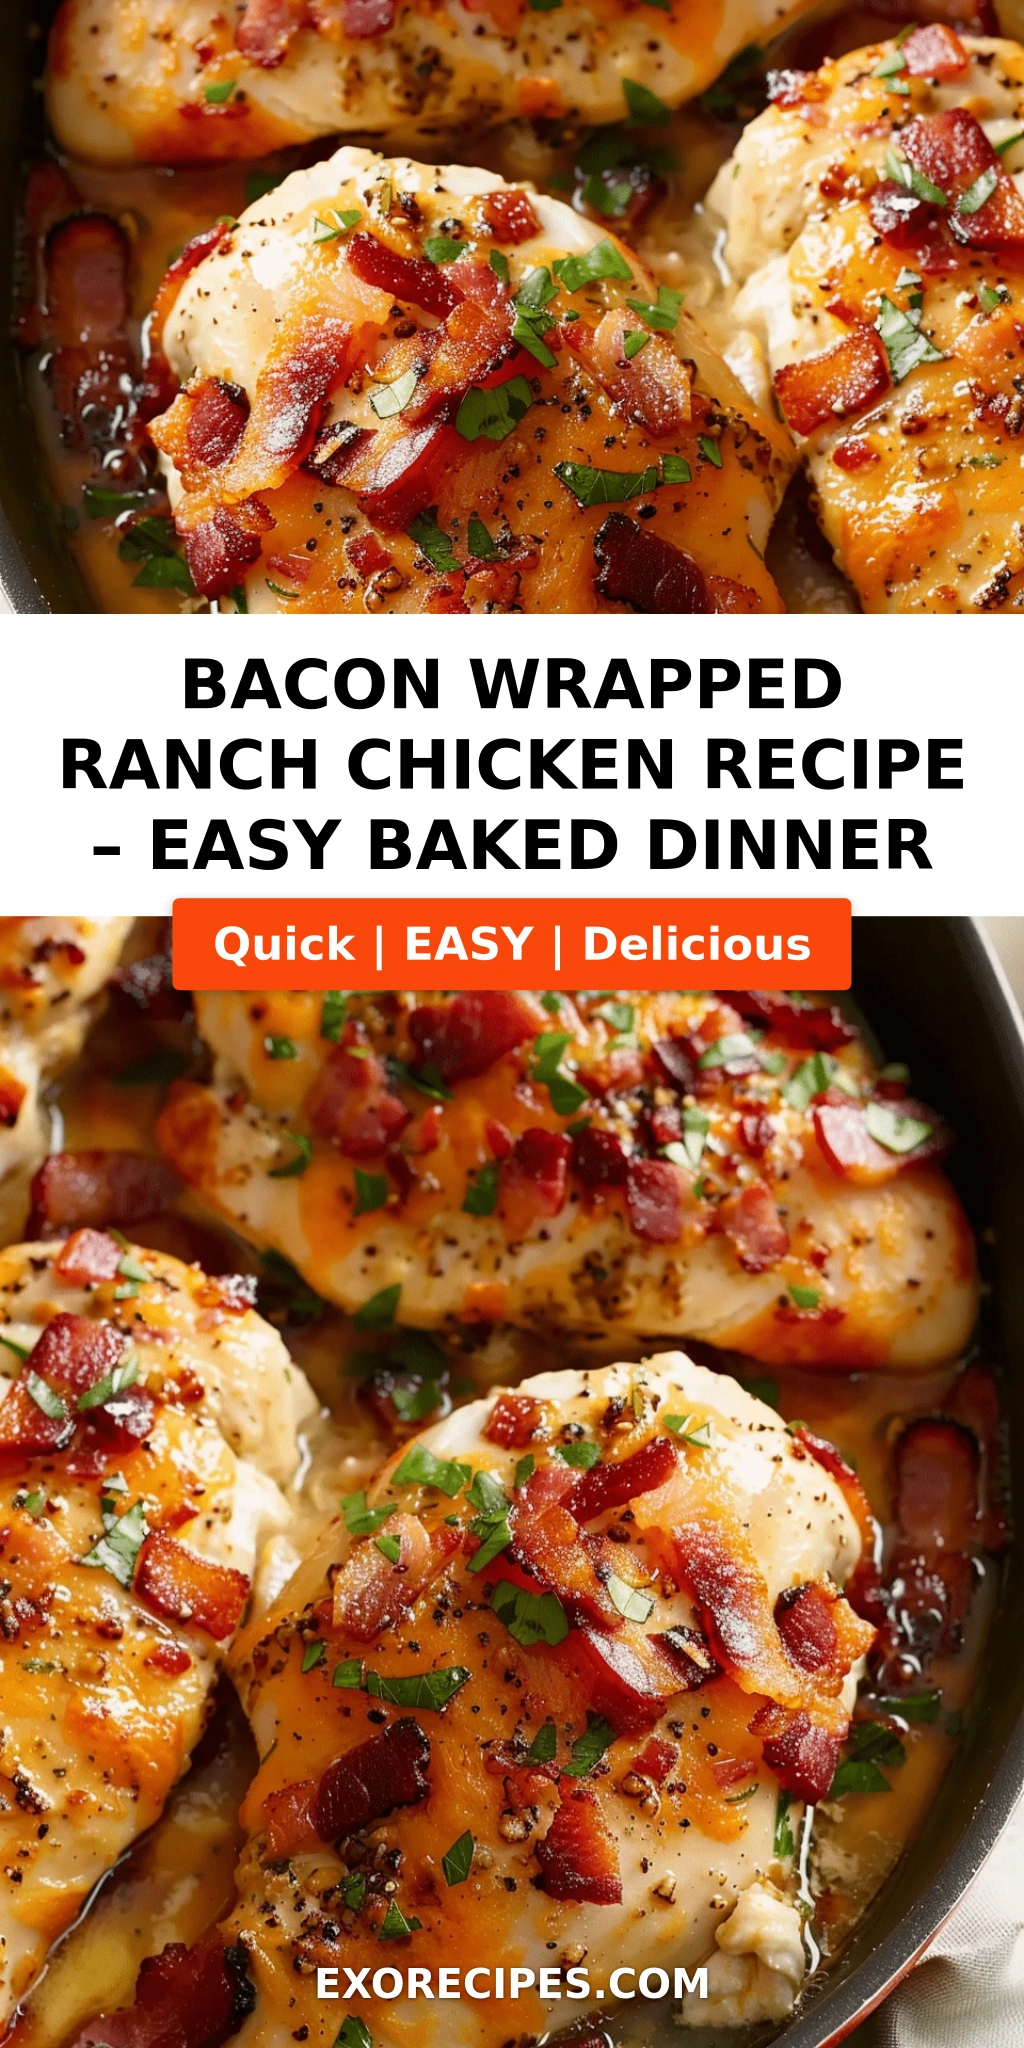
Love This Recipe? Save It to Pinterest!
If you enjoyed this Bacon-Wrapped Carrots with Maple Glaze recipe, don’t let it get lost in your browser tabs! 😄 Pin it now so you can find it again anytime — and explore hundreds more tried-and-tested recipes waiting for you on my Pinterest boards.
👉 Follow mia on Pinterest @exorecipe
📌 Pin this recipe · 🔁 Re-pin your favorites · 💬 Tag me when you make it — I love seeing your creations!
Bacon-Wrapped Carrots with Maple Glaze
- Prep Time: 10 minutes
- Cook Time: 25 minutes
- Total Time: 35 minutes
- Yield: 4 1x
- Method: Side Dish
- Cuisine: American
Description
Sweet and savory bacon-wrapped carrots roasted with a maple glaze, perfect as a side dish or appetizer.
Ingredients
- 1 lb carrots, peeled and trimmed
- 8 slices bacon
- 1/4 cup maple syrup
- 2 tablespoons butter, melted
- 1/4 teaspoon salt
- 1/8 teaspoon black pepper
Instructions
- Preheat oven to 400°F (200°C). Line a baking sheet with parchment paper.
- Wrap each carrot with one slice of bacon, spiraling along the length. Place on prepared baking sheet.
- In a small bowl, whisk together maple syrup, melted butter, salt, and pepper.
- Brush the glaze over the bacon-wrapped carrots.
- Roast for 20-25 minutes, turning once halfway through, until carrots are tender and bacon is crispy.
- Serve warm, with any remaining glaze drizzled on top.
Notes
For extra flavor, sprinkle with fresh thyme before serving.
Nutrition
- Calories: 220 kcal
- Sugar: 12 g
- Fat: 14 g
- Carbohydrates: 18 g
- Protein: 7 g
k">
Tried This Recipe? Leave a Comment!
Did you make this recipe? I’d love to hear how it turned out! Please leave a comment and a rating below. Your feedback helps other home cooks and supports cheerychop.com!
For more delicious inspiration, follow me on Pinterest!