Table of Contents
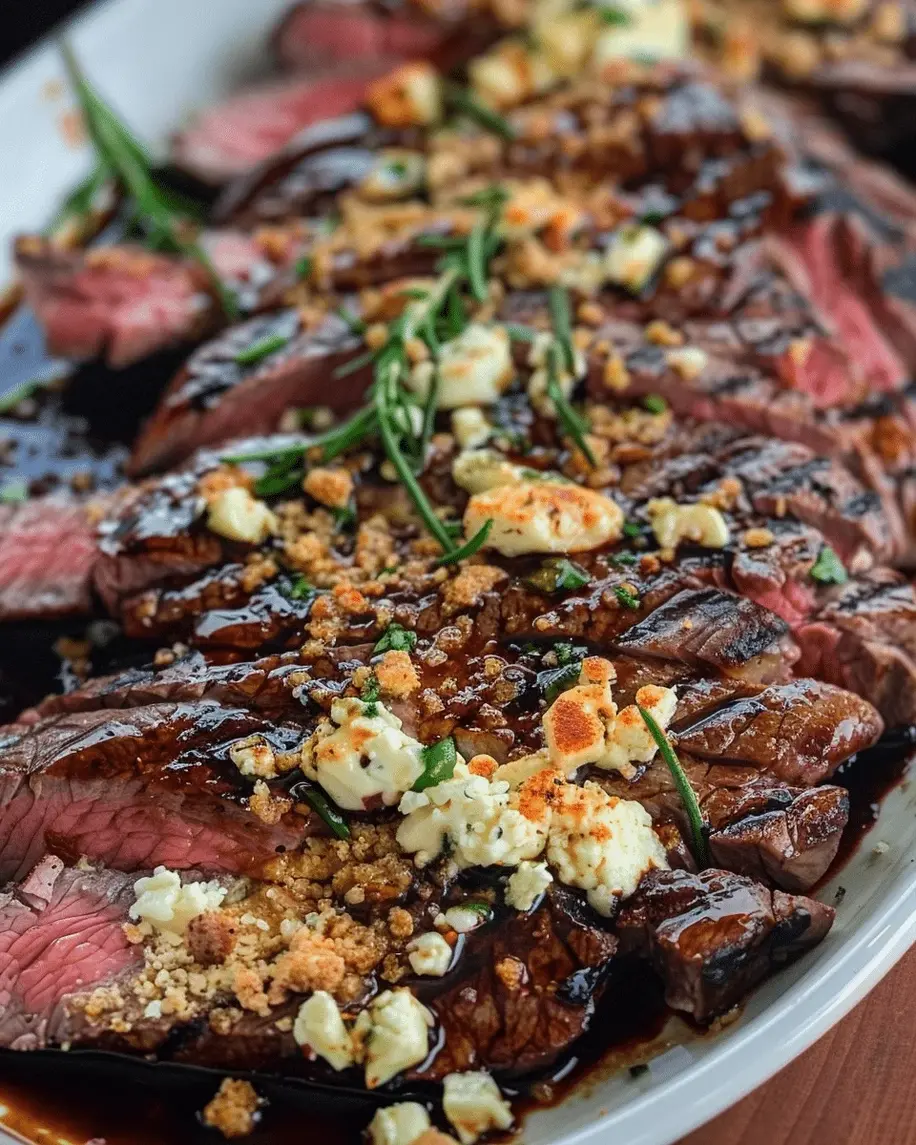
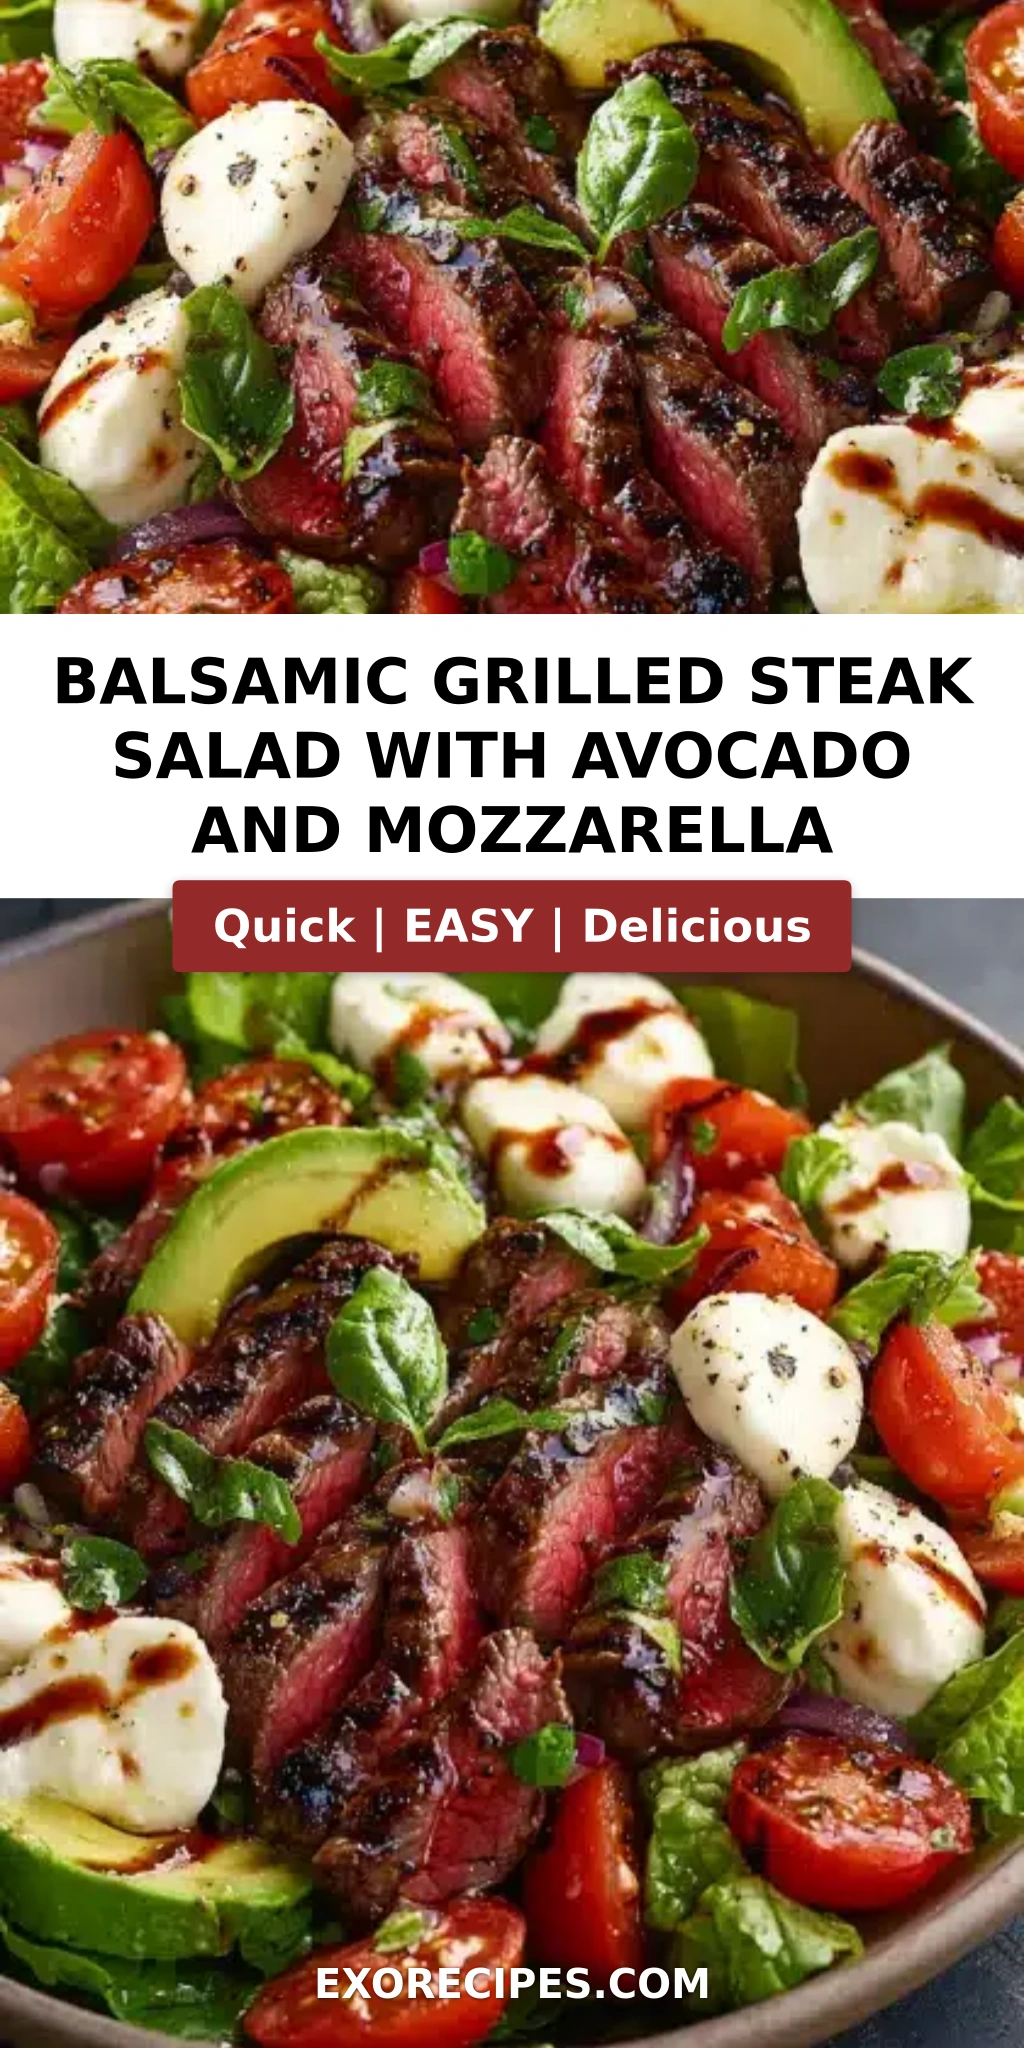
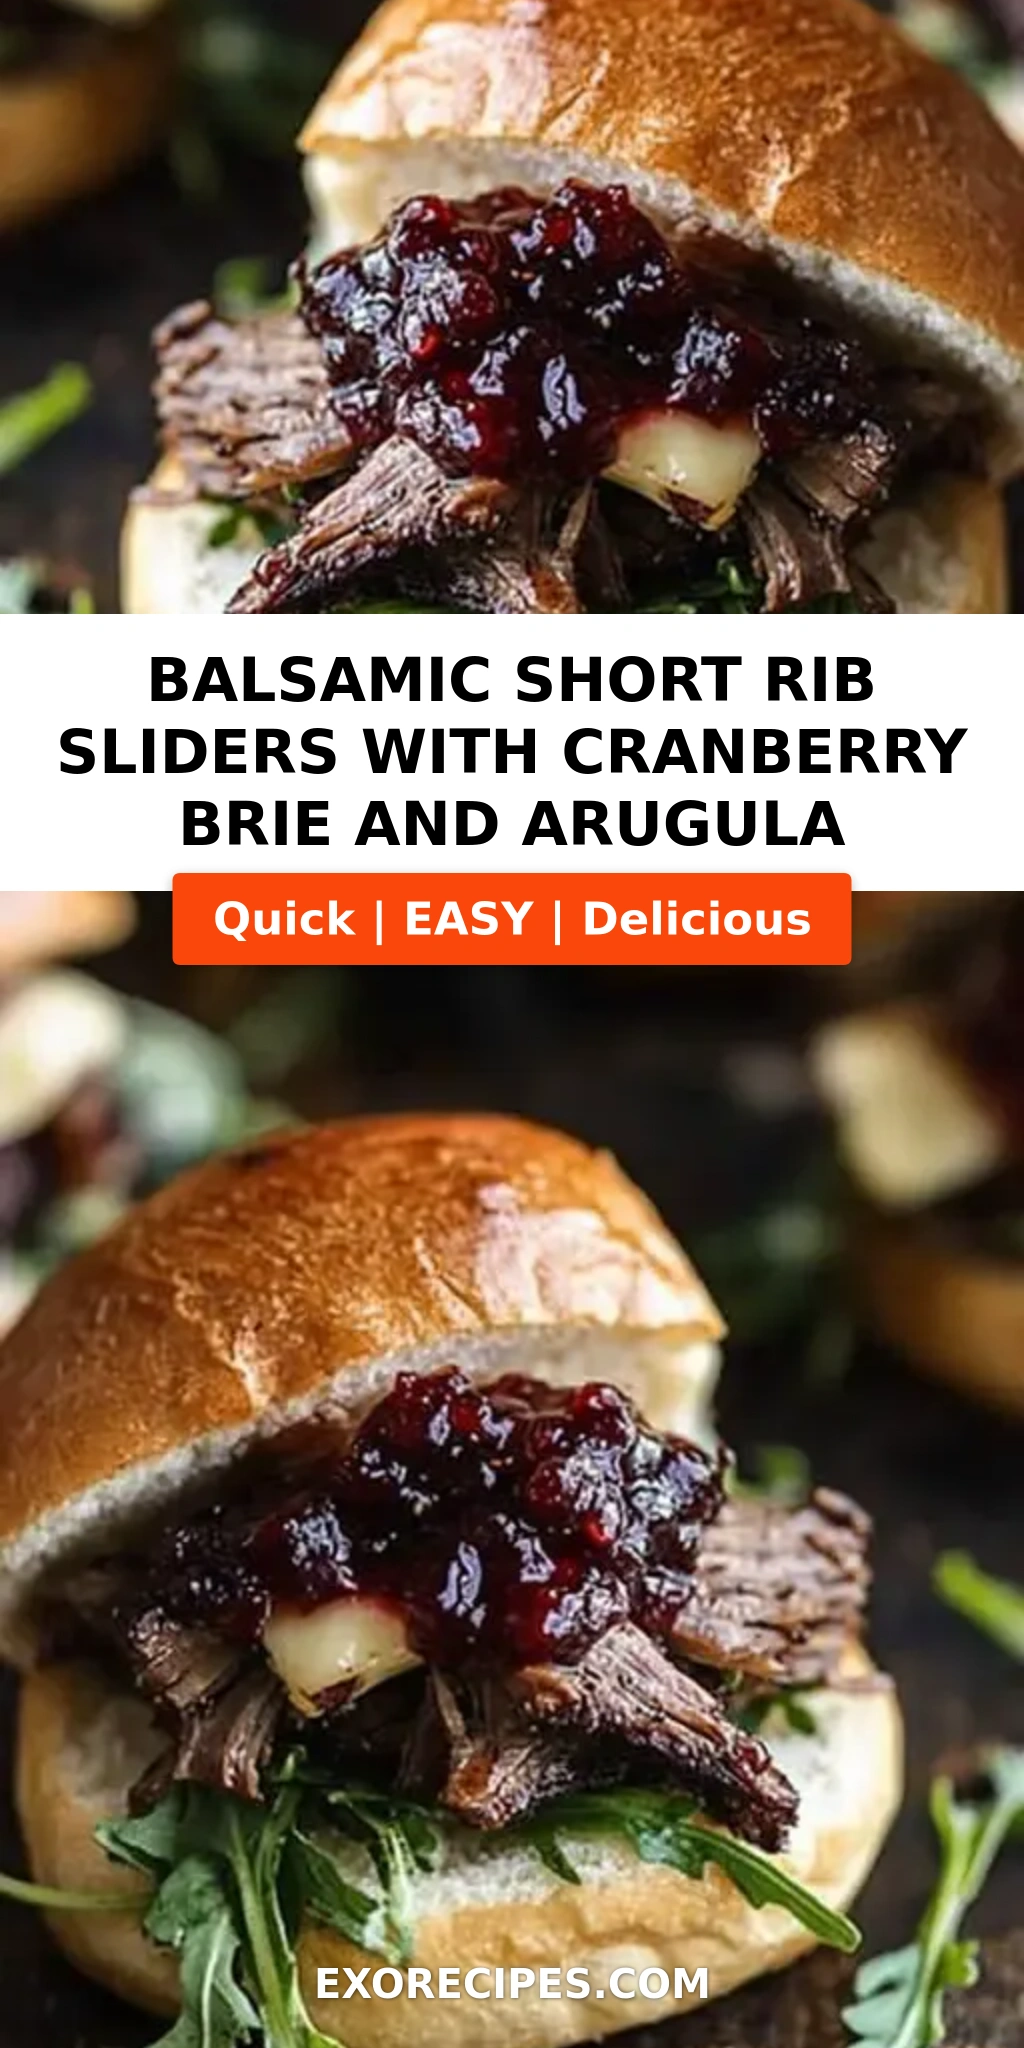
Balsamic Short Rib Sliders with Cranberry Brie and Arugula – Tender, Tangy, Irresistible
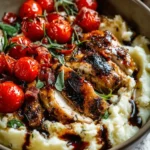
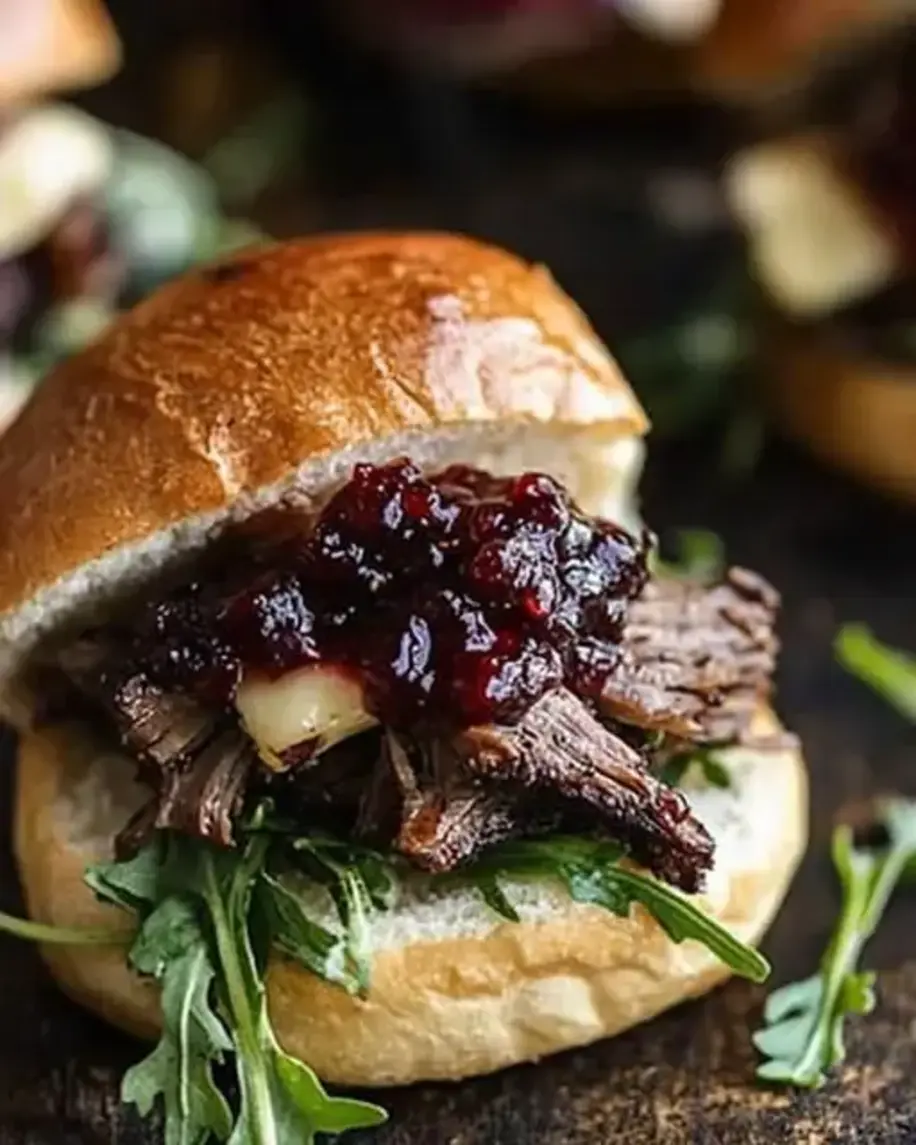
I still remember the first time I braised short ribs in my tiny Paris apartment—the whole building smelled like a bistro for days. These Balsamic Short Rib Sliders with Cranberry Brie and Arugula are that same magic, scaled down into the perfect holiday slider appetizer. The balsamic vinegar reduces into a glossy, sweet-tangy sauce that clings to every shred of beef, while the creamy brie and tart cranberry sauce cut through the richness like a dream. Peppery arugula adds a fresh pop. This is the gourmet slider idea you’ll come back to all winter long.
When you bite into one of these sliders, you get it all: the deep, savory beef softened by hours of gentle braising, the sharp-sweet balsamic glaze that’s been simmered with rosemary and brown sugar, and then that first hit of cold, creamy brie melting against the warm meat. The cranberry sauce adds a jewel-bright tang that makes every bite feel celebratory. It’s exactly the kind of dish I love serving at my holiday parties here in New York—it looks stunning on a platter, but it’s relaxed enough that guests can pile their own sliders and keep the conversation going.
I’ve tested this short rib slider recipe more times than I can count, and the version I’m sharing today is the one that wins every time. My secret? I let the short ribs braise low and slow until they’re fork-tender, then I shred them and toss them back in the reduced braising liquid so every strand of meat is coated in that balsamic magic. A quick toast on the slider buns keeps them from getting soggy—a common mistake I see all the time. Trust me, once you make these cranberry brie sliders, they’ll become your new holiday go-to.
Why This Balsamic Short Rib Sliders Recipe Is the Best
The flavor secret here is the balsamic braise itself. Growing up in Morocco, my mother taught me that the best cooking happens when you let a pot do its work quietly. I took that patience to culinary school in Paris, where I learned how to layer acidity with sweetness. The balsamic vinegar doesn’t just flavor the beef—it tenderizes it, while the brown sugar and rosemary build a sauce that’s complex, sticky, and absolutely unforgettable. This isn’t just a holiday slider appetizer; it’s a masterclass in braising.
Texture is everything in a good slider. The short ribs are braised until they fall apart with a fork, then shredded and returned to the reduced braising liquid so every strand is coated. The brie is sliced and placed right on the warm meat so it softens without turning into a puddle. The arugula stays crisp and peppery, and the buns are toasted until golden. Every bite has a purpose, and every texture works in harmony.
The beauty of this short rib slider recipe is that it looks and tastes like you spent all day cooking—and you kind of did—but the actual hands-on work is maybe 30 minutes. The braise does the heavy lifting. It’s foolproof for beginners because low heat and time forgive almost everything. I’ve taught this recipe to friends who never braised before, and they’ve all nailed it on the first try.
Balsamic Short Rib Sliders Ingredients
I buy my short ribs from the Union Square Greenmarket when I can, or from the butcher at my local Whole Foods. The key is to look for boneless short ribs with good marbling—that fat is what keeps the meat moist during the long braise. The cranberry sauce I always use homemade (my mother’s recipe with a touch of orange zest), but a good store-bought whole berry sauce works beautifully too.
Ingredients List
- 3 pounds boneless beef short ribs, trimmed of excess fat
- Salt and freshly ground black pepper
- 2 tablespoons olive oil
- 1 large onion, chopped
- 4 cloves garlic, minced
- 1 cup balsamic vinegar
- 2 cups beef broth
- 2 tablespoons brown sugar
- 2 sprigs fresh rosemary
- For serving:
- 12 slider buns, split and toasted
- 8 ounces brie cheese, sliced
- 1 cup whole berry cranberry sauce
- 2 cups fresh arugula
Ingredient Spotlight
Boneless beef short ribs are the heart of this recipe. Look for ribs that are evenly thick with good fat marbling. The fat renders during braising and keeps the meat incredibly tender. If you can only find bone-in short ribs, buy 4 pounds and remove the bones after braising—the meat will be even more flavorful.
Balsamic vinegar is non-negotiable for that signature sweet-tangy depth. Use a good quality bottle—it doesn’t need to be 25-year-aged, but avoid the cheapest supermarket brands. A mid-range balsamic from Italy will give you the best balance of acidity and sweetness.
Brie cheese should be at room temperature when you slice it so it softens beautifully on the warm meat. Look for a double or triple cream brie for the creamiest texture. If you can’t find brie, Camembert works perfectly.
Cranberry sauce provides the bright, tart counterpoint. I prefer whole berry sauce for texture, but jellied cranberry sauce works too. Homemade is fantastic, but Ocean Spray or a store brand with real berries is perfectly fine.
| Original Ingredient | Best Substitution | Flavor / Texture Impact |
|---|---|---|
| Boneless beef short ribs | Beef chuck, cut into chunks | Slightly leaner, but still tender after braising |
| Balsamic vinegar | Red wine vinegar + 1 tsp honey | Less sweet, more tangy; sauce not as glossy |
| Brie cheese | Camembert or triple-cream cheese | Similar creamy texture; slightly milder flavor |
| Cranberry sauce | Fig jam or pomegranate molasses | Fruitier, less tart; fig jam is sweeter |
| Arugula | Baby spinach or watercress | Spinach is milder; watercress adds peppery bite |
How to Make Balsamic Short Rib Sliders — Step-by-Step
Trust me on this: if you can brown meat and simmer a pot, you can absolutely nail this short rib slider recipe. I’ve broken it down into simple steps with all the visual cues you need.
Step 1: Season and Sear
Season the short ribs generously with salt and pepper on all sides. Heat the olive oil in a large Dutch oven over medium-high heat until it shimmers. Sear the ribs in batches—don’t crowd the pot—until they’re deeply browned on all sides, about 3-4 minutes per side. Remove and set aside.
💡 mia’s Pro Tip: Pat the short ribs dry with paper towels before seasoning. Moisture is the enemy of a good sear—you want that deep brown crust, not steam.
Step 2: Sweat the Aromatics
Add the chopped onion to the pot and cook, stirring, until softened and translucent, about 5 minutes. Add the minced garlic and cook for 1 minute more, until fragrant.
⚠️ Common Mistake to Avoid: Don’t let the garlic burn—it turns bitter. Stir constantly and if the pan looks dry, add a splash of beef broth.
Step 3: Build the Braise
Pour in the balsamic vinegar and beef broth, using a wooden spoon to scrape up all the browned bits from the bottom of the pot. Stir in the brown sugar and rosemary sprigs. Return the short ribs to the pot, nestling them into the liquid.
💡 mia’s Pro Tip: Those browned bits on the bottom of the pot are pure flavor. Don’t skip scraping them up—that’s called deglazing, and it’s the foundation of your sauce.
Step 4: Braise Low and Slow
Bring the liquid to a gentle simmer, then cover the pot and reduce the heat to low. Cook for 2 ½ to 3 hours, or until the meat is fork-tender and practically falling apart.
⚠️ Common Mistake to Avoid: Boiling instead of simmering. A gentle bubble is what you want—an aggressive boil will make the meat tough and dry out the sauce.
Step 5: Shred and Sauce
Remove the short ribs from the pot and shred the meat using two forks. Discard any large pieces of fat. Strain the braising liquid if desired, then return the shredded meat to the pot and toss to coat generously with the sauce.
💡 mia’s Pro Tip: If the sauce seems thin, simmer it uncovered for 5-10 minutes after removing the meat to let it reduce and thicken before adding the shredded beef back in.
Step 6: Assemble the Sliders
Spread a spoonful of cranberry sauce on the bottom half of each toasted slider bun. Pile on a generous portion of shredded short rib meat, add a slice of brie, and top with a small handful of arugula. Close with the top bun and serve warm.
⚠️ Common Mistake to Avoid: Soggy buns! Toast the slider buns until golden and let the brie sit out at room temperature so it softens and melts gently against the warm meat instead of tearing the bun.
| Step | Action | Duration | Key Visual Cue |
|---|---|---|---|
| 1 | Season and sear short ribs | 8-12 mins | Deep brown crust on all sides |
| 2 | Sweat onions and garlic | 6 mins | Onions translucent, garlic fragrant |
| 3 | Deglaze and build braising liquid | 2 mins | Browned bits dissolved, liquid bubbling |
| 4 | Braise covered on low heat | 2.5 – 3 hrs | Meat fork-tender, pulls apart easily |
| 5 | Shred and toss with sauce | 5 mins | Shredded meat evenly glazed |
| 6 | Assemble sliders | 10 mins | Buns toasted golden, brie softened |
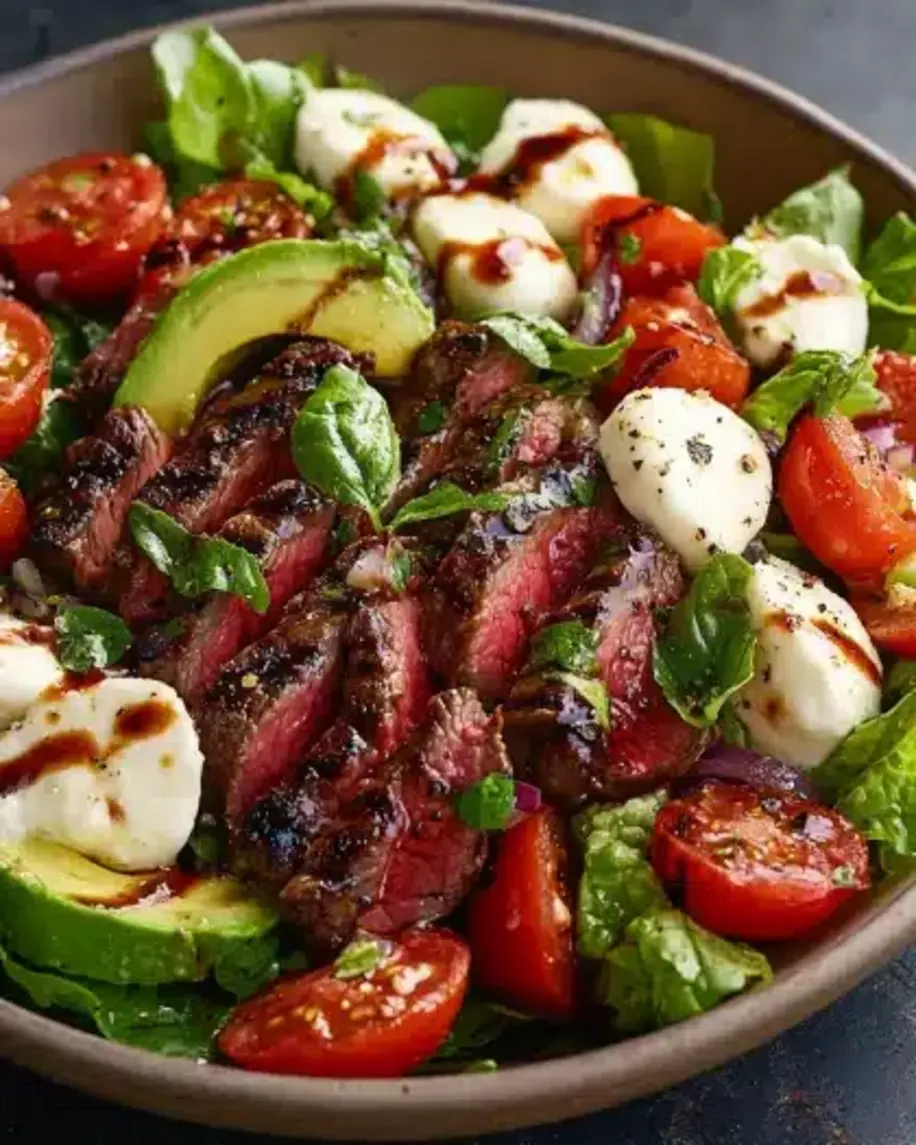
Serving & Presentation
I love serving these balsamic short rib sliders on a long wooden board or a slate platter—the dark meat against the white brie and green arugula is so striking. Arrange the sliders in neat rows with extra cranberry sauce on the side for anyone who wants more tang. A sprinkle of flaky sea salt over the top just before serving adds a lovely crunch and a pop of flavor.
For a holiday party, I’ll set up a little slider bar: the shredded short ribs in a warm cast-iron skillet, a bowl of cranberry sauce, a plate of brie slices, and a pile of toasted slider buns. Guests can build their own, which always gets people talking. In my NYC apartment, I pair these with a crisp arugula salad with shaved Parmesan and a lemon vinaigrette, or a bowl of rosemary roasted potatoes.
Growing up in Morocco, we always served rich, slow-cooked meats with something fresh and acidic on the side— pickled vegetables, fresh herbs, a squirt of lemon. The arugula and cranberry sauce in these sliders play that same role, cutting through the richness of the braised beef and brie. It’s a combination that just works.
| Pairing Type | Suggestions | Why It Works |
|---|---|---|
| Side Dish | Arugula salad with lemon vinaigrette, rosemary roasted potatoes, sweet potato wedges | Fresh acidity and starch balance the rich, heavy sliders |
| Sauce / Dip | Extra cranberry sauce, balsamic reduction drizzle, whole-grain mustard | Adds brightness, sweetness, or tangy heat |
| Beverage | Bold red wine (Zinfandel, Malbec), dark beer (porter, stout), spiced apple cider | Rich flavors match the depth of the braised beef |
| Garnish | Flaky sea salt, fresh rosemary sprigs, pomegranate arils | Adds texture, color, and a pop of freshness |
Make-Ahead, Storage & Reheating
This is the ultimate make-ahead holiday slider appetizer. I often braise the short ribs the day before a party—the flavors deepen overnight, and all I have to do the next day is reheat, shred, and assemble. For my busy NYC lifestyle, that’s a game-changer.
| Method | Container | Duration | Reheating Tip |
|---|---|---|---|
| Refrigerator | Airtight container with braising liquid | Up to 4 days | Reheat gently in a covered pot on low heat, adding a splash of broth if needed |
| Freezer | Freezer-safe bag or container, meat submerged in sauce | Up to 3 months | Thaw overnight in fridge, then reheat on stove or in a 300°F oven, covered |
| Make-Ahead | Braise, cool, refrigerate in pot | 1-2 days in advance | Reheat, shred, then assemble fresh sliders just before serving |
One thing I’ve learned from years of hosting: never assemble the sliders ahead of time. The buns will get soggy, and the arugula will wilt. Instead, keep the shredded beef warm in a slow cooker or a covered pot, set out all the toppings, and let guests build their own. If you have leftover assembled sliders, they’re still delicious the next day—just reheat the beef separately and toast fresh buns.
Variations & Easy Swaps
This short rib slider recipe is incredibly adaptable. Here are a few of my favorite variations, each tested in my own kitchen.
| Variation | Key Change | Best For | Difficulty Impact |
|---|---|---|---|
| Moroccan Spiced Sliders | Add 1 tsp cumin, 1 tsp paprika, ½ tsp cinnamon to the braise | A North African twist with warm, earthy depth | Easy — just add spices |
| Gluten-Free Sliders | Use gluten-free slider buns or sturdy lettuce cups | Gluten-free guests and low-carb eaters | Easy — simple swap |
| Apple Cider Braised Sliders | Replace ½ cup balsamic with apple cider, add 1 apple, diced | Fall harvest celebrations, Thanksgiving leftovers | Easy — liquid swap |
Moroccan Spiced Sliders
This one is close to my heart. Add a teaspoon of cumin, a teaspoon of paprika, and half a teaspoon of cinnamon to the braising liquid alongside the brown sugar and rosemary. The warm, earthy spices complement the balsamic beautifully and add a subtle heat that makes the cranberry sauce pop. It’s the version I make when I’m craving a taste of my mother’s kitchen.
Gluten-Free Sliders
These sliders are naturally gluten-free except for the buns. Swap in your favorite gluten-free slider buns (I like the ones from Canyon Bakehouse), or for a low-carb option, serve the short rib mixture in sturdy lettuce cups. The brie, cranberry sauce, and arugula all work exactly the same way.
Apple Cider Braised Sliders
For a fall twist, replace half a cup of the balsamic vinegar with apple cider and add one diced apple to the pot when you add the onions. The apple softens and melts into the sauce, adding a gentle fruitiness that pairs perfectly with the brie and cranberry. I make this version every November when the Union Square farmers market is overflowing with heirloom apples.
How long should you cook short ribs for balsamic sliders?
For the most tender, fork-shreddable short ribs, you’ll want to braise them low and slow for 2½ to 3 hours. The key is to maintain a gentle simmer—not a rolling boil—so the collagen breaks down evenly without the meat drying out. If you’re using a slow cooker, plan on 4 to 5 hours on low or 2½ to 3 hours on high. The meat is ready when you can easily pull it apart with two forks, and it should feel silky and moist, not dry or stringy.
Can you make balsamic short ribs in a slow cooker instead of braising?
Absolutely. A slow cooker is a fantastic option for this short rib slider recipe, especially if you want to set it and forget it. The key difference is that you must sear the short ribs on the stovetop first—that step is non-negotiable for deep flavor. Then transfer the meat to the slow cooker, deglaze your pot with the balsamic and broth, and pour everything over the ribs. Cook on low for 4 to 5 hours or on high for 2½ to 3 hours. The sauce won’t reduce as much in the slow cooker, so you may want to simmer it on the stovetop for 10 minutes after the meat is done to thicken it up.
What is a good substitute for brie in cranberry brie sliders?
If you can’t find brie, Camembert is your best substitute—it has the same creamy, buttery texture and a slightly milder, earthier flavor. Triple-cream cheeses like Brillat-Savarin or Delice de Bourgogne also work beautifully and feel extra luxurious. For a firmer option, you can use a young, mild goat cheese log or even slices of havarti. The key is to choose something soft and creamy that will melt slightly against the warm short ribs without becoming runny. Avoid aged cheeses like cheddar or gouda—they won’t give you that luscious, creamy bite.
How do you keep slider buns from getting soggy with braised short ribs?
This is one of the most common questions I get, and the fix is simple: toast your slider buns. Spread the split buns with a little butter or olive oil and toast them on a griddle or in a 375°F oven until they’re golden brown and crisp. That toasting creates a barrier that prevents the braising liquid from soaking in. Also, make sure to drain any excess liquid from the shredded short ribs before piling them on the bun—use a slotted spoon to transfer the meat, and let any extra sauce pool on the plate, not the bun. Assembling just before serving also helps keep everything crisp.
Can I use bone-in short ribs instead of boneless for these sliders?
Yes, and in fact, many butchers and chefs prefer bone-in short ribs for braising because the bones add extra flavor and richness to the braising liquid. If you’re using bone-in ribs, plan on about 4 pounds to get the same amount of meat after cooking. The braising time will be similar—2½ to 3 hours—but you’ll need to remove the bones before shredding the meat. The bones should slip out easily when the meat is tender.
Is this short rib slider recipe suitable for a holiday party?
Absolutely, and it’s one of the most popular holiday slider appetizers I’ve ever made. The combination of rich braised beef, creamy brie, tart cranberry sauce, and peppery arugula is pure holiday magic. The best part is you can braise the short ribs up to two days in advance and simply reheat and assemble on the day of your party. I recommend setting up a slider bar so guests can build their own—it’s interactive, fun, and ensures the buns stay perfectly crisp.
What’s the best cut of beef for short rib sliders?
Boneless beef short ribs are ideal for this recipe because they’re well-marbled and become incredibly tender during a long, slow braise. Look for ribs that are about 2 inches thick with good marbling throughout. If you can’t find boneless short ribs, boneless chuck roast cut into 2-inch chunks is a great alternative—it’s also well-marbled and braises beautifully. Avoid lean cuts like sirloin or round, which will dry out during the long cooking time.
Can I use store-bought cranberry sauce for these sliders?
I wholeheartedly give you permission to use store-bought cranberry sauce for these sliders. While I love making my own with orange zest and a touch of cinnamon, a high-quality store-bought whole berry cranberry sauce works beautifully. Look for one that lists cranberries as the first ingredient and doesn’t have a ton of high-fructose corn syrup. Ocean Spray’s whole berry sauce is a perfectly good option. The sweetness and tartness are exactly what you need to balance the rich balsamic short ribs and creamy brie.
How do I get the balsamic sauce to thicken properly?
The balsamic braising liquid naturally thickens as it simmers due to the balsamic vinegar’s natural sugars and the collagen from the meat. After the short ribs are done, remove the meat and let the sauce simmer uncovered for 5 to 10 minutes—it will reduce and concentrate beautifully. If you want it even thicker, you can stir in a slurry of 1 tablespoon cornstarch mixed with 2 tablespoons cold water and simmer for a minute. Just be sure not to over-thicken, as the sauce should be glossy and coat the meat, not be pasty.
Can I make these balsamic short rib sliders in an Instant Pot?
Yes, the Instant Pot works beautifully for this recipe and cuts the cooking time dramatically. Use the sauté function to sear the short ribs and cook the onions and garlic, then deglaze with the balsamic vinegar and broth. Pressure cook on high for 45 minutes with a natural release (about 15-20 minutes). The meat will be fall-apart tender. If the sauce is too thin after pressure cooking, use the sauté function to simmer it uncovered for 5-10 minutes to reduce and thicken. The flavor won’t be quite as deep as a 3-hour stovetop braise, but it’s still absolutely delicious.
Share Your Version!
I love hearing how you make these sliders your own. Did you try the Moroccan spice twist? Did you use a slow cooker or an Instant Pot? Did you experiment with different cheeses or add a drizzle of honey? Drop a star rating and a comment below—I read every single one, and your feedback helps other home cooks discover what works.
Tag me in your photos on Instagram or Pinterest @exorecipes—I always save my favorites to my “Holiday Slider Ideas” board. I’d especially love to know: did you serve these as an appetizer or a main dish? And what’s your favorite way to toast the buns?
From my NYC kitchen to yours — I hope this recipe brings as much warmth to your table as it does to mine. — mia 🧡
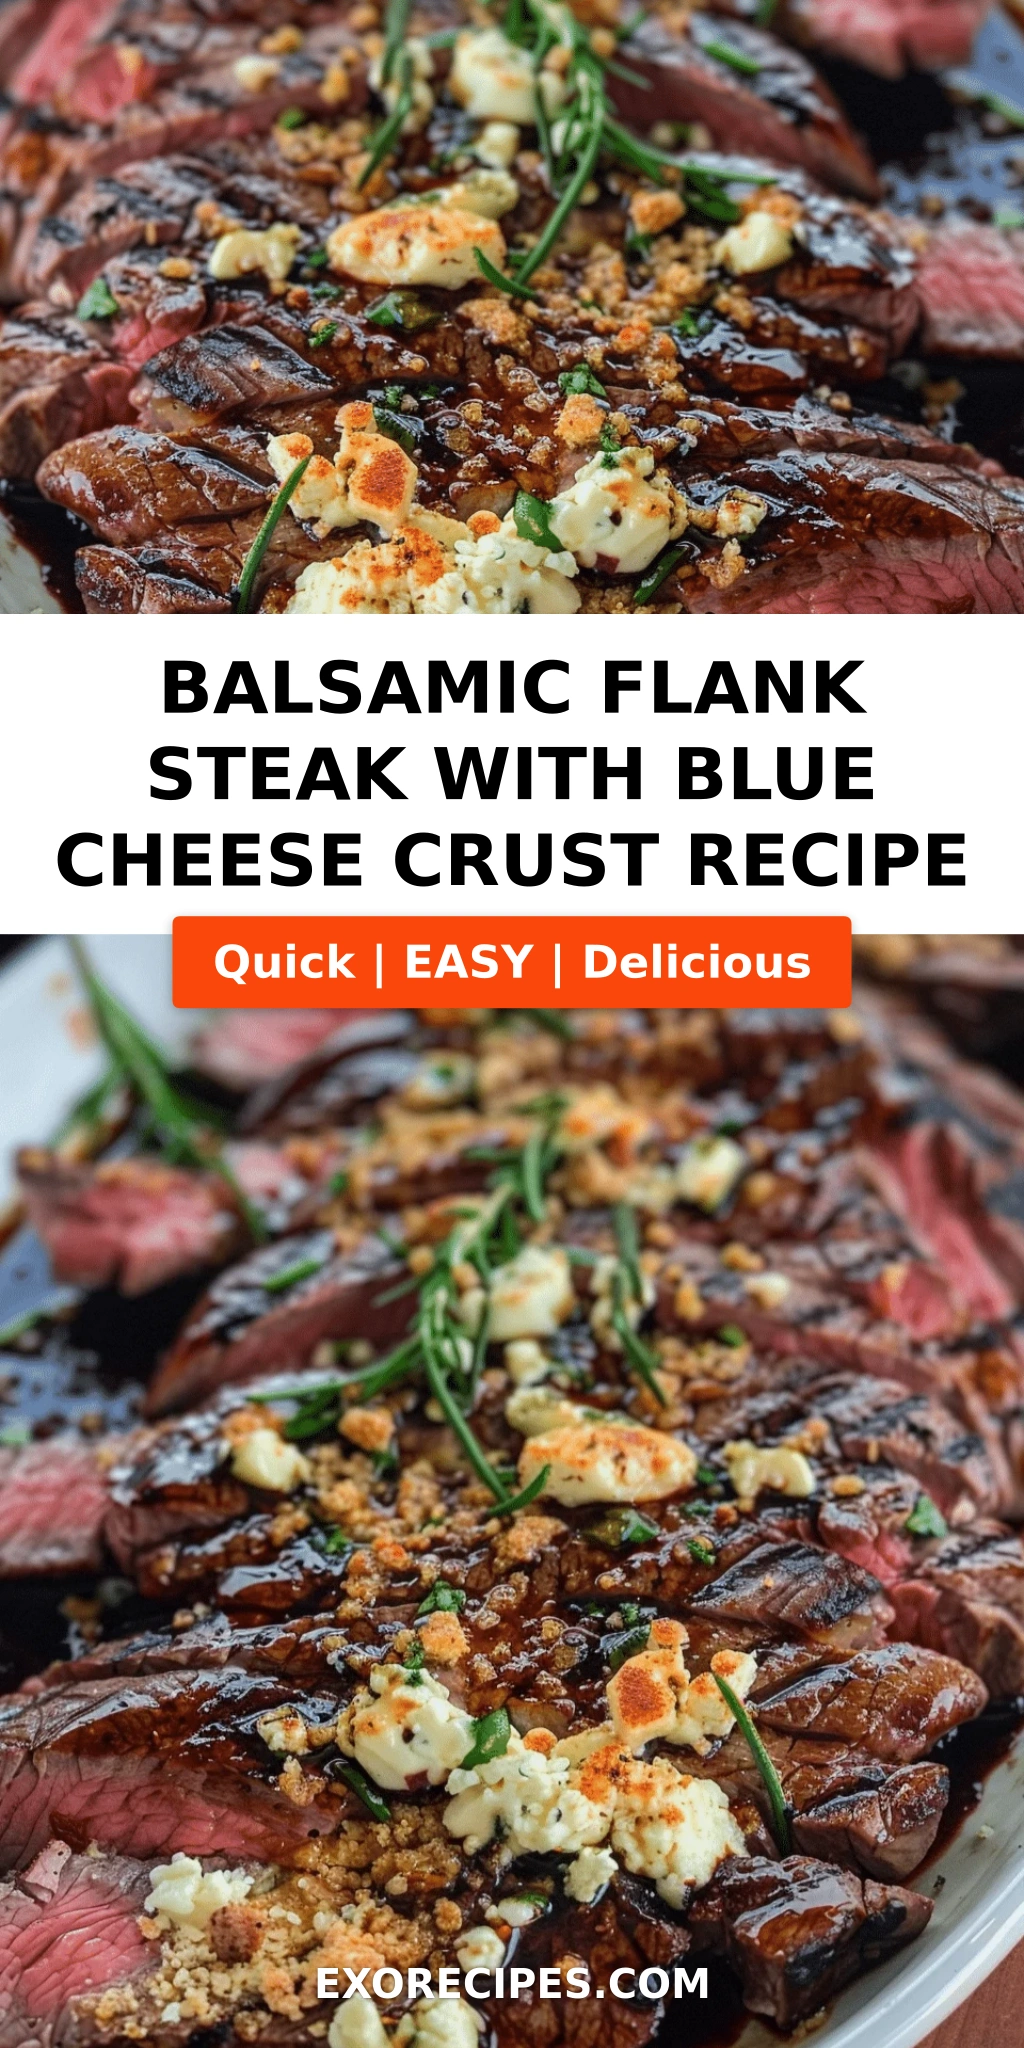
Love This Recipe? Save It to Pinterest!
If you enjoyed this Balsamic Short Rib Sliders with Cranberry Brie and Arugula recipe, don’t let it get lost in your browser tabs! 😄 Pin it now so you can find it again anytime — and explore hundreds more tried-and-tested recipes waiting for you on my Pinterest boards.
👉 Follow mia on Pinterest @exorecipe
📌 Pin this recipe · 🔁 Re-pin your favorites · 💬 Tag me when you make it — I love seeing your creations!
Balsamic Short Rib Sliders with Cranberry Brie and Arugula
- Prep Time: 20 minutes
- Cook Time: 3 hours
- Total Time: 3 hours 20 minutes
- Yield: 12 sliders 1x
- Method: Appetizer
- Cuisine: American
Description
Tender balsamic braised short ribs are piled onto slider buns with creamy brie, tart cranberry sauce, and peppery arugula for an amazing appetizer or main dish.
Ingredients
- 3 pounds boneless beef short ribs, trimmed of excess fat
- Salt and freshly ground black pepper
- 2 tablespoons olive oil
- 1 large onion, chopped
- 4 cloves garlic, minced
- 1 cup balsamic vinegar
- 2 cups beef broth
- 2 tablespoons brown sugar
- 2 sprigs fresh rosemary
- For serving:
- 12 slider buns, split and toasted
- 8 ounces brie cheese, sliced
- 1 cup whole berry cranberry sauce
- 2 cups fresh arugula
Instructions
- Season short ribs generously with salt and pepper.
- Heat olive oil in a large heavy-bottomed pot or Dutch oven over medium-high heat. Sear short ribs on all sides until deeply browned, about 3-4 minutes per side. Work in batches if needed to avoid crowding. Remove ribs and set aside.
- Add onion to the pot and cook, stirring, until softened, about 5 minutes. Add garlic and cook 1 minute more.
- Pour in balsamic vinegar and beef broth, scraping up any browned bits from the bottom of the pot. Stir in brown sugar and rosemary sprigs.
- Return short ribs to the pot. Bring liquid to a simmer, then cover and reduce heat to low. Cook for 2 ½ to 3 hours, until meat is fork-tender.
- Remove short ribs from pot and shred the meat using two forks. Discard any large pieces of fat. Strain the braising liquid if desired, then return shredded meat to the pot and toss to coat with the sauce.
- To assemble sliders: Spread a spoonful of cranberry sauce on the bottom half of each slider bun. Top with a generous portion of shredded short rib meat, a slice of brie, and a small handful of arugula. Close with the top bun.
- Serve warm.
Notes
Short ribs can be braised a day ahead and refrigerated; reheat gently before assembling sliders.
Nutrition
- Calories: 480
- Sugar: 14 g
- Fat: 26 g
- Carbohydrates: 28 g
- Protein: 32 g
Tried This Recipe? Leave a Comment!
Did you make this recipe? I’d love to hear how it turned out! Please leave a comment and a rating below. Your feedback helps other home cooks and supports cheerychop.com!