Black Forest Cookies
Description
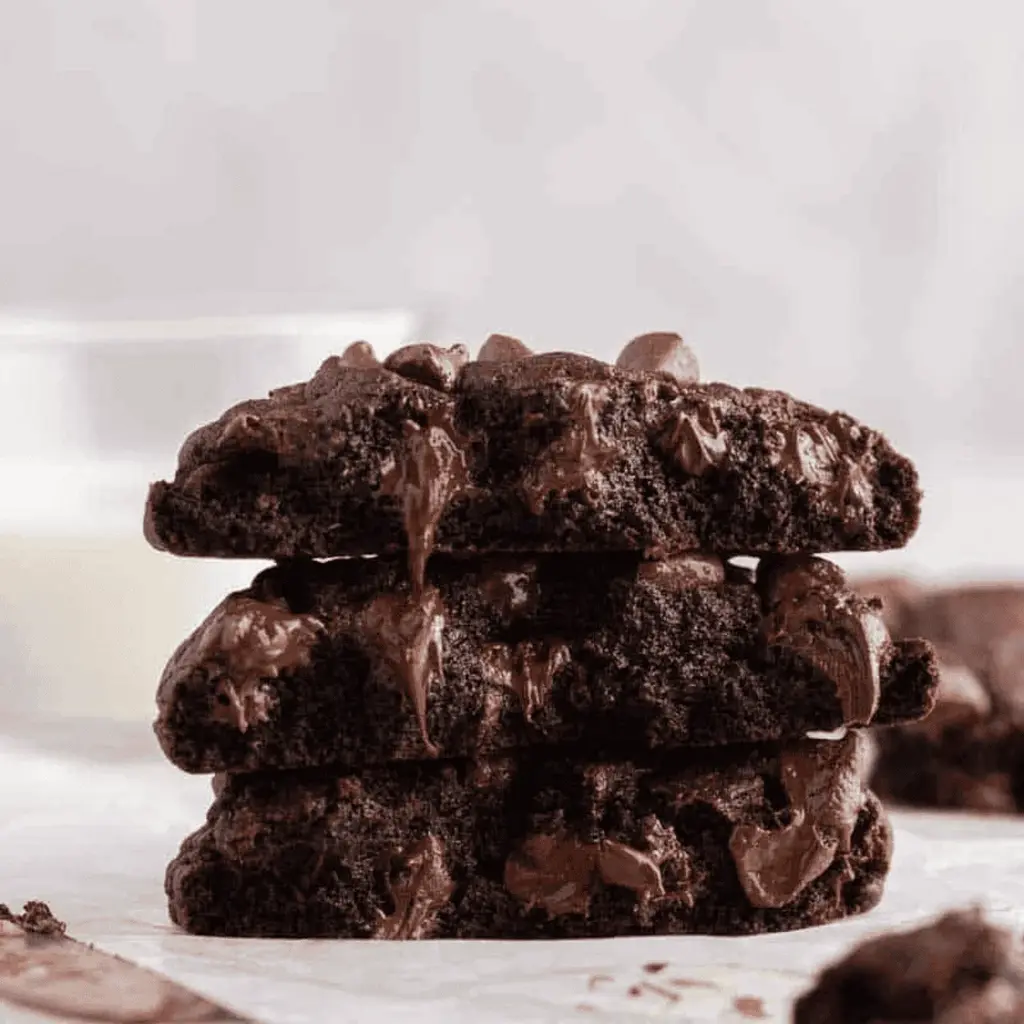
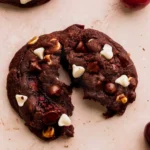
These black forest cookies are a chewy chocolate cookie. They have chocolate chips, white chocolate chips, and fresh cherries. They are a no mixer and a no chill recipe.
Ingredients
Scale
- 2 1/4 cups All-purpose flour
- 1/2 cup Unsweetened cocoa powder, for best results use dutch process cocoa powder
- 1/2 tsp Baking powder
- 1/2 tsp Baking soda
- 1 tsp Salt
- 1 cup Unsalted butter, melted and cooled
- 3/4 cup Brown sugar, packed light or dark
- 3/4 cup White granulated sugar
- 1 tsp Pure vanilla extract
- 2 Large eggs, room temperature
- 1 cup White chocolate chips, Plus more to top the cookies
- 1/2 cup Semisweet chocolate chips, Plus more to top the cookies
- 1 cup Fresh cherries, Washed, pitted, and cut into quarters
Instructions
- Melt the butter in the microwave and let it chill for 10-15 minutes until it is room temperature. Prepare the cherries and cut them into small quarters. 1 cup Unsalted butter, 1 cup Fresh cherries
- Preheat the oven to 350°F. Line two cookie sheets with parchment paper. Set aside.
- In a medium bowl, mix the flour, cocoa powder, baking powder, baking soda, and salt. Set aside.2 1/4 cups All-purpose flour, 1/2 cup Unsweetened cocoa powder, 1/2 tsp Baking powder, 1/2 tsp Baking soda, 1 tsp Salt
- In a large bowl, add melted butter, brown sugar, sugar, vanilla, and eggs. Use a rubber spatula to mix until smooth. 1 cup Unsalted butter, 3/4 cup Brown sugar, 3/4 cup White granulated sugar, 1 tsp Pure vanilla extract, 2 Large eggs
- Add in the dry ingredients and mix until combined. It will be a soft dough. Add the white chocolate chips, chocolate chips, and fresh cherries. 1 cup White chocolate chips, 1/2 cup Semisweet chocolate chips, 1 cup Fresh cherries
- Use a large cookie scoop (3oz cookie scoop) to scoop the dough. Place 6 cookie dough balls per cookie sheet.
- Bake one cookie sheet at a time. Bake for 13-15 minutes. While warm, top with extra chocolate chips and white chocolate chips.
- Let the cookie sit on hot pan for 10 minutes. Then, transfer to a cooling rack to cool.
Notes
Flour- Make sure flour is spooned and leveled or use a kitchen scale. Compacted flour can dry out the cookies and cause them not to spread.
High altitude baking- Add an extra 2 TBSP of flour.
Pull out dairy ingredients 2 hours before baking.
Nutrition
- Calories: 303kcal
- Sugar: 25g
- Protein: 3g