*Measure your dry ingredients properly. This is my #1 baking tip! Do not ever scoop a measuring cup into your flour, as this always leads to using too much flour. Instead, use the spoon-level method. This means fluffing the flour first, then spooning it into your measuring cup/spoon. For the BEST results, use a kitchen scale!*
Note on yeast: If you use active dry yeast instead of instant yeast, you must activate it first. Stir the yeast into the warm milk and a sprinkle of the sugar. Let it sit for 5 minutes. It should look nice and foamy! Then, after the dough is kneaded, let the dough rise until doubled in size before shaping (roughly 30-60 minutes).
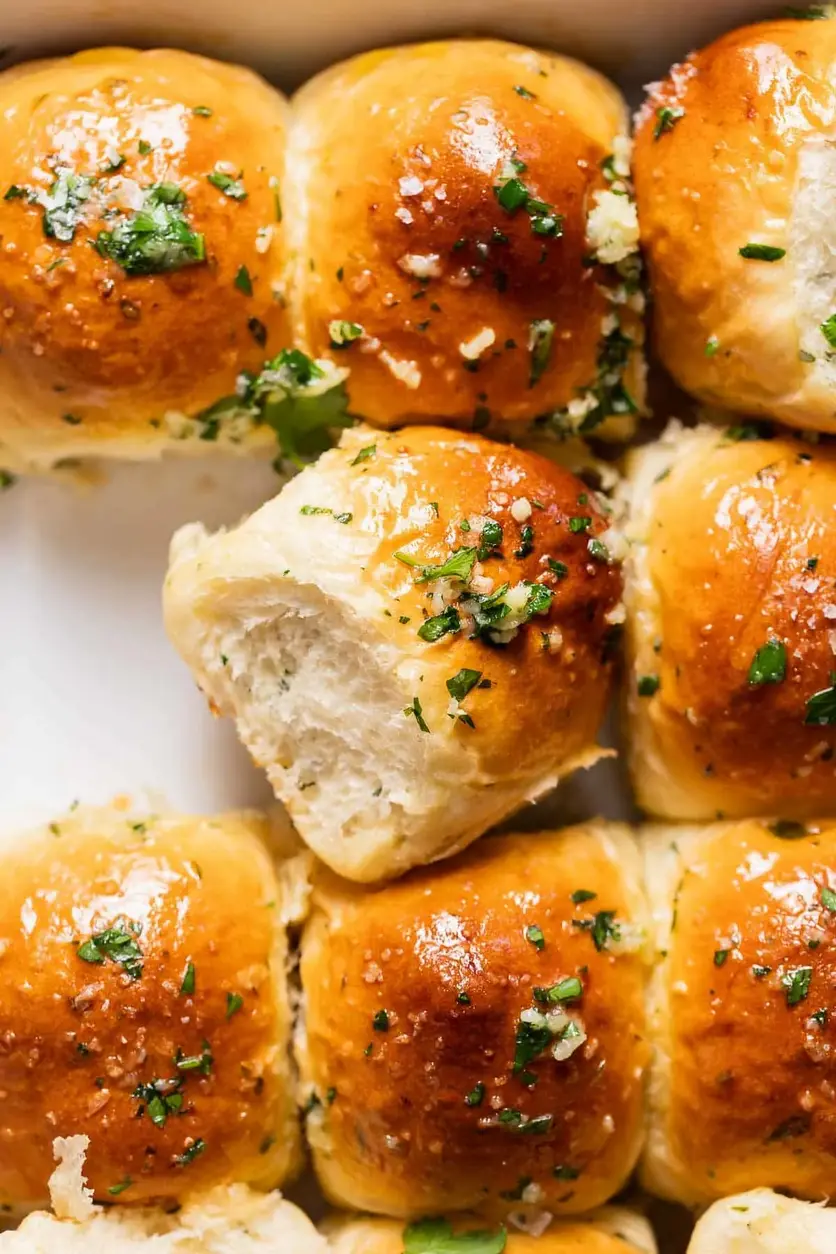
Storage: Dinner rolls are best served the day they are made, but can be stored for 2-3 days in an airtight container or ziplock bag at room temperature.
Freezer: After baking, remove the rolls from the pan and let them cool completely. Transfer them to an airtight container for one month.
Make ahead: Once the rolls are shaped and snuggled into their baking pan, cover the top tightly with plastic wrap and refrigerate overnight. The next day, let them double in size at room temperature before baking. This could take a few hours!
Reheating: These garlic bread rolls are best served warm! Before serving, cover the rolls with foil and bake them at 350°F until warmed through. You can also pop them in the microwave for 20-30 seconds until warm!