Indulge in these Strawberry Cream Cheese Heart Danishes, the perfect Valentine’s Day dessert! Using store-bought puff pastry, this easy baking recipe elevates your Valentine’s food game with delightful flavors and stunning presentation. These danishes are not just beautiful but also make for a fun baking activity for couples or families. Don’t miss out on this sweet treat – try it today! #ValentinesRecipes #Desserts #BakingSweets
Print

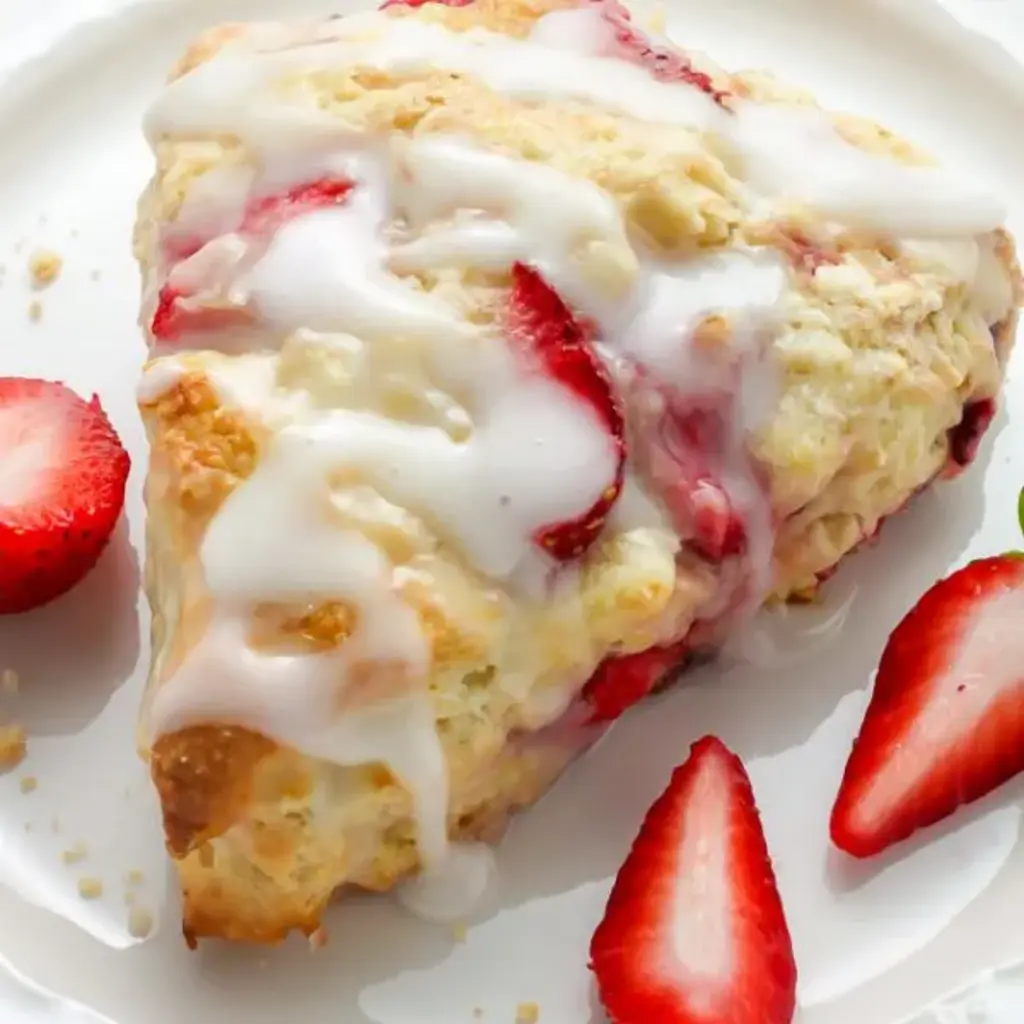
Strawberry Cream Cheese Heart Danishes
Description
These delightful heart-shaped danishes with a creamy filling and fresh strawberry flavor are perfect for brunch or as a quick treat.
Ingredients
Scale
- 1 sheet store-bought puff pastry, thawed (sub: two sheets of crescent roll dough in a pinch, but texture differs)
- 4 oz cream cheese, at room temperature (sub: dairy-free cream cheese for vegan/dairy-free)
- 2 tbsp white sugar (sub: powdered sugar for a slightly smoother filling)
- 1/2 tsp vanilla extract
- Red food coloring (optional a drop or two to tint the filling)
- 1/2 cup diced strawberries (fresh is best; if using frozen, thaw and drain)
- 1 large egg
- 1 tbsp cold water
Instructions
- Thaw the puff pastry following package directions usually 3060 minutes at room temperature or overnight in the fridge. Preheat the oven to 400°F (200°C). Line a large baking sheet with parchment paper.
- In a bowl, beat the room-temperature cream cheese with the sugar and vanilla until smooth. Add one small drop of red food coloring and mix to reach a soft pink (optional). Fold in half of the diced strawberries if you want them incorporated; reserve the rest for topping.
- On a lightly floured surface, unfold the thawed pastry and lightly roll to remove creases. Use a heart-shaped cookie cutter (about 34 inches) to cut hearts. You should get about 4 hearts from one sheet depending on cutter size.
- Option A: Use a smaller heart cutter to press lightly in the center without cutting through, creating a rim. Option B: Score a 1/2-inch border around each heart with a knife (dont cut all the way through) to make an edge that puffs up and contains the filling.
- Spoon or pipe about 12 tablespoons of the cream cheese mixture into the center of each heart, staying inside the edge. Top with the remaining diced strawberries. Dont overfill pastry needs space to puff.
- Whisk the egg with 1 tbsp cold water. Lightly brush the exposed pastry edges with the egg wash for color and shine, being careful not to drip wash onto the filling.
- Place the sheet on the middle rack and bake for 1215 minutes, until the pastry is golden-brown and puffed and the filling is set. Rotate the pan halfway if your oven has hot spots.
- Let cool on the pan for a few minutes, then transfer to a wire rack. Optionally dust with powdered sugar or drizzle a simple glaze (1/2 cup powdered sugar + 12 tbsp milk) once slightly cooled.
Notes
Try to keep the puff pastry cold until right before cutting so it puffs properly. Room-temperature cream cheese blends easier and gives a silkier filling.