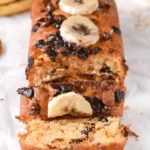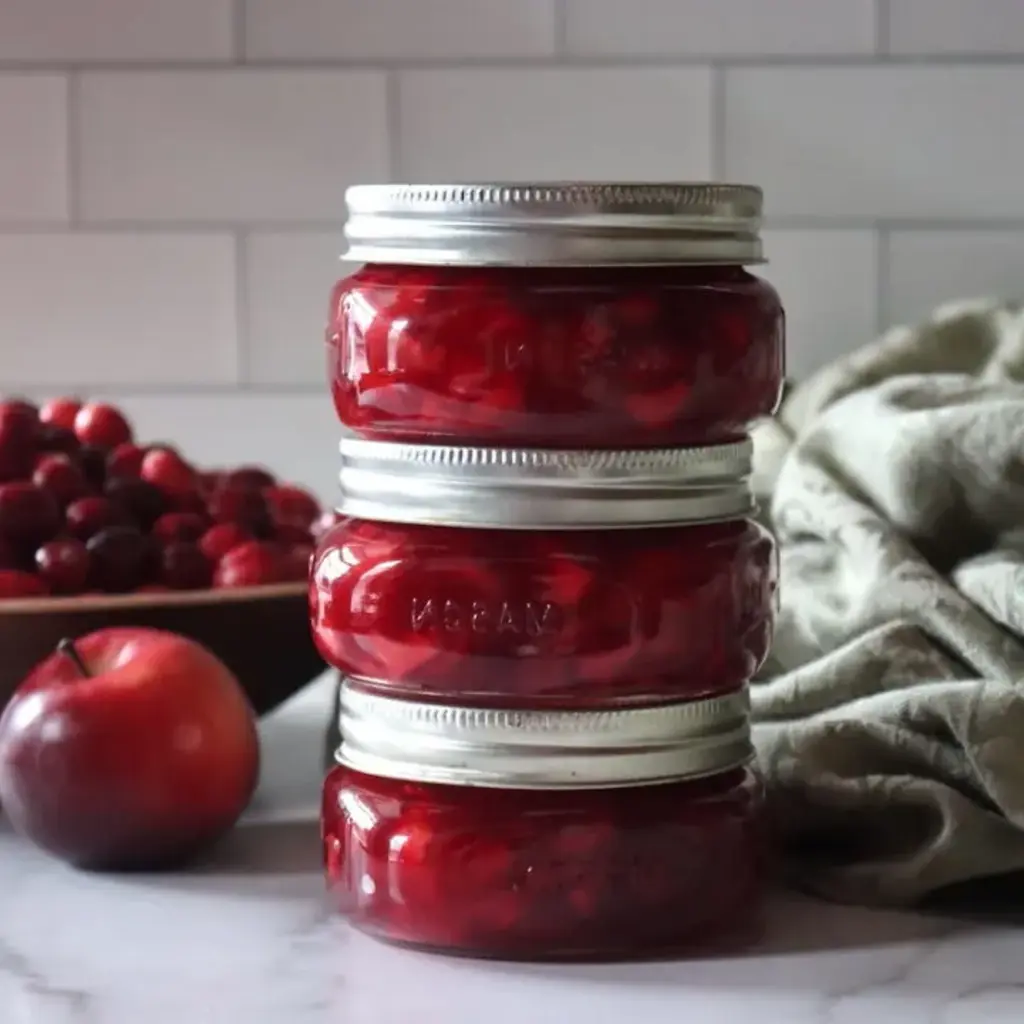
Enjoy the flavors of the season with this apple cranberry winter jam recipe! Combining apples and cranberries with a hint of lemon, this four-ingredient jam is perfect for spreading on toast or adding to your holiday desserts. A wonderful homemade gift idea or addition to your own pantry. Find more easy canning recipes, winter canning ideas, holiday jams and jellies, and Winter Jam Recipes at creativecanning.com.
Print
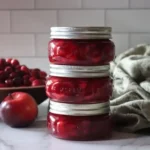
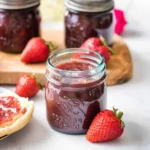
Cranberry Apple Jam
Description
Cranberry apple jam is a delicious homemade jam that comes together quickly without added pectin.
Ingredients
- 4 cups apples, peeled, cored, and diced (about 2 lbs, or just under 1 kg fresh as purchased)
- 2 cups fresh cranberries, 200 grams
- 3 cups sugar, 600 grams
- Juice of 1 lemon, about 2 to 3 Tbsp
Instructions
- Peel, core, and dice the apples into small pieces (1/4 inch or about 1/2 cm cubes).
- Toss the apples first in lemon juice and then the sugar. Stir, so they're evenly coated. Cover and set aside to macerate for at least 2 hours, or overnight.
- After maceration, place the apple mixture and cranberries into a jam pot. (If canning, prepare a water bath canner before turning on the jam to start cooking.)
- Turn on the stove to medium-high heat and cook the apple-cranberry mixture until it thickens. (About 6 to 10 minutes.) Stop when it's not quite as thick as you want the finished jam, as it thickens considerably when it's cooling. It's done when the cranberries have popped and fallen apart, but the apple chunks are still pretty much in their original shape.
- Remove the jam pot from the heat and ladle into prepared jars, leaving 1/4 inch headspace.
- If canning, process in a water bath canner for 10 minutes (15 minutes above 6,000 feet in elevation).
- Cool jars completely on a towel on the counter, and check seals. Store any unsealed jars in the refrigerator for immediate use. Sealed jars will keep on the pantry shelf. Refrigerate after opening.
Notes
The lemon juice in this recipe is to keep the apples from turning brown, and to bring out their flavor. It’s highly recommended but optional. It’s not needed for canning safety or preservation, as both cranberries and apples are acidic enough for canning naturally. Use either fresh lemon juice (for better flavor) or bottled, if that’s what you have. If you want more lemon flavor, add in the zest of 1 lemon as well.
This jam comes out “jam sweet” and uses 3 cups of sugar to counter the tart flavor of the cranberries.
You can use less sugar, but the jam will be tart. At 2 cups sugar, it tastes more like a cranberry sauce than a jam. Still deliciously tasty, but more tart than a full sugar jam.
At 1 cup sugar, the jam will still jel nicely, but it’s incredibly tart. Below that, it’s not going to gel, and it’ll make more of a sauce.
Batch Size
You can safely double the batch size of this recipe to make 10 half pints, but don’t increase it beyond that. Very large batch sizes don’t cook evenly and have trouble gelling.
It’s perfectly fine to make this cranberry apple jam recipe as a refrigerator jam (or a freezer jam). It’ll last several weeks in the refrigerator and up to 6 months in the freezer.
If freezing, be sure to leave plenty of headspace and use freezer-safe jars.
Properly canned and sealed jars of cranberry apple jam will maintain peak quality on the pantry shelf for around 18 months. Past that, they’re still good, provided they’re sealed, but the quality will start to decline.
Refrigerate after opening.
Nutrition
- Calories: 133kcal
- Sugar: 33g
- Protein: 0.1g