Bold in color and unforgettable in flavor, this Knock You Naked Red Velvet Cheesecake combines the richness of red velvet cake with a silky vanilla cheesecake layer and fluffy whipped topping. With dramatic presentation and decadent texture, this showstopping dessert is perfect for holidays, birthdays, or any occasion that calls for a wow-worthy sweet. Ingredients For the Red Velvet Cake Base: • 1 box red velvet cake mix (plus eggs, oil, and water as directed) • 9″ springform pan, greased For the Cheesecake Layer: • 16 oz cream cheese, softened • ⅔ cup granulated sugar For the Whipped Topping: • 2 cups heavy whipping cream • 4 tbsp powdered sugar 📌 Save this ultra-decadent layered cheesecake for celebrations, date nights, or pure indulgence! #RedVelvetCheesecake #KnockYouNakedDessert
Print
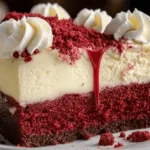
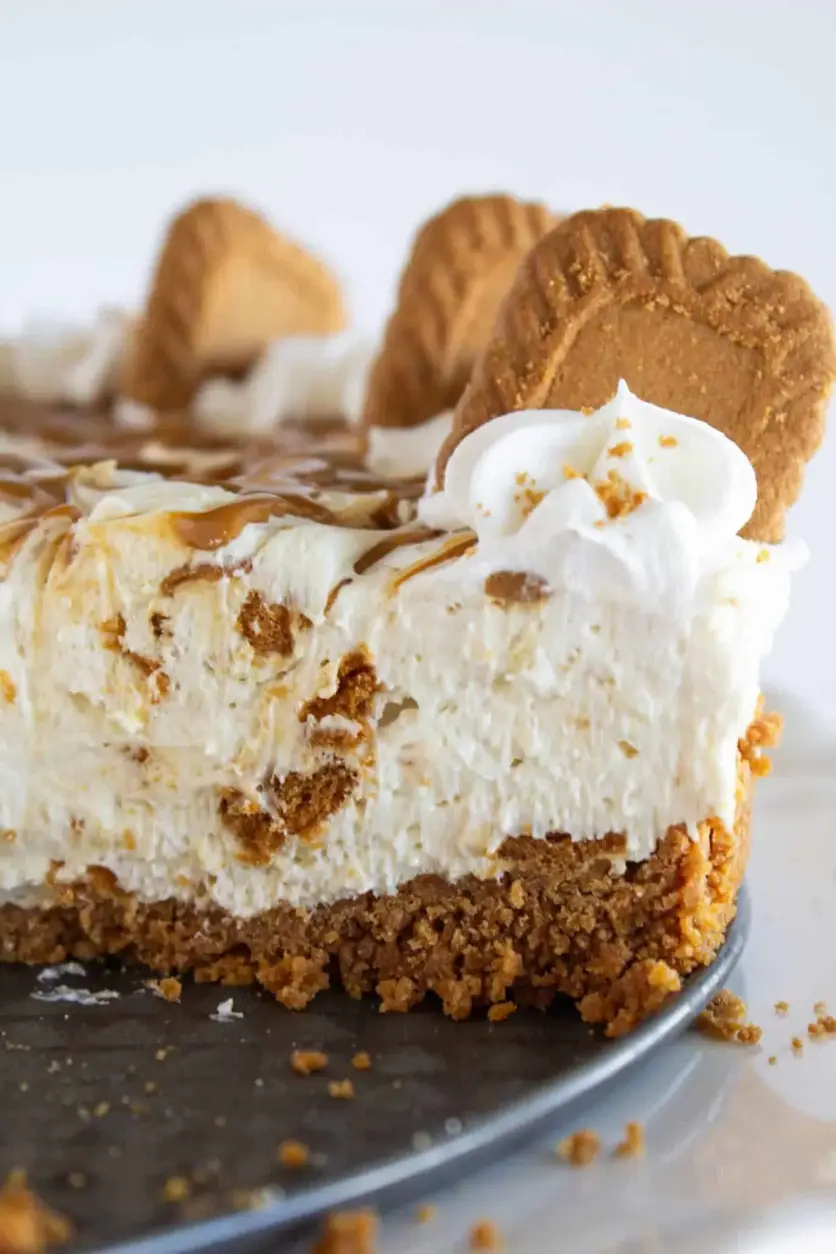
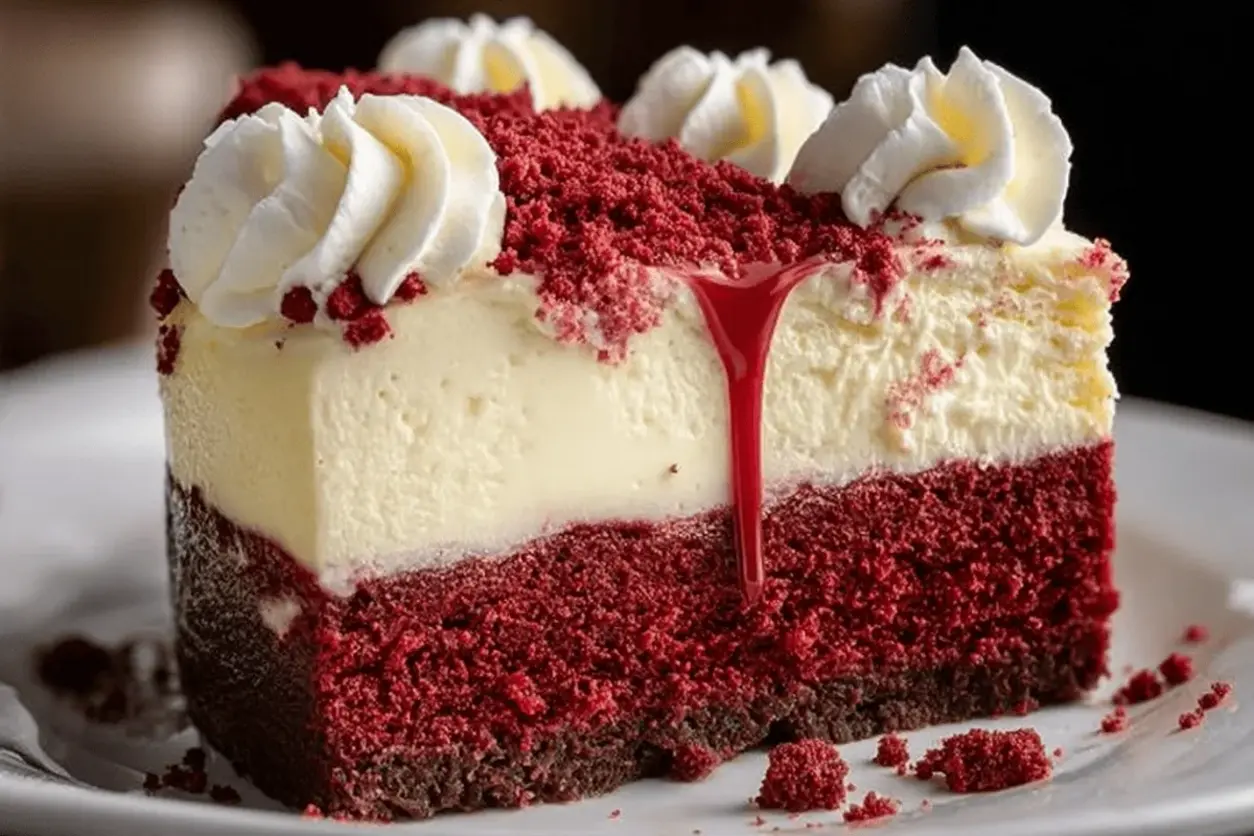
Knock You Naked Red Velvet Cheesecake The Best Viral Dessert of 2025
Description
A luscious red velvet cake base topped with silky smooth cheesecake and finished with clouds of whipped vanilla cream this layered dessert is everything rich, romantic, and irresistible. Whether youre impressing dinner guests or treating yourself, this is the kind of cheesecake that truly lives up to its name.
Ingredients
- For the Red Velvet Cake Base: 1 box red velvet cake mix (plus eggs, oil, and water as directed) 9 springform pan, greased
- For the Cheesecake Layer: 16 oz cream cheese, softened cup granulated sugar 2 large eggs cup sour cream 1 tbsp all-purpose flour 1 tsp vanilla extract ¼ tsp salt
- For the Whipped Topping: 2 cups heavy whipping cream 4 tbsp powdered sugar 2 tsp vanilla extract Optional: red velvet cake crumbs for garnish
Instructions
Notes
Make Ahead: This dessert is ideal for preparing the day before. It needs at least 4 hours to chill, but overnight chilling makes it even easier to slice and enhances flavor fusion.
Cake Mix Tip: Dont overmix your red velvet cake batter; blend just until combined to keep the crumb light and tender.
Clean Slicing Trick: Dip your knife in hot water and wipe it clean between cuts to achieve bakery-style slices.
Mini Cheesecake Variation: Use a muffin tin lined with cupcake papers to create individual servingsgreat for parties and portion control.
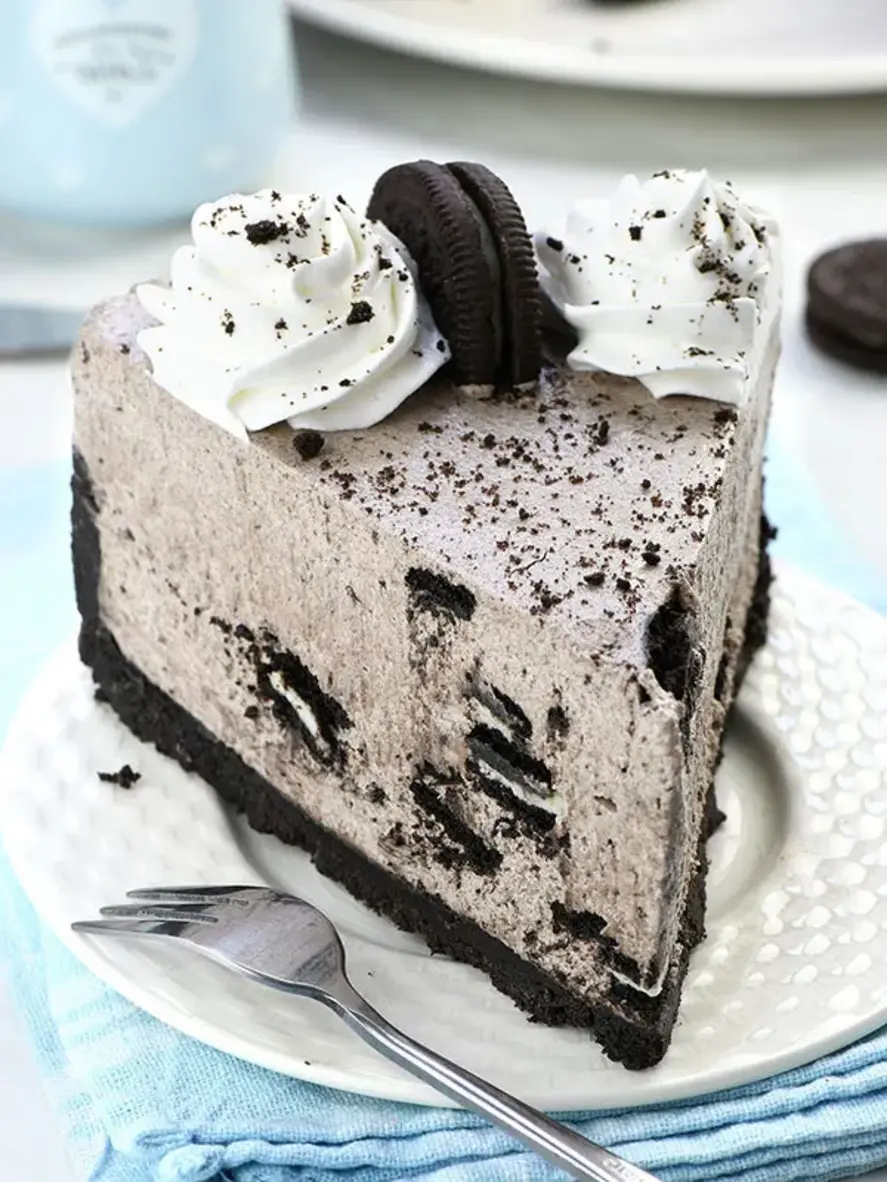
Flavor Twist: Add a teaspoon of espresso powder to the cake mix to deepen the chocolate flavor, or fold in crushed Oreos for added texture.