Olive Garden Bread Sticks
Print

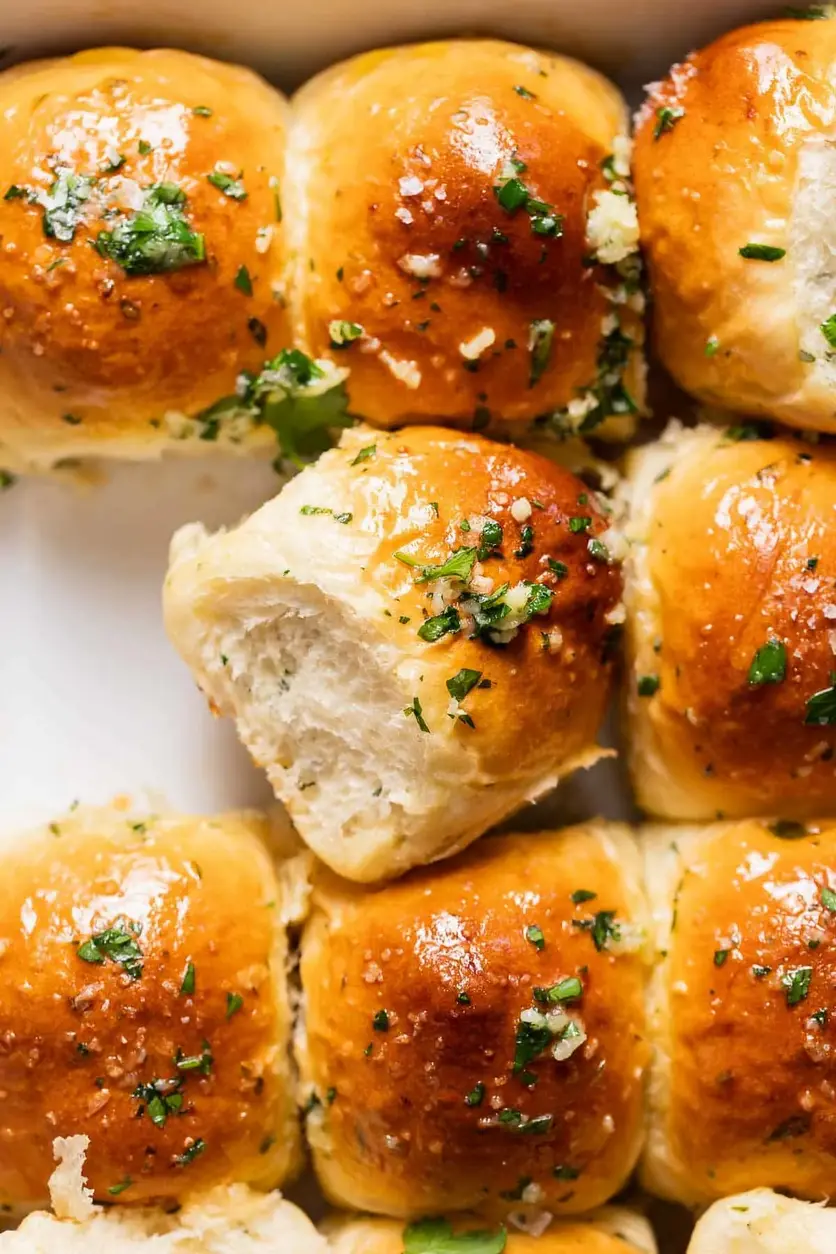
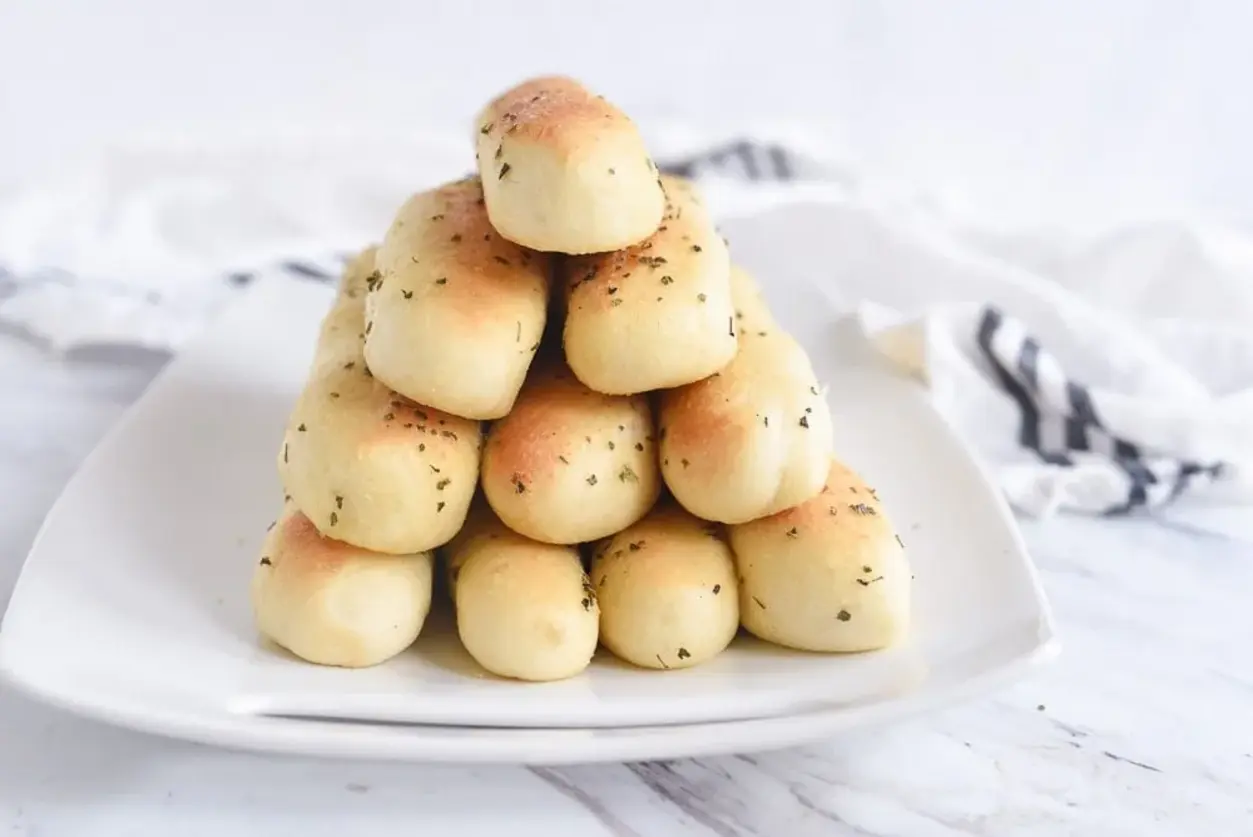
Olive Garden Breadsticks Recipe
Description
These Copycat Olive Garden Bread Sticks are soft and fluffy on the inside just like the real deal. You can enjoy them whenever you want when you make them at home.
Ingredients
Scale
- 2 1/4 tsp dry active yeast
- 1 1/4 cups warm water divided
- 4 1/4 Cups flour
- 2 Tbsp butter softened
- 2 Tbsp sugar
- 1 1/2 tsp salt
Instructions
- To make the dough place 1/4 c warm water in a bowl and sprinkle yeast on top, stir and allow to sit for 5 minutes until foamy..
- Add the sugar, butter, salt and 4 cups flour into a mixer. Add in yeast mixture, remaining water and mix until a sticky dough forms.
- Add some additional flour (1/4 cup or more) and continue mixing until a nice soft, smooth dough forms.
- Place on floured counter top and divide dough in half, forming two one foot long logs of dough.
- Cut each log into 8 even pieces. Roll each piece into a 7 inch long breadstick. You will have 16 breadsticks.
- Place the breadsticks on a parchment lined cookie sheet. Place breadsticks about 1- 1 1/2 inches apart. Cover with a cloth and let rise in a warm place for about 45 minutes.
- Preheat oven to 400.
- Make the topping and brush the breadsticks with 1/2 the mixture before baking.
- Bake until lightly golden brown, about 12-15 minutes.
- After you remove from the oven brush with the remaining butter mixture.
Notes
Tips & Notes: The recipe makes about 16 bread sticks which is too many for my reduced size family so I usually cut the recipe in half and it still works great. Eight bread sticks was enough for dinner and a few for leftovers too. If you need to make these extra quick and easy, you can use some frozen bread dough to make the breadsticks and no one will probably know the difference! You will get 8 breadsticks out of one loaf of frozen bread dough. You can also use frozen rolls and make one breadstick from each roll (they will be slightly smaller)
Nutrition
- Calories: 164kcal
- Sugar: 2g
- Protein: 4g