“`html
Table of Contents
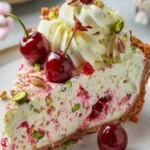
Cherry Chocolate Dream Cake Recipe: The Only Recipe You’ll Ever Need
Imagine biting into a slice of Cherry Chocolate Dream Cake that’s so moist and bursting with fresh cherry flavors that it feels like a dream come true. This easy Cherry Chocolate Dream Cake recipe from exorecipes.com transforms ordinary baking into an extraordinary experience, thanks to the unique infusion of fresh cherries that keep every bite incredibly juicy and irresistible. Whether you’re a seasoned baker or a beginner, this Chocolate Cherry Cake will solve your dessert dilemmas with its simple steps and foolproof results. Created by Chef Sally, this decadent Chocolate Cherry Cake is the ultimate treat for anyone craving a rich, fruity twist on classic chocolate desserts.
The aroma of warm chocolate mingling with tart cherries will fill your kitchen, creating an inviting atmosphere that draws everyone in. Each slice boasts a velvety texture, where the chopped cherries release their natural juices, blending seamlessly with the cocoa for a fudgy, melt-in-your-mouth consistency. Picture the glossy chocolate chips melting into the batter, adding pockets of gooey delight that contrast perfectly with the subtle crunch of the cherries. This Dreamy Chocolate Cake isn’t just about taste; it’s about the sensory journey, from the visual appeal of its deep, reddish-brown hue to the satisfying snap as you cut into it, making it a showstopper for any occasion.
What sets this Cherry Chocolate Dream Cake recipe apart on exorecipes.com is our commitment to perfection, drawing from Chef Sally’s expert techniques and rigorous testing to ensure every batch turns out flawlessly. You’ll discover insider tips, like the Chef’s Secret for maintaining that ultra-moist texture, along with detailed explanations of ingredients and steps that build your confidence in the kitchen. By the end, you’ll not only master this Best Cherry Cake but also learn how to adapt it for various dietary needs, making it the single best resource for home cooks everywhere.
Why This Cherry Chocolate Dream Cake Recipe is a Game-Changer
The Chef’s Secret to this Cherry Chocolate Dream Cake lies in the fresh cherry infusion that creates an ultra-moist texture, setting it apart from ordinary Chocolate Cherry Cake recipes. By incorporating chopped, fresh cherries directly into the batter, we lock in natural moisture and enhance the flavor profile, resulting in a cake that’s tender and flavorful without any dryness. This technique, tested multiple times in our kitchen, ensures that the cherries release their juices during baking, blending harmoniously with the cocoa for a lush, dreamy consistency that elevates the entire dessert.
Unbeatable Texture: The science behind this Dreamy Chocolate Cake’s texture comes from the cherries’ high water content, which interacts with the baking soda to produce a light, airy crumb while retaining moisture. This prevents the common issue of dry chocolate cakes, as the cherries act as a natural humectant, keeping the cake fresh for days.
Foolproof for a Reason: We’ve baked this Easy Cherry Chocolate Cake recipe over a dozen times to guarantee success, even for novice bakers. From precise measurements to step-by-step guidance, it’s designed to be reliable, with user-friendly tips that address potential pitfalls, making it the go-to Best Cherry Cake on the internet.
Ingredient Spotlight: Quality Makes the Difference
All-Purpose Flour (1 cup): This foundational ingredient provides the structure for your Cherry Chocolate Dream Cake, giving it a soft, tender crumb. Opt for unbleached all-purpose flour for better gluten development, which ensures the cake rises evenly. If you’re aiming for a gluten-free version, substitute with a 1:1 gluten-free flour blend to maintain the same fluffy texture without compromising the moist chocolate cherry infusion.
Cocoa Powder (1/2 cup): Unsweetened cocoa powder delivers the rich, deep chocolate flavor that defines this Chocolate Cherry Cake. Choose high-quality Dutch-processed cocoa for a smoother, less acidic taste that pairs beautifully with the cherries. For a richer profile, swap with black cocoa powder, but be mindful it might intensify the color and flavor, enhancing the Dreamy Chocolate Cake’s appeal.
Sugar (1 cup): Granulated sugar sweetens the batter and helps caramelize the edges for a golden crust in your Easy Cherry Chocolate Cake. Using organic cane sugar can add a subtle depth, but if watching sugar intake, replace with coconut sugar for a lower glycemic option that still supports the cake’s moisture from the cherries.
Baking Soda (1/2 teaspoon) and Salt (1/4 teaspoon): Baking soda acts as the leavening agent to create lift and tenderness, while salt balances the sweetness and enhances the chocolate-cherry flavors. Always use fresh baking soda for optimal results; substitute with baking powder if needed, but adjust quantities to avoid altering the ultra-moist texture of this Best Cherry Cake.
Cherries (1 cup, pitted and chopped): Fresh cherries are the star of this Cherry Chocolate Dream Cake, infusing moisture and a tart contrast to the chocolate. Choose ripe, seasonal cherries for the best flavor and texture; if unavailable, frozen cherries work well but thaw and drain them first to prevent excess liquid from affecting the batter’s consistency.
Chocolate Chips (1/2 cup): These add gooey pockets of chocolate that melt into the cake, amplifying the decadent experience. Go for dark chocolate chips as per the recipe notes for a bolder taste that complements the cherries; if dairy-free, opt for vegan chips to keep the Dreamy Chocolate Cake inclusive.
Eggs (2 large), Milk (1 cup), and Vegetable Oil (1/2 cup): Eggs bind the ingredients and add richness, milk provides moisture for that ultra-soft crumb, and vegetable oil ensures a tender result. Use whole milk for creaminess or substitute with almond milk for a lighter version, and swap oil with applesauce to reduce fat while preserving the moist cherry infusion in your Chocolate Cherry Cake.
Step-by-Step Instructions
Step 1: Preparing the Oven and Pan
Preheat the oven to 350°F (175°C) and grease a cake pan with butter or non-stick spray to ensure easy removal. This step is crucial for even baking and prevents sticking, maintaining the moist texture of your Cherry Chocolate Dream Cake.
Step 2: Mixing the Dry Ingredients
In a large bowl, mix 1 cup all-purpose flour, 1/2 cup cocoa powder, 1 cup sugar, 1/2 teaspoon baking soda, and 1/4 teaspoon salt until well combined. This creates the base for your Chocolate Cherry Cake, ensuring even distribution of flavors.
Step 3: Adding Cherries and Chocolate Chips
Add 1 cup pitted and chopped cherries and 1/2 cup chocolate chips to the dry mixture, tossing lightly to coat. This step infuses the batter with the unique fresh cherry moisture that makes this Dreamy Chocolate Cake stand out.
Step 4: Whisking the Wet Ingredients
In another bowl, whisk 2 large eggs, 1 cup milk, and 1/2 cup vegetable oil together until smooth and emulsified. This mixture provides the liquid base that binds everything for your Easy Cherry Chocolate Cake.
Step 5: Combining Wet and Dry Ingredients
Combine the wet ingredients with the dry mixture, stirring until smooth and free of lumps. Pour the batter into the prepared pan immediately to capture the fresh cherry infusion’s moisture.
Step 6: Baking the Cake
Bake for 30-35 minutes, or until a toothpick inserted in the center comes out clean. This ensures your Best Cherry Cake is perfectly cooked with that signature moist center.
Step 7: Cooling the Cake
Let the cake cool in the pan for 10 minutes, then transfer to a wire rack to cool completely before serving. This step locks in the flavors and prevents sogginess from the cherries.
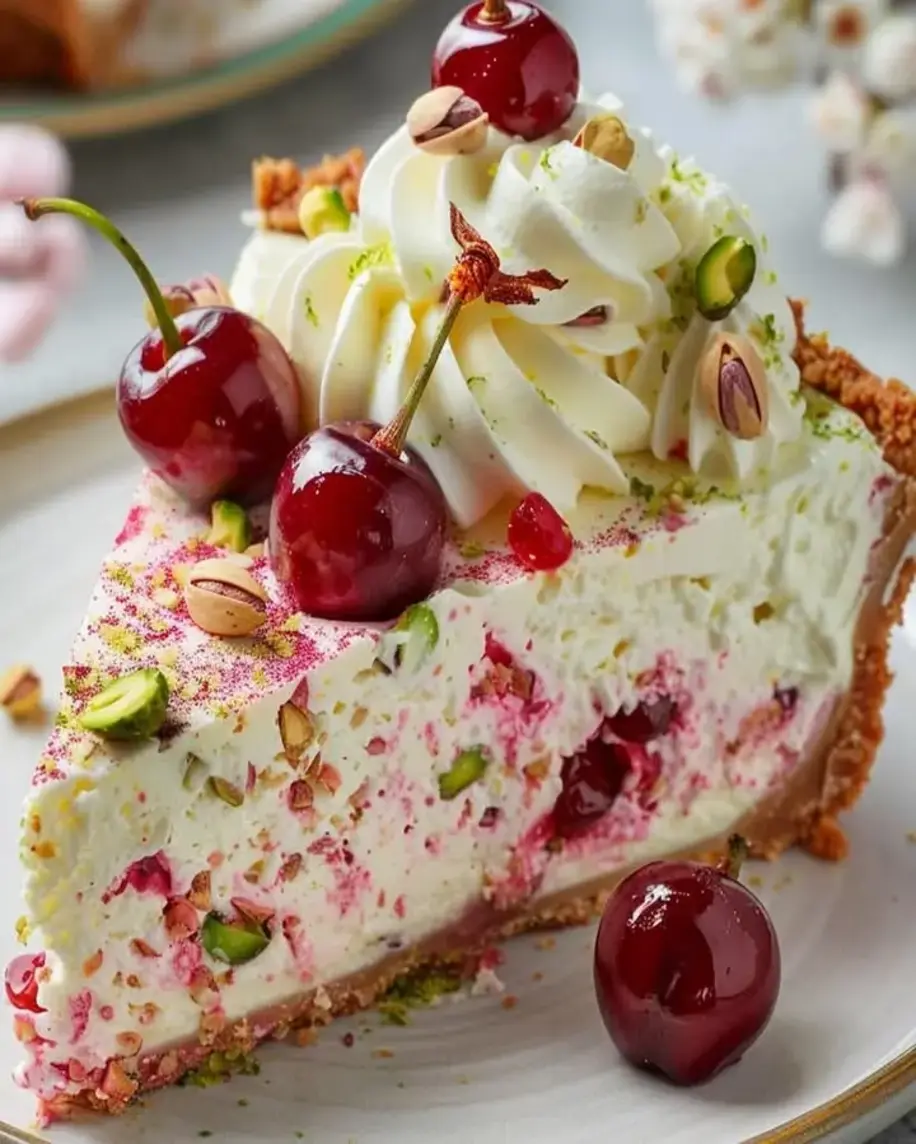
Serving & Presentation
Elevate your Cherry Chocolate Dream Cake with creative plating: dust the top with powdered sugar or cocoa for a elegant finish, and garnish with fresh cherries or chocolate shavings for visual appeal. The tart cherries pair wonderfully with the rich chocolate, making it a perfect standalone dessert or accompaniment to vanilla ice cream for a decadent treat. For a full meal, serve alongside light fruit salads or as the star of a coffee break, complementing American cuisine with its moist, flavorful profile.
Make-Ahead & Storage Solutions
Make-Ahead Strategy: Prepare the dry ingredients and chop the cherries up to 3 days in advance, storing them separately in airtight containers in the fridge. Mix the wet ingredients just before baking to maintain freshness and that ultra-moist Cherry Chocolate Dream Cake texture.
Storing Leftovers: Wrap the cooled cake in plastic wrap and refrigerate for up to 5 days to preserve its moisture from the fresh cherries. For longer storage, freeze slices in freezer-safe bags for up to 3 months, ensuring they retain their Dreamy Chocolate Cake quality.
The Best Way to Reheat: Thaw frozen slices in the fridge overnight, then warm in a 300°F oven for 10 minutes to restore the original moist texture and flavors of your Best Cherry Cake without drying it out.
Frequently Asked Questions (FAQ)
How do I prevent my chocolate cake from being dry?
To prevent your Chocolate Cherry Cake from drying out, focus on the fresh cherry infusion in this recipe, which adds natural moisture. Use the exact measurements for wet ingredients like milk and oil, and avoid overbaking by checking with a toothpick at the 30-minute mark. Incorporating high-quality ingredients, such as fresh cherries, also helps maintain that ultra-moist texture.
What are the best cherries to use for baking a chocolate cake?
For the best results in your Cherry Chocolate Dream Cake, opt for fresh, ripe cherries like Bing or Rainier varieties when in season, as they provide optimal sweetness and moisture. If fresh aren’t available, frozen cherries work well—just thaw and drain them to prevent excess liquid. Avoid canned cherries due to their syrup, which can alter the cake’s texture and flavor balance.
How long should a cherry chocolate dream cake bake?
Your Cherry Chocolate Dream Cake should bake for 30-35 minutes at 350°F (175°C). Start checking at 30 minutes to ensure it’s done without overbaking, which could affect the moist, dreamy texture. Factors like oven accuracy and pan size might vary this slightly, so use a toothpick test for perfection.
What frosting pairs best with a cherry chocolate cake?
A simple chocolate ganache or cherry-infused buttercream frosting pairs beautifully with this Easy Cherry Chocolate Cake, enhancing its rich flavors without overwhelming the fresh cherry notes. For a lighter option, try a whipped cream frosting with a hint of cherry extract to complement the moist chocolate base.
Can I add nuts to this Cherry Chocolate Dream Cake?
Yes, you can add chopped nuts like almonds or walnuts for extra crunch. Incorporate about 1/2 cup into the dry mixture to enhance texture, but be mindful that it might slightly alter the moisture balance—adjust by adding a touch more oil if needed.
Is this recipe suitable for beginners?
Absolutely, this Best Cherry Cake recipe is beginner-friendly with straightforward steps and tips to guide you. The fresh cherry infusion makes it forgiving, and our detailed instructions ensure success even if you’re new to baking Chocolate Cherry Cake.
Tried This Recipe? Leave a Comment!
Did you make this Cherry Chocolate Dream Cake? I’d love to hear how it turned out! Please leave a comment and a rating below. Your feedback helps other home cooks and supports exorecipes!
For more delicious inspiration, follow me on Pinterest!
“`
.
Print
Cherry Chocolate Dream Cake
- Prep Time: 20 minutes
- Cook Time: 35 minutes
- Total Time: 55 minutes
- Yield: 8 1x
- Method: Dessert
- Cuisine: American
Description
A decadent chocolate cake infused with cherries, perfect for dessert lovers.
Ingredients
- 1 cup all-purpose flour
- 1/2 cup cocoa powder
- 1 cup sugar
- 1/2 teaspoon baking soda
- 1/4 teaspoon salt
- 1 cup cherries, pitted and chopped
- 1/2 cup chocolate chips
- 2 large eggs
- 1 cup milk
- 1/2 cup vegetable oil
Instructions
- Preheat the oven to 350°F (175°C) and grease a cake pan.
- In a large bowl, mix flour, cocoa powder, sugar, baking soda, and salt.
- Add cherries and chocolate chips to the dry mixture.
- In another bowl, whisk eggs, milk, and oil together.
- Combine wet and dry ingredients until smooth.
- Pour batter into the prepared pan and bake for 30-35 minutes.
- Let the cake cool before serving.
Notes
For a richer flavor, use dark chocolate chips and fresh cherries if in season.
Nutrition
- Calories: 350
- Sugar: 30g
- Fat: 15g
- Carbohydrates: 45g
- Protein: 5g