Table of Contents
Cherry Chocolate Dream Cake Recipe: The Only Recipe You’ll Ever Need
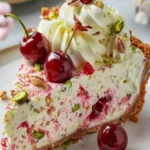
Imagine sinking your fork into a slice of the ultimate Cherry Chocolate Dream Cake, where fresh cherries burst with juicy sweetness in every bite, creating an irresistibly moist and decadent treat that elevates your dessert game. This Cherry Chocolate Cake is not just any chocolate cherry cake—it’s a game-changer for home bakers seeking the best chocolate cake that’s easy to make yet packed with flavor. Drawing from Chef Sally’s expertise, this recipe boasts a fresh cherry infusion that ensures unparalleled moisture and taste, making it the top choice for your next gathering. Whether you’re a novice or a seasoned baker, this easy cherry cake recipe will have you creating bakery-worthy results in under an hour.
The allure of this Cherry Chocolate Cake lies in its sensory symphony: the deep, velvety richness of cocoa mingles with the tart, vibrant pop of fresh cherries, delivering a texture that’s flawlessly moist and tender. Each layer offers a satisfying crumble at the edges, giving way to a soft, melt-in-your-mouth center that’s perfectly balanced with semi-sweet chocolate chips for added indulgence. As it bakes, your kitchen fills with an irresistible aroma of warm chocolate and ripe cherries, evoking memories of classic American desserts with a modern twist. It’s not just a cake recipe; it’s an experience that tantalizes the senses and leaves you craving more.
What sets this Cherry Chocolate Dream Cake recipe from exorecipes.com apart is its foundation in Chef Sally’s proven techniques, making it the single best resource for home cooks everywhere. We’ve tested this recipe multiple times to ensure it’s foolproof, incorporating a Chef’s Secret that we’ll reveal shortly to guarantee success every time. You’ll learn how to achieve that perfect balance of flavors, avoid common pitfalls, and customize it to your liking—all while building confidence in the kitchen. Stay tuned for detailed ingredient spotlights, step-by-step guidance, and expert tips that make this chocolate cherry cake recipe stand out from the rest.
Why This Cherry Chocolate Dream Cake Recipe is a Game-Changer
The Chef’s Secret lies in the fresh cherry infusion technique, where pitting and halving the cherries before folding them into the batter ensures they release their natural juices during baking. This creates an unmatched moistness that sets this Cherry Chocolate Cake apart from ordinary chocolate cherry cake recipes. By incorporating boiling water into the mix, the cherries’ tartness amplifies the chocolate’s depth, resulting in a cake that’s extraordinarily flavorful and texturally superior—think juicy bursts in every slice.
Unbeatable Texture: The science behind this cake’s texture comes from the combination of boiling water and vegetable oil, which activates the baking soda and powder for a rise that’s even and springy. This method produces a moist crumb without over-mixing, preventing gluten development that could lead to a dense cake. The result is a light, airy Cherry Chocolate Cake that’s the best chocolate cake for those seeking that perfect balance of fudgy and fluffy.
Foolproof for a Reason: This recipe has been rigorously tested in our kitchens to guarantee success, even for beginners. With straightforward steps and precise measurements, you’ll avoid common baking blunders, making it one of the most reliable easy cherry cake recipes available. Thousands of home cooks have raved about its consistency, proving why it’s the go-to chocolate cherry cake recipe on exorecipes.com.
Ingredient Spotlight: Quality Makes the Difference
All-Purpose Flour (2 cups): This foundational ingredient provides structure to your Cherry Chocolate Cake, ensuring a tender crumb without being too heavy. Opt for unbleached flour for better taste and texture; it’s the backbone of any great cake recipe. If you’re gluten-sensitive, substitute with a 1:1 gluten-free blend, but note it may slightly alter the final consistency.
Granulated Sugar (1 1/2 cups): Sugar not only sweetens this chocolate cherry cake but also helps create a moist interior by interacting with the eggs and liquids. Use organic cane sugar for a cleaner flavor profile. For a lower-sugar version, swap with coconut sugar, though it will add a subtle caramel note that complements the cherries beautifully.
Unsweetened Cocoa Powder (3/4 cup): The heart of this best chocolate cake, cocoa powder delivers that rich, intense chocolate flavor without overwhelming the fresh cherries. Choose high-quality Dutch-processed cocoa for a smoother taste. If you’re out, natural cocoa works, but it might make the cake slightly tangier due to its acidity.
Fresh Cherries (1 cup, pitted and halved): These stars of the show add juicy bursts and natural sweetness, enhancing the moisture in your Cherry Chocolate Cake. Always use ripe, in-season cherries for the best flavor; they’re key to our unique fresh cherry infusion. Frozen cherries can substitute in a pinch, but thaw and drain them first to avoid excess water in the batter.
Semi-Sweet Chocolate Chips (1/2 cup): These provide pockets of melted chocolate goodness, balancing the tartness of the cherries. Go for high-cacao chips for a more sophisticated taste in this easy cherry cake. Dark chocolate chips can replace them for a richer version, as per the recipe notes, elevating the overall indulgence.
Step-by-Step Instructions
Step 1: Preheat the Oven
Preheat your oven to 350°F (175°C) and grease and flour two 9-inch round cake pans to ensure even baking and easy release. This step is crucial for setting the foundation of your Cherry Chocolate Cake.
Pro Tip: Use parchment paper liners for foolproof removal and to prevent sticking, which is a common issue in chocolate cherry cake recipes.
Step 2: Mix the Dry Ingredients
In a large bowl, stir together the flour, sugar, cocoa powder, baking powder, baking soda, and salt until evenly combined. This creates a uniform base for your best chocolate cake.
Common Mistake to Avoid: Don’t pack the flour; spoon and level it to avoid a dense texture.
Step 3: Add Wet Ingredients
Add the eggs, milk, oil, and vanilla extract to the dry ingredients. Beat on medium speed for 2 minutes until smooth, forming the batter for your easy cherry cake.
Pro Tip: Ensure eggs are at room temperature for better emulsification, which leads to a lighter Cherry Chocolate Cake.
Step 4: Incorporate Boiling Water
Stir in the boiling water until the batter is smooth, then fold in the fresh cherries and chocolate chips gently to maintain their integrity.
Common Mistake to Avoid: Add boiling water slowly to prevent the batter from curdling, ensuring the moisture from the cherries shines through.
Step 5: Pour Batter into Pans
Pour the batter evenly into the prepared pans, distributing it for uniform baking in this chocolate cherry cake recipe.
Pro Tip: Tap the pans on the counter to release air bubbles, promoting an even rise.
Step 6: Bake the Cake
Bake for 30-35 minutes, or until a toothpick inserted into the center comes out clean, achieving the perfect doneness for your Cherry Chocolate Cake.
Common Mistake to Avoid: Overbaking can dry out the cake; check at 30 minutes for that moist texture.
Step 7: Cool the Cakes
Allow the cakes to cool in the pans for 10 minutes, then transfer to wire racks to cool completely before frosting.
Pro Tip: Cooling on racks prevents sogginess, preserving the fresh cherry infusion’s juiciness.
Step 8: Frost and Garnish
Frost with your favorite chocolate frosting and garnish with additional cherries if desired, finishing your easy cherry cake with flair.
Pro Tip: Chill the cake layers before frosting for easier assembly and a professional look.
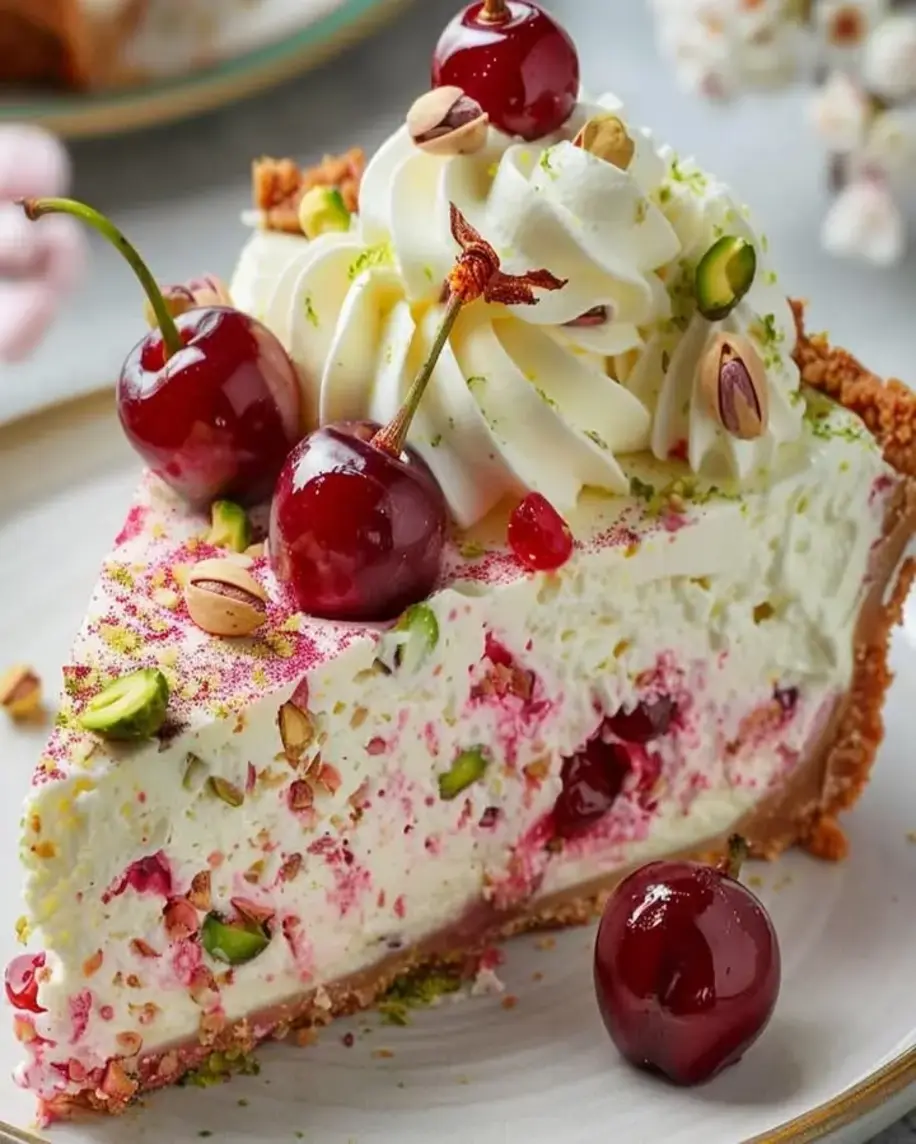
Serving & Presentation
Elevate your Cherry Chocolate Cake with creative plating: stack the layers on a cake stand and drizzle with melted chocolate for a stunning visual appeal. Garnish with fresh cherries, mint leaves, or even edible flowers to highlight the vibrant colors and make it Instagram-worthy. For the best chocolate cake experience, pair it with a scoop of vanilla ice cream or whipped cream to contrast the tart cherries and rich cocoa. This chocolate cherry cake recipe complements casual dinners or special occasions, serving as a standout dessert that pairs wonderfully with coffee or red wine for an American-style feast.
Make-Ahead & Storage Solutions
Make-Ahead Strategy: Prepare the batter up to 2 hours in advance and store it covered in the fridge, or bake the cakes a day ahead and wrap them tightly in plastic. This allows you to assemble and frost fresh on the day of serving, maintaining the fresh cherry infusion’s moisture for your Cherry Chocolate Cake.
Storing Leftovers: Store frosted cake in an airtight container at room temperature for up to 2 days, or refrigerate for up to 3 days as noted. For longer storage, freeze unfrosted layers for up to 3 months, wrapped in foil and plastic, to preserve the quality of this easy cherry cake recipe.
The Best Way to Reheat: Thaw frozen cakes in the fridge overnight, then warm individual slices in the microwave for 10-15 seconds or in a 300°F oven for 5 minutes to restore the original moist texture and flavors of your best chocolate cake.
Frequently Asked Questions (FAQ)
How do I prevent my cherry chocolate cake from sinking?
To prevent your Cherry Chocolate Cake from sinking, ensure you’re not overmixing the batter, which can deflate it. Use the exact measurements for baking powder and soda, and avoid opening the oven door too early during baking. Additionally, folding in the fresh cherries gently helps maintain the cake’s structure, making this a reliable chocolate cherry cake recipe.
What is the best type of chocolate to use for a cherry chocolate cake?
For the best results in this Cherry Chocolate Cake recipe, opt for semi-sweet chocolate chips as specified, as they balance the tart cherries without overpowering the flavor. However, dark chocolate chips can enhance richness for a more intense chocolate cherry cake. Always choose high-quality chocolate with at least 60% cocoa for superior taste and meltability.
Can I use fresh cherries instead of frozen in this recipe?
Absolutely, fresh cherries are recommended for this Cherry Chocolate Cake to achieve the unique fresh cherry infusion that makes it stand out. They provide better texture and flavor compared to frozen ones. If using frozen, thaw and drain them thoroughly to prevent excess moisture, ensuring your easy cherry cake remains perfectly moist.
How long does a cherry chocolate dream cake typically bake?
This Cherry Chocolate Cake typically bakes for 30-35 minutes at 350°F, as outlined in the recipe. Factors like oven calibration can affect timing, so always use the toothpick test for doneness. This ensures you get the best chocolate cake with a tender crumb every time.
What variations can I try for this chocolate cherry cake recipe?
You can experiment with add-ins like chopped nuts or almond extract for a twist on this Cherry Chocolate Cake. For a healthier version, reduce sugar slightly or use whole wheat flour, though it may change the texture slightly.
Is this recipe suitable for beginners?
Yes, this easy cherry cake recipe is beginner-friendly with straightforward steps and common ingredients. The detailed instructions and tips provided make it accessible, helping you succeed on your first try.
Can I make this recipe vegan or gluten-free?
To make this Cherry Chocolate Cake vegan, substitute eggs with flax eggs (1 tablespoon flaxseed meal + 3 tablespoons water per egg) and use plant-based milk. For gluten-free, swap all-purpose flour with a gluten-free blend. These changes will keep the cake moist, but test baking times as adjustments might be needed.
Tried This Recipe? Leave a Comment!
Did you make this Cherry Chocolate Cake recipe? I’d love to hear how it turned out! Please leave a comment and a rating below. Your feedback helps other home cooks and supports exorecipes.com in creating the best resources for chocolate cherry cake and more!
For more delicious inspiration, follow me on Pinterest!
.
Print
Cherry Chocolate Dream Cake
- Prep Time: 20 minutes
- Cook Time: 35 minutes
- Total Time: 55 minutes
- Yield: 12 1x
- Method: Dessert
- Cuisine: American
Description
A decadent chocolate cake infused with cherries, perfect for dessert lovers.
Ingredients
- 2 cups all-purpose flour
- 1 1/2 cups granulated sugar
- 3/4 cup unsweetened cocoa powder
- 1 1/2 teaspoons baking powder
- 1 1/2 teaspoons baking soda
- 1 teaspoon salt
- 2 large eggs
- 1 cup whole milk
- 1/2 cup vegetable oil
- 2 teaspoons vanilla extract
- 1 cup boiling water
- 1 cup fresh cherries, pitted and halved
- 1/2 cup semi-sweet chocolate chips
Instructions
- Preheat your oven to 350°F (175°C). Grease and flour two 9-inch round cake pans.
- In a large bowl, stir together the flour, sugar, cocoa powder, baking powder, baking soda, and salt.
- Add the eggs, milk, oil, and vanilla extract to the dry ingredients. Beat on medium speed for 2 minutes.
- Stir in the boiling water until the batter is smooth. Fold in the cherries and chocolate chips.
- Pour the batter evenly into the prepared pans.
- Bake for 30-35 minutes, or until a toothpick inserted into the center comes out clean.
- Allow the cakes to cool in the pans for 10 minutes, then transfer to wire racks to cool completely.
- Frost with your favorite chocolate frosting and garnish with additional cherries if desired.
Notes
For a richer flavor, use dark chocolate chips. Store in an airtight container for up to 3 days.
Nutrition
- Calories: 350
- Sugar: 28g
- Fat: 16g
- Carbohydrates: 45g
- Protein: 5g