Table of Contents
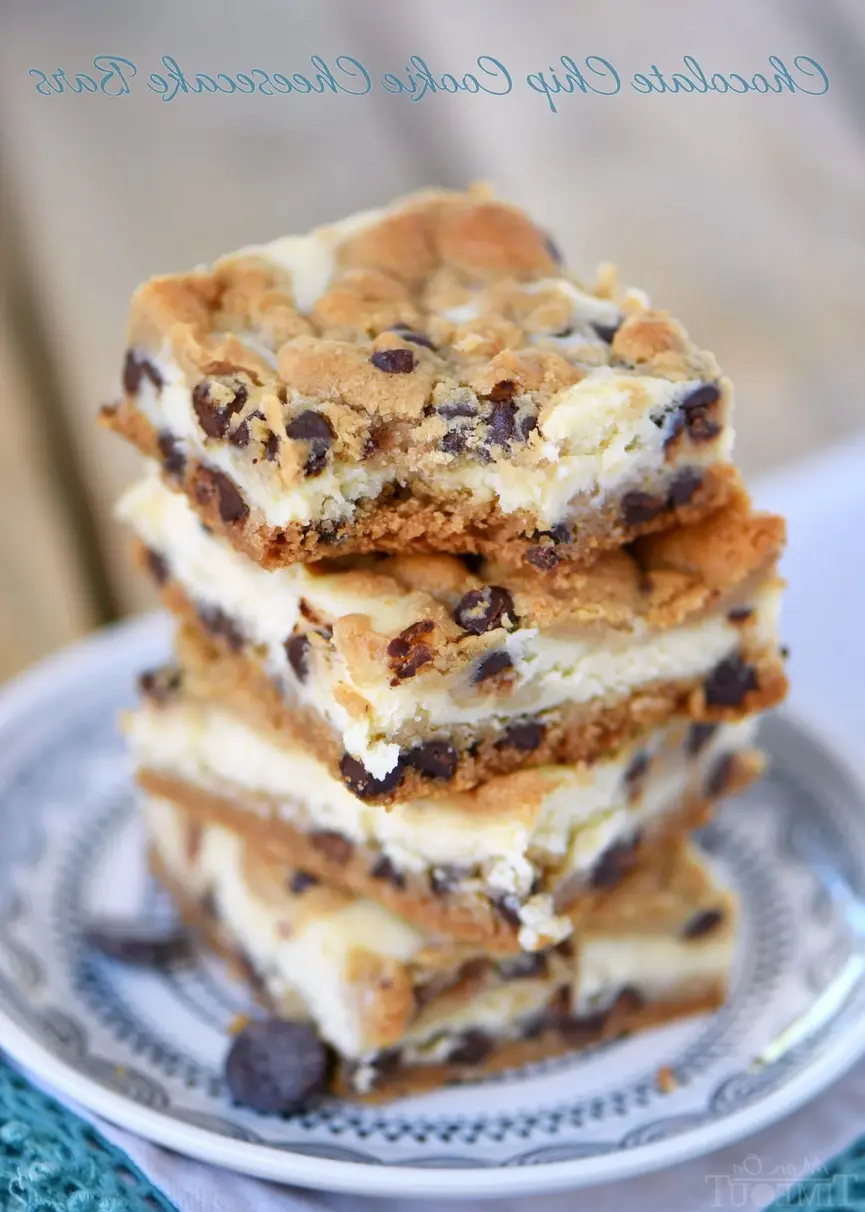
Chocolate Chip Cookie Cheesecake Bars – 5-Ingredient Easy Dessert
Let me take you back to my mother’s kitchen in Morocco, where she’d layer sweet dough with a tangy cream filling for a hasty weekend treat. Years later, after training at Le Cordon Bleu in Paris and now cooking in my tiny NYC apartment, I’ve reimagined that concept into these chocolate chip cookie cheesecake bars. Made with just five ingredients, they’re the perfect cross between a classic chocolate chip cookie and a silky cheesecake — and they come together in under an hour.
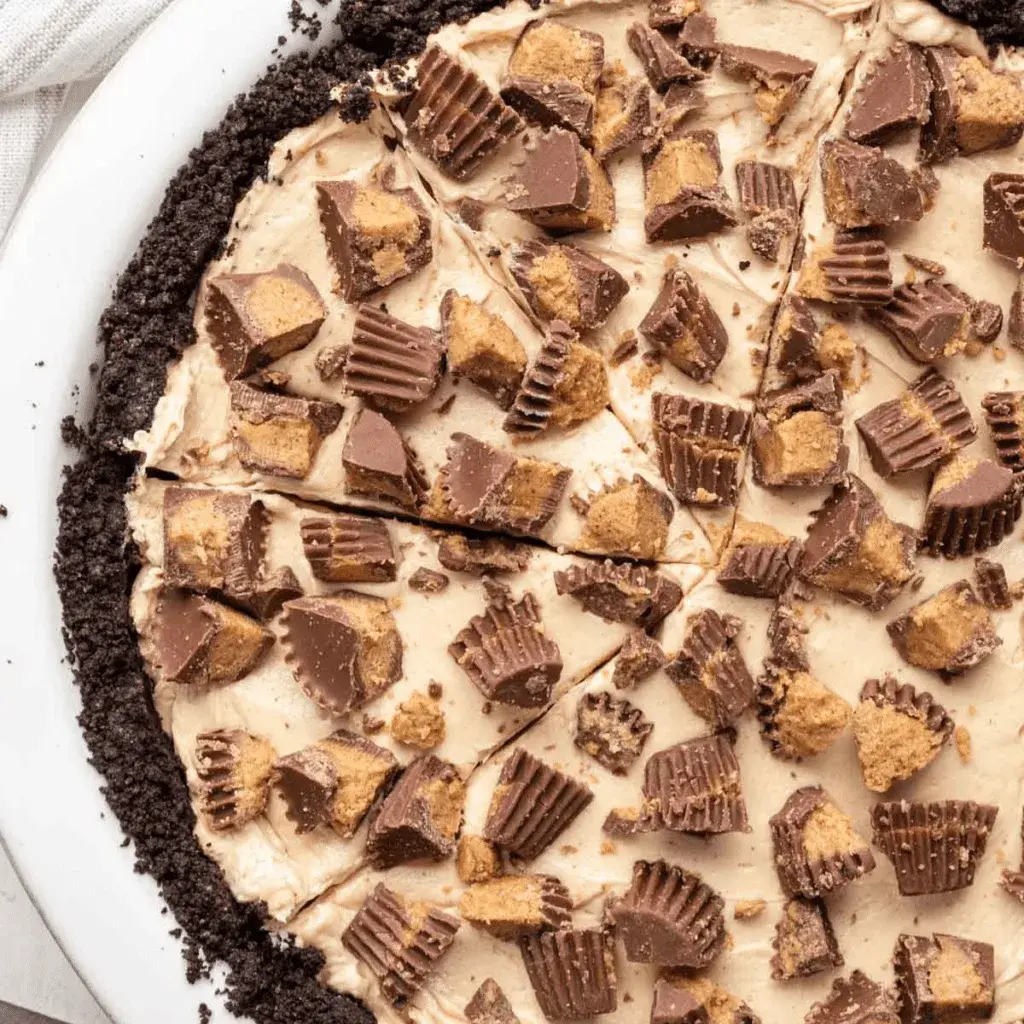
Imagine a buttery, chewy cookie base topped with a luscious layer of vanilla cream cheese filling, all studded with melting chocolate chips. The first bite gives you that familiar crunch, followed by the cool, velvety richness of cheesecake. A sprinkle of coarse sea salt brings out the chocolate and cuts the sweetness — just like I learned from the pastry chefs at Le Cordon Bleu.
I’ve tested this recipe a dozen times to make sure it’s foolproof even for beginner bakers. The secret? Using refrigerated cookie dough as both crust and crumble topping saves time without sacrificing flavor. Plus, I’ll share my best tip for preventing cracks — and the one mistake most people make that leads to a soggy base. Trust me, once you make these easy cheesecake bars, you’ll never look at boxed mixes the same way again.
Why This Chocolate Chip Cookie Cheesecake Bars Recipe Is the Best
The Flavor Secret – The combination of a buttery chocolate chip cookie with a tangy cream cheese filling is pure magic. I add a touch of vanilla to the cheesecake layer — a technique I brought back from Paris — which rounds out the flavors and makes the chocolate chips pop. No fancy extracts needed, just good old vanilla.
Perfected Texture – The key is par-baking the cookie bottom so it stays firm and doesn’t turn soggy from the cheesecake. I also spread the cheesecake filling directly over the hot crust, which creates a gentle seal. The result is a crisp, golden base, a creamy center, and a crumbly topping that stays crunchy.
Foolproof & Fast – Only five ingredients, no stand mixer required for the cookie part, and everything comes together in one pan. The hardest part is waiting for them to cool before slicing! Whether you’re a seasoned baker or a complete beginner, these cookie cheesecake bars will come out perfect every time.
Chocolate Chip Cookie Cheesecake Bars Ingredients
I grab my cream cheese from the farmers market in Union Square, and the cookie dough from the refrigerated aisle at my local bodega. It reminds me of the convenience my mother wished for — a few shortcuts that still taste homemade.
Ingredients List
- 1 (18 oz) refrigerated chocolate chip cookie dough
- 8 oz cream cheese, softened
- 1/2 cup granulated sugar
- 1 large egg, at room temperature
- 1/2 tsp vanilla extract
Ingredient Spotlight
Cookie Dough – The base and topping in one! Use a reputable brand like Pillsbury or Trader Joe’s. For a homemade feel, you can replace with your favorite chocolate chip cookie dough recipe — just press two thirds for the base and crumble the rest.
Cream Cheese – Full-fat brick cream cheese gives the best creamy, firm texture. Avoid whipped or spreadable versions, as they contain too much air and water, which can cause the cheesecake to crack. Let it soften to room temperature for a smooth batter.
Sugar – Standard granulated sugar dissolves easily and keeps the filling sweet without being gritty. You can reduce to 1/3 cup if you prefer a less sweet cheesecake, but I wouldn’t go lower.
Egg – Room temperature egg ensures it emulsifies smoothly into the cream cheese. A cold egg will make the filling lumpy. If you’re in a hurry, place the egg in a bowl of warm water for 5 minutes.
Vanilla Extract – Pure vanilla extract adds a warm, floral note that elevates the entire bar. You can substitute with vanilla bean paste for speckled perfection, or even a pinch of almond extract for a subtle twist.
| Original Ingredient | Best Substitution | Flavor / Texture Impact |
|---|---|---|
| Refrigerated cookie dough | Homemade chocolate chip cookie dough | More buttery, can control chocolate chips; slightly more effort |
| Cream cheese | Neufchâtel cheese (lower fat) | Slightly less creamy, tangier; will set a bit softer |
| Granulated sugar | Coconut sugar | Deeper caramel notes, slightly grainier texture; may darken filling |
| Egg | Flax egg (1 Tbsp flax + 3 Tbsp water) | Denser, less rise; not recommended for best texture |
| Vanilla extract | Vanilla bean paste or almond extract | Paste adds specks; almond gives a nutty twist – use 1/4 tsp |
How to Make Chocolate Chip Cookie Cheesecake Bars — Step-by-Step
Follow these simple steps and you’ll have a pan of glorious no-fuss cheesecake bars in just over half an hour. I’ll be right here with my best tips and tricks.
Step 1: Prepare the Pan
Preheat your oven to 350°F. Line a 9-inch square baking dish with parchment paper or non-stick foil, leaving a little overhang on two sides. This makes it easy to lift the bars out after baking.
💡 mia’s Pro Tip: Use foil with a slight non-stick coating, then lightly spray it with cooking spray. The cheesecake won’t stick, and cleanup is a breeze.
Step 2: Press the Cookie Dough
Spread a little more than half of the refrigerated cookie dough onto the bottom of the prepared pan. Press it down firmly into an even layer using your fingers or the back of a spatula. This will be the crust.
⚠️ Common Mistake to Avoid: Don’t press too hard or the crust will become thin and under-baked. Aim for about 1/4 inch thickness – thick enough to hold the filling.
Step 3: Make the Cheesecake Filling
In a large bowl using a hand or stand mixer, beat the softened cream cheese until light and fluffy, about 2 minutes. Add the sugar and beat until well combined, scraping down the sides. Beat in the room-temperature egg and vanilla extract until smooth and creamy.
💡 mia’s Pro Tip: Really let your cream cheese come to room temperature (about 30 minutes on the counter). Cold cream cheese creates lumps that won’t bake out – I learned that the hard way in pastry school!
Step 4: Assemble and Bake
Pour the cheesecake filling over the cookie dough base and spread it evenly. Crumble the remaining cookie dough over the top in small, irregular pieces – don’t press them down.
Bake for 30 to 35 minutes, until the edges are set and the top is lightly golden with a slight jiggle in the very center. A knife inserted near the center should come out clean.
⚠️ Common Mistake to Avoid: Overbaking is the number one cause of cracks! The filling will continue to set as it cools. If the center still wobbles like Jell-O after 30 minutes, give it an extra 2–3 minutes max.
Step 5: Cool and Slice
Let the bars cool completely in the pan on a wire rack. Then refrigerate for at least 2 hours (or overnight) before slicing. Use the parchment overhang to lift the entire block onto a cutting board, then slice into 12 bars.
💡 mia’s Pro Tip: For clean, sharp cuts, use a chef’s knife and wipe it clean between each slice. For extra fudge-like texture, chill for 4 hours.
| Step | Action | Duration | Key Visual Cue |
|---|---|---|---|
| 1 | Preheat & line pan | 5 mins | Oven fully preheated |
| 2 | Press cookie dough | 3 mins | Even, 1/4 inch thick layer |
| 3 | Make cream cheese filling | 3–5 mins | Smooth, no lumps |
| 4 | Assemble & bake | 30–35 mins | Edges set, center slightly jiggly |
| 5 | Cool & refrigerate | 2+ hrs | Firm, no longer warm |
Serving & Presentation
I love serving these bars straight from the fridge, cut into neat rectangles. The contrast between the cool, creamy filling and the crunchy cookie crumble is irresistible. For a Brooklyn-style dessert board, I sometimes dust them with a little powdered sugar and add fresh raspberries – the tartness cuts the richness.
In Paris, we’d serve these with a dollop of crème fraîche and a tiny scoop of vanilla bean ice cream. In my NYC apartment, I’ll plate them with a drizzle of warm chocolate sauce and a sprinkle of flaky sea salt – that hit of salt against the sweet chocolate brings it all together. They’re perfect for potlucks, bake sales, or just a quiet Friday night treat.
| Pairing Type | Suggestions | Why It Works |
|---|---|---|
| Side Dish | Fresh berries, sliced strawberries | Bitter fruit balances sweetness |
| Sauce / Dip | Warm caramel sauce, dark chocolate ganache | Adds indulgence and complements crust |
| Beverage | Cold milk, strong black coffee, stout beer | Cleanses the palate and cuts richness |
| Garnish | Flaky sea salt, fresh mint, edible flowers | Adds texture and visual appeal |
Make-Ahead, Storage & Reheating
Being a busy NYC food blogger, I rely on make-ahead recipes. These bars actually get better after a day in the fridge – the flavors meld and the texture becomes supremely creamy. Here’s how I keep them fresh for my weekly meal prep.
| Method | Container | Duration | Reheating Tip |
|---|---|---|---|
| Refrigerator | Airtight container, layers separated by wax paper | Up to 5 days | Enjoy cold or at room temperature; do not reheat in microwave |
| Freezer | Wrap individually in plastic wrap, then foil | Up to 3 months | Thaw in fridge overnight; reheat in a 300°F oven for 5 mins |
| Make-Ahead | Assemble in pan, cover tightly with foil | Up to 24 hours before baking | Add 5 minutes to bake time if starting from fridge |
If you want a warm, crisp topping, pop a slice in a 300°F oven for about 5 minutes – the crust will crisp up beautifully while the center stays cool. Never microwave these bars unless you want a soggy mess (trust me, I learned that the hard way during a late-night craving).
Variations & Easy Swaps
One of the joys of this recipe is how easily you can adapt it. Whether you’re gluten-free, dairy-free, or just looking for a flavor twist, I’ve got you covered with these tested variations.
| Variation | Key Change | Best For | Difficulty Impact |
|---|---|---|---|
| Peanut Butter Lovers | Replace 1/4 cup sugar with peanut butter in filling | Nutty flavor profile | No added difficulty |
| Gluten-Free | Use gluten-free refrigerated cookie dough | Celiac or gluten sensitivity | Same process; check dough texture |
| Vegan | Use vegan cream cheese & egg replacer | Dairy-free/vegan | Medium – filling may be less firm |
Peanut Butter Lovers
For a flavor reminiscent of my favorite Moroccan dessert – msemen with honey and peanut butter – add 3 tablespoons creamy peanut butter to the cream cheese mixture. Reduce the sugar by 2 tablespoons to keep the filling from becoming too sweet. The peanut butter adds a savory depth that pairs beautifully with the chocolate chips.
Gluten-Free Version
Most major brands now offer gluten-free chocolate chip cookie dough. The only catch is that gluten-free dough can be a bit more crumbly – press it firmly into the pan and let the dough rest at room temperature for 10 minutes beforehand. The cheesecake filling remains the same, so all you lose is gluten, not flavor.
Vegan Makeover
Replace the cream cheese with a high-quality vegan version (like Kite Hill or Miyoko’s). Use a flax egg (1 tablespoon ground flaxseed + 3 tablespoons water, set for 5 minutes). Note that vegan cream cheese often has more moisture, so the filling may be slightly softer – chill these bars for at least 4 hours before slicing.
How do you prevent chocolate chip cookie cheesecake bars from cracking on top?
To prevent cracks, follow these three key steps: 1) Make sure all dairy ingredients are at room temperature – cold cream cheese causes lumps that lead to cracks. 2) Don’t overmix the filling after adding the egg; just beat until combined, then stop. 3) Bake just until the edges are set and the center still jiggles slightly – the residual heat will finish cooking the center. Let the bars cool slowly in the pan with the oven door cracked open. Finally, chilling thoroughly before slicing helps the top set without cracking.
Can I use a boxed cookie mix for the crust in chocolate chip cookie cheesecake bars?
Absolutely! A boxed cookie mix works wonderfully as a substitute for refrigerated dough. Prepare the mix according to the package directions, but use only the amount needed – about 2/3 for the crust and 1/3 for the topping. You may need to add a tablespoon or two of melted butter if the mix feels too dry. Note that boxed mixes often have a higher sugar content, so your bars will be slightly sweeter. If you prefer a less sweet base, choose a mix labeled “less sugar” or “buttery sugar cookie” style.
How long should you chill chocolate chip cookie cheesecake bars before slicing?
You should chill the bars for at least 2 hours in the refrigerator, but for the cleanest slices and best texture, I recommend 4 hours or even overnight. Chilling allows the cream cheese filling to set completely, making it firm enough to cut without dragging or crumbling. If you try to slice them while still warm or even at room temperature, the cheesecake will be too soft and the cookie crust may break apart. For super-clean cuts, use a sharp chef’s knife and wipe it clean between each slice.
What’s the best way to store leftover chocolate chip cookie cheesecake bars?
Store leftover bars in an airtight container in the refrigerator, with layers separated by wax paper or parchment paper to prevent sticking. They will stay fresh for up to 5 days. You can also freeze them: wrap each bar individually in plastic wrap, then place them in a freezer-safe zip-top bag. Frozen bars last up to 3 months. To serve, thaw in the fridge overnight or enjoy them cold directly from the freezer for an ice-cream-like texture. Avoid reheating in the microwave as it will make the crust soggy.
Why is my cheesecake filling lumpy?
Lumpy cheesecake filling is almost always caused by cream cheese that is too cold. The fat in cold cream cheese does not incorporate smoothly with sugar and egg, leaving tiny unblended bits. To fix, always bring cream cheese to room temperature – about 30 minutes on the counter. If you’re short on time, cut it into small cubes and let them sit for 15 minutes. Another trick: microwave the cream cheese in 10-second bursts on low power, turning it over until very soft but not melted. If lumps still appear, beat the mixture a little longer (but don’t overbeat – that can cause cracking).
How do I know when the bars are done baking?
The bars are done when the edges are set and lightly golden, and the center still has a slight jiggle (like a firm Jell-O) when you gently shake the pan. A toothpick inserted near the center should come out clean or with just a few moist crumbs – not wet batter. The internal temperature should reach about 150°F to 155°F if you use an instant-read thermometer. Remember that the bars will continue to set as they cool, so it’s better to underbake slightly than to overbake. Overbaking causes the cheesecake to puff up and crack.
Can I use homemade cookie dough instead of refrigerated?
Yes, homemade cookie dough works perfectly! Use your favorite chocolate chip cookie recipe – about 1.5 times the standard batch for a 9×9 pan. The main difference: homemade dough often spreads more, so chill it for 30 minutes before pressing into the pan. You may also need to bake the bars 3–5 minutes longer since homemade dough has more moisture. If the crumble topping browns too quickly, tent the pan with foil after 20 minutes of baking. The flavor will be even more buttery and rich, making these bars taste like they came from a bakery.
What can I use instead of cream cheese for a dairy-free version?
For a dairy-free alternative, I’ve tested Kite Hill’s plain cream cheese style and Miyoko’s double cream classic. They both have a similar tang and creamy texture. You can also make your own by blending raw cashews (soaked overnight) with lemon juice, coconut cream, and a pinch of salt. The filling will be a little less firm, so be sure to chill the bars for a full 4 hours after baking. To boost the set, add 1 tablespoon of cornstarch or arrowroot powder to the filling mixture before baking.
Can I double this recipe for a 9×13 pan?
Absolutely! To double the recipe, use a 9×13-inch baking pan and line it with parchment. You’ll need two 18-oz rolls of cookie dough (or one 36-oz package), two 8-oz blocks of cream cheese, 1 cup sugar, 2 eggs, and 1 tsp vanilla. The bake time will increase to about 40–45 minutes because the pan is larger and the filling deeper. Check doneness with a toothpick in the center. You can also bake in two 9-inch square pans if you prefer – just reduce the time back to 30–35 minutes.
How do I get clean, professional-looking slices?
For picture-perfect slices, follow these steps: First, chill the bars for at least 4 hours (overnight is best). Then, use a long, sharp chef’s knife run under hot water and wiped dry before each cut. Cut straight down without sawing. For cold bars, you can even dip the knife in hot water between slices – this will melt through the cheesecake cleanly. Let the sliced bars come to room temperature for 10–15 minutes before serving for the best flavor and texture. If you want extra-clean edges, trim off the outer 1/4 inch of the pan before cutting into bars.
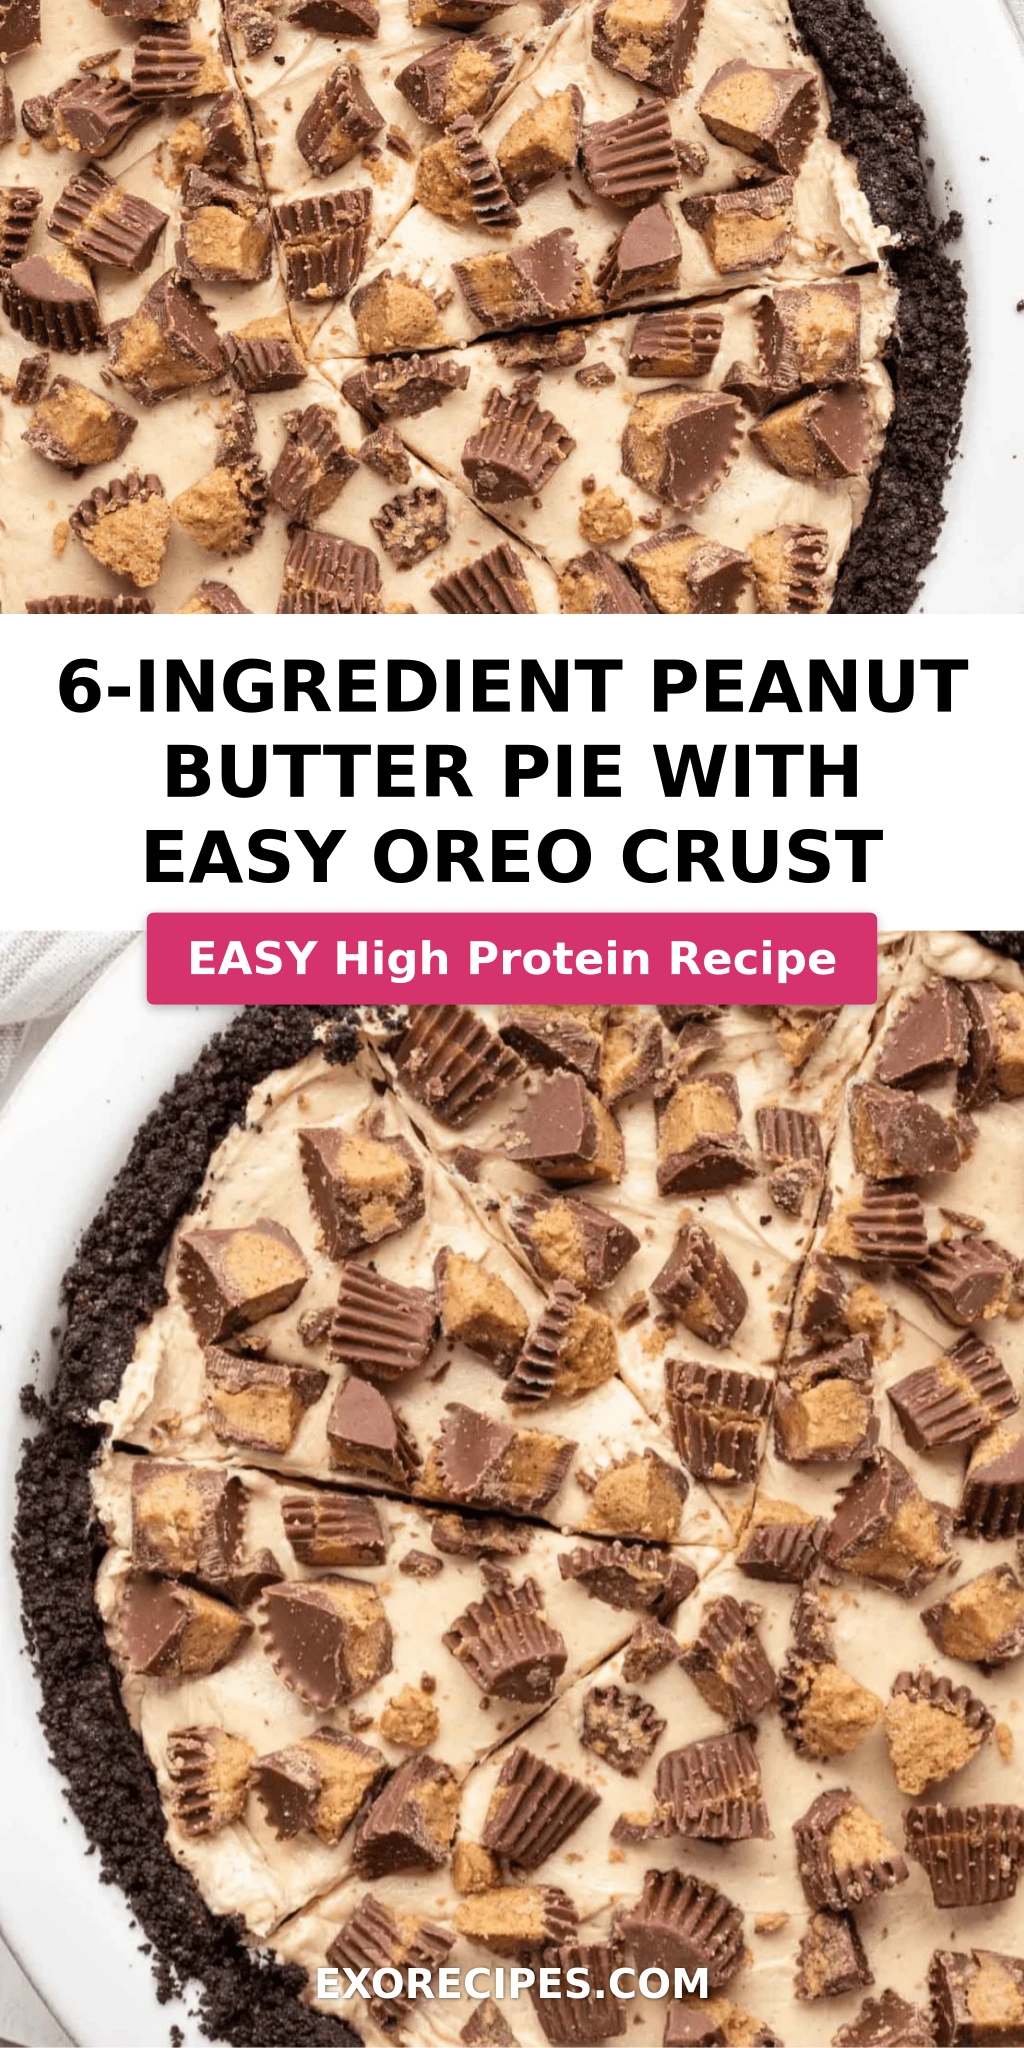
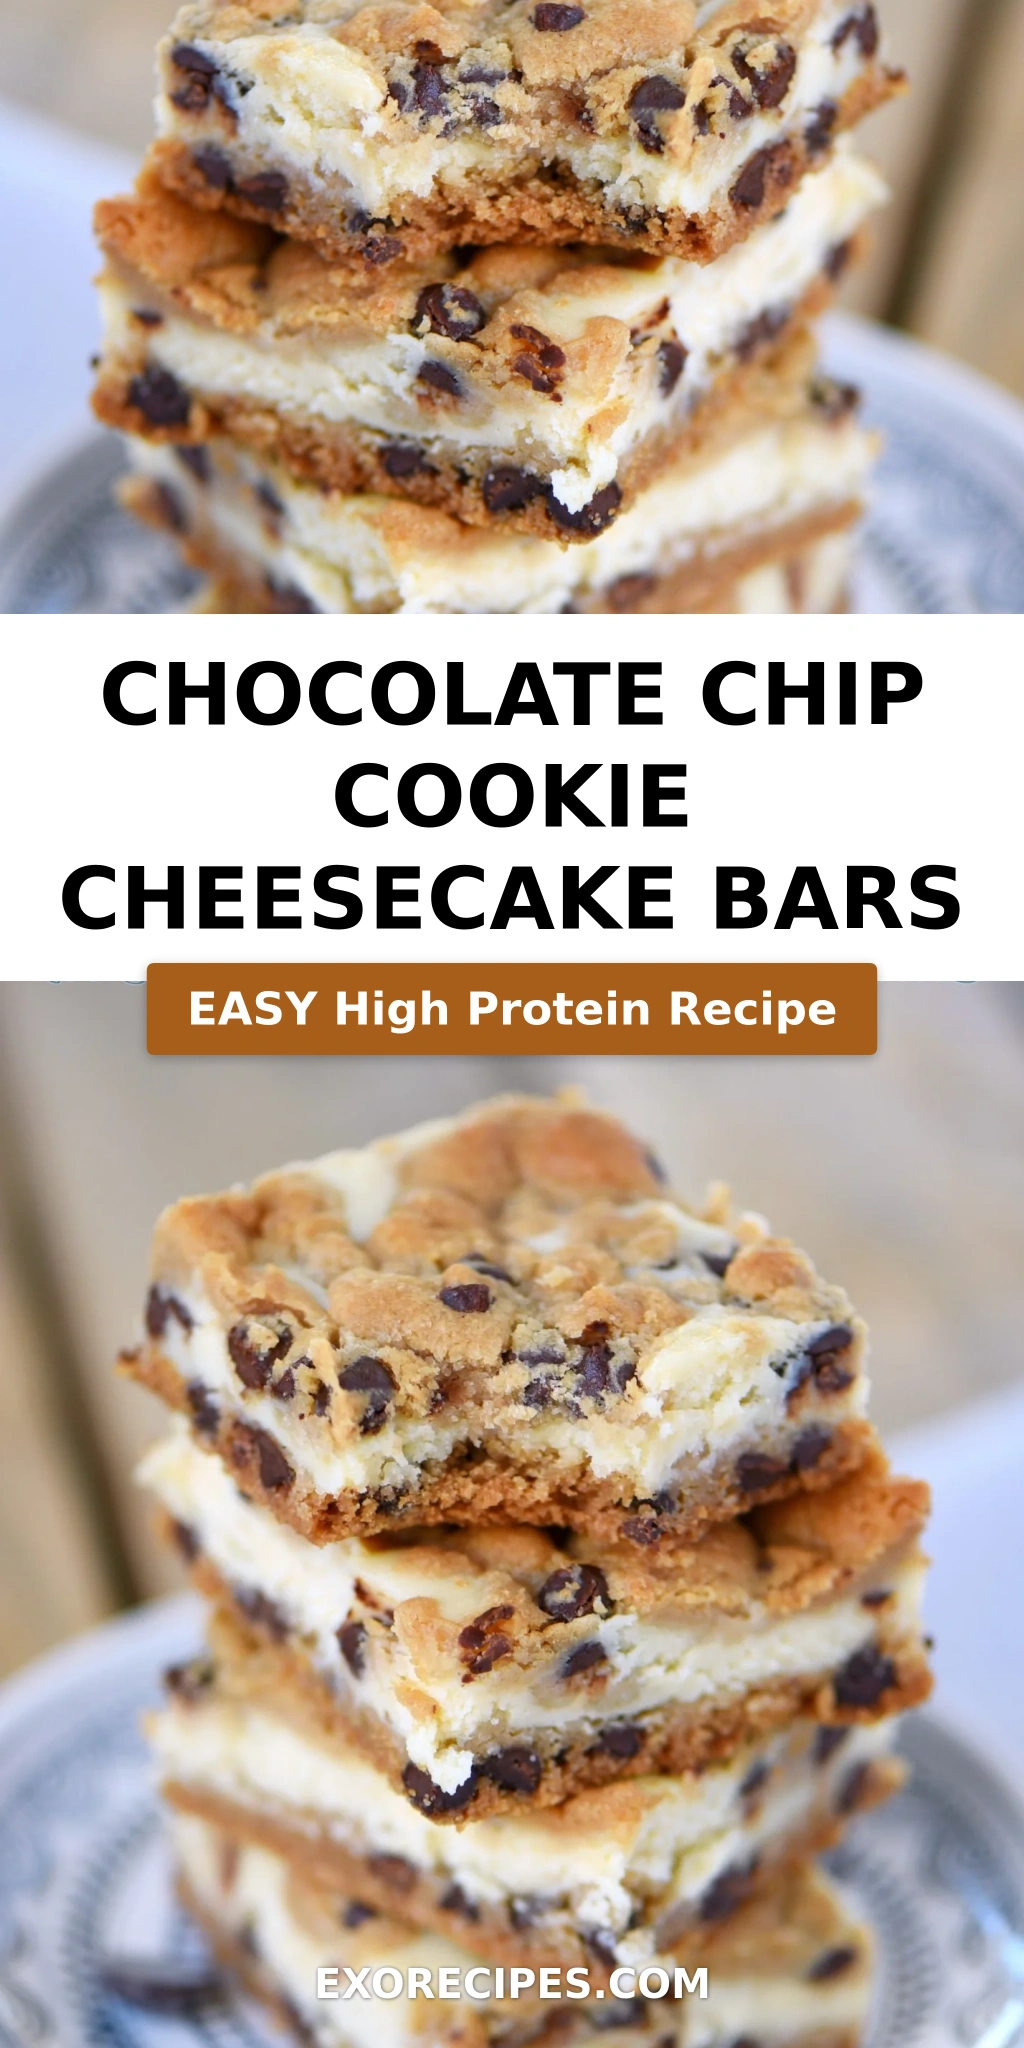
Love This Recipe? Save It to Pinterest!
If you enjoyed these Chocolate Chip Cookie Cheesecake Bars, don’t let them get lost in your browser tabs! 😄 Pin it now so you can find them again anytime — and explore hundreds more tried-and-tested recipes waiting for you on my Pinterest boards.
👉 Follow mia on Pinterest @exorecipe
📌 Pin this recipe · 🔁 Re-pin your favorites · 💬 Tag me when you make it — I love seeing your creations!
Chocolate Chip Cookie Cheesecake Bars
Description
These easy Chocolate Chip Cookie Cheesecake Bars are made with just five ingredients! This easy dessert recipe will satisfy all your cravings!
Ingredients
- 1 18 oz roll refrigerated chocolate chip cookie dough
- 8 oz cream cheese (softened)
- 1/2 cup granulated sugar
- 1 egg (room temperature)
- 1/2 tsp vanilla extract
Instructions
- Preheat oven to 350 F.
- Line a 9-inch square baking dish with parchment paper or non-stick foil. Set aside.
- Spread a little more than half of the cookie dough onto the bottom of the baking dish and press down firmly creating an even layer.
- Using a stand mixer or hand held mixer, beat the cream cheese until light and fluffy.
- Add in the sugar and beat until combined.
- Beat in the egg and vanilla extract until smooth.
- Pour the cheesecake filling over the top of the cookie dough base.
- Crumble the remaining cookie dough over the top.
- Bake for 30 to 35 minutes.
- Let cool completely before cutting into bars.
- Store in an airtight container in the refrigerator.
Nutrition
- Calories: 223 kcal
- Sugar: 19 g
- Fat: 11 g
- Carbohydrates: 27 g
- Protein: 2 g
Tried This Recipe? Leave a Comment!
Did you make this recipe? I’d love to hear how it turned out! Please leave a comment and a rating below. Your feedback helps other home cooks and supports cheerychop.com!