Italian Nut Rolls: A Delicious and Traditional Holiday Treat
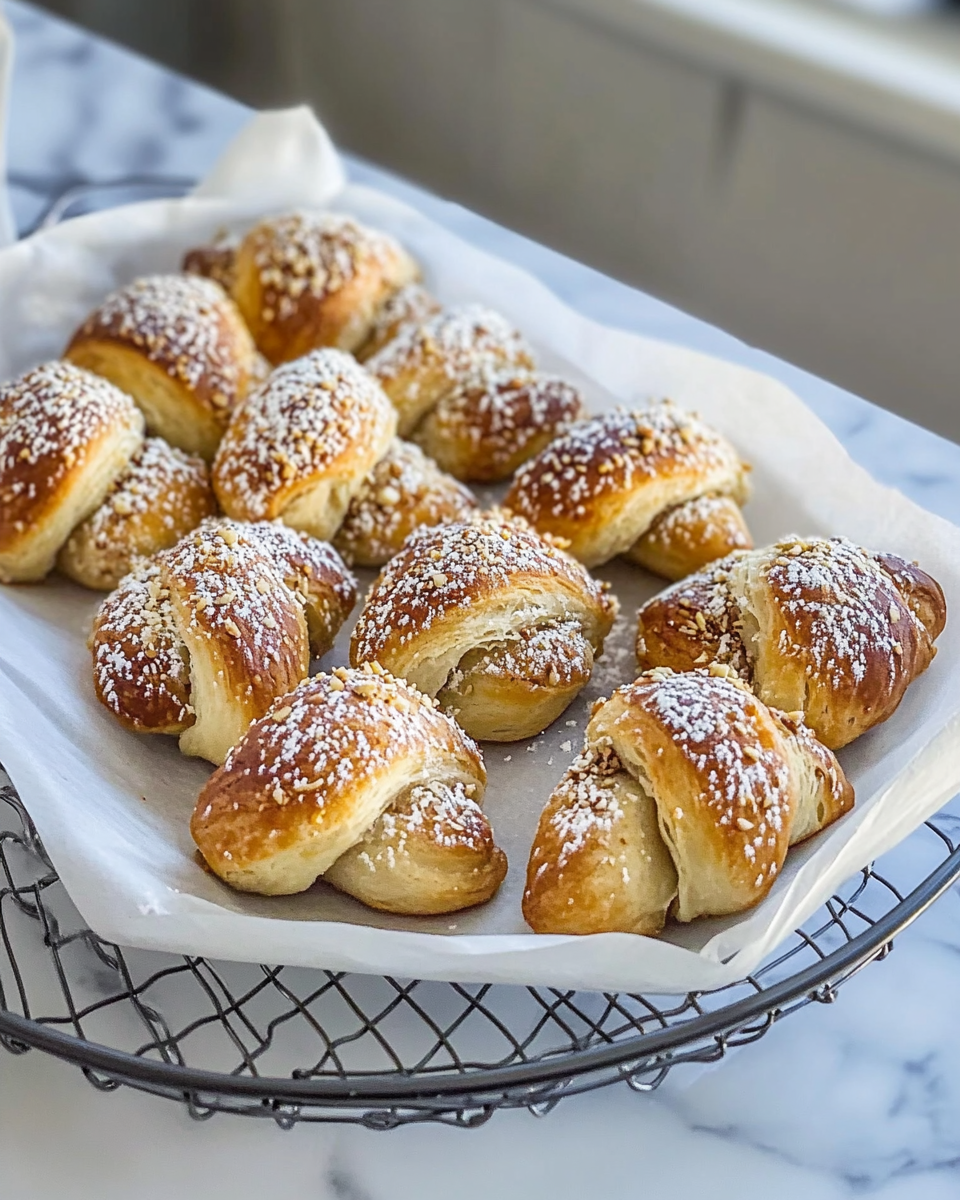
Italian Nut Rolls, or Pani di Noci, are a cherished tradition in many Italian households, especially around the holiday season. These sweet, nut-filled rolls are made with a flaky, buttery dough and a rich walnut or pecan filling. Whether enjoyed as a snack, dessert, or festive centerpiece, Italian Nut Rolls are a delightful treat that combines both flavor and nostalgia.
In this article, we’ll walk you through how to make these delicious rolls, share some tips, variations, and answer frequently asked questions. We’ll also suggest internal and external links to ensure you have all the information you need to perfect this recipe.
Ingredients for Italian Nut Rolls
To make Italian Nut Rolls, you’ll need the following ingredients:
- For the dough:
- 3 cups all-purpose flour
- 1 packet active dry yeast
- ½ cup unsalted butter, softened
- ¼ cup granulated sugar
- 1 cup warm milk
- 1 large egg
- ¼ teaspoon salt
- For the filling:
- 2 cups finely ground walnuts or pecans
- ½ cup brown sugar
- 2 tablespoons honey
- 1 teaspoon cinnamon
- ½ teaspoon vanilla extract
You can also experiment with different nuts or flavors, such as almonds or adding dried fruits like raisins for a unique twist.
If you enjoy other traditional holiday recipes, you might love this Comforting Potato Soup Recipe for chilly winter nights.
Step-by-Step Instructions for Making Italian Nut Rolls
- Prepare the Dough
- In a large bowl, dissolve the yeast in warm milk and allow it to activate for about 5 minutes.
- Add in the softened butter, sugar, egg, and salt. Mix well.
- Gradually add in the flour, stirring until a dough forms.
- Knead the dough on a floured surface for about 5-7 minutes until smooth.
- Place the dough in a greased bowl, cover with a damp towel, and let it rise for 1 hour.
- Prepare the Filling
- While the dough is rising, mix together the ground walnuts (or pecans), brown sugar, honey, cinnamon, and vanilla extract in a bowl.
- Assemble the Nut Rolls
- Once the dough has doubled in size, punch it down and roll it out on a floured surface into a large rectangle.
- Spread the nut mixture evenly over the dough.
- Carefully roll the dough from one end to the other to form a log.
- Slice the roll into individual pieces and place them on a greased baking sheet, cut side down.
- Bake the Nut Rolls
- Preheat the oven to 350°F (175°C) and bake the rolls for 25-30 minutes or until golden brown.
- Let the rolls cool on a wire rack before serving.
For more helpful tips on baking and using your slow cooker for meals, check out this Slow Cooker Baked Ziti for an easy and comforting dinner.
Tips for Perfect Italian Nut Rolls
- Dough Consistency: Ensure your dough is soft but not too sticky. You may need to adjust with a bit more flour or liquid depending on the humidity.
- Filling Evenness: Spread the nut filling evenly across the dough to avoid any underfilled sections.
- Prevent Overbaking: Keep an eye on the rolls toward the end of the baking time. If they begin to brown too quickly, you can tent them with aluminum foil.
For more tips on ensuring perfect results in the kitchen, check out this Guide to Homemade Comfort Foods.
Variations of Italian Nut Rolls
While traditional Italian Nut Rolls are delicious, there are several ways you can customize this recipe:
- Different Nut Fillings: Swap out walnuts for pecans, almonds, or hazelnuts for a different flavor.
- Add Dried Fruit: Raisins, cranberries, or chopped dried apricots can add an extra touch of sweetness to the filling.
- Gluten-Free Option: Use a gluten-free flour blend for the dough and ensure all ingredients are certified gluten-free.
- Honey Glaze: Drizzle a honey glaze over the baked rolls for added sweetness and shine.
Serving Suggestions for Italian Nut Rolls
Italian Nut Rolls are versatile and can be enjoyed in many different ways:
- Serve warm as a breakfast pastry with coffee or tea.
- Pair with a scoop of vanilla ice cream for a decadent dessert.
- Wrap them in decorative packaging for a thoughtful homemade gift during the holiday season.
How to Store and Freeze Italian Nut Rolls
- Storing: Keep the nut rolls in an airtight container at room temperature for up to 5 days.
- Freezing: These rolls freeze beautifully. Wrap them individually in plastic wrap and then in aluminum foil. They can be frozen for up to 3 months. To reheat, thaw them overnight in the fridge and warm them in the oven.
Frequently Asked Questions (FAQs)
Can I make Italian Nut Rolls ahead of time?
Yes, you can make the dough a day in advance and refrigerate it. You can also freeze the assembled rolls before baking and bake them fresh when ready.
What is the best way to ensure the dough rises properly?
Ensure the yeast is fresh and that your milk is warm (not hot) to activate the yeast. A warm environment will also help the dough rise better.
Can I use different nuts for the filling?
Absolutely! Pecans, hazelnuts, and almonds work well in place of walnuts, depending on your preference.
Do Italian Nut Rolls need to be refrigerated?
No, they can be stored at room temperature in an airtight container. However, if you prefer a cold pastry, they can be refrigerated for a longer shelf life.
How do I prevent the filling from leaking out during baking?
Ensure the dough is rolled tightly and pinch the seams well. Avoid overfilling with the nut mixture, as this can cause leakage.
Can I make Italian Nut Rolls without yeast?
Yeast provides the fluffy texture in traditional nut rolls. However, you can make a version with baking powder for a quicker, yeast-free alternative.
Nutritional Information for Italian Nut Rolls
- Calories: ~250 per roll
- Fats: 12g
- Carbohydrates: 30g
- Protein: 5g
For a lighter version, you can reduce the amount of sugar in the filling or use a lower-fat butter substitute.
Popular Italian Nut Roll Recipes Around the Web
For more recipe inspiration, check out these resources:
Conclusion
Italian Nut Rolls are a beautiful combination of tradition and flavor. Whether you’re making them for a special occasion or just to enjoy with your family, these rolls are sure to be a hit. With a little patience and attention to detail, you can create a delicious batch that everyone will love. Don’t hesitate to try out different variations and fillings to make the recipe your own.
For more great holiday baking ideas, explore ExoRecipes and discover comforting dishes for every season.