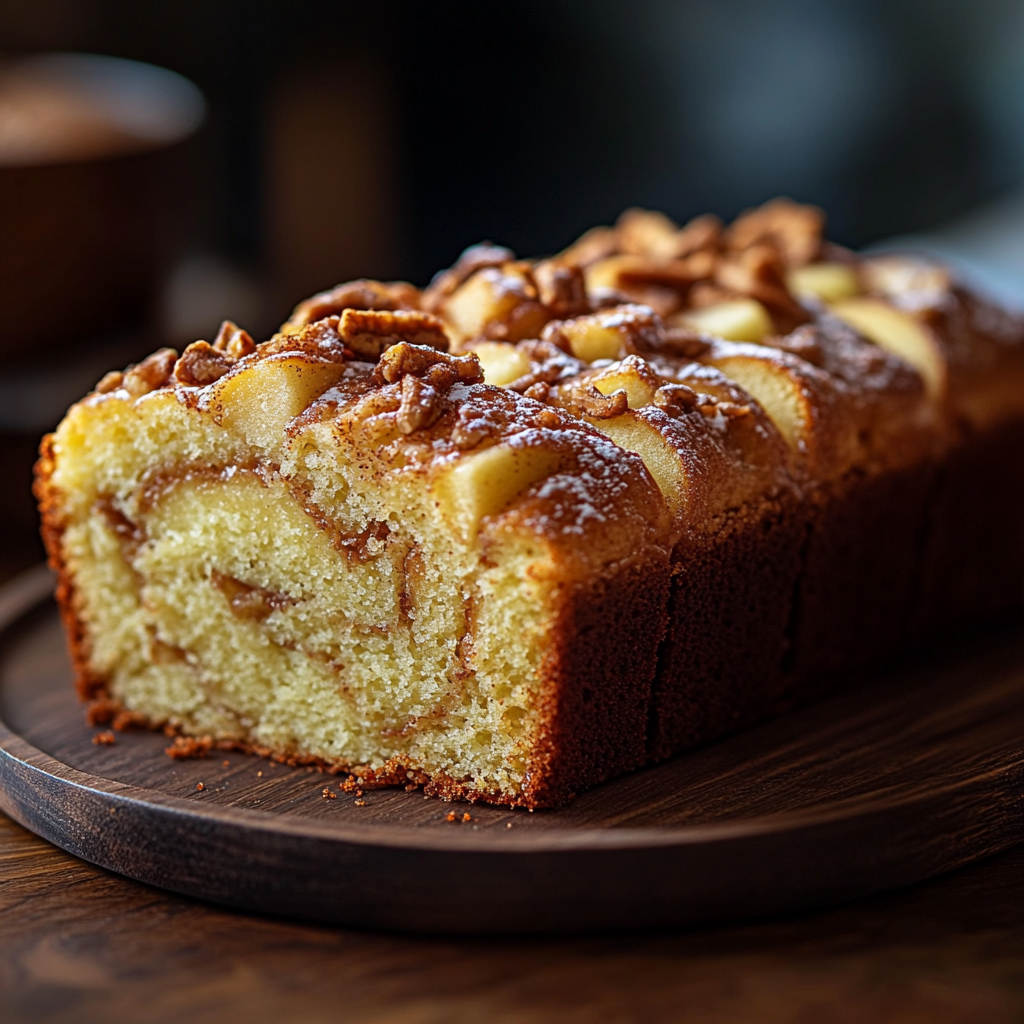
Sweet Potato Honeybun Cake – A Delightful Twist on Classic Honeybun Flavor
Sweet Potato Honeybun Cake combines the warmth of classic honeybun flavors with the subtle richness of sweet potatoes, creating a moist, spiced dessert that’s perfect for fall gatherings or as a breakfast treat. If you’re a fan of sweet, spiced cakes, check out our Spiced Caramel Apple Upside-Down Cake for another delightful fall-inspired dessert.
Ingredients for Sweet Potato Honeybun Cake
To make this unique dessert, you’ll need:
- Sweet potatoes: Mashed and mixed into the batter for a rich, creamy texture.
- Yellow cake mix: A convenient base that saves time.
- Brown sugar and cinnamon: For the classic honeybun swirl.
- Sour cream and eggs: To make the cake ultra-moist.
- Vegetable oil: Adds moisture and ensures a soft crumb.
For another comfort dessert featuring a unique twist, try our Cinnamon Roll Cake with Cream Cheese Glaze for a soft, sweet cake with cinnamon goodness.
Step-by-Step Guide to Making Sweet Potato Honeybun Cake
1. Prepare the Sweet Potatoes
- Roast or boil: For the best flavor, roast sweet potatoes until soft, then mash until smooth.
- Measure out 1 cup: This will be the perfect amount for a well-balanced flavor.
2. Make the Batter
- In a large bowl, combine cake mix, mashed sweet potato, sour cream, and eggs.
- Mix until smooth to ensure the sweet potato is fully incorporated.
3. Create the Honeybun Swirl
- Layer and swirl: Pour half the batter into a greased cake pan, sprinkle with a mixture of brown sugar and cinnamon, and pour the rest of the batter on top.
- Use a knife to gently swirl the sugar mixture into the batter for a marbled effect.
4. Bake the Cake
- Bake at 350°F for 40-50 minutes, or until a toothpick comes out clean.
- Cool and slice: Allow to cool before slicing for the best texture.
For another cake with a spiced twist, our Kentucky Butter Cake pairs butter and sugar in a moist, flavorful loaf.
Tips for Perfect Sweet Potato Honeybun Cake
Creating a perfect Sweet Potato Honeybun Cake is simple with these tips:
- Use fresh sweet potatoes: They offer the best texture and moisture, especially if roasted.
- Mix the batter thoroughly: Ensure the sweet potato is well-blended for a smooth, cohesive texture.
- Don’t over-swirl: A gentle swirl creates the honeybun effect without blending the layers.
If you’re looking for another smooth and creamy dessert, check out our Ultimate Pumpkin Cheesecake for a fall-inspired, creamy treat.
Flavor Variations of Sweet Potato Honeybun Cake
This cake is highly customizable. Here are a few tasty variations:
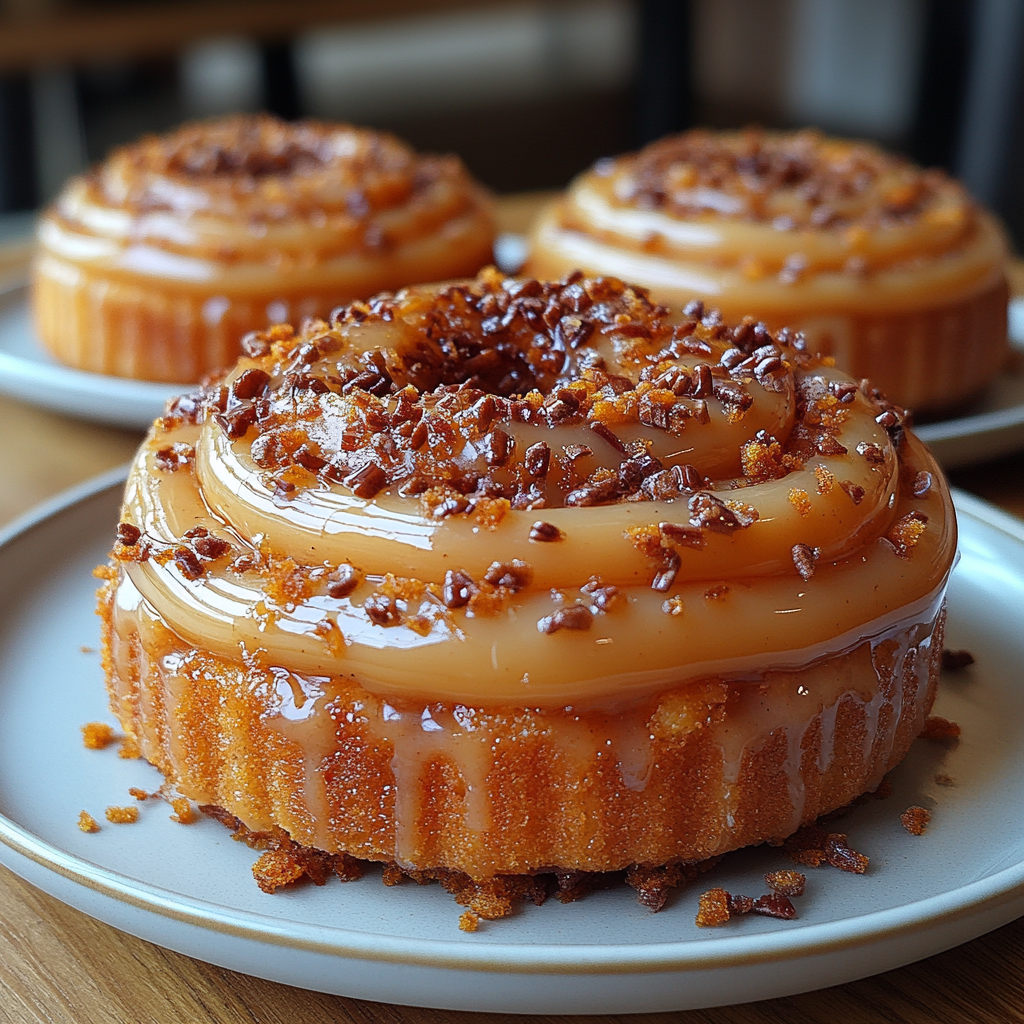
1. Maple-Glazed Sweet Potato Honeybun Cake
- Drizzle a maple syrup glaze over the cooled cake for added sweetness and a unique flavor twist.
2. Pecan Sweet Potato Honeybun Cake
- Add chopped pecans to the cinnamon swirl for extra crunch and flavor.
3. Cream Cheese Frosted Sweet Potato Honeybun Cake
- Top with a light cream cheese frosting to enhance the richness and add a tangy finish.
For more nutty textures, consider our Pecan Pie Bars, which feature the perfect combination of sweetness and crunch.
Serving and Storage Tips for Sweet Potato Honeybun Cake
Serving Ideas
- Serve warm: A slice of warm Sweet Potato Honeybun Cake with a dollop of whipped cream makes for a cozy dessert.
- Pair with coffee: The cake’s sweetness complements coffee perfectly, especially in the morning.
- Add a scoop of vanilla ice cream: For an indulgent treat, enjoy with vanilla ice cream on the side.
Storage Tips
- Refrigerate for freshness: Store in an airtight container in the fridge for up to 5 days.
- Freeze individual slices: Wrap slices in plastic wrap and freeze for up to 3 months. Thaw and warm before serving.
For more tips on storing desserts, check out our Salted Caramel Apple Cheesecake with Apple Roses, which includes great advice on refrigeration and serving.
Frequently Asked Questions (FAQs)
Can I use canned sweet potatoes instead of fresh?
Yes, but fresh roasted sweet potatoes offer a better texture and flavor. If using canned, ensure they’re unsweetened and drain them well.
How do I store Sweet Potato Honeybun Cake?
Store in an airtight container at room temperature for two days or in the refrigerator for up to five days.
Is it possible to make this cake gluten-free?
Yes, replace the cake mix with a gluten-free yellow cake mix and follow the recipe as usual.
What other spices can I add?
Consider adding nutmeg, ginger, or allspice for additional warmth and depth.
Can I freeze Sweet Potato Honeybun Cake?
Yes, wrap individual slices or the whole cake in plastic wrap and freeze for up to three months.
For another warm, spiced dessert, our Classic Apple Dumplings is a delicious option packed with seasonal flavors.
Nutritional Information and Healthier Alternatives
Each serving of Sweet Potato Honeybun Cake is packed with flavor. Here’s how to make it a bit healthier:
- Substitute sugar: Use maple syrup or honey in place of sugar for a natural sweetness.
- Use whole wheat flour: Replace part of the cake mix with whole wheat flour for added fiber.
- Reduce oil: Substitute half the oil with applesauce to cut down on fat.
For another dessert with a healthier twist, try our Banana Pudding, which uses wholesome ingredients for a nutritious treat.
Sweet Potato Honeybun Cake is the perfect dessert to enjoy as the weather cools, filling your home with the scent of spices and warm sweet potatoes. This easy recipe allows for plenty of customization, whether you prefer a simple cinnamon swirl or a more decadent glaze or frosting. Enjoy the soft, moist texture and the rich flavors, and if you’re looking for more seasonal desserts, explore our Mom’s Apple Pie for another fall classic.