The Dirty Snowman Baileys & Ice Cream Cocktail: A Decadent Winter Treat
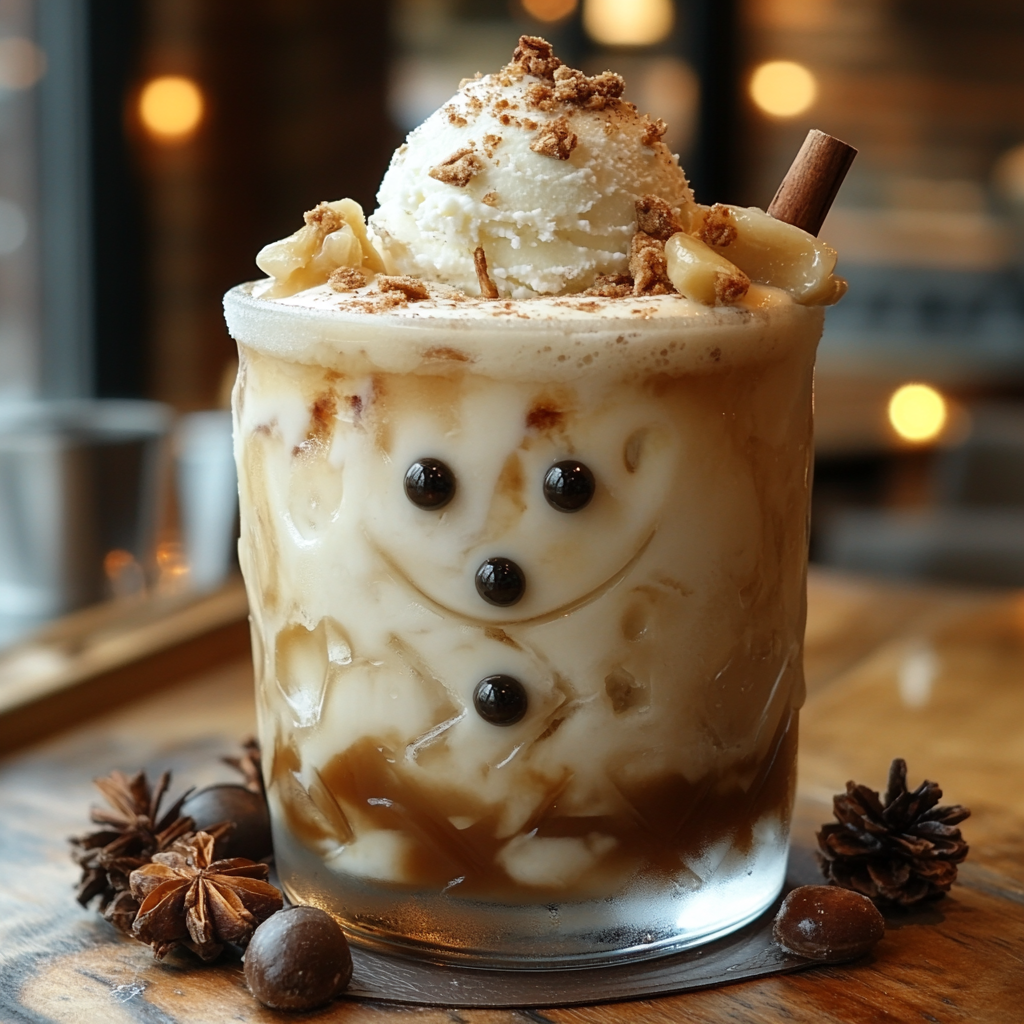
The Dirty Snowman Baileys & Ice Cream Cocktail combines creamy Baileys, hot chocolate, and ice cream to create an indulgent dessert drink that’s perfect for cozy winter nights. This guide will walk you through crafting the ultimate Dirty Snowman cocktail with tips on ingredients, serving ideas, and variations.
For those who love festive dessert drinks, consider pairing this cocktail with Salted Caramel Rice Krispie Treats or Easy Apple Cheesecake Tacos for a complete dessert experience.
Why The Dirty Snowman is Perfect for Winter Gatherings
This cocktail is ideal for the holiday season because:
- It’s Rich and Indulgent: The combination of Baileys, ice cream, and hot chocolate offers a luxurious, creamy experience.
- Easy to Customize: Guests can add their favorite toppings like caramel, chocolate shavings, or crushed cookies.
- Great for Parties: With minimal ingredients and a quick prep time, it’s easy to serve at gatherings.
If you enjoy fun, festive drinks, you might also like Cookies and Cream Frappuccino, another crowd-pleaser with rich, creamy flavors.
Ingredients for The Dirty Snowman Cocktail
Core Ingredients
- Baileys Irish Cream: The key liqueur that adds creamy, chocolatey notes.
- Hot Chocolate: Choose a high-quality mix or make homemade hot chocolate for the best flavor.
- Vanilla Ice Cream: Creamy vanilla ice cream adds a smooth texture and enhances the dessert feel.
- Whipped Cream: For topping, adding extra richness to each sip.
Tip: Add a splash of chocolate liqueur (like Crème de Cacao) for an even deeper chocolate taste.
Optional Toppings and Add-Ins
- Chocolate Shavings: Sprinkle on top for a gourmet look.
- Caramel or Chocolate Drizzle: Add a sweet touch by drizzling over the whipped cream.
- Crushed Peppermint or Sprinkles: Great for a festive, holiday look.
This cocktail goes well with other sweet bites like Raspberry Cheesecake Brownie Bites, creating a delightful dessert pairing.
Step-by-Step Instructions for The Dirty Snowman Cocktail
1. Prepare the Hot Chocolate
- Make Hot Chocolate: Use your favorite hot chocolate mix or make homemade hot chocolate. Set aside.
2. Rim the Glass (Optional)
- Rim with Chocolate Syrup: Dip the rim of your glass in chocolate syrup or caramel and roll it in crushed cookies, chocolate shavings, or sprinkles for a decorative touch.
3. Assemble the Cocktail
- Add Baileys and Ice Cream: Pour a shot of Baileys into the glass, then add one or two scoops of vanilla ice cream.
- Pour in Hot Chocolate: Slowly pour the hot chocolate over the ice cream and Baileys.
For an additional layer of flavor, try adding a dollop of whipped cream or a sprinkle of chocolate shavings, as you might find in Heavenly Peanut Butter Jelly Cheesecake, which also combines rich, layered flavors.
4. Garnish and Serve
- Top with Whipped Cream: Add a generous dollop of whipped cream on top.
- Finish with Toppings: Sprinkle with chocolate shavings, caramel drizzle, or any preferred garnish.
Presentation and Serving Suggestions
Elevate the Dirty Snowman cocktail experience with these presentation tips:
- Use Fun Glassware: Serve in a tall, clear glass or a festive holiday mug for extra appeal.
- Create a Customization Bar: Offer a variety of toppings, such as mini marshmallows, crushed candy canes, and flavored syrups, so guests can personalize their drinks.
- Pair with Dessert: Serve alongside Ultimate Peanut Butter Pie or S’mores Jars for a rich, decadent dessert spread.
Alternative Recipes and Variations
Non-Alcoholic Version
- Substitute the Baileys: Replace Baileys with Irish Cream-flavored coffee creamer or chocolate milk for a kid-friendly version.
Extra Chocolatey Dirty Snowman
- Add Chocolate Liqueur: Include a splash of Crème de Cacao or chocolate vodka for a stronger chocolate taste.
Minty Fresh Version
- Add Peppermint Schnapps: For a refreshing twist, add a splash of peppermint schnapps, perfect for holiday gatherings.
If you love experimenting with dessert drinks, try Strawberry Shortcake Sushi for another fun, unexpected twist on traditional treats.
Frequently Asked Questions (FAQs)
1. Can I make this cocktail non-alcoholic?
Yes! Substitute Baileys with an Irish cream-flavored coffee creamer for a similar taste without alcohol.
2. How can I make the drink less sweet?
Use dark chocolate or unsweetened hot chocolate as a base to balance the sweetness.
3. What toppings go well with this drink?
Popular toppings include chocolate shavings, crushed peppermint, and caramel drizzle.
4. Can I prepare this drink in advance?
While it’s best made fresh, you can prepare the hot chocolate in advance and add the Baileys and ice cream just before serving.
LSI and NLP Keywords for SEO Optimization
To improve SEO, incorporate related keywords throughout the article, such as:
- Baileys hot chocolate drink
- festive winter cocktail
- easy dessert cocktail recipes
- boozy hot chocolate ideas
- winter drinks with ice cream
- Irish cream holiday drink
- hot chocolate with Baileys
- creamy chocolate cocktails
Nutrition and Serving Sizes
While this cocktail is a treat, here’s what you should know:
- Calories: Due to the Baileys, hot chocolate, and ice cream, this drink is calorie-rich—perfect for an occasional indulgence.
- Serving Size: One cocktail is typically 8-10 ounces. Adjust portions for smaller servings if desired.
For additional sweet ideas, consider pairing with Chocolate Magic Shell Yogurt Cup for a fun and creative dessert.
Conclusion
The Dirty Snowman Baileys & Ice Cream Cocktail is an indulgent, creamy treat that’s perfect for festive gatherings or cozy nights in. With its rich flavors and easy preparation, this cocktail is sure to become a winter favorite. Customize it with your preferred toppings, serve with a favorite dessert, and enjoy!
For more fun and festive dessert cocktails, check out Cookies and Cream Frappuccino or Banana Pudding Cheesecake, which offer similarly rich and delicious flavors. Cheers to a sweet holiday season!