Table of Contents
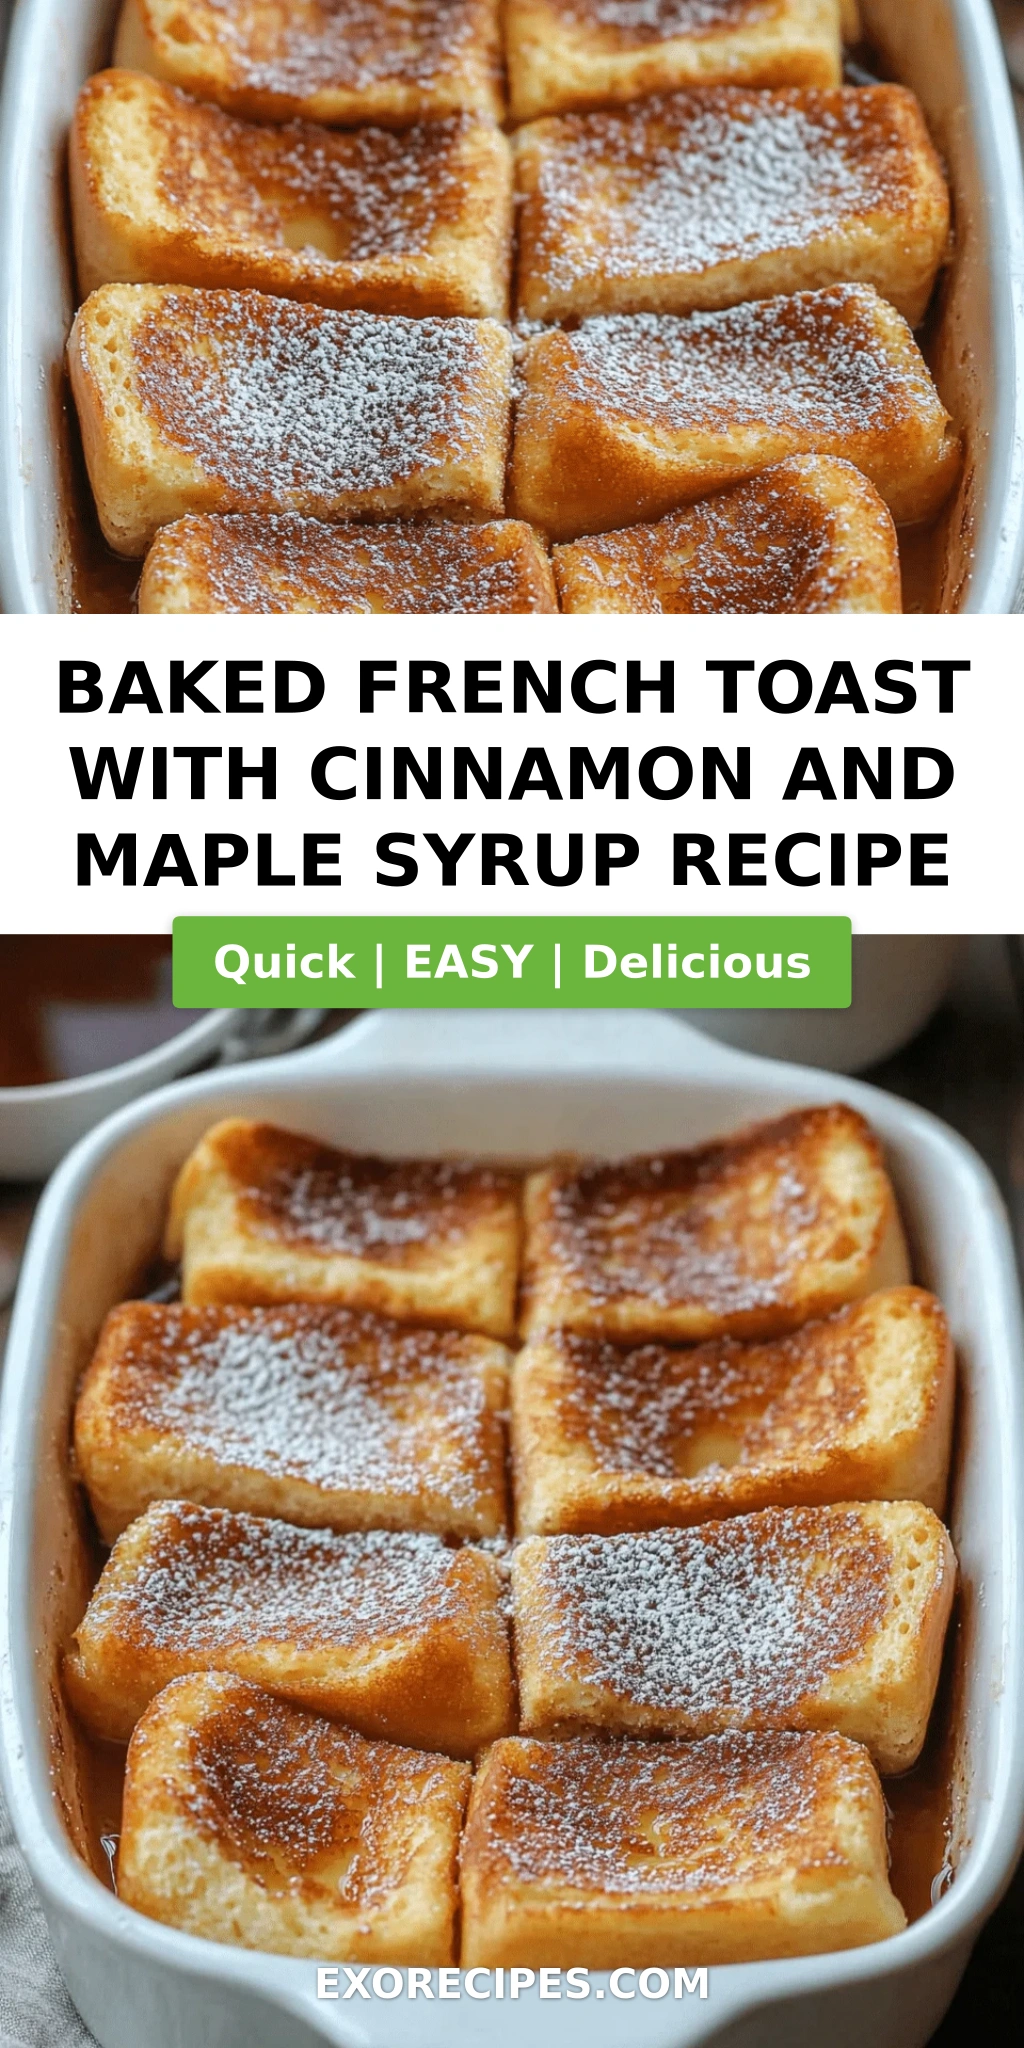
Baked French Toast with Cinnamon and Maple Syrup – A Heavenly Breakfast Treat
I still remember the first time I made baked French toast for my family—it was a chilly Saturday morning in my tiny NYC apartment, and the smell of cinnamon and maple syrup filled every corner. Growing up in Morocco, my mother would make a version of bread pudding with honey and orange blossom water, but after my culinary training in Paris, I learned how a simple custard could be elevated with the right technique. This baked French toast recipe is the best of all those worlds: rich, custardy, and topped with a buttery crumble that adds the perfect crunch. It’s my go-to for lazy weekends and brunch gatherings, and I’m thrilled to share it with you.
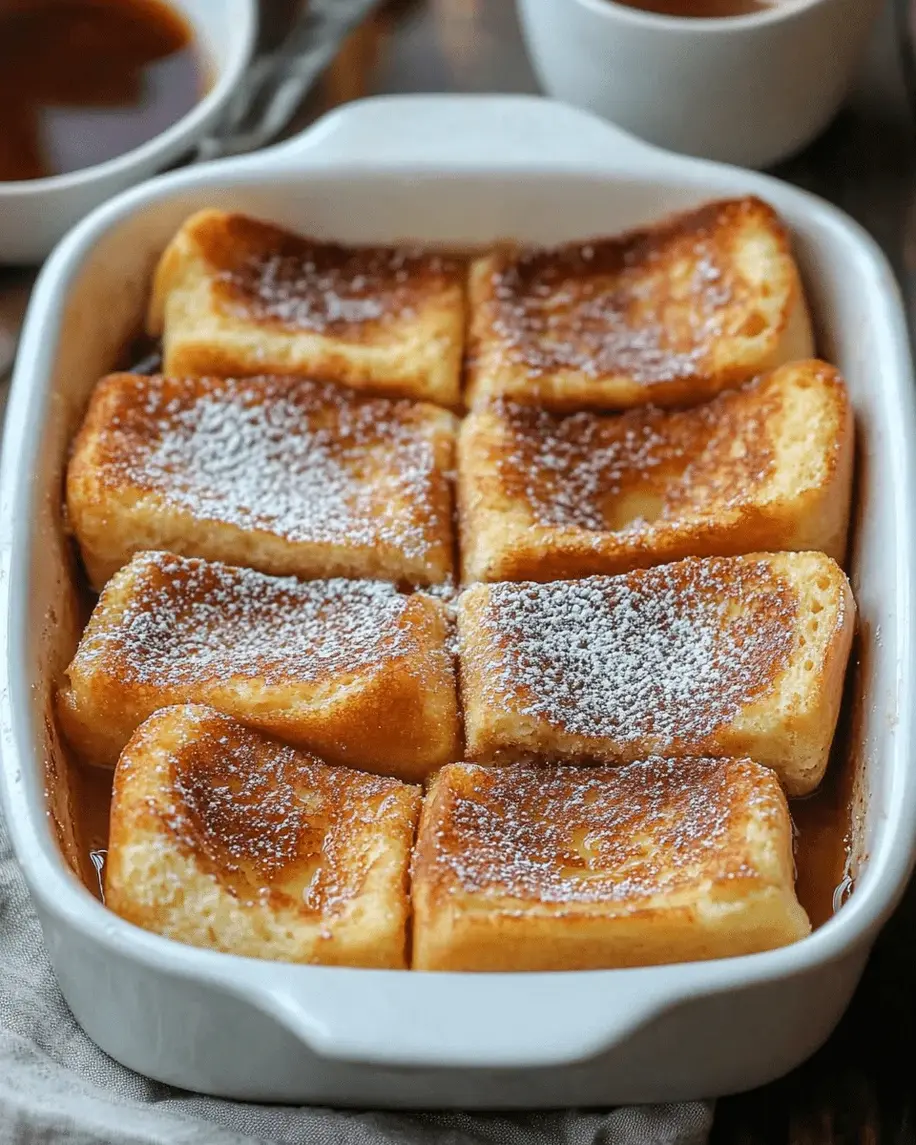
Picture this: golden cubes of French bread soaked in a velvety mixture of eggs, cream, maple syrup, and a warm kiss of cinnamon and nutmeg. The top turns into a caramelized, buttery streusel that shatters when you cut into it. Each bite is soft and custard-like in the center, with a slightly crisp edge—comfort food at its most elegant. The maple syrup isn’t just a drizzle; it’s baked right into the custard, giving every corner a deep, woodsy sweetness. It’s the kind of dish that makes you want to linger at the table with a second cup of coffee.
What sets my version apart? First, I use a high ratio of cream to milk for that luxurious texture. Second, the streusel topping—inspired by French craquelin—adds a buttery, cinnamon-sugar crunch that makes this dish feel extra special. And third, I’ll share a pro tip from my Paris days: letting the bread soak for at least 20 minutes (or overnight) allows the custard to penetrate every crumb, preventing that dreaded soggy center. Trust me, once you try this easy baked French toast, you’ll never go back to the stovetop version.
Why This Baked French Toast Recipe Is the Best
The Flavor Secret: The combination of maple syrup and cinnamon is classic, but I add a pinch of nutmeg—a trick I picked up at Le Cordon Bleu—to round out the warmth. The custard itself is sweetened only with maple syrup (no refined sugar), allowing the natural flavors to shine. And the streusel topping? It’s the same brown sugar-butter mix my father used for his Moroccan pastries, adapted for this American breakfast favorite.
Perfected Texture: The key is the custard-to-bread ratio. Many recipes use too much liquid, leaving you with a soggy mess. I use exactly 8 eggs, 2 cups milk, and ½ cup heavy cream for a loaf of French bread. The custard should barely coat the bread—not drown it. And that overnight rest? It’s not just convenience; it’s science. The starches in the bread absorb the custard slowly, giving you that silky, pudding-like interior while the top stays crisp.
Foolproof & Fast: Even if you’re a beginner, this recipe is forgiving. You can assemble it in 20 minutes, and the oven does the rest. No flipping, no standing over a skillet. Plus, you can prep it the night before—perfect for a stress-free Christmas morning or when you have guests. I’ve tested it with day-old French bread, brioche, and even challah; each works beautifully. That’s why I call it the best breakfast casserole French toast you’ll ever make.
Easy Baked French Toast Ingredients
When I shop for this recipe, I head straight to the Union Square farmers market for fresh eggs and artisan bread. But you can find everything at any well-stocked supermarket. Here’s what you’ll need:
Ingredients List
- 1 loaf French bread (about 1 pound), cut into 1-inch cubes
- 8 large eggs
- 2 cups milk (whole or 2% preferred)
- ½ cup heavy cream
- ½ cup pure maple syrup
- 1 tablespoon vanilla extract
- 1 teaspoon ground cinnamon
- ¼ teaspoon ground nutmeg
- ¼ teaspoon salt
- Topping:
- ½ cup all-purpose flour
- ½ cup brown sugar, packed
- 1 teaspoon ground cinnamon
- ¼ teaspoon salt
- ½ cup cold unsalted butter, cut into small pieces
- Additional maple syrup, for serving
Ingredient Spotlight
French bread — The loaf should be slightly stale (day-old is ideal) so it holds its shape without turning mushy. Look for a crusty loaf with a sturdy crumb. If you only have fresh bread, cube it and leave it out uncovered for a few hours.
Maple syrup — Use real maple syrup, not pancake syrup. Grade A dark amber has the most robust flavor. It sweetens the custard without being cloying. If you need a substitute, honey or agave work, but they’ll change the flavor profile.
Cinnamon and nutmeg — Freshly ground spices make a difference. I buy whole nutmeg and grate it just before using. Cinnamon from Vietnam or Ceylon is more aromatic. These two spices are the heart of this baked French toast.
Butter for the topping — It must be cold so the streusel stays crumbly. Use unsalted butter; the salt in the recipe controls the seasoning. If you only have salted, reduce the added salt to ⅛ teaspoon.
| Original Ingredient | Best Substitution | Flavor / Texture Impact |
|---|---|---|
| French bread | Challah or brioche | Richer, softer texture; slightly sweeter |
| Maple syrup | Honey (use ½ cup) or coconut nectar | Honey gives floral notes; coconut nectar is less sweet |
| Heavy cream | Half-and-half or full-fat coconut milk | Less rich but still creamy; coconut adds subtle flavor |
| Eggs | Flax eggs (2 Tbsp flaxmeal + 6 Tbsp water per egg) | Not recommended; texture becomes heavy and less custardy |
How to Make Baked French Toast — Step-by-Step
Follow these steps, and you’ll have a golden, custard-filled breakfast that will impress everyone. I’ve broken it down with my pro tips and common pitfalls to avoid.
Step 1: Preheat and Prep
Preheat your oven to 350°F (175°C). Grease a 9×13-inch baking dish with butter or nonstick spray. Place the bread cubes evenly in the dish. Don’t press them down yet — you’ll do that after adding the custard.
💡 mia’s Pro Tip: For deeper flavor, toast the bread cubes on a baking sheet for 5 minutes before adding them to the dish. This dries them out slightly and adds a nutty note.
Step 2: Make the Custard
In a large bowl, whisk together eggs, milk, heavy cream, ½ cup maple syrup, vanilla extract, 1 teaspoon cinnamon, nutmeg, and ¼ teaspoon salt. Whisk until fully combined and smooth — about 1 minute. The mixture should be pale yellow and slightly frothy.
⚠️ Common Mistake to Avoid: Don’t over-whisk — you don’t want to incorporate too much air. Gentle whisking ensures a creamy custard, not a foamy one.
Step 3: Soak the Bread
Pour the custard evenly over the bread cubes. Using a spatula, gently press the bread down to ensure every cube is submerged. Let stand for 15–20 minutes, pressing down occasionally. The bread will absorb the liquid and soften.
💡 mia’s Pro Tip: For the best overnight version, cover the dish with plastic wrap and refrigerate for 4–8 hours. This allows the custard to deeply penetrate — you’ll get a creamier texture.
Step 4: Make the Streusel Topping
In a medium bowl, mix flour, brown sugar, 1 teaspoon cinnamon, and ¼ teaspoon salt. Add the cold butter pieces. Use a pastry blender or your fingers to cut the butter into the dry mixture until it resembles coarse crumbs with some pea-sized chunks.
⚠️ Common Mistake to Avoid: Do not overwork the butter — if it melts from the heat of your hands, the streusel will become a paste instead of crumbly. Keep everything cold.
Step 5: Assemble and Bake
Sprinkle the streusel evenly over the soaked bread. Bake in the preheated oven for 45–50 minutes, or until the top is golden brown and the center is set (a knife inserted into the middle should come out clean). If the top browns too quickly, tent loosely with foil for the last 10 minutes.
💡 mia’s Pro Tip: Let the baked French toast rest for 5 minutes after removing from the oven. This allows the custard to settle and prevents a runny texture when you slice into it.
Step 6: Serve
Cut into squares and drizzle with warm maple syrup. Serve immediately. I like to add a dollop of whipped cream and a sprinkle of extra cinnamon on top for that café look.
| Step | Action | Duration | Key Visual Cue |
|---|---|---|---|
| 1 | Preheat & prep dish | 5 min | Bread cubes spread evenly |
| 2 | Whisk custard | 3 min | Pale yellow, smooth |
| 3 | Soak bread | 15–20 min (or overnight) | Bread soft, custard absorbed |
| 4 | Make streusel | 5 min | Coarse crumbs, butter visible |
| 5 | Bake | 45–50 min | Golden top, set center |
| 6 | Rest & serve | 5 min rest | Slices hold shape, syrup drizzled |
Serving & Presentation
This baked French toast is a showstopper on any brunch table. I love serving it straight from the dish—family-style—with a pitcher of warm maple syrup on the side. The contrast between the crunchy streusel and soft, custard-soaked bread is pure magic. In Morocco, we’d serve something similar with fresh fruit and mint tea, but here in NYC, I pair it with crispy bacon or turkey sausage and a side of berries.
For a truly elegant presentation, dust the top with a little powdered sugar just before serving. Add a few fresh mint leaves or edible flowers for color. And don’t forget the coffee—this dish begs for a strong cup of black coffee or a frothy latte. If I’m feeling indulgent, I’ll whip up a batch of cardamom-scented whipped cream (a nod to my Moroccan heritage) and serve it on the side.
| Pairing Type | Suggestions | Why It Works |
|---|---|---|
| Side Dish | Crispy bacon, turkey sausage, fresh fruit salad | Salty/savory balances sweet richness |
| Sauce / Dip | Warm maple syrup, bourbon caramel sauce, berry compote | Enhances the baked-in syrup flavor |
| Beverage | Black coffee, latte, fresh orange juice, mimosa | Coffee cuts through custard; citrus adds brightness |
| Garnish | Powdered sugar, fresh berries, mint sprigs, whipped cream | Adds visual appeal and texture |
Make-Ahead, Storage & Reheating
As a busy NYC food blogger, I’m all about meal prep, and this baked French toast is a dream for that. You can assemble the entire dish the night before, cover it, and pop it in the fridge. In the morning, just bake (add 10–15 minutes if starting from cold). Leftovers keep beautifully, too—if you have any!
| Method | Container | Duration | Reheating Tip |
|---|---|---|---|
| Refrigerator | Airtight container or covered baking dish | Up to 4 days | Reheat at 300°F for 10–15 min; add a splash of milk before reheating |
| Freezer | Heavy-duty freezer bag or airtight container | Up to 3 months | Thaw in fridge overnight, then reheat at 350°F for 15 min |
| Make-Ahead (unbaked) | Covered baking dish in fridge | Up to 12 hours | Bake directly from fridge, adding 10–15 min |
If you’re reheating individual portions, an air fryer works brilliantly: 320°F for 5 minutes gives you a crispy top and warm center. Never microwave—it turns the custard rubbery. My tip: store leftover maple syrup separately and reheat it gently on the stove or microwave before drizzling.
Variations & Easy Swaps
One of the things I love about this baked French toast recipe is how adaptable it is. Here are three of my favorite variations, each tested in my tiny NYC kitchen.
| Variation | Key Change | Best For | Difficulty Impact |
|---|---|---|---|
| Berry Bliss | Add 1½ cups fresh or frozen mixed berries (blueberries, raspberries) between layers | Summer brunch, extra antioxidants | Same |
| Gluten-Free | Use gluten-free bread (day-old) + gluten-free flour for streusel | Celiac/ GF diets | Easy |
| Chocolate-Hazelnut | Replace ¼ cup maple syrup with ¼ cup Nutella, swirl into custard; add chopped hazelnuts on top | Decadent dessert breakfast | Same |
Berry Bliss Variation
Fold fresh or frozen berries into the bread cubes before adding the custard. I love using a mix of blueberries, raspberries, and sliced strawberries—it’s like a French toast cobbler. The berries burst as they bake, creating pockets of tart sweetness. Sprinkle a little extra cinnamon on top; it complements the fruit beautifully. This is a hit when I make it for my neighbors’ weekend get-togethers.
Gluten-Free Version
Choose a sturdy gluten-free bread—I like a multigrain loaf from the local bakery. Cube it and let it stale slightly. For the streusel, substitute the all-purpose flour with a 1:1 gluten-free blend. The texture will be slightly denser but still delicious. I’ve tested this with my gluten-intolerant friends, and they always ask for seconds.
Chocolate-Hazelnut Twist
This one is inspired by my Parisian pastry days. Warm the maple syrup slightly and whisk in a couple of tablespoons of Nutella until smooth, then use that mixture as part of the custard. Drizzle a little extra Nutella over the top before baking, and add chopped toasted hazelnuts to the streusel. It turns this breakfast dish into a dessert-worthy indulgence—perfect for a special holiday morning.
Frequently Asked Questions
What is the best type of bread to use for baked French toast to prevent it from getting soggy?
The best bread for baked French toast is a sturdy, crusty loaf like French bread, challah, or brioche that is at least a day old. Fresh bread is too soft and will turn mushy. Day-old bread has a firmer crumb that can absorb the custard without falling apart. I recommend cutting the bread into 1-inch cubes and, if you have time, toasting them lightly in the oven for 5 minutes to dry them out even more. This step ensures the custard soaks in evenly and the final dish has a satisfying texture — soft inside, slightly crisp on top.
Can I prepare baked French toast the night before and bake it in the morning?
Absolutely! This is one of the best features of this easy baked French toast recipe. Simply assemble the dish completely — bread cubes, custard mixture, and even the streusel topping — then cover tightly with plastic wrap or foil and refrigerate for up to 12 hours. Overnight soaking allows the custard to permeate every crumb, resulting in an even creamier texture. In the morning, take the dish out of the fridge while your oven preheats, and bake as directed, but add 10–15 minutes to the baking time because you’re starting from cold. The streusel might be a bit more absorbed, but it will still crisp up beautifully.
How long should I bake French toast at 350°F for a golden, custard-like texture?
For a 9×13-inch baking dish, bake at 350°F for 45–50 minutes. The exact time depends on your oven and how deeply the bread was soaked. You’ll know it’s done when the top is golden brown and the center is set — a knife inserted into the middle should come out clean or with just a few moist crumbs. If the top browns too quickly but the center is still jiggly, tent the dish loosely with foil and continue baking. Let it rest for 5 minutes after baking to allow the custard to firm up further. This gives you that perfect custard-like texture that’s neither runny nor dry.
What can I substitute for maple syrup if I want a healthier or sugar-free topping?
If you’re looking for a healthier alternative to maple syrup, try honey (use the same amount — ½ cup) for a floral sweetness, or coconut nectar for a lower glycemic option. For a sugar-free version, use a sugar-free maple syrup made with monk fruit or erythritol. Just be aware that these alternatives may alter the flavor slightly; honey is richer, while sugar-free syrups can be thinner. You can also skip the syrup in the custard and use ¼ cup of a liquid sugar alternative plus a splash of vanilla. If you’re serving the dish with syrup on top, warm up your chosen syrup and drizzle generously.
Can I use milk alternatives like almond milk or oat milk in this recipe?
Yes, you can substitute the dairy milk with unsweetened almond milk, oat milk, or cashew milk. However, the texture will be slightly less rich because these alternatives have less fat and protein. I recommend using oat milk for the most similar creaminess — it has a neutral flavor that won’t overpower the cinnamon and maple. If you use almond milk, the custard may be a bit thinner, so you might need to reduce the milk by 2–3 tablespoons. Whisk in 1 tablespoon of melted butter or coconut oil per cup of alternative milk to restore some richness.
How can I prevent the streusel topping from becoming soggy?
The key to a crisp streusel is using very cold butter and not over-mixing. Cut the butter into the flour mixture until it resembles coarse crumbs — some pea-sized pieces are fine. Sprinkle the streusel evenly over the soaked bread just before baking; if you add it too early (especially if refrigerating overnight), the butter can melt into the custard and make the topping soggy. If you’re making the dish ahead, keep the streusel separate in the fridge and sprinkle it on right before baking. Also, bake on the middle oven rack and avoid opening the oven door frequently.
Can I add fruit to this baked French toast recipe?
Absolutely! Fold 1 to 1½ cups of fresh or frozen berries (blueberries, raspberries, chopped strawberries) into the bread cubes before pouring the custard. You can also layer sliced bananas or diced apples with a little extra cinnamon. Keep in mind that frozen berries may release extra liquid, so you may need to bake for an extra 5–10 minutes to set the custard properly. For a tropical twist, try diced mango and toasted coconut on top. The fruit adds natural sweetness and beautiful color — it’s one of my favorite variations for summer brunch.
Is this recipe suitable for a crowd? Can I double it?
Yes, this baked French toast is perfect for a crowd! The recipe as written serves 8, but you can easily double it for a larger gathering. Use a 12×17-inch (half-sheet) pan or two 9×13-inch dishes. Keep the custard ratios the same — just multiply everything by two. You may need to increase the baking time slightly (55–65 minutes) because the dish is deeper. Check for doneness with a knife inserted in the center. I often make this for holiday brunches and it’s always a hit — plus you can assemble it the night before to save time.
Why is my baked French toast still runny in the middle after baking?
A runny center usually means the custard wasn’t fully set or the bread was too fresh and didn’t absorb enough liquid. To fix this, make sure you use day-old bread and let it soak for at least 15–20 minutes (or overnight) so the bread can fully absorb the custard. Also, check your oven temperature with an oven thermometer — it might be running low. Lastly, don’t skip the resting step after baking; letting the dish sit for 5 minutes allows the custard to firm up. If you still have issues, reduce the milk by ¼ cup next time and add an extra egg.
What can I use instead of heavy cream for a lighter version?
For a lighter version, replace the heavy cream with half-and-half or whole milk. The texture will still be creamy but less decadent. You can also use evaporated skim milk for a lower-fat option — it adds a subtle richness without the fat. If you want to keep it dairy-free, full-fat coconut cream works beautifully; just be aware it will add a slight coconut flavor. I’ve tested this with plain Greek yogurt (diluted with a little milk) and it worked in a pinch, though the texture was slightly thicker. Adjust the amount to keep the total liquid volume the same.
Share Your Version!
I truly believe this baked French toast recipe is meant to be shared — not just at the table, but with the world. Have you made it? Let me know in the comments below! Give it a star rating if you loved it, and tell me what twist you added — maybe you tried the berry version or swapped in oat milk. I’d love to hear how it turned out.
And don’t forget to tag me! Snap a photo of your golden, syrup-drizzled creation and share it on Instagram or Pinterest with @exorecipes. Use the hashtag #exorecipes so I can see your beautiful breakfasts. I personally read every comment and reply to as many as I can. Your feedback helps me create more recipes you’ll love. Did the custard set perfectly? Did your family go back for seconds? Tell me all about it!
🍽️ Loved this recipe? Save it for later and share with friends!
From my NYC kitchen to yours — I hope this recipe brings as much warmth to your table as it does to mine. — mia 🧡
Love This Recipe? Save It to Pinterest!
If you enjoyed this Baked French Toast with Cinnamon and Maple Syrup recipe, don’t let it get lost in your browser tabs! 😄 Pin it now so you can find it again anytime — and explore hundreds more tried-and-tested recipes waiting for you on my Pinterest boards.
👉 Follow mia on Pinterest @exorecipes
📌 Pin this recipe · 🔁 Re-pin your favorites · 💬 Tag me when you make it — I love seeing your creations!
Baked French Toast with Cinnamon and Maple Syrup – A Heavenly Breakfast Treat
- Prep Time: 20 minutes
- Cook Time: 45 minutes
- Total Time: 1 hour 10 minutes
- Yield: 8 servings 1x
- Method: Breakfast
- Cuisine: American
Description
This baked French toast is a heavenly breakfast treat, combining the rich flavors of cinnamon and maple syrup with a custard-like texture. Perfect for a lazy weekend morning or a special brunch.
Ingredients
- 1 loaf French bread (about 1 pound), cut into 1-inch cubes
- 8 large eggs
- 2 cups milk
- 1/2 cup heavy cream
- 1/2 cup maple syrup
- 1 tablespoon vanilla extract
- 1 teaspoon ground cinnamon
- 1/4 teaspoon ground nutmeg
- 1/4 teaspoon salt
- Topping:
- 1/2 cup all-purpose flour
- 1/2 cup brown sugar, packed
- 1 teaspoon ground cinnamon
- 1/4 teaspoon salt
- 1/2 cup cold unsalted butter, cut into small pieces
- Additional maple syrup, for serving
Instructions
- 1. Preheat oven to 350°F (175°C). Grease a 9×13 inch baking dish.
- 2. Place bread cubes in the prepared baking dish.
- 3. In a large bowl, whisk together eggs, milk, heavy cream, 1/2 cup maple syrup, vanilla extract, 1 teaspoon cinnamon, nutmeg, and 1/4 teaspoon salt.
- 4. Pour the egg mixture evenly over the bread cubes. Press down gently with a spatula to ensure all bread is soaked. Let stand for 15-20 minutes, occasionally pressing down.
- 5. Meanwhile, make the topping: In a medium bowl, mix flour, brown sugar, 1 teaspoon cinnamon, and 1/4 teaspoon salt. Cut in cold butter using a pastry blender or your fingers until mixture resembles coarse crumbs.
- 6. Sprinkle the topping evenly over the soaked bread.
- 7. Bake for 45-50 minutes, or until golden brown and set in the center. Let cool for 5 minutes.
- 8. Serve warm, drizzled with additional maple syrup.
Notes
For best results, use day-old bread. You can also prepare this dish the night before: assemble, cover, and refrigerate overnight. Bake in the morning, adding 10-15 minutes to the baking time.
Nutrition
- Calories: 450
- Sugar: 28 g
- Fat: 20 g
- Carbohydrates: 55 g
- Protein: 12 g
k">
Tried This Recipe? Leave a Comment!
Did you make this recipe? I’d love to hear how it turned out! Please leave a comment and a rating below. Your feedback helps other home cooks and supports cheerychop.com!
For more delicious inspiration, follow me on Pinterest!