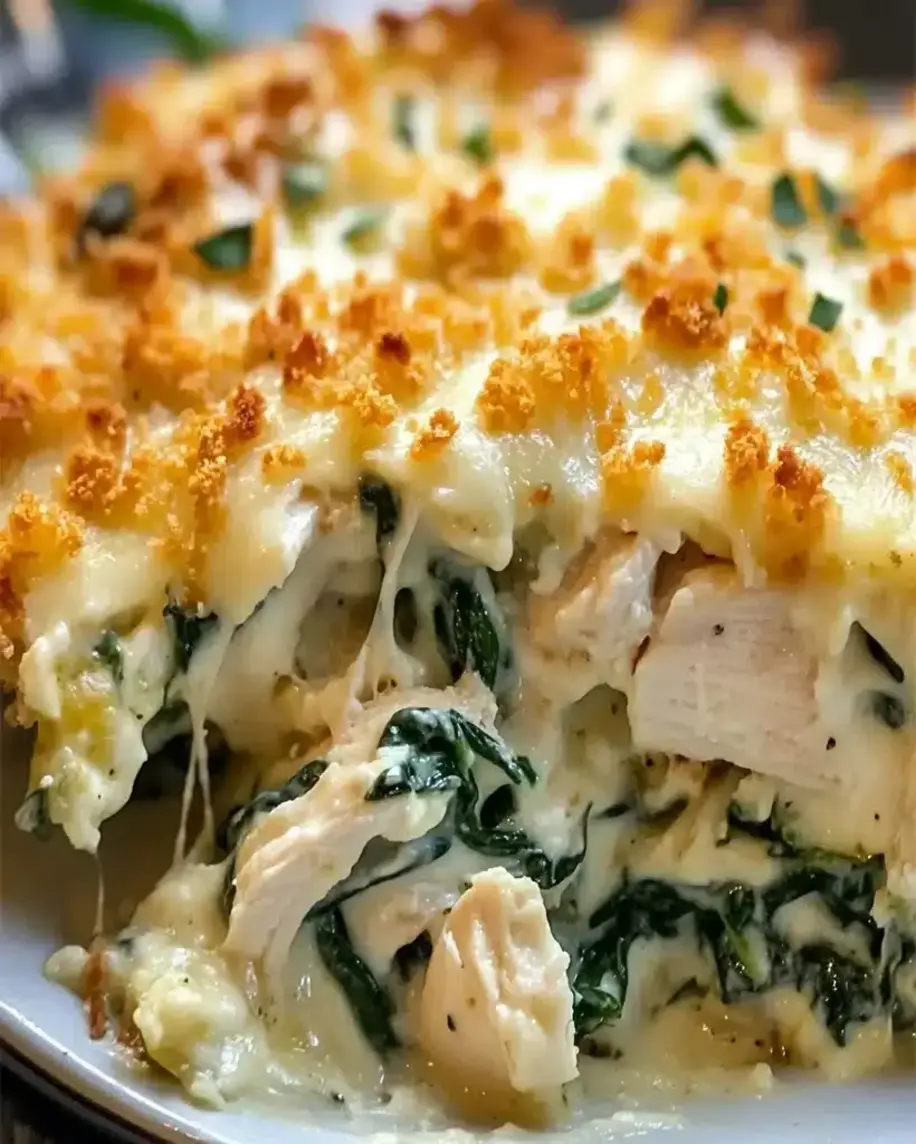
Table of Contents
Hot Honey Fried Shrimp – The Perfect Sweet & Spicy Bite!
Introduction
Did you know that a recent survey by the National Restaurant Association found that sweet and spicy flavor combinations are among the top three menu trends driving customer orders? That’s the exact irresistible magic we’re capturing with this Hot Honey Fried Shrimp recipe. Welcome to a culinary adventure where crispy, golden-fried shrimp meet a homemade glaze that’s the perfect balance of fiery heat and luscious sweetness. This dish isn’t just food; it’s an experience. The crackle of the crust gives way to a tender, juicy interior, all enveloped in a sticky, aromatic hot honey sauce that clings to every nook and cranny. Whether you’re planning a game-day spread that will have guests cheering, a quick yet impressive weeknight dinner, or a standout appetizer for your next gathering, this recipe delivers on every promise of flavor and texture. Let’s dive into how you can create this restaurant-quality masterpiece in your own kitchen.
Ingredients List
Gathering high-quality ingredients is the first step to phenomenal flavor. Here’s what you’ll need, complete with notes and substitutions to ensure success no matter what’s in your pantry.
For the Shrimp & Dredge:
- 1 lb (450g) large shrimp, peeled and deveined (tails on or off) – Look for wild-caught shrimp for the best sweet, oceanic flavor. The size (16/20 or 21/25 count) is perfect for a substantial bite.
- 1 cup buttermilk – This is the secret to incredibly tender shrimp and helps the flour coating stick. Substitution: Mix 1 cup milk with 1 tablespoon lemon juice or vinegar and let it sit for 5 minutes.
- 1 cup all-purpose flour – Creates the base of the crispy shell.
- 1/2 cup cornstarch – The key to an ultra-crispy, light texture that doesn’t get soggy.
- 1 tsp garlic powder – Adds a savory, aromatic depth.
- 1 tsp smoked paprika – Provides a subtle smokiness and beautiful color. Substitution: Sweet paprika works, but you’ll miss the smoky note.
- 1 tsp salt
- 1/2 tsp black pepper
- 1/2 tsp cayenne pepper (adjust to taste) – This is where the heat begins!
- Vegetable or peanut oil for frying – You’ll need enough for about 1-2 inches in your pot. These oils have a high smoke point for perfect frying.
For the Hot Honey Glaze:
- 1/2 cup honey – Use a good-quality, raw honey for the best floral sweetness.
- 2 tbsp unsalted butter – Adds richness and helps the sauce cling to the shrimp.
- 1-2 tbsp hot sauce (like Frank’s RedHot or Sriracha) – Adjust based on your heat preference. Frank’s gives a classic vinegar tang, while Sriracha is garlicky.
- 1 tbsp apple cider vinegar – Cuts through the sweetness and adds brightness.
- 1/2 tsp red pepper flakes – For an extra layer of texture and slow-building heat.
- Optional Garnish: Thinly sliced green onions, sesame seeds, or a squeeze of fresh lime juice.
Timing
At just 30 minutes from start to finish, this Hot Honey Fried Shrimp recipe is significantly faster than the average fried seafood dish, which often requires longer marinating or resting times. The active work is minimal and the payoff is huge, making it an ideal choice for when you need something spectacular without spending hours in the kitchen. The quick fry time means the shrimp stay incredibly juicy.
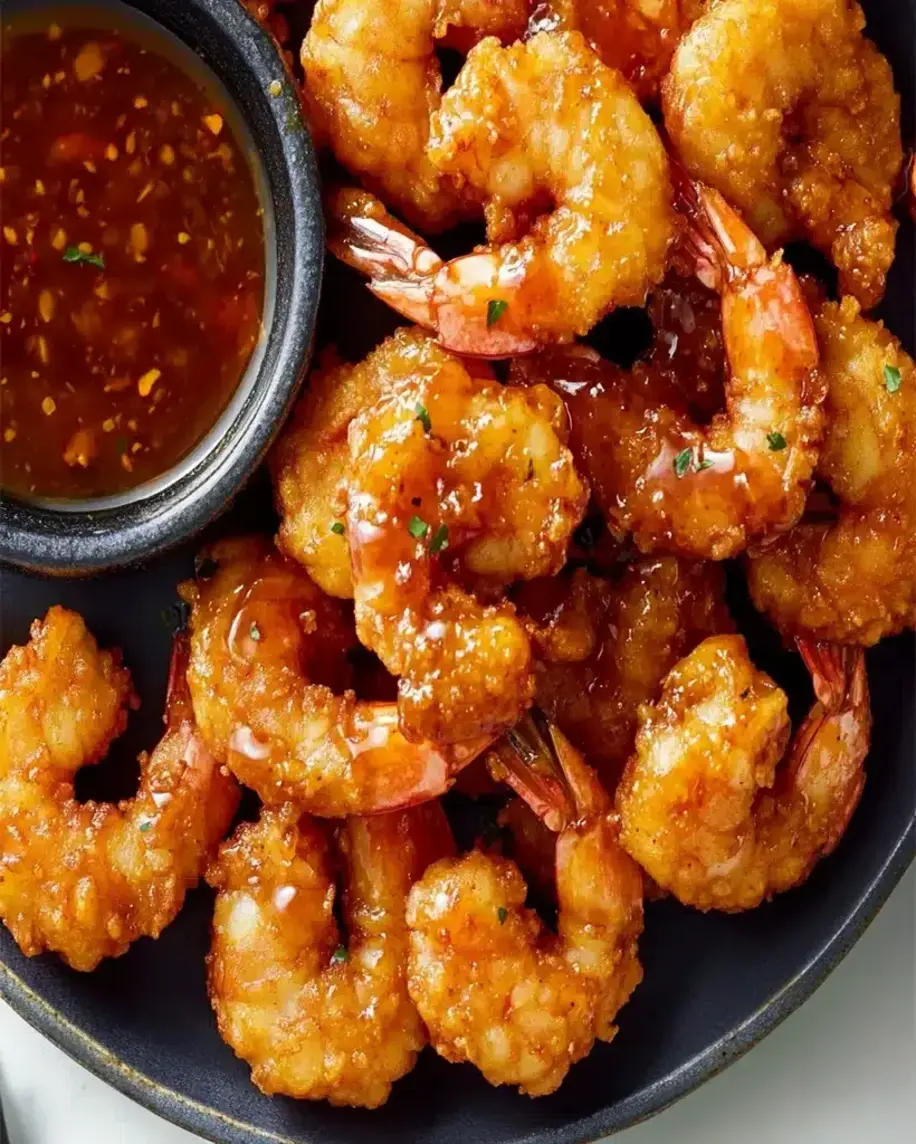
Golden, crispy shrimp coated in a glossy, spicy-sweet hot honey glaze, ready to delight your senses.
Step-by-Step Instructions
Step 1: Prepare the Shrimp
Start by patting your peeled and deveined shrimp completely dry with paper towels. This is a non-negotiable step! Any excess moisture will steam the shrimp instead of letting them fry up crisp. Place the dried shrimp in a medium bowl and pour the buttermilk over them, ensuring each piece is fully submerged. Let them soak for 10-15 minutes. This buttermilk bath not only tenderizes but also acts as the essential “glue” for our crispy coating.
Step 2: Create the Dredging Stations
While the shrimp are soaking, set up your dredging assembly line. In a shallow dish (a pie plate works perfectly), whisk together the all-purpose flour, cornstarch, garlic powder, smoked paprika, salt, black pepper, and cayenne pepper. The cornstarch is your crispy-coating superhero here. In a separate shallow dish, have your buttermilk-soaked shrimp ready with a slotted spoon. Line a baking sheet with parchment paper or a wire rack—this is where you’ll place your coated shrimp before frying.
Step 3: Fry to Perfection
Pour oil into a heavy-bottomed pot or Dutch oven until it’s about 1.5 inches deep. Heat over medium-high heat to 350°F (175°C). Use a deep-fry or candy thermometer for accuracy; this ensures your shrimp cook quickly without absorbing excess oil. Working in batches to avoid overcrowding, take a shrimp from the buttermilk, let the excess drip off, then dredge it thoroughly in the flour mixture, pressing gently to adhere. Shake off any loose flour and carefully lower the shrimp into the hot oil. Fry for 2-3 minutes, turning once, until they are golden brown and crispy. Transfer to a wire rack set over a baking sheet (this keeps them crisp) or a plate lined with paper towels. Repeat with the remaining shrimp.
Step 4: Whip Up the Hot Honey Glaze
While the last batch of shrimp is frying, make the glaze. In a small saucepan over medium heat, combine the honey, butter, hot sauce, apple cider vinegar, and red pepper flakes. Whisk constantly as the butter melts and the mixture comes to a gentle simmer. Let it bubble for 1-2 minutes until it slightly thickens and becomes syrupy. You’ll know it’s ready when it coats the back of a spoon. Remove from heat immediately. The sauce will continue to thicken as it cools slightly.
Step 5: Toss and Serve
Place all of your crispy fried shrimp in a large mixing bowl. Pour the warm hot honey glaze over the top. Using a rubber spatula or large spoon, gently toss the shrimp until every piece is evenly and gloriously coated in the sticky, spicy-sweet sauce. Be quick and gentle to preserve the crunch. Transfer to a serving platter and immediately garnish with sliced green onions and a sprinkle of sesame seeds for color and texture. Serve right away while they’re hot and crispy!
Nutritional Information
The following estimates are per serving (assuming this recipe serves 4). Actual values may vary based on specific ingredients and oil absorption.
- Calories: ~420 kcal
- Total Fat: 18g
- Saturated Fat: 5g
- Cholesterol: 190mg
- Sodium: 850mg
- Total Carbohydrates: 45g
- Dietary Fiber: 1g
- Sugars: 28g
- Protein: 22g
Healthier Alternatives
Love the flavor but want a lighter version? These swaps deliver on taste without the guilt:
- Air Fryer Method: Skip the deep fry. Spray the breaded shrimp lightly with cooking oil and air fry at 400°F (200°C) for 8-10 minutes, flipping halfway, until crispy. The result is still wonderfully crunchy with a fraction of the oil.
- Baking Option: Place breaded shrimp on a parchment-lined baking sheet, lightly spray with oil, and bake at 425°F (220°C) for 10-12 minutes.
- Glaze Modifications: Use a sugar-free honey alternative or pure maple syrup in the glaze. You can also reduce the butter by half or replace it with a teaspoon of olive oil.
- Whole Wheat & Oats: Substitute half of the all-purpose flour with whole wheat flour or finely ground oats for added fiber.
Serving Suggestions
This versatile dish shines in many settings. Here’s how to build a complete meal:
- As an Appetizer: Serve in a bowl with toothpicks alongside cool, creamy dips like ranch or blue cheese dressing to balance the heat.
- The Main Event: Plate over a bed of fluffy jasmine rice or cilantro-lime rice to soak up the extra sauce. Add a simple side of steamed broccoli or a crisp cucumber salad.
- Taco Tuesday Upgrade: Pile the shrimp into warm corn or flour tortillas with shredded cabbage, avocado slices, and a drizzle of crema for next-level shrimp tacos.
- Salad Topper: Transform a basic green salad by adding a few hot honey shrimp on top. The warm, crispy shrimp wilts the greens slightly in the most delicious way.
Common Mistakes
- Not Drying the Shrimp: Skipping the pat-dry step leads to a soggy coating that falls off. Always dry thoroughly.
- Overcrowding the Pot: Adding too many shrimp at once drops the oil temperature drastically, resulting in greasy, limp shrimp. Fry in small batches.
- In