Make this delicious Gordon Ramsay’s Vegetarian Lasagna in just 3 easy steps. Fresh vegetables, tomato sauce, and cheese make this the best vegetarian lasagna. Try this recipe from THEFOODXP blog. #gordonramsayvegetarianlasagna #gordonramsayvegetarianlasagnarecipe #gordonramsayrecipes #vegetarianlasagna #vegetarianlasagnarecipe #vegetarianlasagnahealthy
Print

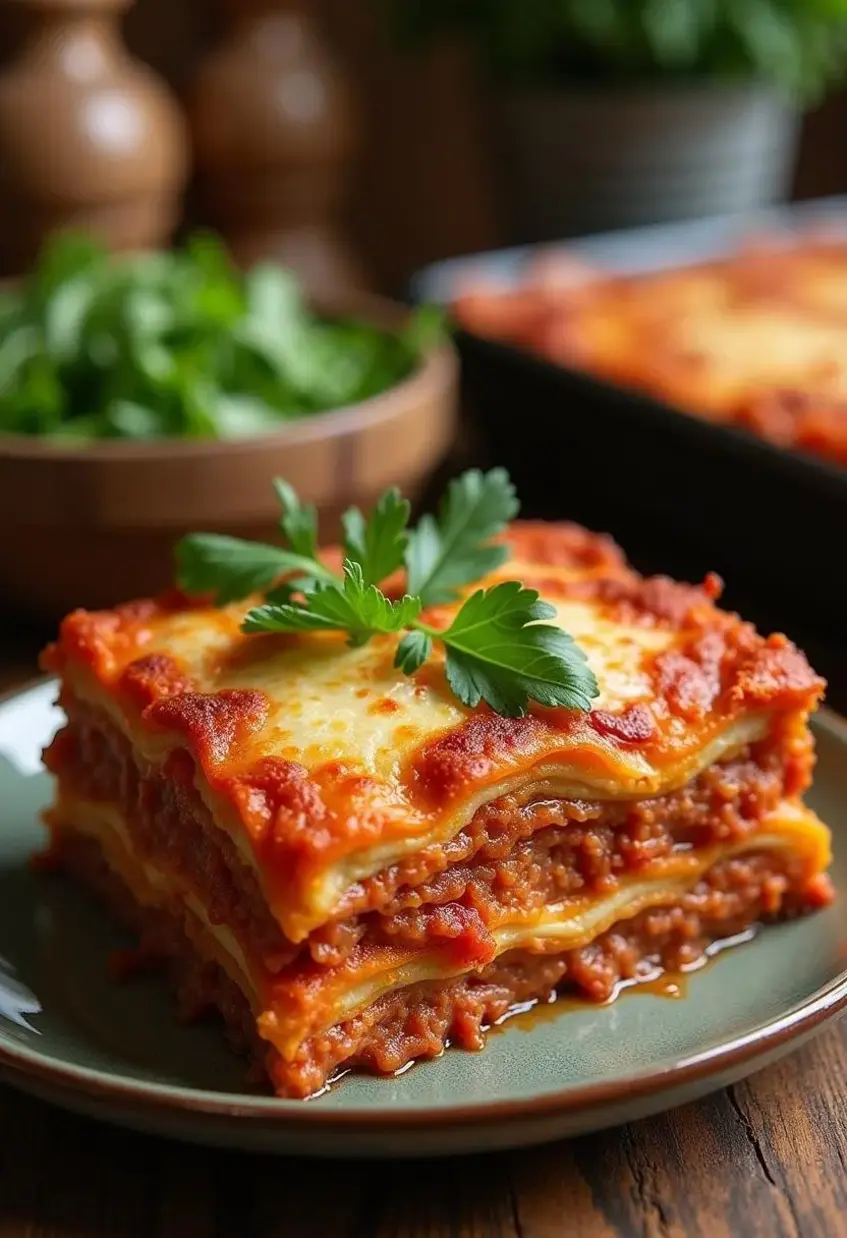
Gordon Ramsay Vegetarian Lasagna Recipe
Description
This Gordon Ramsay Vegetarian lasagna is cheesy, creamy, and packed with flavor. Filled with nutritious veggies and a crowd-pleasing lunch/dinner idea, it is better than any restaurant version of lasagna. It is a simple make-ahead recipe that is easy to store and freeze. Everyone loves this satisfying recipe on weekdays or weekends.
Ingredients
- 2 Tablespoon Oil
- 6–7 Lasagna Sheets
- 1 Tablespoon Butter
- 1 Tablespoon Flour
- 3 Cups Milk
- 1 Cup Cheddar Cheese
- 4 Chopped Onions
- 4 Cloves Garlic
- 3 Chili Peppers
- 200 Gm Butternut Squash
- 50 Gm Mushrooms
- 4 No Tomatoes
- 1 Cup Tomato Puree
- 2 Cup Vegetable Stock
- Black Pepper
- 1 Tablespoon Oregano
- Salt
Instructions
- Finely chop app the vegetables
- Pan-fry onions, chili peppers, butternut squash, and mushrooms. Cook the veggies until they are translucent. Season them with salt, pepper, and oregano.
- Then, add tomatoes, tomato puree, and vegetable stock. Simmer the sauce until it is thickened.
- Further, prepare the bechamel sauce in another pan. Add butter, flour, and milk to prepare the roux. Mix the roux nicely. Finally, add cheddar cheese to the pan and let the sauce thicken evenly.
- Meanwhile, you can put the lasagna sheets to boil.
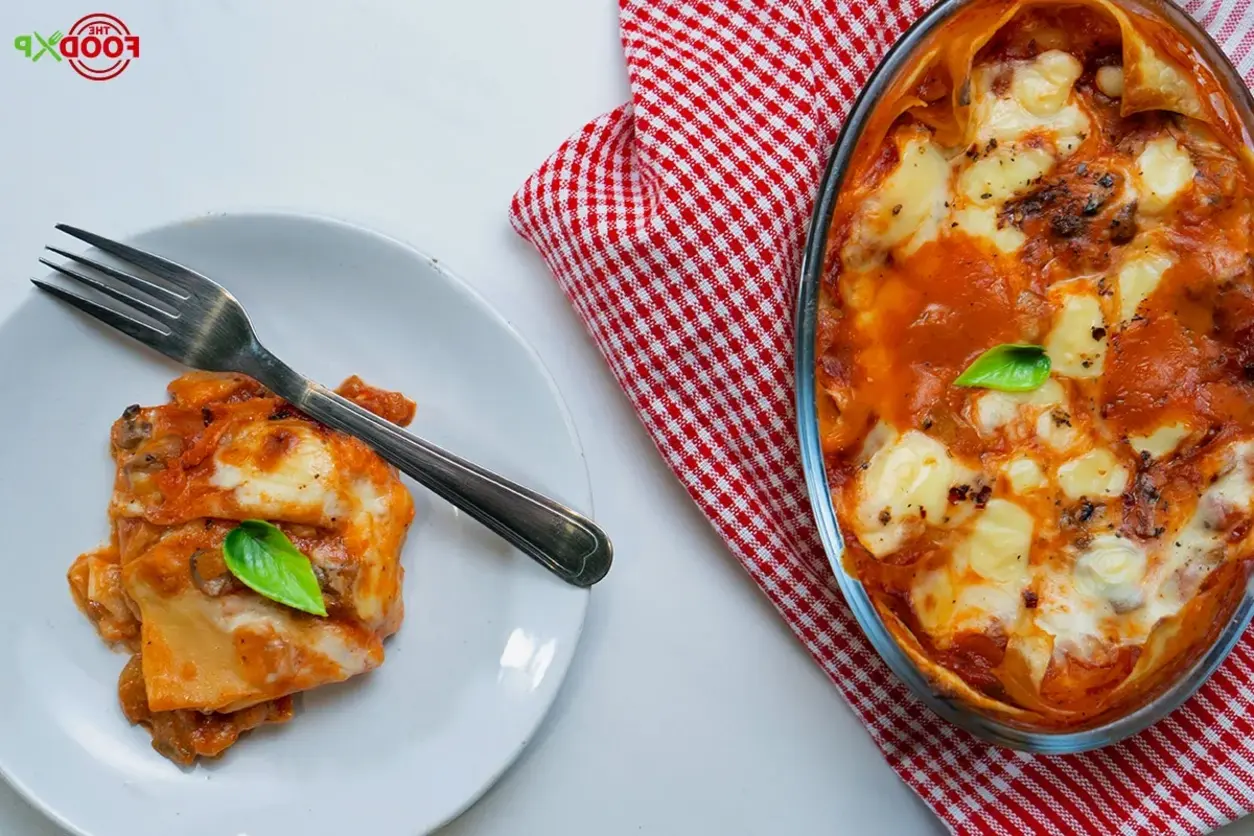
- Take a large oven-proof dish to put together all the elements. Spray the ovenproof dish with the cooking spray. Spread the red tomato sauce into the pan, and pour the bechamel sauce over the red sauce, followed by boiled lasagna sheets.
- Repeat the same process for the next layering. Garnish it with cheddar cheese on the top to achieve a creamy and cheesy filling.
- Finally, it is time to bake the vegetarian lasagna. Place the dish in the oven and bake the lasagna for 20 minutes at 180 C.
- Your Gordon Ramsay style Lasagna is ready.
Notes
Notes I like to boil my lasagna sheets at high heat until they are al dente; otherwise, they can get soggy while cooking. Another common tip to prevent my lasagna sheets from sticking is drizzling some olive oil after they are boiled. I like to use some trustworthy veggies in this recipe: zucchini, mushrooms, squash, broccoli, carrots, potatoes, cauliflower, and broccoli. Gordon Ramsays vegetarian lasagna at home is flavorful because I avoid adding store-bought sauces. Instead, I make the béchamel roux at home, adding the essence of yummy lasagna. I know its difficult to resist the temptation to jump in, but let the lasagna sit for at least 15 minutes before serving. This allows the lasagna to stay firm and prevent it from falling apart. I made a rookie mistake earlier by not dicing my veggies properly. This led to uneven filling and uneven cooking time. If you dont want to bite into raw mushrooms and veggies, cut them into small bite-sized pieces, allowing the sauce to blend properly. Dont leave empty loopholes in your lasagna.