Table of Contents
Jamaican Sorrel Drink
Introduction
Did you know that the vibrant, ruby-red Jamaican Sorrel Drink is not only a festive staple but also a powerhouse of antioxidants, with hibiscus flowers containing up to 400% more antioxidants than some common berries? This traditional Jamaican holiday drink, made with hibiscus flowers, fresh ginger, and spices, is more than just a sweet treat; it’s a cultural experience in a glass. As the holidays approach, the aroma of brewing sorrel fills Jamaican homes, signaling a time of celebration, family, and tradition. This deep crimson beverage, known as sorrel in Jamaica and the Caribbean (or hibiscus tea elsewhere), is a perfect balance of tart, spicy, and sweet flavors. In this guide, we’ll walk you through how to brew this iconic drink to perfection, unlocking its complex flavor profile and sharing tips to make it your new favorite holiday tradition, whether you’re in Kingston or Kansas.
Ingredients List
Gathering the right ingredients is the first step to an authentic Jamaican Sorrel Drink. Here’s what you’ll need, along with notes on substitutions and the sensory role each plays.
- 2 cups (about 60g) dried sorrel (hibiscus) flowers: This is the star. They should be a deep maroon, whole, and fragrant. They provide the drink’s signature tart, cranberry-like flavor and stunning red color. Substitution: If you can’t find Jamaican sorrel packets, look for loose dried hibiscus flowers (often called “flor de jamaica” in Latin markets).
- 1 large piece (about 4-5 inches) fresh ginger: Use a knobby, firm piece. Ginger adds a warm, pungent, and slightly sweet heat that is non-negotiable for authenticity. Substitution: In a pinch, 2 tablespoons of grated ginger or 1.5 teaspoons of ground ginger can be used, but fresh is best for that bright, spicy kick.
- 10-12 whole pimento (allspice) berries: These small, dark berries have a complex aroma reminiscent of cloves, nutmeg, and cinnamon. They impart a warm, earthy depth. Substitution: 2-3 whole cloves and a small piece of cinnamon stick can mimic the warmth.
- 1-2 cinnamon sticks: Adds a sweet, woody spice note. Smell them—they should be fragrant.
- 2-3 strips of orange peel (optional but recommended): Use a vegetable peeler to get strips without the bitter white pith. This adds a subtle citrusy brightness that lifts all the other flavors.
- 1 ½ to 2 cups granulated sugar: The traditional sweetener. The amount is adjustable based on your preference for tartness. It balances the intense sourness of the hibiscus.
- 12-14 cups cold water: For brewing and diluting. Filtered water is ideal for the cleanest flavor.
- Dark rum (optional, for adults): A splash of aged Jamaican rum like Appleton or Wray & Nephew transforms it into a classic holiday punch.
Timing
While many quick recipes promise sorrel in an hour, the traditional method involves a slow infusion for maximum flavor extraction. Here’s the realistic breakdown:
Compared to average recipes that rush the steeping process, this timeline honors the traditional method. The extended infusion time (often overnight) is crucial. It allows the spices and ginger to fully marry with the hibiscus, creating a more rounded, complex, and less harshly tart beverage. Think of it not as waiting, but as the flavors getting to know each other intimately.
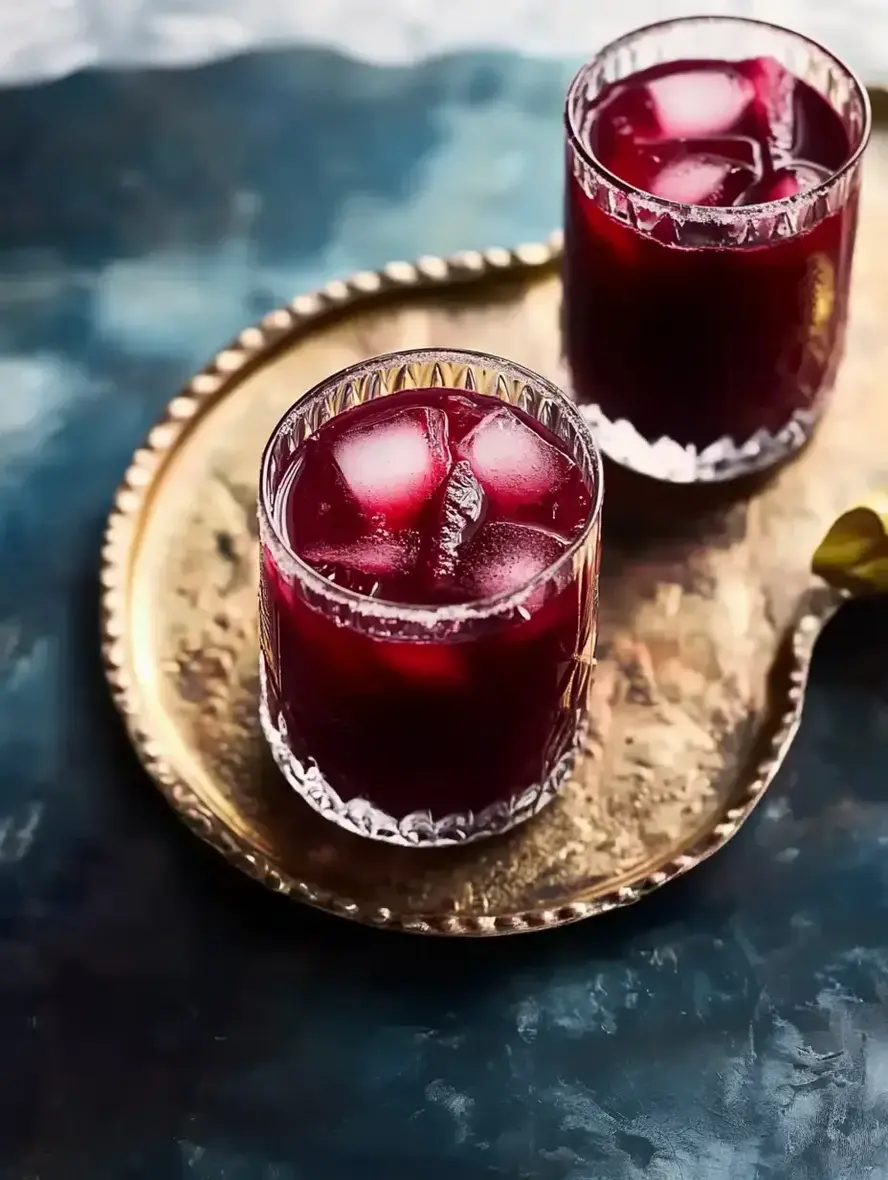
A vibrant glass of traditional Jamaican Sorrel Drink, showcasing its deep red color and festive appeal.
Step-by-Step Instructions
Step 1: Prepare the Sorrel and Ginger
Start by giving your dried sorrel flowers a quick rinse in a colander under cool water to remove any dust. Shake off the excess water. Next, take your piece of fresh ginger. I don’t bother peeling it—a good scrub with a vegetable brush is enough. The skin adds a slight earthiness. Now, the key step: crush it. Use the flat side of a chef’s knife or a meat tenderizer to give it a few good whacks. This bruises the ginger, cracking it open to release all its aromatic oils and juices, which will infuse the brew more effectively than simply slicing it.
Step 2: Brew the Sorrel
In a large, non-reactive pot (stainless steel or enamel is perfect), combine the rinsed sorrel flowers, bruised ginger, pimento berries, cinnamon sticks, and orange peel strips. Pour in 8 cups of cold water. Place the pot over high heat and bring it to a rolling boil. Once it reaches a vigorous boil, immediately reduce the heat to low, cover the pot, and let it simmer gently for 15-20 minutes. You’ll know it’s ready when the water has turned a deep, opaque burgundy red and your kitchen smells incredible—like spicy, tart Christmas.
Step 3: Sweeten and Spice
Turn off the heat. This is the moment to add your sugar. Start with 1 ½ cups, stirring until it completely dissolves into the hot liquid. Taste a small, cooled spoonful. Remember, it will taste sweeter now when hot than it will once chilled. Adjust by adding more sugar in ¼ cup increments if you prefer a sweeter drink. This is also the time to add a splash of rum if you’re making an adult version for punch. Stir well to incorporate.
Step 4: Strain and Cool
Place a fine-mesh strainer or a colander lined with cheesecloth over a large bowl or another pot. Carefully pour the entire contents of your brew pot through the strainer. Press down gently on the solids with the back of a spoon to extract every last drop of that flavorful liquid, but don’t press so hard that you force bitter particles through. Discard the spent flowers and spices. To the strained concentrate, add the remaining 4-6 cups of cold water. This dilutes it to the perfect drinking strength. Allow it to cool to room temperature on the counter before covering and transferring to the refrigerator.
Step 5: Serve and Enjoy
Your sorrel drink needs to chill thoroughly—for at least 4 hours, but ideally overnight. This resting period is magical; the flavors mellow and blend perfectly. When ready to serve, give it a good stir as some settling may occur. Pour over ice in tall glasses. For a truly authentic touch, garnish with a fresh mint sprig or a thin slice of orange. Sip and savor the taste of Jamaican sunshine and holiday spirit.
Nutritional Information
The following estimates are for a 1-cup (8 oz) serving of the non-alcoholic version, made with 1 ½ cups of sugar total. Values are approximate.
- Calories: ~120 kcal
- Total Carbohydrates: 31g
- Sugars: 30g (primarily from added sugar)
- Protein: 0g
- Fat: 0g
- Key Micronutrients: Rich in Vitamin C, iron, and antioxidants (anthocyanins and flavonoids) from the hibiscus.
Healthier Alternatives
You can enjoy this flavorful drink while tailoring it to your nutritional goals with these simple swaps:
- Reduce Sugar: Cut the granulated sugar by half and supplement with natural sweetness. Add 1-2 chopped sweet apples (like Fuji or Gala) to the pot during the boil. They cook down and impart a lovely fructose sweetness.
- Alternative Sweeteners: Swap white sugar for pure maple syrup, agave nectar, or a monk fruit sweetener blend added after straining, while the concentrate is still warm. Start with ¾ cup and adjust to taste.
- Boost Antioxidants: Add a handful of fresh or frozen cranberries to the brew. They complement the tartness and add more phytonutrients.
- Low-Calorie Version: Use a zero-calorie sweetener like stevia or erythritol designed for baking. Follow package instructions for equivalence to 1.5 cups of sugar.
Serving Suggestions
- Classic Holiday Punch: Mix chilled sorrel with a dark Jamaican rum (like Appleton Estate), a splash of lime juice, and garnish with orange wheels and a cinnamon stick.
- Festive Mocktail: For a non-alcoholic sparkler, top a glass of sorrel with ginger beer or club soda and a mint sprig.
- Dessert Pairing: Its tartness cuts through the richness of sweet potato pudding, black cake, or gingerbread cookies perfectly.
- Warm Version: Gently heat the strained concentrate (without extra dilution) and serve warm in mugs on a cold evening—it’s a fantastic herbal tea.
Common Mistakes
- Overboiling the Sorrel: Boiling for more than 20-25 minutes can extract bitter, tannic flavors from the flowers, making the drink unpleasantly astringent. Simmer gently once it boils.
- Adding Sugar Too Early: Adding sugar before or during boiling can cause it to caramelize slightly and alter the clean, bright flavor. Always sweeten after turning off the heat.
- Skipping the Long Steep: Impatience is the enemy of flavor. Rushing the cooling and chilling process results in a one-dimensional, harsh drink. The overnight steep is non-negotiable for depth.
- Using a Reactive Pot: Brewing in an aluminum or cast iron pot can react with the acidic hibiscus, giving the drink a metallic off-taste. Stick to stainless steel, enamel, or glass.
Storing Tips
- Refrigeration: Store your fully prepared and diluted sorrel drink in airtight glass jars or bottles in the refrigerator. It will keep well for up to 7-10 days.
- Freezing for Longevity: You can freeze the concentrated, sweetened brew (before adding the final dilution water) in ice cube trays or freezer-safe containers for up to 3 months. Thaw in the fridge and dilute as needed.
- Preventing Fermentation: Because it’s a natural plant brew with sugar, if left at room temperature for too long, it can begin to ferment. Always refrigerate promptly after cooling.
- Separation is Normal: A slight sediment or separation may occur after a few days.