Discover the joy of homemade apple jam with our simple guide to canning. Perfect for your canning recipes board, this easy apple canning recipe will help you create delicious canned apple jam. Save this pin and click for step-by-step instructions and tips on apple preserves recipe canning. Enjoy a taste of autumn with this flavorful homemade jam.
Print
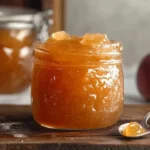
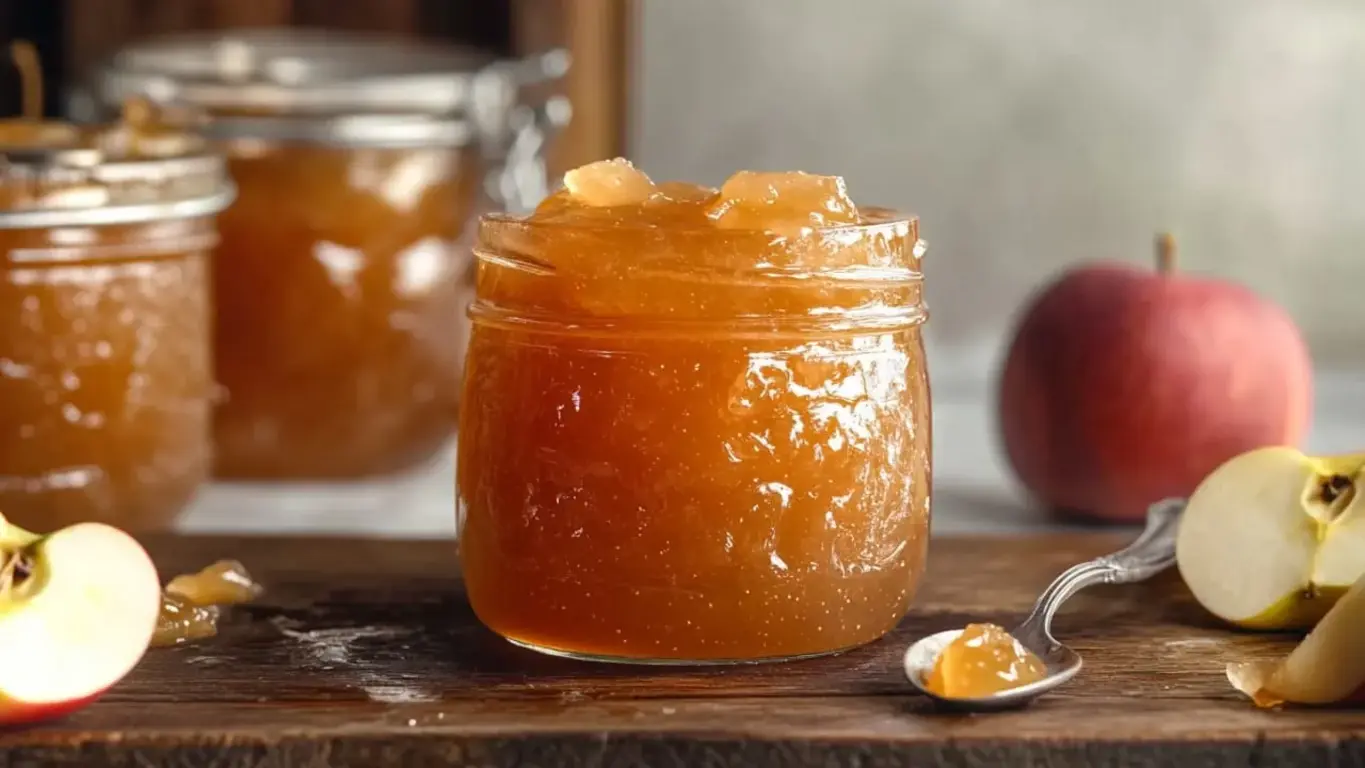
Autumn in a Jar: Your Guide to Perfect Homemade Apple Jam
Description
This homemade apple jam captures the essence of autumn in a jar. With just three simple ingredients – apples, sugar, and lemon juice – it offers a perfect balance of sweetness and tartness. The chunky texture and rich apple flavor make it a versatile spread that’s delicious on toast, pastries, or even as a glaze for meats.
Ingredients
Scale
- 4 lbs chopped apples about 16 cups when peeled, cored, and cut into 1/4 to 1/2-inch dice
- 4 cups granulated sugar
- 1/2 cup lemon juice
Instructions
- Combine diced apples, sugar, and lemon juice in a large bowl. Mix gently and refrigerate for at least 4 hours or overnight.
- Before cooking, place a small plate in the freezer for gel testing later.
- Strain the macerated fruit, reserving the liquid. Boil the reserved liquid in a saucepan, then add the apple pieces.
- Cook over medium-high heat for 20-30 minutes, stirring occasionally to prevent scorching.
- To test for gel consistency, remove the frozen plate from the freezer and place a small amount of jam on it. Return the plate to the freezer for 1 minute. If the jam wrinkles when pushed with your finger, it’s ready. If not, continue cooking and test again in 5-minute intervals.
- Once desired consistency is reached, remove from heat.
- Fill sterilized jars with hot jam, leaving 1/4-inch headspace.
- Process in a water bath canner, by boiling the jars in hot water for 10 minutes, then let sit in the hot water for an additional 5 minutes.
- Remove jars and let cool completely before checking seals.