This homemade Bang Bang Shrimp is crispy and saucy at the same time. This shrimp can be served so many ways, but it’s especially satisfying as Bang Bang Shrimp Tacos drizzled with the bang bang sauce. See how easy it is to recreate this restaurant favorite. This recipe will elevate your taco Tuesdays. Bang Bang Shrimp was made popular by Bonefish Grill. They are also called Dynamite Shrimp which was made popular by Cheesecake Factory restaurant. #bangbangshrimp #dynamiteshrimp #shrimptacos #taco
Print

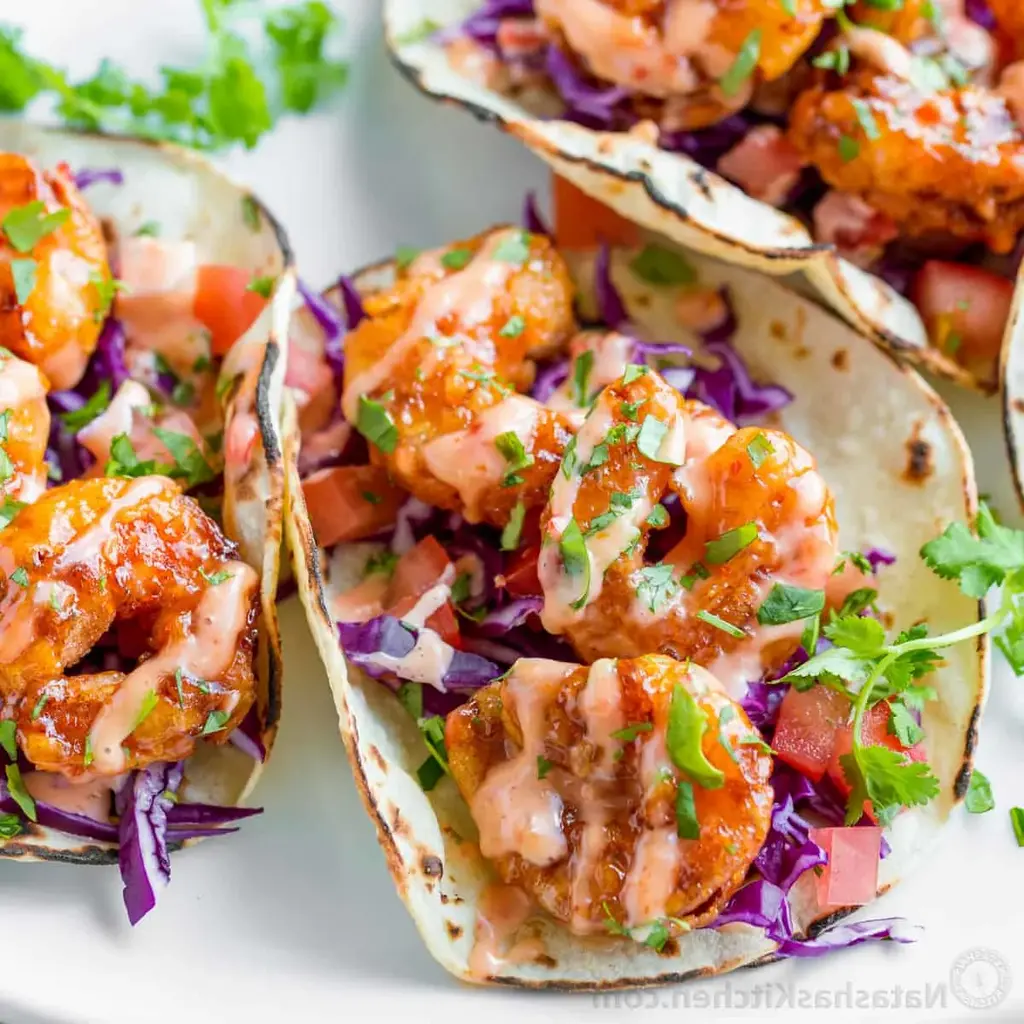
Bang Bang Shrimp Tacos (Dynamite Shrimp)
Description
Bang Bang Shrimp are crispy, creamy, sweet, and spicy. They are so satisfying served as Bang Bang Shrimp Tacos drizzled with that famous sauce.
Ingredients
Scale
- 1 lb large shrimp (peeled and deveined, tails removed)
- 1/2 cup buttermilk
- 1/4 tsp salt
- 1/4 tsp black pepper
- 1/4 tsp onion powder
- 1/4 tsp garlic powder
- 3/4 cup corn starch
- Peanut oil or Canola oil for frying shrimp
- 1/2 cup mayonnaise
- 3 Tbsp Thai sweet chili sauce
- 3 tsp Sriracha hot sauce (or to taste)
- 8 to 12 Small White Corn Tortillas (or Hard Taco Shells)
- 3 cups Purple or Green Cabbage (thinly sliced)
- 1 medium tomato (diced)
- 1/4 cup cilantro (coarsely chopped)
Instructions
- In a small bowl, stir together Bang Bang Sauce ingredients and set aside.
- Make the marinade by combining buttermilk, salt, pepper, onion powder, garlic powder. Pour over peeled and deviled shrimp and stir to coat. Set aside while you start preheating your oil.
- Remove shrimp from the marinade one at a time, letting excess marinade drip off. Dip both sides in cornstarch until fully coated, tap off the excess and arrange breaded shrimp on a platter.
- Heat 1 1/2 of oil in a dutch oven or pot to 375F. Fry shrimp in 3 batches, cooking for 2 1/2 to 3 minutes until golden brown, crispy and cooked through (turn halfway if needed). Use a strainer to transfer shrimp to rest on a paper towel-lined plate for a few minutes.
- Transfer shrimp to a bowl and drizzle half of the sauce over warm shrimp. Toss gently until shrimp are coated and rest for 10 minutes to absorb the sauce.
- Lightly toast corn tortillas on a griddle, skillet for 30 seconds per side, or over a gas flame if you want some charring.
- Add desired taco toppings, top with 2-3 shrimp per taco and drizzle with remaining sauce.
- Serve with a sprinkle of cilantro and a squeeze of fresh lime juice.