Easy Blueberry Lemon Jam | Spoonful of Plants | Looking for a healthy jam without all that added sugar and pectin? This blueberry lemon jam is the perfect recipe and so easy. This jam has no refined sugars and vegan, the star to any toast, oatmeal, yogurt bowl and more.
Print
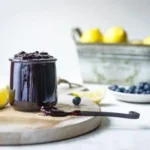
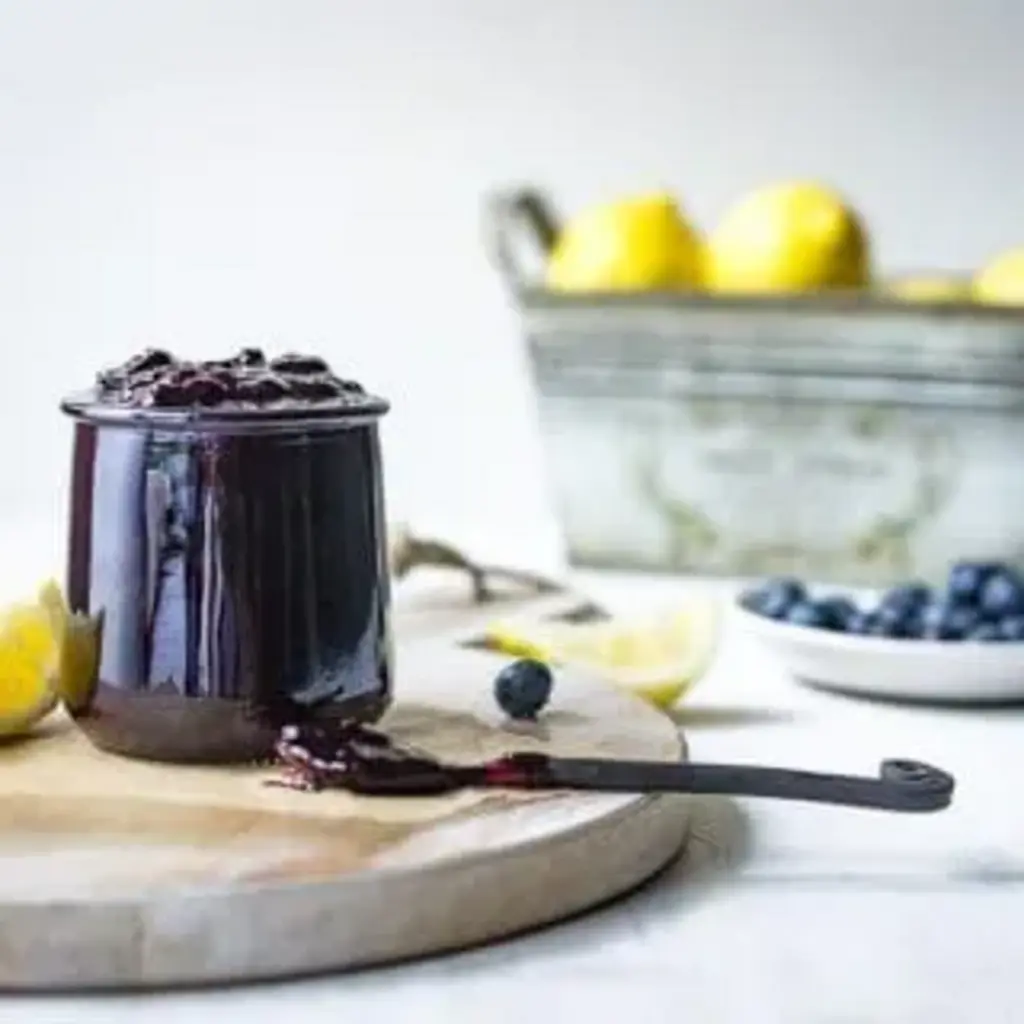
Easy Blueberry Lemon Jam
Description
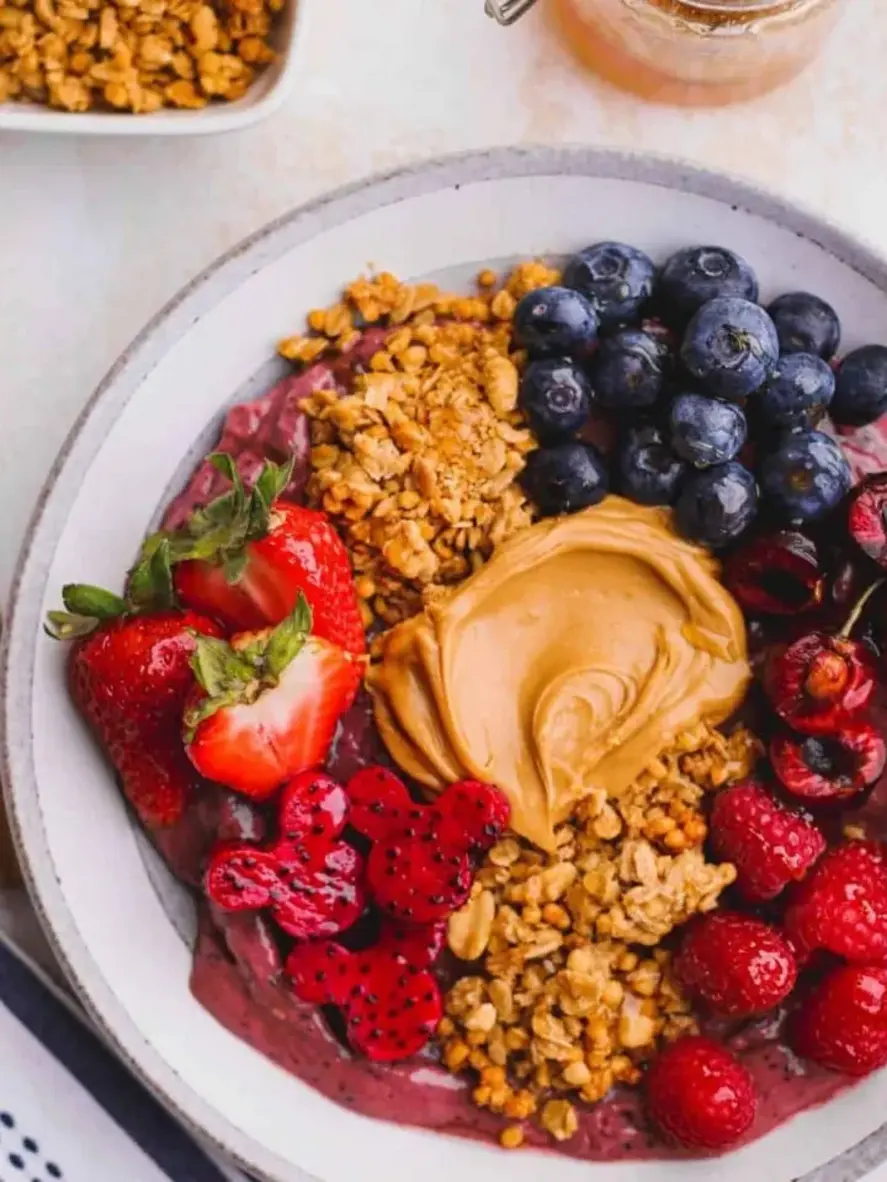
This jam is full of naturally sweet flavor from ripe summer blueberries and just a touch of lemon zest. Perfect on toast, in yogurt, oatmeal and even ice cream!
Ingredients
Scale
- 4 cups blueberries washed and any stems picked off
- zest and juice from one small lemon
- 2 tablespoon maple syrup
Instructions
- Combine all ingredients in a quart size saucepan.
- On medium high heat, begin to mash (I used a potato masher) until most but not all of the blueberries are broken up.
- Bring to a boil.
- Lower heat and simmer for about 50-55 minutes, stirring every so often to prevent burning.
- Test with cold spoon (see above)*
- Let cool and transfer to a jar with lid.
- Refrigerate.
Notes
I have gotten a few questions regarding using frozen blueberries for this recipe. Although I have not tested this myself, I have had a few readers message me that frozen blueberries did in fact work for this recipe.
Nutrition
- Calories: 37kcal
- Sugar: 7g
- Protein: 0.4g