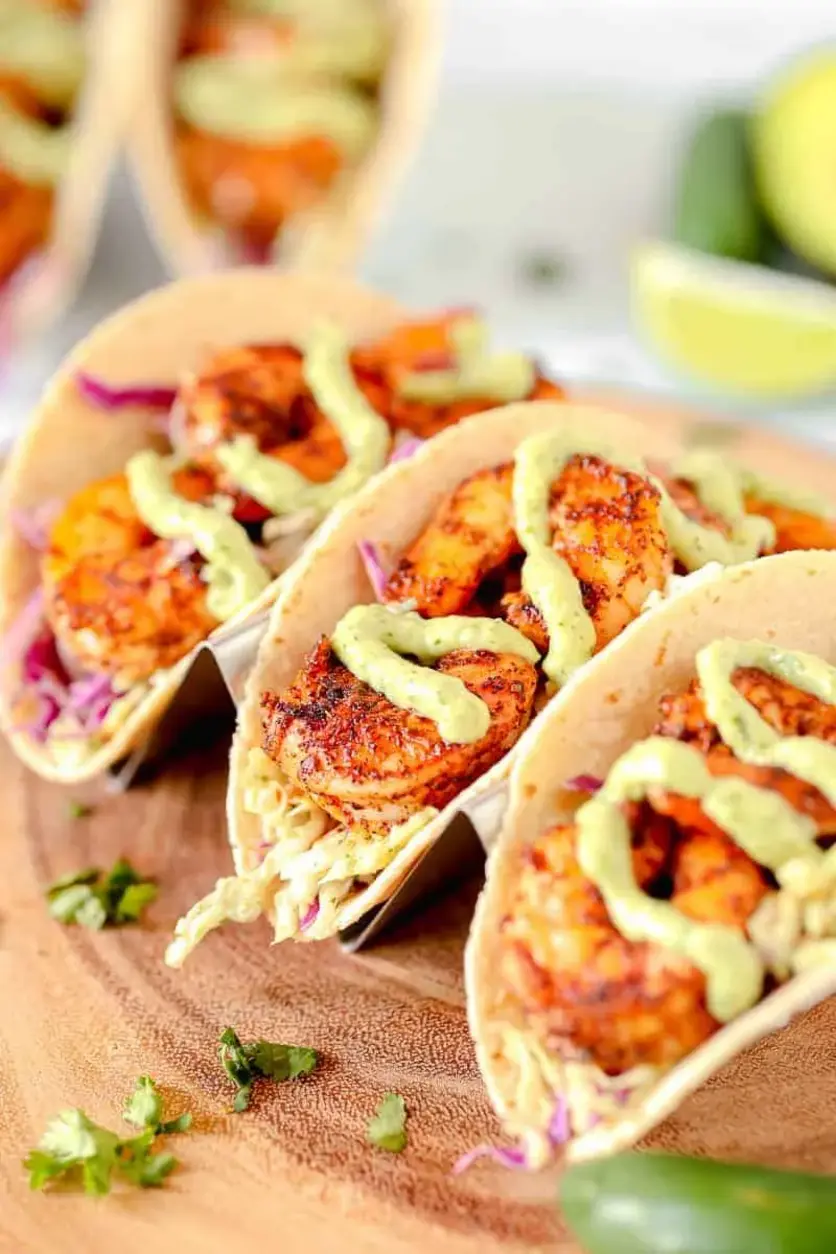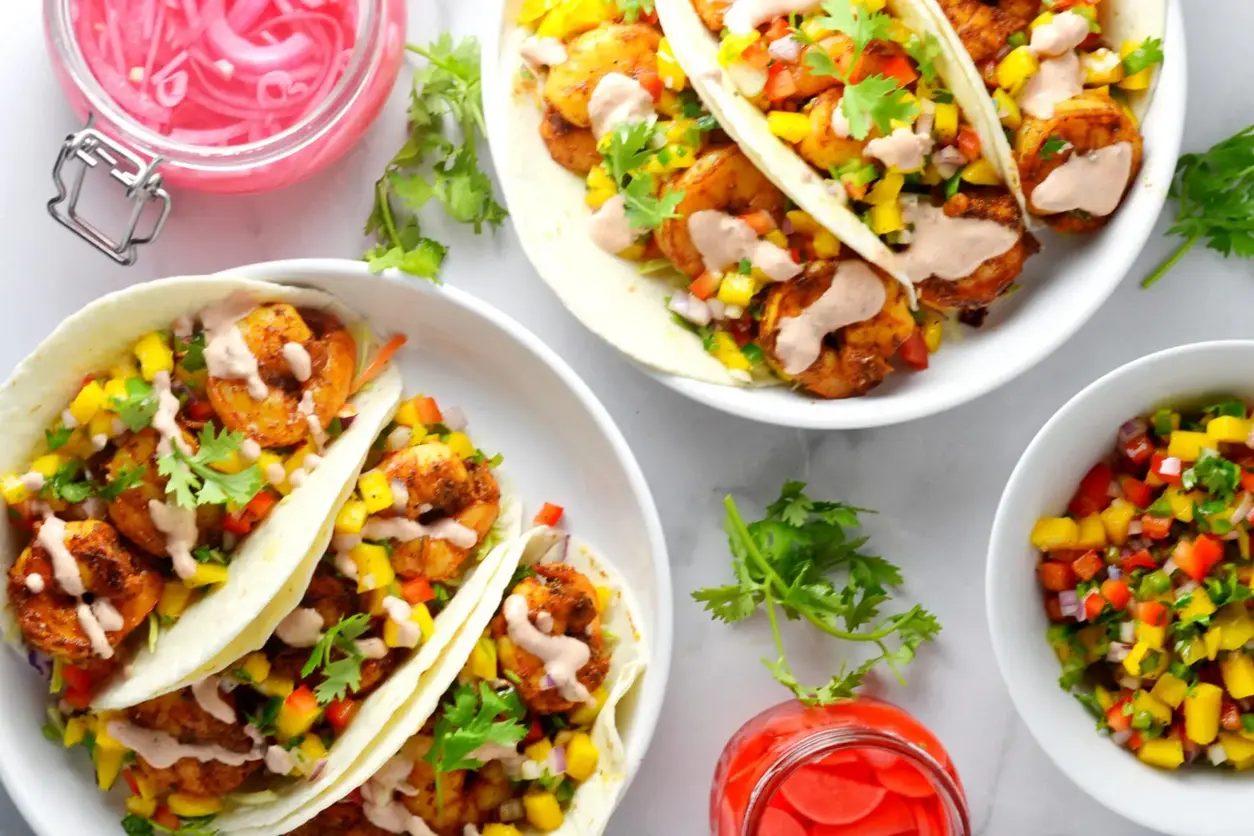
Grilled Shrimp Tacos with Mango Salsa
Print

Grilled Shrimp Tacos with Mango Salsa
Ingredients
Scale
- 1 pound large shrimp (21–25 count) shrimp, peeled & deveined
- ½ tsp chili powder
- ½ tsp garlic powder
- ½ tsp paprika
- ½ tsp dried oregano
- ½ tsp ground cumin
- ½ tsp kosher salt
- ½ tsp ground black pepper
- 1 mango, peeled and diced ( About 1½ cups)
- ½ red bell pepper ( About 1/2 cup)
- cup red onion, finely diced (About half of a small red onion)
- 1 jalapeño pepper, seeded and minced
- ¼ cup cilantro. chopped
- Juice of 1 lime
- ½ tbsp extra virgin olive oil
- 1 tsp agave nectar or honey
- kosher salt and pepper (to taste)
- ¼ cup sour cream
- 2 tbsp chipotle salsa
- Flour or corn tortillas
Instructions
- Season the shrimp with the oil and spices. Toss to coat.
- Heat a grill or grill pan to medium high heat. Cook the shrimp for 1-2 minutes per side. Set aside.
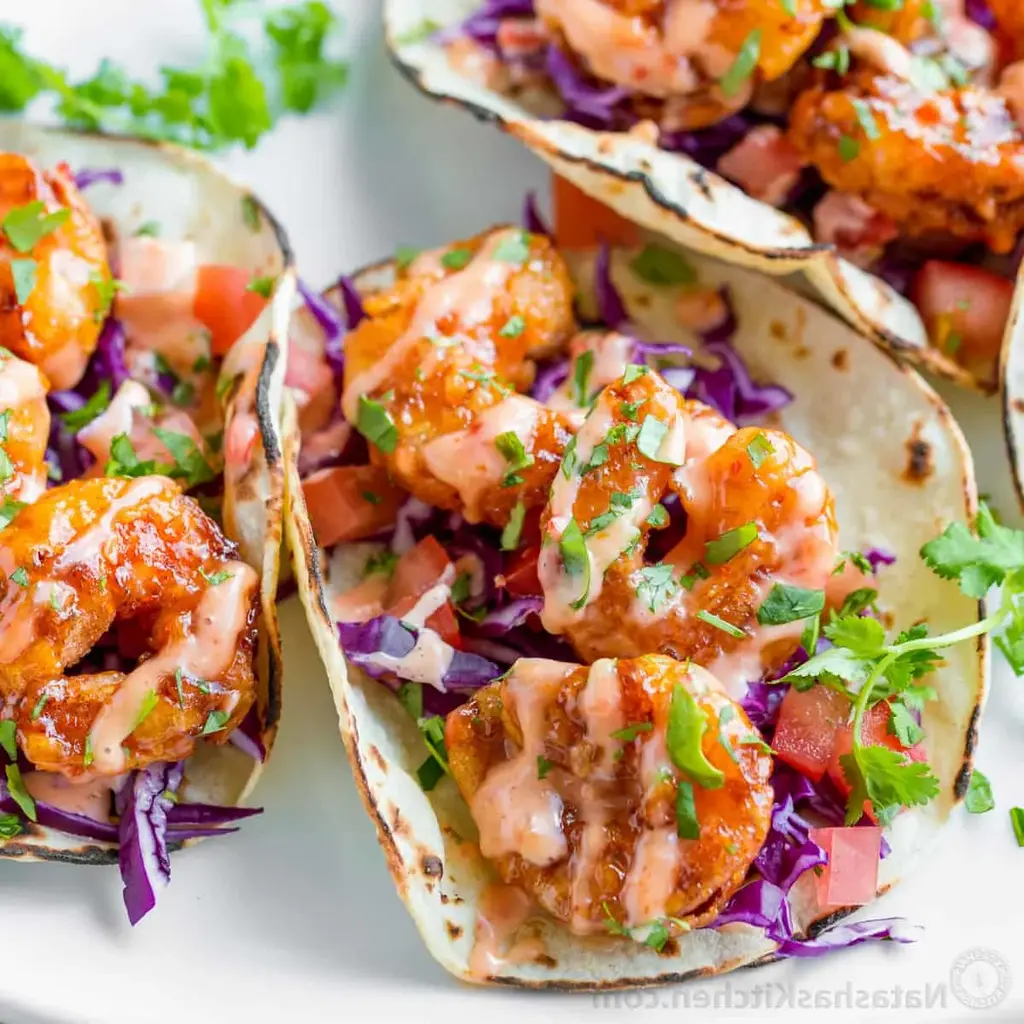
- In a serving bowl, combine the prepared mango, bell pepper, onion, cilantro and jalapeño. Drizzle with the juice of one lime, olive oil and agave and mix well. Season to taste with salt. For best flavor, let the salsa rest for 5-10 minutes.
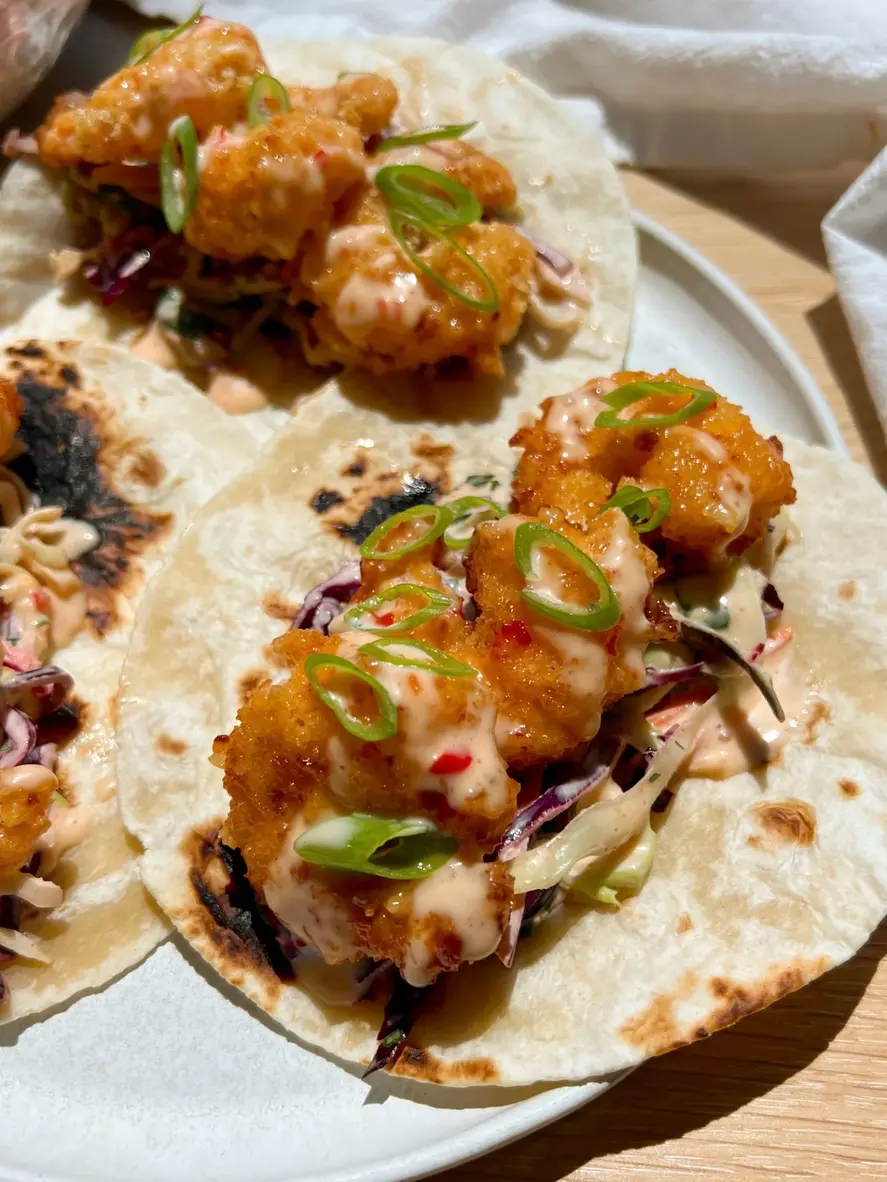
- Combine the sour cream and chipotle salsa. Stir until thoroughly mixed.
- Warm tortillas in the microwave or using a warm frying pan.
- Line each tortilla with some mango salsa, then the grilled shrimp, then the chipotle crema. Serve hot.