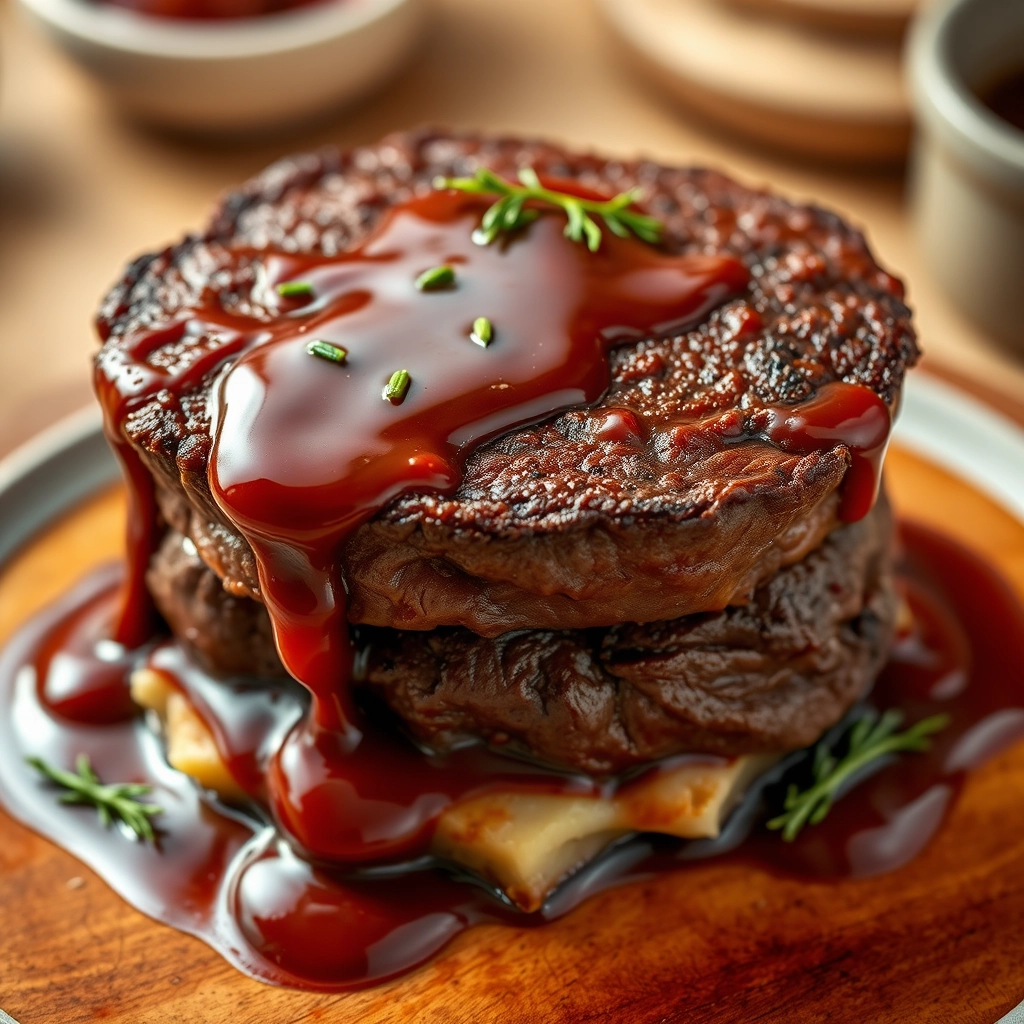
The Night I Fell in Love with Taco Pasta
It was one of those evenings when the sky turned dusky early, and my energy for cooking had evaporated along with the afternoon sun. My pantry was half-empty, my fridge held the usual suspects, and takeout just didn’t feel right. Then I remembered a trick my best friend swore by: when in doubt, marry two comfort foods into one. That’s how taco pasta was born in my kitchen—a creamy, zesty hug in a bowl that comes together in one pot (because who has time for extra dishes?). Now, it’s my go-to when life feels rushed but my heart craves something hearty. Let’s make magic happen!
Ingredients You’ll Need
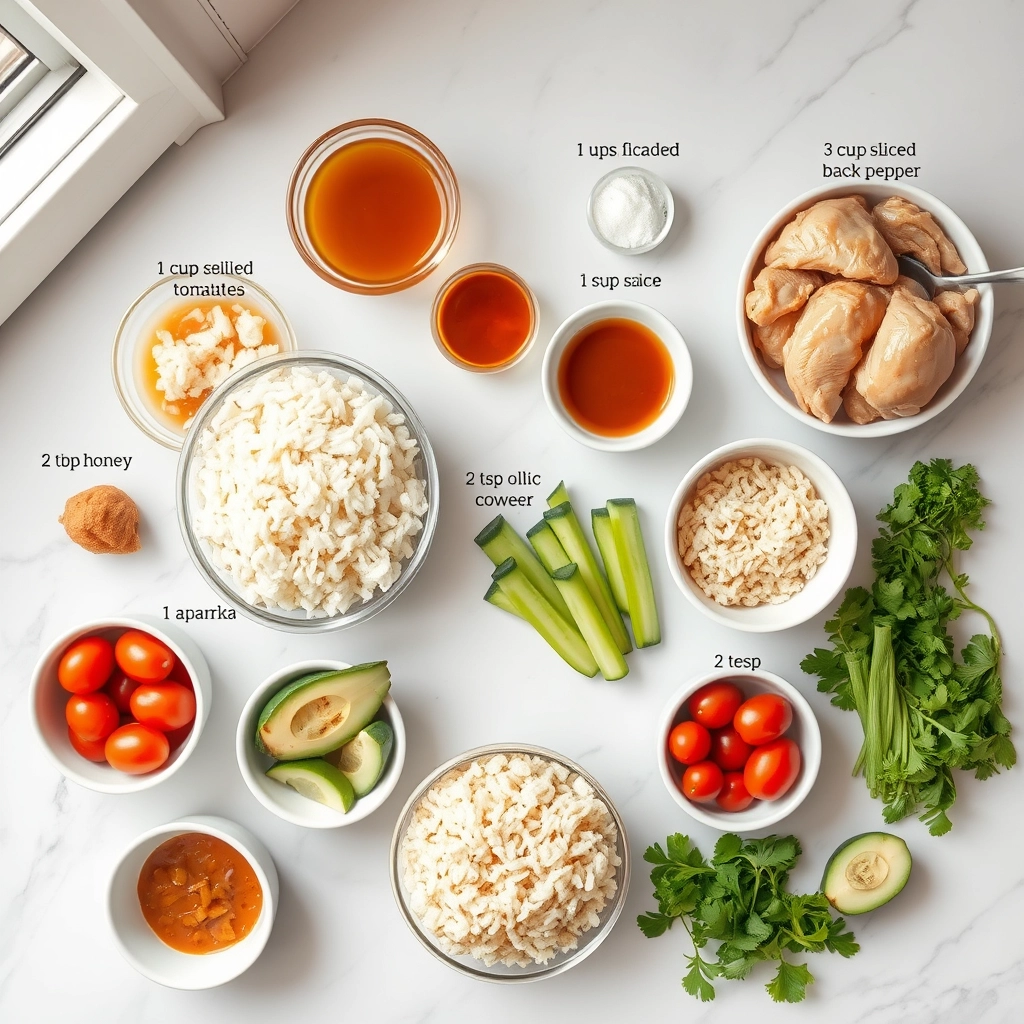
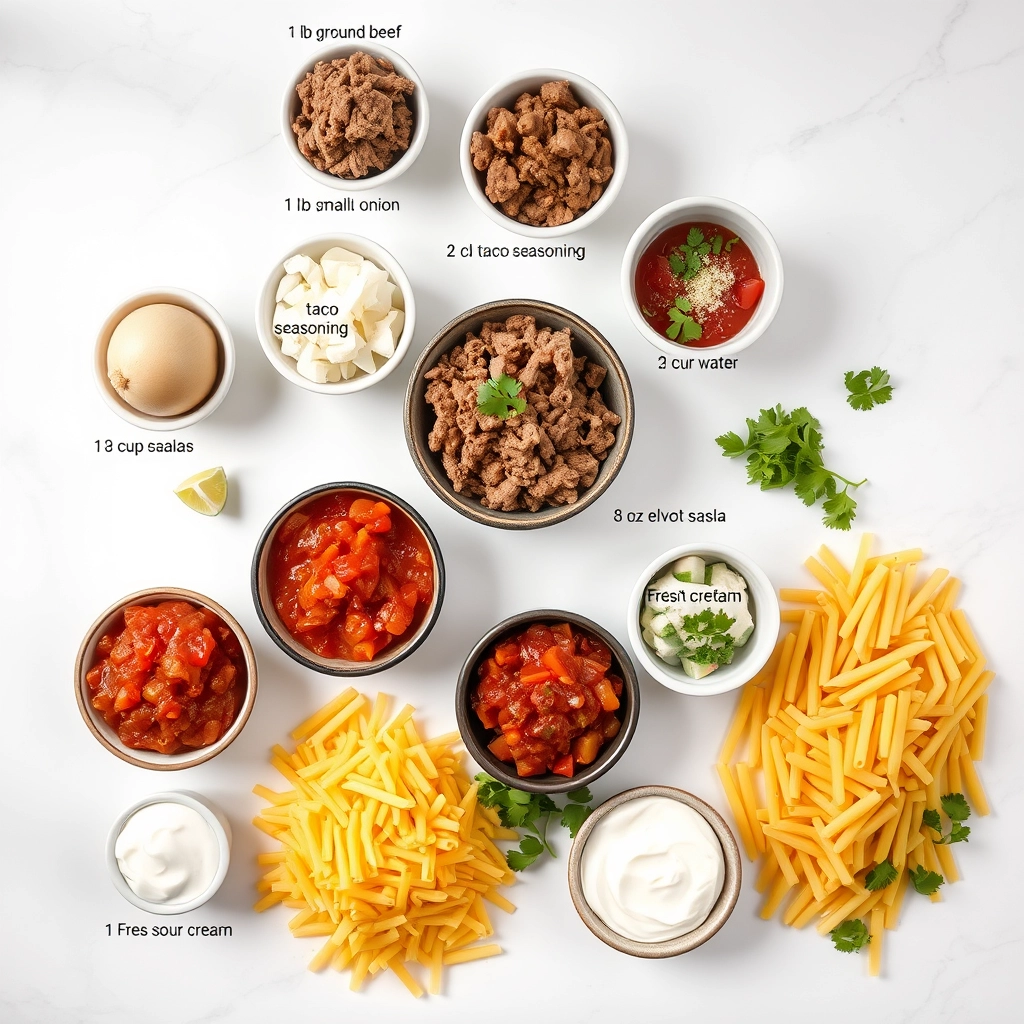
- 1 lb ground beef (or turkey for a lighter twist) – The savory backbone of our dish. If you’re vegetarian, lentils work beautifully too!
- 1 small onion, diced – Sweet and aromatic, it’s the quiet hero building layers of flavor.
- 2 cloves garlic, minced – Because every great recipe starts with garlic sizzling in a pan.
- 1 packet taco seasoning (or 2 tbsp homemade blend) – I adore the smoky warmth of cumin and paprika here. Pro tip: If using store-bought, opt for low-sodium to control the saltiness.
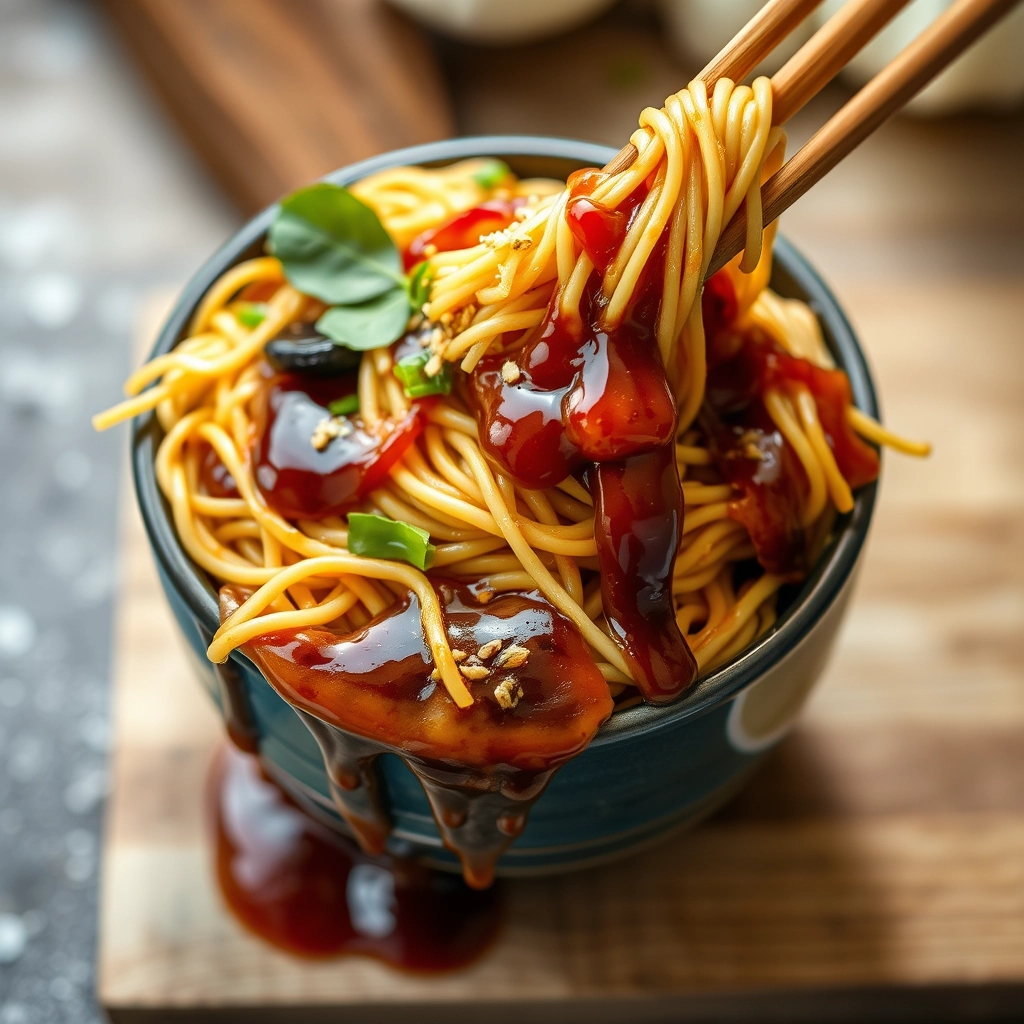
- 2 cups dried pasta (rotini or penne are my favorites) – Those nooks and crumbles cradle the sauce like a dream.
- 2 cups beef or vegetable broth – The liquid gold that cooks our pasta and infuses it with richness.
- 1 (14 oz) can diced tomatoes, undrained – They add a tangy brightness that cuts through the creaminess.
- 1/2 cup heavy cream or half-and-half – For that luscious, velvety finish. Milk works in a pinch, but cream? Oh, cream is love.
- 1 cup shredded cheddar cheese – Because melted cheese is non-negotiable.
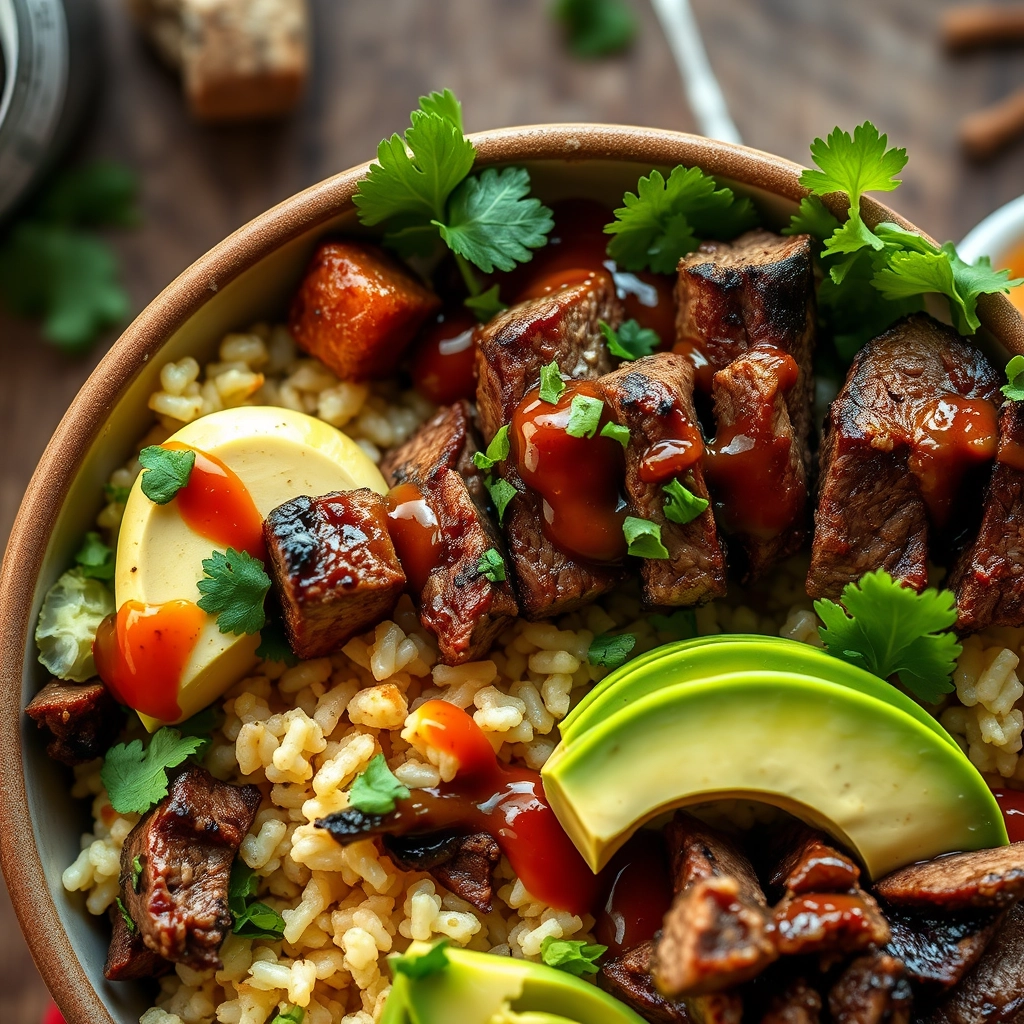
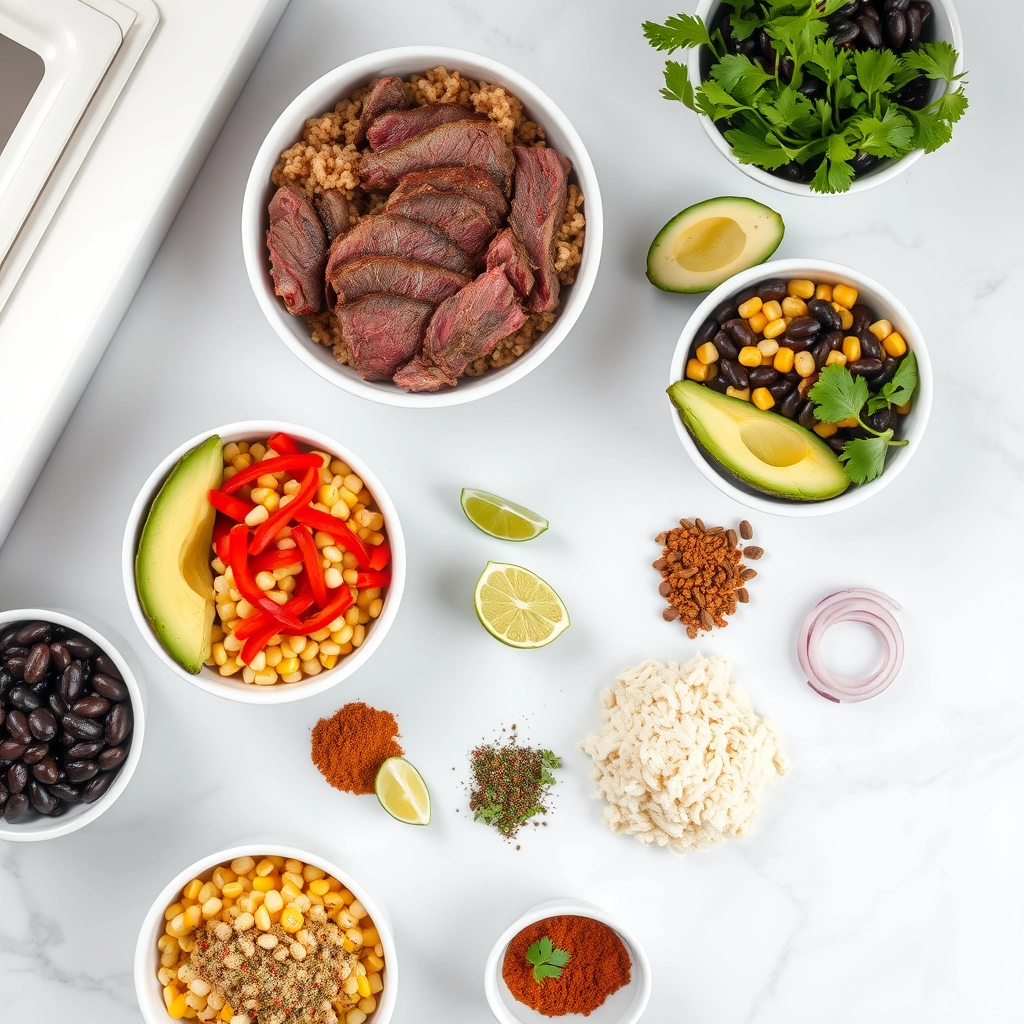
- Toppings: fresh cilantro, avocado, sour cream, or crushed tortilla chips – The fun part! Let everyone customize their bowl.
Let’s Get Cooking
Step 1: The Sizzle
Heat a large, deep skillet (or Dutch oven) over medium-high heat. Add the ground beef and onion, breaking the meat into crumbles with a wooden spoon as it browns. When the beef is no longer pink and the onions turn translucent, stir in the garlic—just until fragrant, about 30 seconds. That smell? Pure comfort.
Step 2: Spice It Up
Sprinkle the taco seasoning over the meat mixture, stirring to coat every bit. Let it toast for a minute to wake up those spices. If the pan looks dry, a splash of broth or water helps create a saucy base.
Step 3: Pasta Party
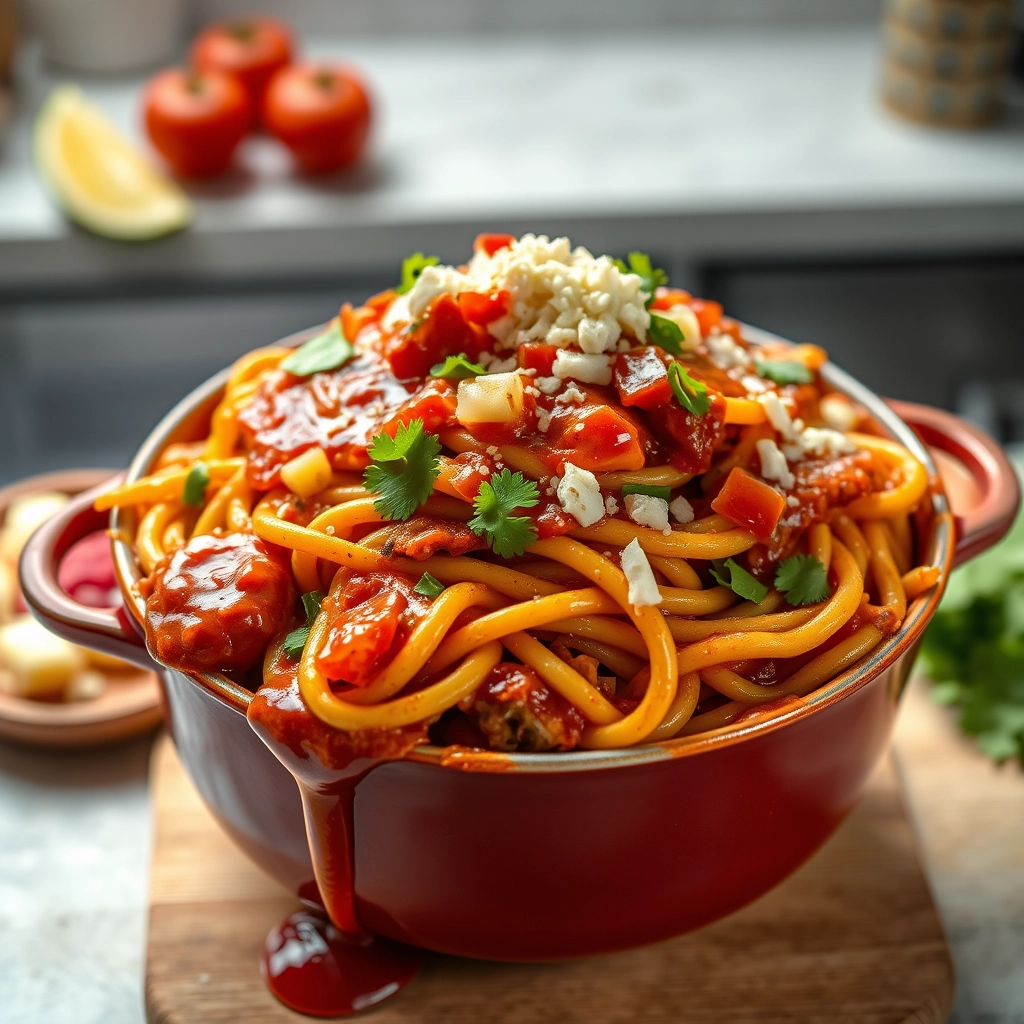
Add the uncooked pasta, broth, and diced tomatoes (with their juices!) to the pot. Give it a good stir, making sure the pasta is mostly submerged. Bring it to a gentle boil, then reduce the heat to a simmer. Cover with a lid and let it cook for about 12 minutes, stirring occasionally to prevent sticking. Peek under the lid—when the pasta is al dente and most of the liquid is absorbed, you’re golden.
Step 4: Creamy Dreams
Pour in the heavy cream and half the cheese, stirring gently until everything is gloriously combined. The sauce will thicken as it cools slightly. Taste and adjust seasoning—sometimes I add a squeeze of lime for brightness!
Pro Tips, Variations, and Substitutions
This taco pasta is wonderfully forgiving, so feel free to make it your own! Here are a few ideas to customize it:
- Protein swap: Ground turkey, chicken, or plant-based crumbles work just as well as beef.
- Spice level: Adjust the heat by using mild or hot taco seasoning, or add a diced jalapeño for extra kick.
- Cheese lovers: Stir in a handful of cream cheese or a dollop of sour cream at the end for extra creaminess.
- Veggie boost: Toss in bell peppers, corn, or black beans for extra color and nutrition.
What to Serve With Taco Pasta
This dish is hearty enough to stand alone, but a few simple sides can round out the meal:
- A crisp green salad with avocado and lime dressing
- Warm tortilla chips and chunky salsa
- Quick-pickled red onions for a tangy crunch
- A cooling dollop of Greek yogurt or guacamole
Storage and Reheating Tips
Leftovers taste even better the next day! Here’s how to keep them fresh:
- Fridge: Store in an airtight container for up to 4 days.
- Freezer: Portion into freezer-safe bags (squeeze out air) for up to 3 months. Thaw overnight in the fridge before reheating.
- Reheating: Warm in a skillet with a splash of broth or water to loosen the sauce, or microwave in 30-second intervals, stirring in between.
Frequently Asked Questions
Can I use a different pasta shape?
Absolutely! Penne, rotini, or shells all work well—just adjust the cook time as needed.
Is there a way to make this gluten-free?
Yes! Swap regular pasta for gluten-free noodles (like brown rice or chickpea pasta) and double-check your taco seasoning.
Can I prep this ahead?
You sure can! Cook the beef and onions in advance, then refrigerate. When ready, just add the remaining ingredients and simmer.
What if my pasta absorbs too much liquid?
No worries—just stir in a little extra broth or water until it reaches your desired consistency.
Cozy Comfort in Every Bite
There’s something magical about a one-pot meal that brings together the bold flavors of tacos and the comfort of pasta. Whether it’s a busy weeknight or a lazy weekend, this dish is here to wrap you in warmth and satisfaction. Don’t be surprised if it becomes a regular in your rotation—it’s that good. Now, grab a fork and dig in!
Print
Taco Pasta (One Pot!)
Description
A quick and easy one-pot meal combining the flavors of tacos with pasta for a family-friendly dinner.
Ingredients
For the Crust:
- 1 lb ground beef
- 1 small onion, diced
- 2 cloves garlic, minced
- 1 packet taco seasoning
- 2 cups water
- 1 cup salsa
- 8 oz elbow pasta
- 1 cup shredded cheddar cheese
- 1/2 cup sour cream
- Fresh cilantro for garnish
Instructions
1. Prepare the Crust:
- In a large pot, brown the ground beef over medium heat. Drain excess fat.
- Add diced onion and minced garlic to the pot. Cook until softened, about 3 minutes.
- Stir in taco seasoning, water, and salsa. Bring to a boil.
- Add pasta, reduce heat to simmer, and cover. Cook for 10-12 minutes, stirring occasionally, until pasta is tender.
- Remove from heat and stir in shredded cheese and sour cream until melted and well combined.
- Garnish with fresh cilantro before serving.
Notes
You can customize the seasonings to taste.