Greek Meatballs – A Little Taste of the Mediterranean in Every Bite
There’s something magical about the way food can transport you—one bite, and suddenly, you’re sitting at a sun-drenched taverna by the Aegean Sea, the scent of oregano and lemon mingling with the salty breeze. That’s exactly how I felt the first time I tried homemade Greek meatballs, or keftedes, as they’re lovingly called in Greece. Crispy on the outside, tender within, and bursting with bright, herby flavors, they’re the kind of dish that makes you close your eyes and savor every morsel.
I’ll never forget the summer I spent in Santorini, where a sweet yiayia (grandmother) taught me her secret: a splash of ouzo in the meat mixture for that unmistakable Greek flair. While I don’t always keep ouzo on hand, I’ve perfected a version that brings all that sunshine to my kitchen, no matter the season. Whether you’re serving them as an appetizer with tzatziki or piling them onto warm pita for a hearty meal, these Greek meatballs are pure joy on a plate.
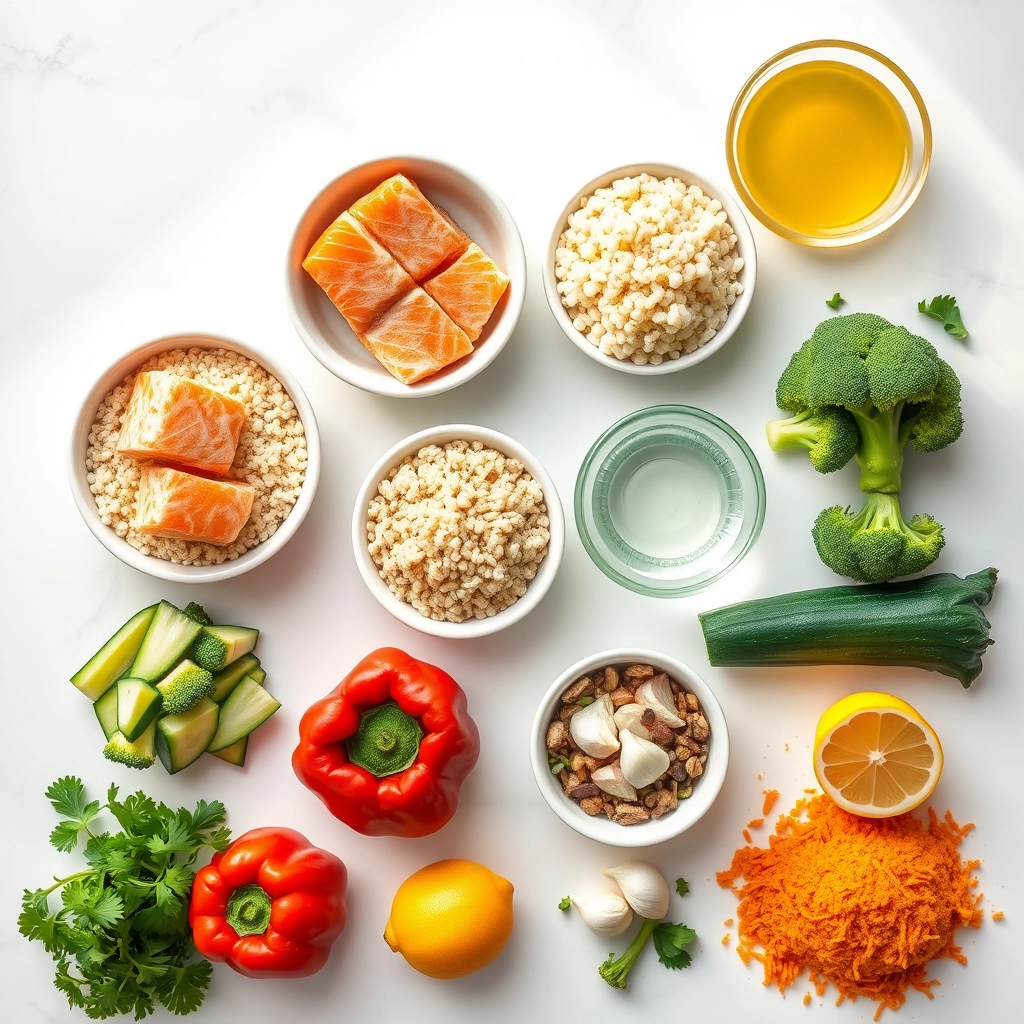
Ingredients You’ll Need
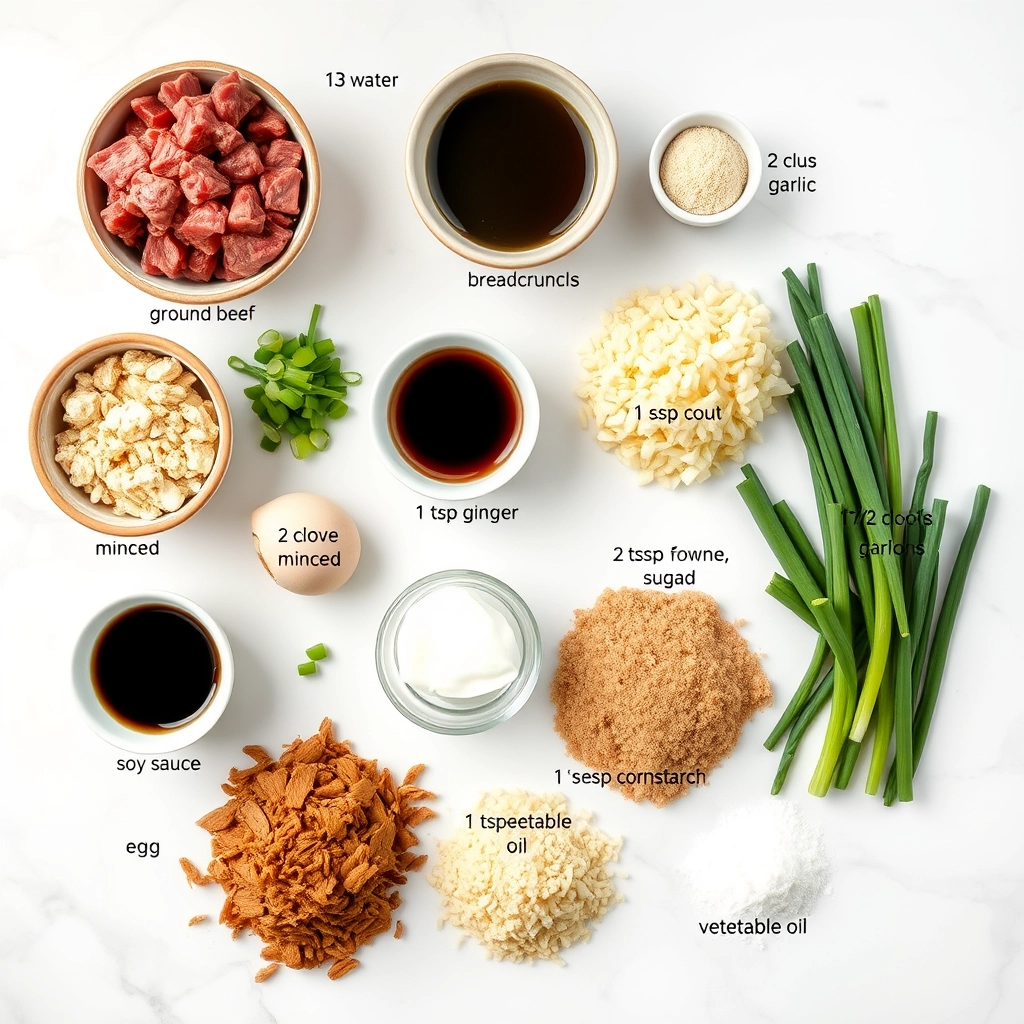
- 1 lb ground lamb (or beef) – The star of the show! Lamb adds that authentic richness, but beef works beautifully too.
- ½ cup breadcrumbs – Panko gives extra crunch, but plain works just fine.
- 1 small red onion, finely grated – Grating ensures no one bites into a big chunk—just sweet, mellow flavor.
- 2 garlic cloves, minced – Because what’s a meatball without garlic?
- 1 egg, lightly beaten – Our trusty binder to keep everything together.
- 2 tbsp fresh mint, finely chopped – The herb that makes these taste unmistakably Greek.
- 1 tbsp dried oregano – Rub it between your fingers to wake up the aroma.
- 1 tsp ground cumin – A warm, earthy note that’s subtle but essential.
- Zest of 1 lemon – For that sunny brightness.
- ½ tsp cinnamon – Just a whisper—trust me, it’s magical.
- Salt and pepper – Season generously!
- Olive oil, for frying – A good glug for that golden crust.
Let’s Make Some Magic
1. Mix with love. In a large bowl, combine the ground meat, breadcrumbs, onion, garlic, egg, mint, oregano, cumin, lemon zest, cinnamon, salt, and pepper. Use your hands—yes, really!—to gently mix everything. Overworking the meat makes for tough meatballs, so think of it as a light, affectionate knead.
2. Shape your happiness. Roll the mixture into golf ball-sized rounds (about 1.5 inches). If the mix feels sticky, dampen your hands with a bit of water. Pro tip: For even cooking, try to make them all the same size—I sometimes use a small cookie scoop for precision.
3. Heat the pan. Pour enough olive oil into a large skillet to coat the bottom generously and heat it over medium-high. To test if it’s ready, flick in a breadcrumb—if it sizzles, you’re golden (pun intended).
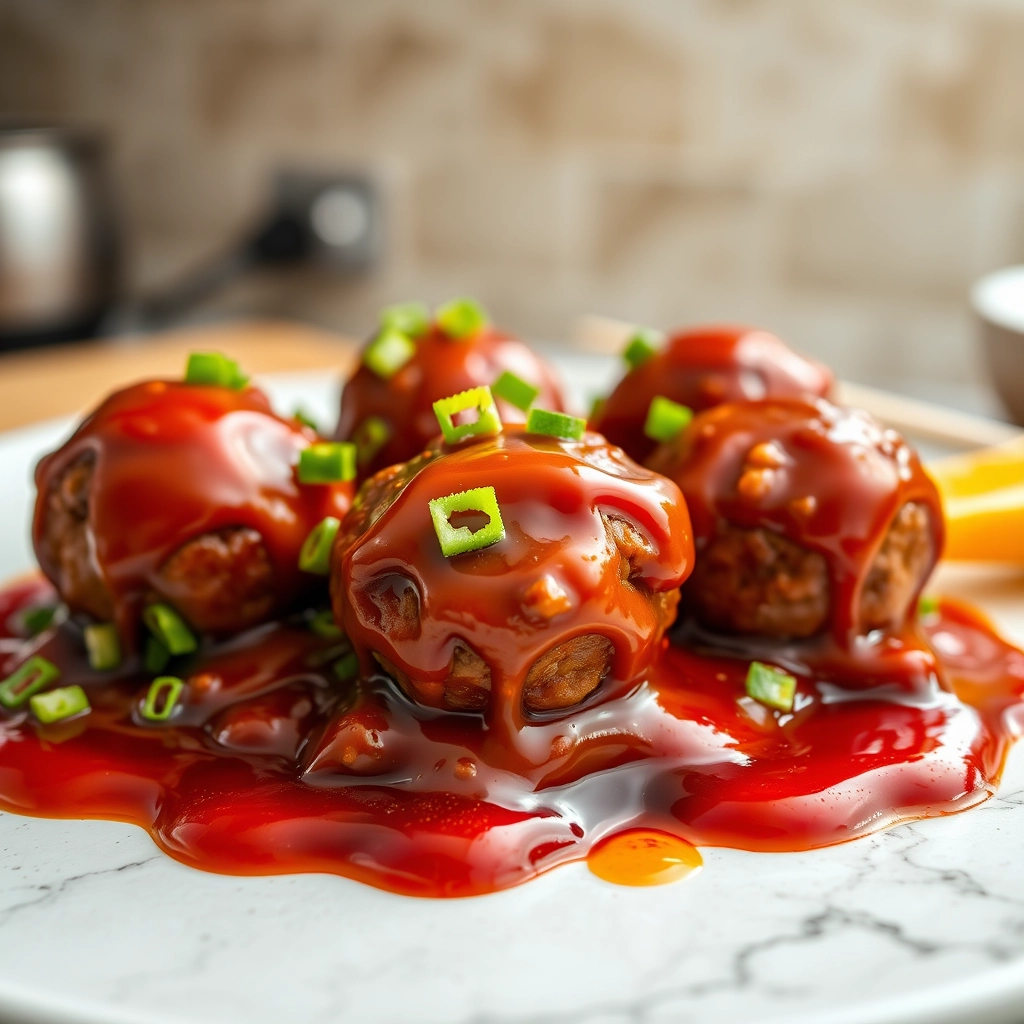
4. Fry to crispy perfection. Working in batches to avoid crowding, add the meatballs and cook for about 3-4 minutes per side, turning gently with tongs until they’re deeply browned all over and cooked through. Transfer them to a paper towel-lined plate to drain, and resist the urge to pop one straight into your mouth… or don’t. I won’t judge.
Pro Tips, Variations, and Substitutions
Making the perfect Greek meatballs is all about balancing flavors and textures. Here are some insider tips to elevate your dish:
- For extra tenderness: Soak your breadcrumbs in milk for 10 minutes before mixing into the meat mixture
- Grill option: These meatballs can be cooked on a grill pan or outdoor grill for smoky flavor
- Lamb lovers: Substitute half the beef with ground lamb for authentic Greek flavor
- Gluten-free: Use gluten-free breadcrumbs or almond flour instead of regular breadcrumbs
- Herb variations: Fresh dill or parsley can be added for extra freshness
What to Serve With Greek Meatballs
These versatile meatballs pair beautifully with so many sides! Here are our favorite combinations:
- Classic tzatziki sauce and warm pita bread
- Greek salad with feta, olives, and cucumber
- Lemon garlic roasted potatoes
- Fluffy couscous or orzo pasta
- Grilled vegetables like zucchini and eggplant
Storage and Reheating Tips
Greek meatballs make fantastic leftovers! Here’s how to keep them tasting fresh:
- Refrigerator: Store in airtight container for 3-4 days
- Freezer: Freeze cooked meatballs on baking sheet, then transfer to freezer bags for up to 3 months
- Reheating: Warm in 350°F oven for 10-15 minutes or microwave at 50% power in 30-second intervals
- Pro tip: Add a splash of water or broth when reheating to keep them moist
Frequently Asked Questions
Can I make these meatballs ahead of time?
Absolutely! You can prepare the mixture up to 24 hours in advance and keep it refrigerated until ready to cook. This actually helps the flavors meld together beautifully.
What’s the best way to keep meatballs from falling apart?
Make sure your mixture isn’t too wet, chill the formed meatballs for 30 minutes before cooking, and avoid overhandling the meat when forming the balls.
Can I bake these instead of pan-frying?
Yes! Bake at 400°F for 15-20 minutes on a parchment-lined baking sheet, flipping halfway through for even browning.
Are these meatballs kid-friendly?
Definitely! The mild spices and familiar flavors make these a hit with kids. You can even make them smaller for little hands.
A Taste of Greece in Every Bite
There’s something truly special about these Greek meatballs that brings people together. Maybe it’s the way the warm spices mingle with the fresh herbs, or how the crispy exterior gives way to a tender, flavorful center. Whether you’re serving them at a family dinner, a potluck with friends, or meal prepping for the week ahead, these meatballs are sure to become a cherished recipe in your collection. The aromas alone will transport you to a sun-drenched Greek taverna – no passport required!
Print
Greek Meatballs – Crunchy Creamy Sweet
Description
Juicy and flavorful Greek meatballs with a perfect balance of crunch and creaminess, served with a sweet dipping sauce.
Ingredients
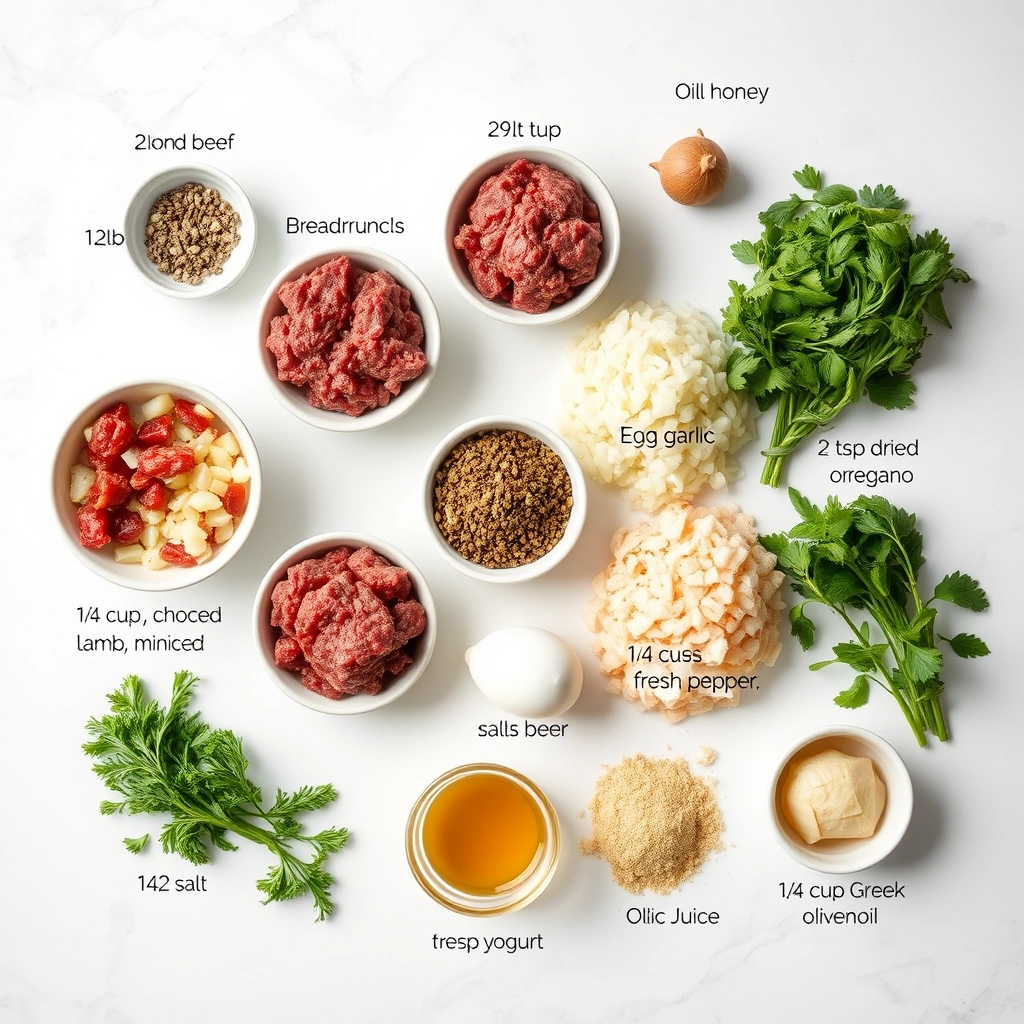
For the Crust:
- 1 lb ground beef
- 1/2 lb ground lamb
- 1/2 cup breadcrumbs
- 1/4 cup finely chopped onion
- 2 cloves garlic, minced
- 1 egg
- 1 tsp dried oregano
- 1/2 tsp ground cumin
- 1/4 cup chopped fresh parsley
- 1/2 tsp salt
- 1/4 tsp black pepper
- 1/4 cup olive oil
- 1/2 cup Greek yogurt
- 1 tbsp honey
- 1 tbsp lemon juice
Instructions
1. Prepare the Crust:
- In a large bowl, combine ground beef, ground lamb, breadcrumbs, onion, garlic, egg, oregano, cumin, parsley, salt, and pepper. Mix until well combined.
- Shape the mixture into 1-inch meatballs and place on a plate.
- Heat olive oil in a large skillet over medium heat. Add meatballs in batches and cook until browned on all sides and cooked through, about 8-10 minutes per batch.
- In a small bowl, whisk together Greek yogurt, honey, and lemon juice to make the dipping sauce.
- Serve meatballs warm with the dipping sauce on the side.
Notes
You can customize the seasonings to taste.