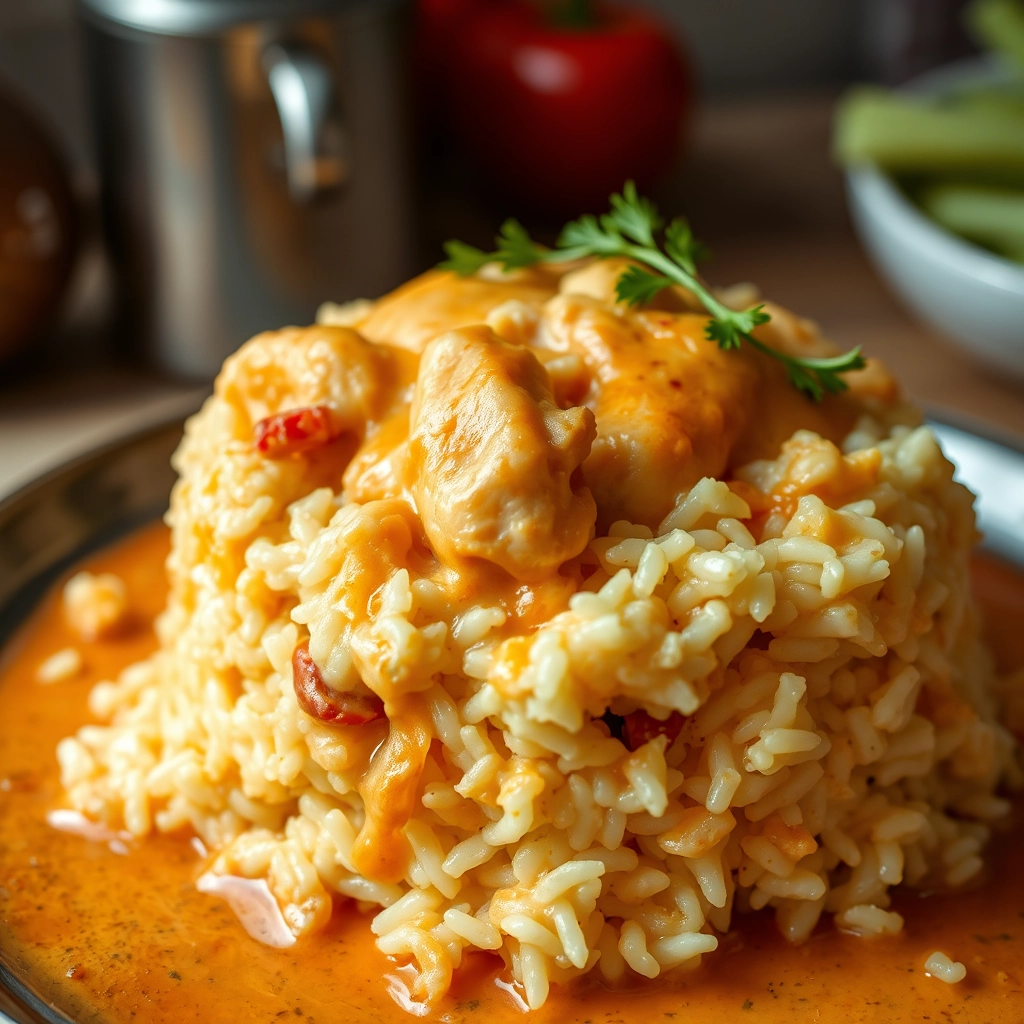
A Cozy Pot of Love: My Easy Goulash Recipe
There’s something magical about the way a simmering pot of goulash fills the kitchen with warmth—like a hug from your grandmother or the comfort of your favorite wool socks on a chilly evening. I first fell in love with this dish during a rainy autumn afternoon when my neighbor, Mrs. Kovacs, brought over a steaming bowl “just because.” One bite of that rich, paprika-kissed stew, and I knew I had to learn how to make it myself. Over the years, I’ve tweaked her recipe into a simpler, weeknight-friendly version that still carries all the soul-soothing goodness of the original.
Ingredients You’ll Need (and Why I Love Them)
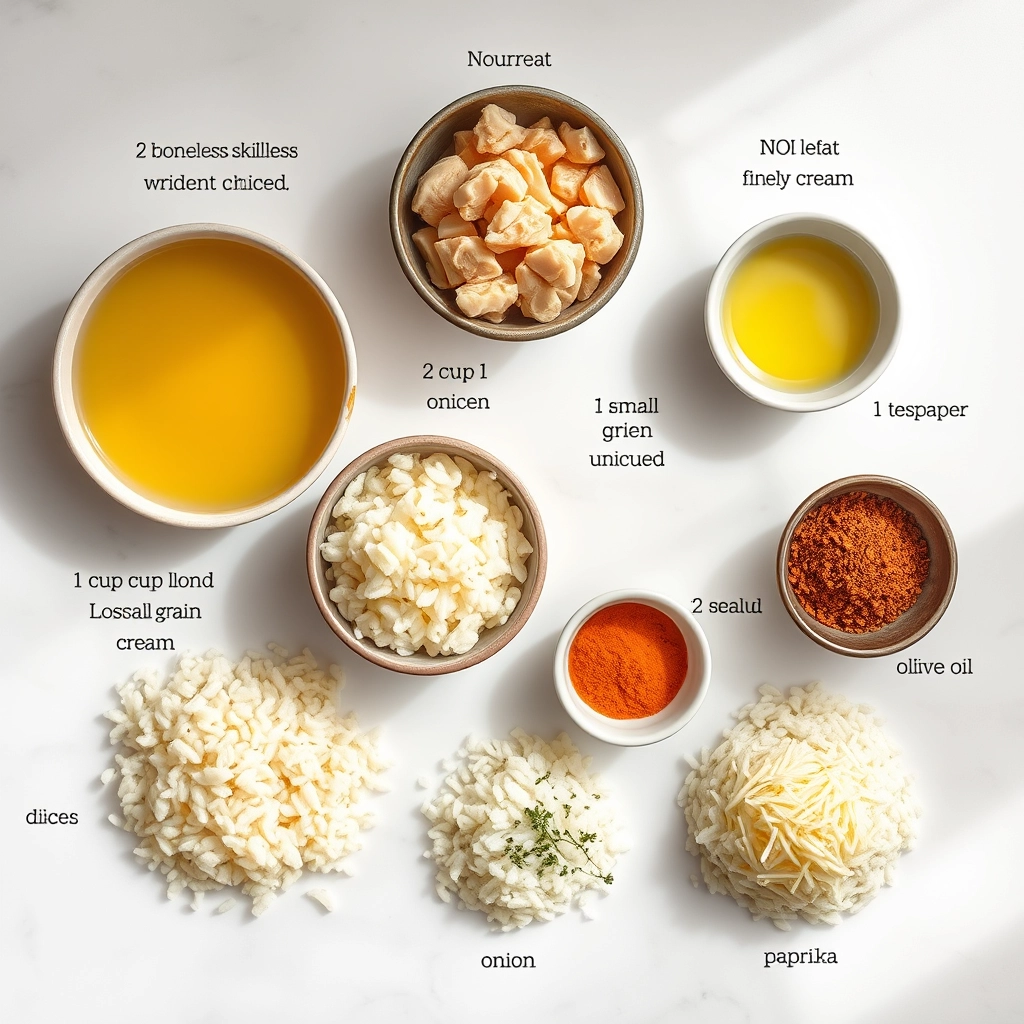
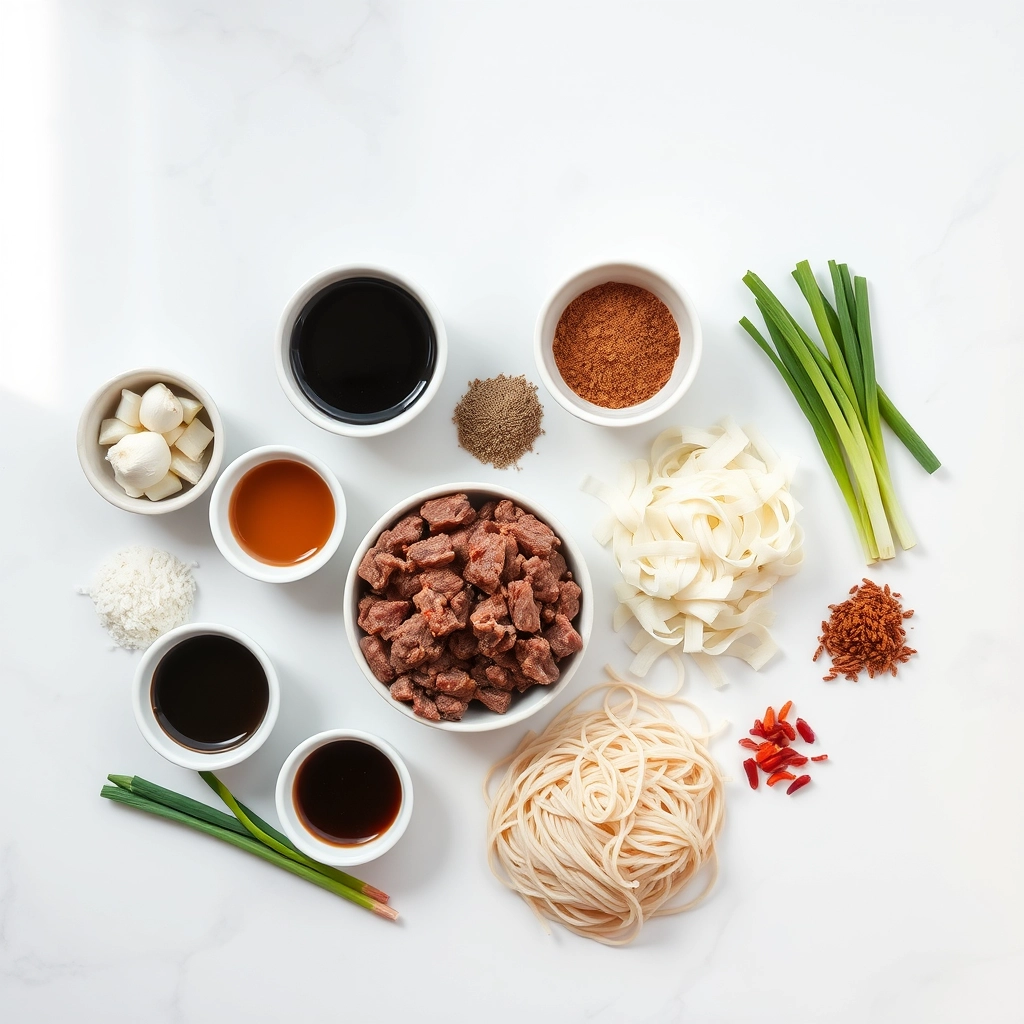
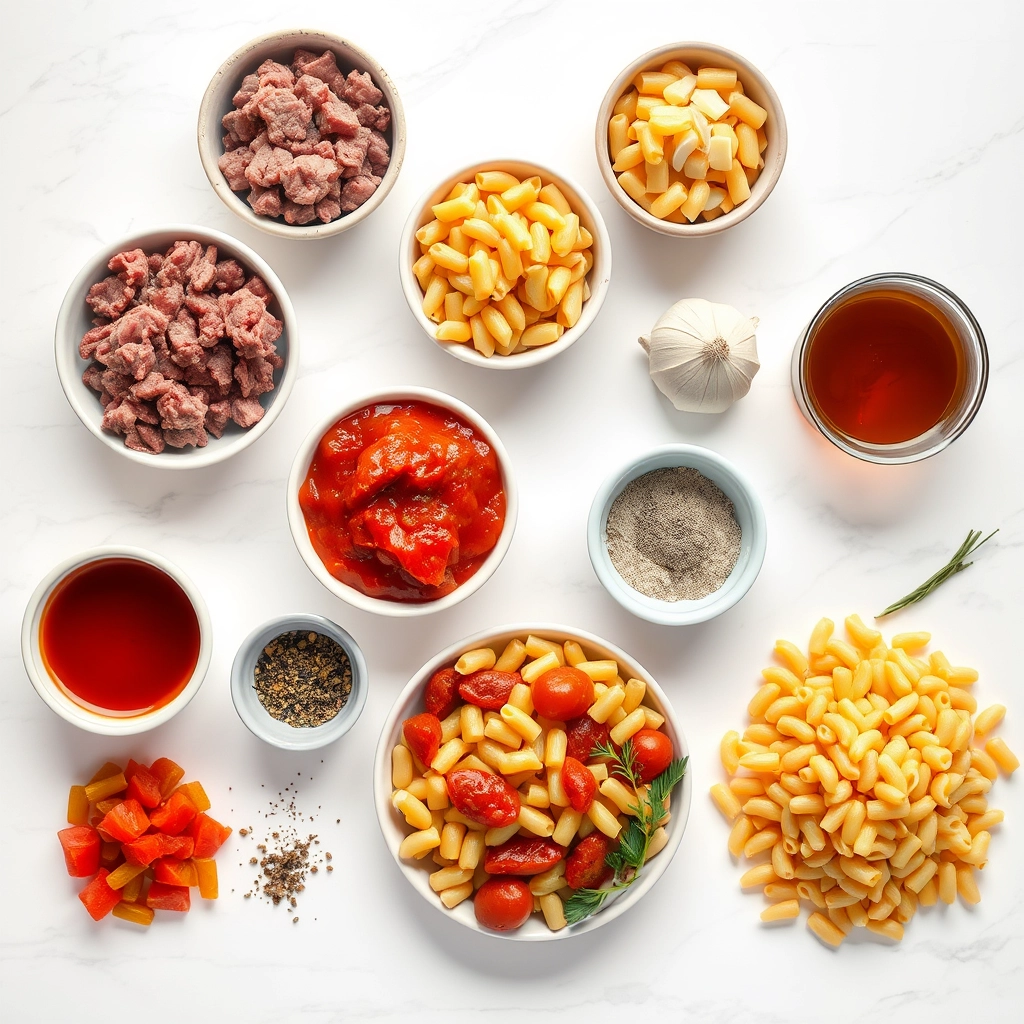
- 1 lb ground beef (or turkey for a lighter twist) – The hearty base that gives goulash its satisfying depth. I like 85/15 for the perfect balance of flavor without too much grease.
- 1 large yellow onion, diced – Cooked until golden, it adds a subtle sweetness that plays so nicely with the spices.
- 2 cloves garlic, minced – Because what’s a cozy dish without garlic’s aromatic warmth?
- 1 red bell pepper, chopped – A pop of color and a touch of freshness to brighten the rich flavors.
- 2 tbsp sweet paprika – The star of the show! This is where goulash gets its signature earthy sweetness. (Pro tip: For extra depth, add ½ tsp smoked paprika too.)
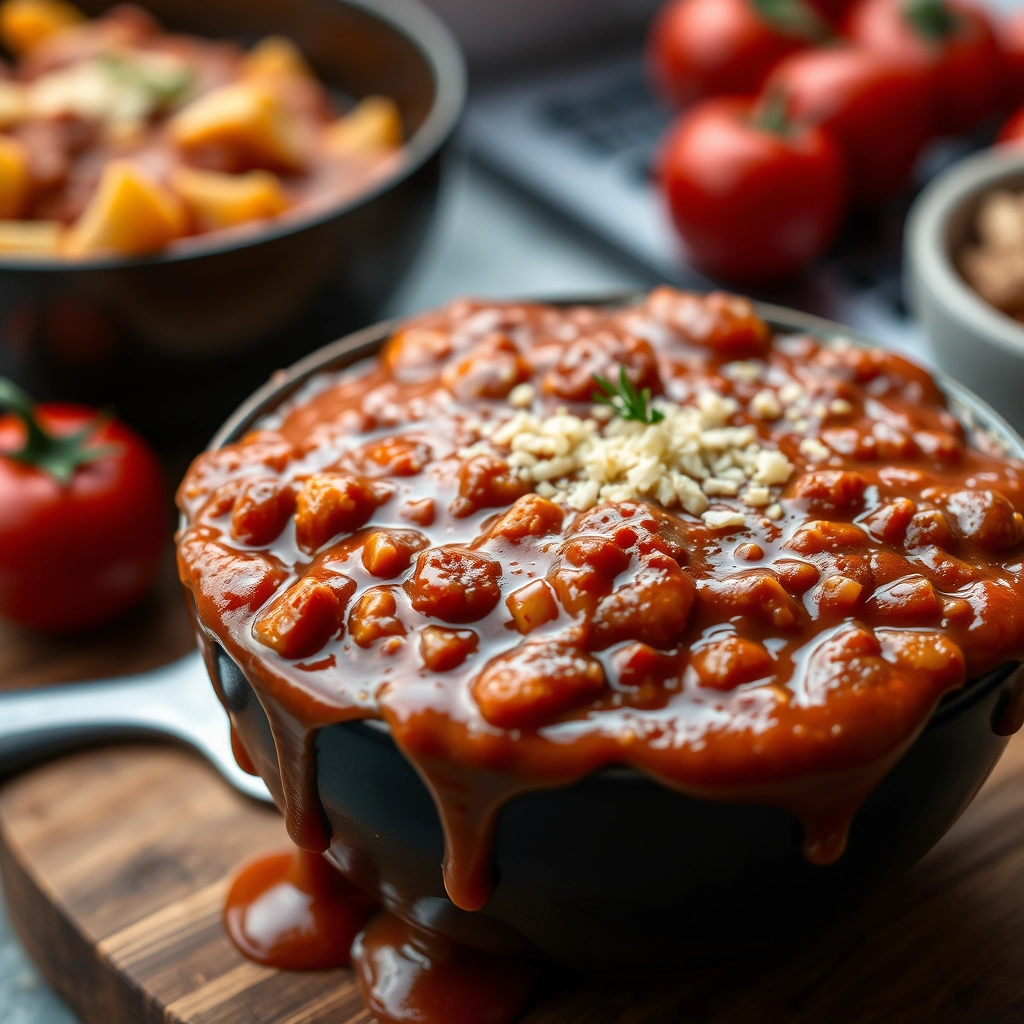
- 1 can (14 oz) diced tomatoes – I prefer fire-roasted for a subtle smoky note, but any will do.
- 2 cups beef broth – Homemade if you have it, but a good-quality store-bought works beautifully.
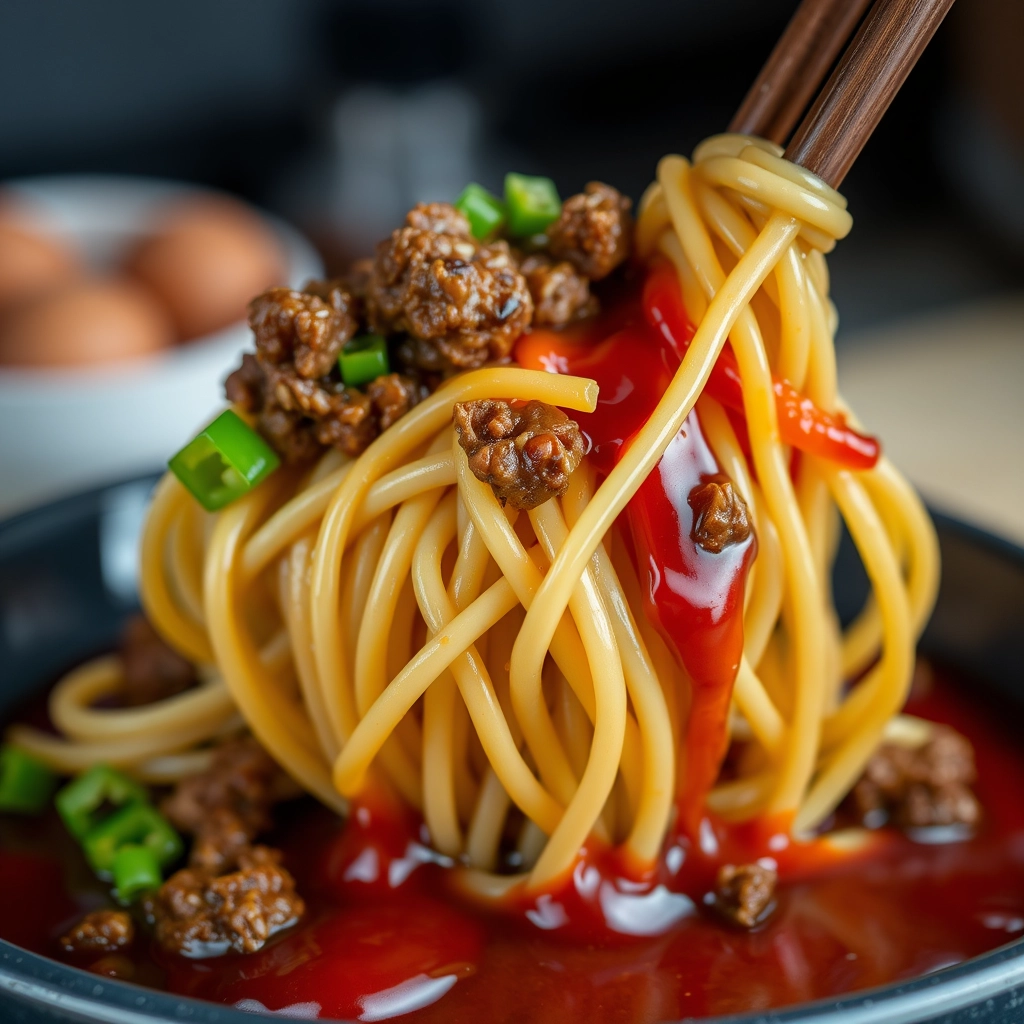
- 1 cup elbow macaroni (uncooked) – The humble pasta that soaks up all that glorious sauce.
- 1 bay leaf – A little old-world charm that infuses the broth with herbal notes.
- Salt & black pepper to taste – Season as you go—your future self will thank you!
Let’s Make Some Comfort
Step 1: The Sizzle
In a large Dutch oven or heavy-bottomed pot, brown the ground beef over medium heat, breaking it into crumbles with a wooden spoon. Once no pink remains, drain any excess fat (but leave about 1 tbsp for flavor). Toss in the onions and let them soften until translucent, about 5 minutes—this is where the magic starts! Add the garlic and red pepper, stirring until fragrant (just 30 seconds—we don’t want burnt garlic!).
Step 2: Spice It Up
Now, shower everything with that glorious paprika. Stir quickly to coat the meat and veggies, letting the spice toast slightly for about 30 seconds. This wakes up the flavors! Pour in the diced tomatoes (juice and all) and beef broth, then drop in the bay leaf. Give it a gentle stir and bring it to a simmer—you’ll hear the pot start to sing.
Step 3: The Simmer
Reduce the heat to low, cover with a lid slightly ajar, and let it bubble away for 15 minutes. This is when the flavors start holding hands and becoming best friends. Stir occasionally to prevent sticking, and take this time to set the table—maybe light a candle if you’re feeling fancy.
Pro Tips for the Best Goulash
Making goulash is wonderfully forgiving, but these little tricks will take your dish from good to unforgettable:
- Brown that beef! Don’t rush searing the meat—those caramelized bits add incredible depth.
- Low and slow wins. If you have time, let the goulash simmer uncovered for an extra 20 minutes to thicken and intensify flavors.
- Fresh paprika matters. Since it’s the star spice, use high-quality Hungarian sweet paprika (the tin should smell vibrant).
Delicious Variations & Substitutions
This recipe adapts beautifully to what you have on hand:
- Vegetarian? Swap beef for mushrooms or lentils (add them with the broth).
- Spice lovers can add a pinch of cayenne or smoked paprika.
- No elbow macaroni? Any small pasta works—try shells or rotini.
- Extra veggies like bell peppers or zucchini can be sautéed with the onions.
The Perfect Goulash Pairings
While goulash is hearty enough to stand alone, here’s what makes it a full meal:
- Crusty bread or garlic toast for soaking up every last bit
- A crisp green salad with a tangy vinaigrette
- Pickled vegetables (try red onions or cucumbers) for brightness
- A dollop of sour cream or sprinkle of fresh parsley to finish
Storing & Reheating Your Goulash
This dish tastes even better the next day! Here’s how to keep it perfect:
- Fridge: Store in an airtight container for up to 4 days.
- Freezer: Portion into containers (leave room for expansion) and freeze for up to 3 months.
- Reheating: Thaw overnight if frozen. Warm gently on the stove with a splash of broth or water to loosen. Microwaving works too—stir every minute.
Goulash FAQs
Can I make this in a slow cooker?
Absolutely! Brown the beef and onions first, then transfer everything (except pasta) to the slow cooker. Cook on low 6-8 hours, stir in cooked pasta at the end.
Why is my goulash watery?
This usually means the pasta absorbed too much liquid. Next time, slightly undercook the pasta or let the goulash rest 10 minutes before serving—it’ll thicken up.
Is goulash the same as American chop suey?
They’re similar! Chop suey often has a tomato-based sauce and sometimes green peppers, while traditional goulash leans heavier on the paprika flavor.
Can I use ground turkey instead of beef?
Yes! The flavor will be milder, so consider adding an extra teaspoon of paprika or a dash of Worcestershire sauce.
Final Thoughts
There’s something magical about how a humble pot of goulash can fill a kitchen with warmth and hungry anticipation. Whether it’s a snowy evening or just one of those days when you need a hug in bowl form, this recipe never fails to comfort. Don’t be surprised if it becomes your family’s new favorite—mine always licks the pot clean! Wishing you many cozy meals ahead.
Print
Easy Goulash Recipe
Description
A hearty and comforting one-pot meal with ground beef, pasta, and rich tomato sauce.
Ingredients
For the Crust:
- 1 lb ground beef
- 1 medium onion, diced
- 2 cloves garlic, minced
- 2 cups elbow macaroni
- 1 can (15 oz) tomato sauce
- 1 can (14.5 oz) diced tomatoes
- 2 cups beef broth
- 1 tsp paprika
- 1/2 tsp dried oregano
- Salt and pepper to taste
- 1 tbsp olive oil
Instructions
1. Prepare the Crust:
- Heat olive oil in a large pot over medium heat. Add the onion and cook until softened, about 3-4 minutes.
- Add the ground beef and garlic. Cook until the beef is browned, breaking it up with a spoon as it cooks.
- Stir in the tomato sauce, diced tomatoes, beef broth, paprika, oregano, salt, and pepper. Bring to a simmer.
- Add the elbow macaroni and stir well. Cover and simmer for 15-20 minutes, stirring occasionally, until pasta is tender.
- Remove from heat and let sit for 5 minutes before serving.
Notes
You can customize the seasonings to taste.