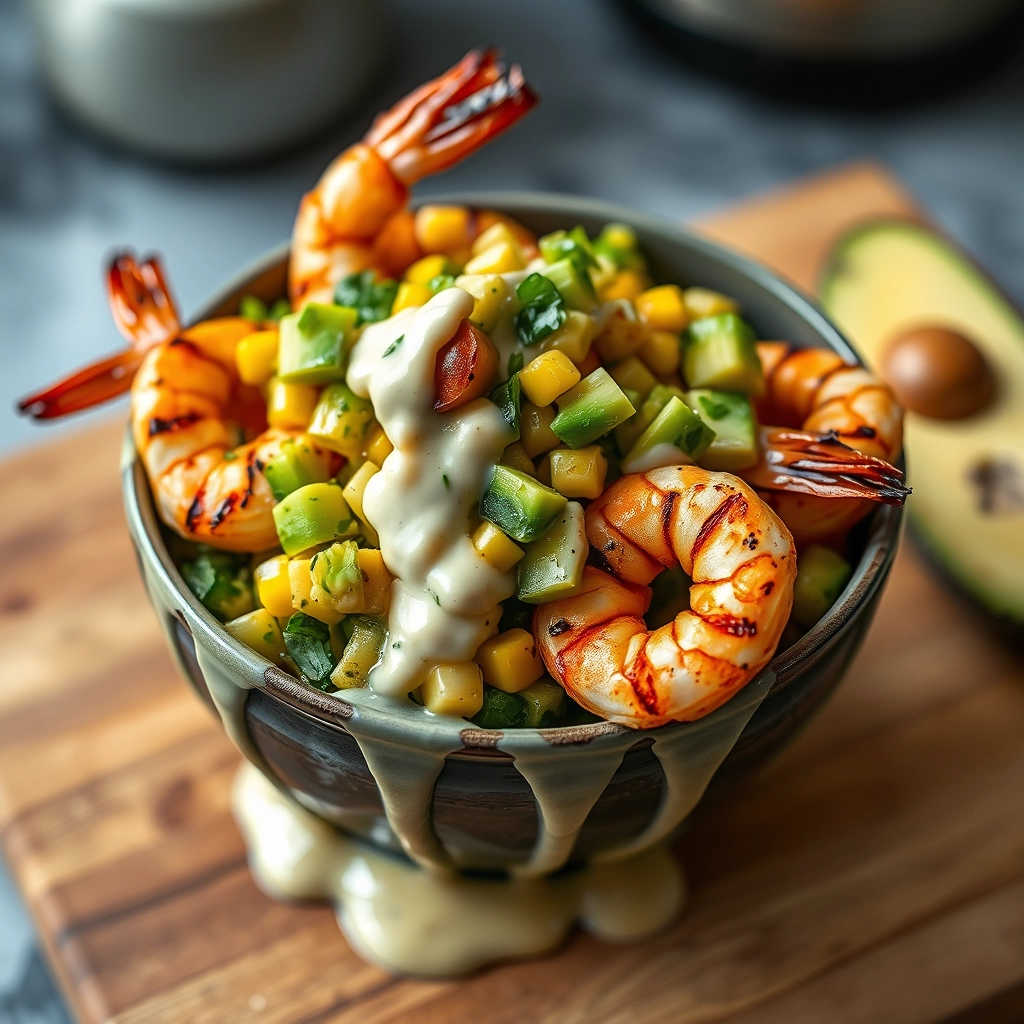
Grilled Shrimp Bowl with Avocado, Corn Salsa & Creamy Garlic Sauce
There’s something about summer evenings that makes me crave meals that are both light and bursting with flavor—dishes that feel like a celebration of sunshine and simplicity. This grilled shrimp bowl is exactly that. I first made it on a whim last July when friends dropped by unexpectedly, and now it’s become my go-to for lazy dinners on the patio or quick lunches that still feel special. The smoky shrimp, sweet corn salsa, and that luscious garlic sauce? Pure magic.
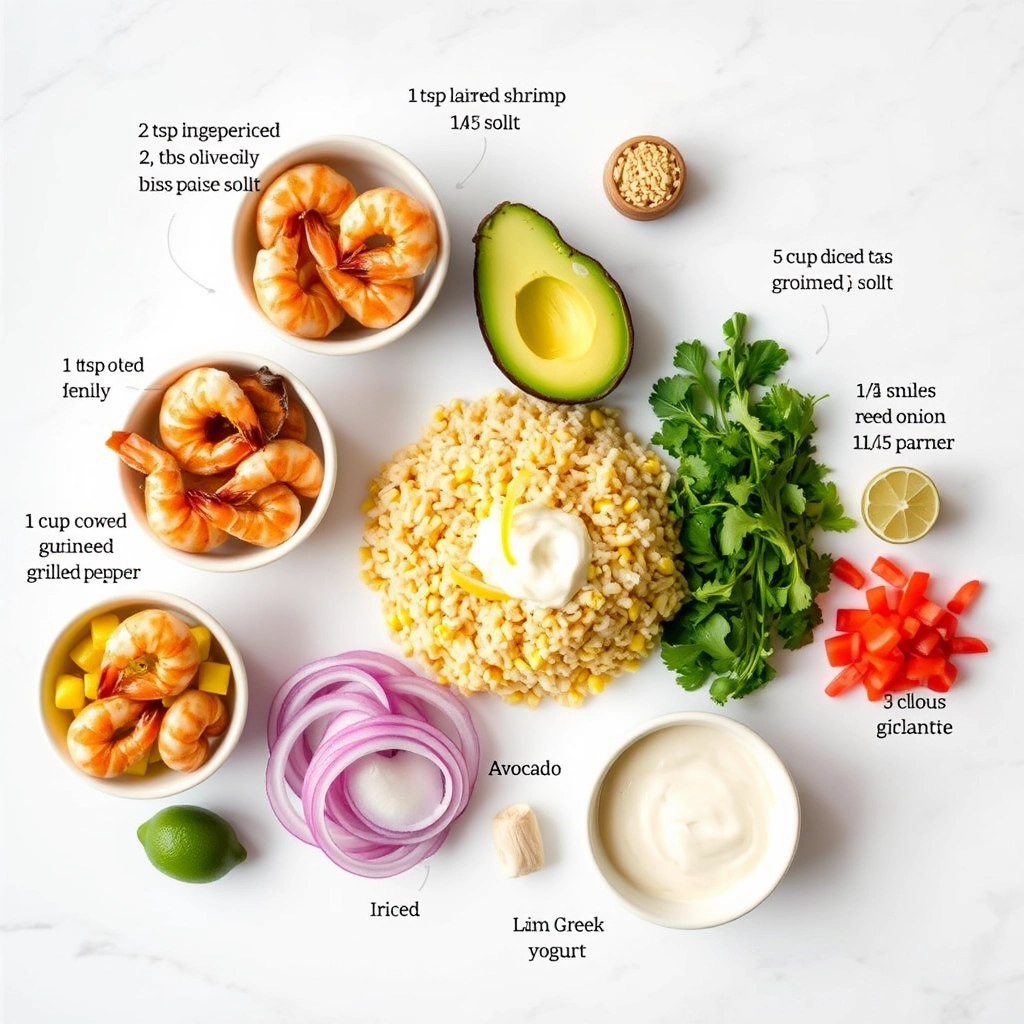
Ingredients You’ll Need
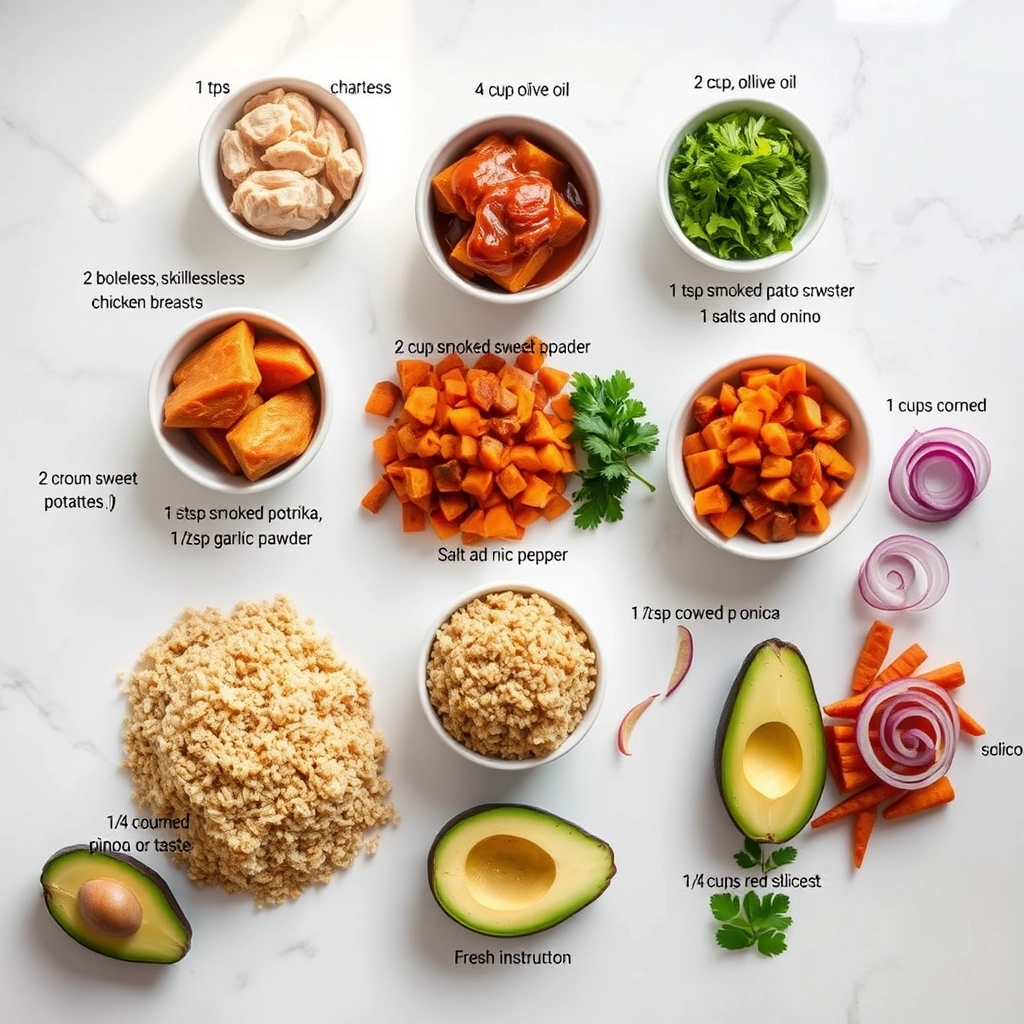
Let’s gather our vibrant cast of characters—each one brings something special to the bowl:
- Shrimp (1 lb, peeled & deveined) – Go for large or jumbo shrimp; they’re juicier and harder to overcook on the grill.
- Olive oil (2 tbsp) – A good glug for tossing the shrimp and brushing the grill.
- Smoked paprika (1 tsp) – This is the secret to that irresistible smoky depth.
- Fresh corn (2 ears) – Charred kernels add sweetness and crunch. Frozen works in a pinch, but fresh is dreamy.
- Avocado (1, diced) – Creamy, buttery goodness to balance the spice.
- Cherry tomatoes (1 cup, halved) – Little bursts of acidity to brighten everything up.
- Red onion (¼ cup, finely diced) – Soak them in ice water for 5 minutes if you want a milder bite.
- Cilantro (¼ cup, chopped) – Skip it if you’re team “cilantro tastes like soap,” but I adore its freshness.
- Lime (1, juiced) – A squeeze to tie the salsa together.
- Greek yogurt (½ cup) – The base of our creamy sauce—tangy and light.
- Garlic (2 cloves, minced) – Because everything’s better with garlic.
- Honey (1 tsp) – Just a hint to round out the flavors.
Let’s Get Cooking
This bowl comes together in three easy acts: the shrimp, the salsa, and the sauce. Here’s how I like to do it:
- Marinate the shrimp: In a bowl, toss the shrimp with olive oil, smoked paprika, a pinch of salt, and a crack of black pepper. Let them sit for 10 minutes (or up to 30 if you have time) while you prep the rest.
- Char the corn: Heat a grill or grill pan to medium-high. Brush the corn with a little oil and grill, turning occasionally, until lightly charred—about 8 minutes. Let it cool slightly, then slice off the kernels. (Pro tip: Hold the cob upright in a bowl to catch runaway kernels!)
- Mix the salsa: In a large bowl, combine the corn, avocado, tomatoes, red onion, cilantro, and lime juice. Gently fold everything together—avocado is delicate, so treat it kindly. Season with salt to taste.
At this point, your kitchen will smell like summer itself. Now, onto the star of the show—those gorgeous shrimp…
Pro Tips, Variations, and Substitutions
This grilled shrimp bowl is endlessly adaptable! Here are some ways to make it your own:
- Protein Swap: Not a shrimp fan? Try grilled chicken, salmon, or even tofu for a vegetarian twist.
- Corn Salsa Shortcut: Short on time? Use store-bought pico de gallo and mix in some fresh corn kernels.
- Spice Level: Adjust the heat by adding more or less jalapeño to the salsa, or include a pinch of cayenne in the garlic sauce.
- Greens Base: Swap the rice for quinoa, cauliflower rice, or a bed of fresh spinach for a lighter option.
What to Serve It With
This bowl is a complete meal on its own, but if you’d like to round it out, here are a few delicious pairings:
- A crisp, chilled white wine like Sauvignon Blanc or a light beer
- Warm tortilla chips and guacamole for a starter
- A simple side of black beans or charred zucchini
Storage and Reheating Tips
While this dish is best enjoyed fresh, leftovers can still be tasty with a little care:
- Storage: Keep components separate in airtight containers in the fridge for up to 2 days.
- Reheating: Gently warm the shrimp in a skillet over low heat. The salsa and avocado are best served cold, so add them fresh when serving.
- Make Ahead: Prep the garlic sauce and corn salsa a day in advance—just wait to assemble until you’re ready to eat.
Frequently Asked Questions
Can I use frozen shrimp?
Absolutely! Just thaw them completely in the fridge overnight and pat them dry before marinating.
How do I prevent the shrimp from sticking to the grill?
Make sure your grill grates are clean and well-oiled before cooking. A quick brush of oil on the shrimp helps too!
Can I make this dairy-free?
Yes! Swap the sour cream in the garlic sauce for coconut yogurt or a dairy-free alternative.
What if I don’t have a grill?
No problem—you can cook the shrimp in a grill pan or even under the broiler for a similar charred effect.
Final Thoughts
There’s something so satisfying about a meal that’s both vibrant and comforting—and this grilled shrimp bowl delivers just that. Whether you’re enjoying it on a warm summer evening or craving a taste of sunshine in the colder months, it’s a dish that always feels like a little celebration. I hope it brings as much joy to your table as it does to mine. Happy cooking, friends!

Creamy Strawberry Cheesecake Cookies
Description
Soft, chewy cookies with a creamy cheesecake filling and bursts of fresh strawberry flavor.
Ingredients
For the Crust:
- 1 cup all-purpose flour
- 1/2 tsp baking powder
- 1/4 tsp salt
- 1/2 cup unsalted butter, softened
- 1/2 cup granulated sugar
- 1 large egg
- 1 tsp vanilla extract
- 4 oz cream cheese, softened
- 1/4 cup powdered sugar
- 1/2 cup diced fresh strawberries
Instructions
1. Prepare the Crust:
- Preheat oven to 350°F (175°C) and line a baking sheet with parchment paper.
- In a bowl, whisk together flour, baking powder, and salt. Set aside.
- In another bowl, cream together butter and granulated sugar until light and fluffy. Beat in egg and vanilla.
- Gradually mix in the dry ingredients until just combined.
- In a separate bowl, beat cream cheese and powdered sugar until smooth.
- Fold diced strawberries into the cream cheese mixture.
- Drop tablespoon-sized portions of cookie dough onto the baking sheet. Make a small well in the center of each and fill with a teaspoon of the strawberry cheesecake mixture. Cover with more cookie dough.
- Bake for 12-15 minutes until edges are lightly golden. Let cool on the baking sheet for 5 minutes before transferring to a wire rack.
Notes
You can customize the seasonings to taste.