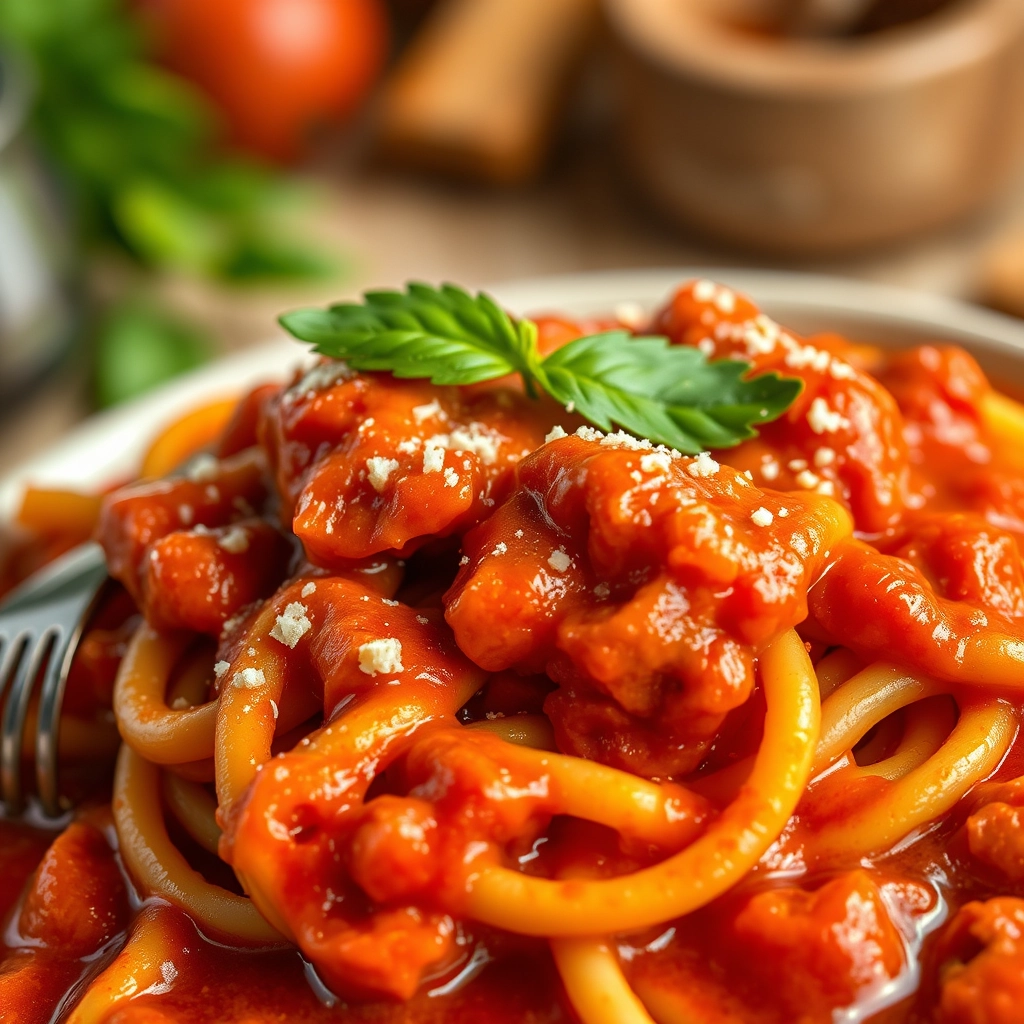
A Bowl of Comfort: Olive Garden’s Pasta e Fagioli at Home
There’s something magical about walking into Olive Garden on a chilly evening, the scent of garlic and simmering tomatoes wrapping around you like a warm hug. But what if I told you that same cozy magic could be recreated right in your own kitchen? This Pasta e Fagioli—a hearty Italian soup brimming with tender pasta, creamy beans, and savory herbs—has been my go-to comfort dish for years. Whether it’s a busy weeknight or a lazy Sunday, this recipe never fails to bring a little restaurant-style joy to the table.
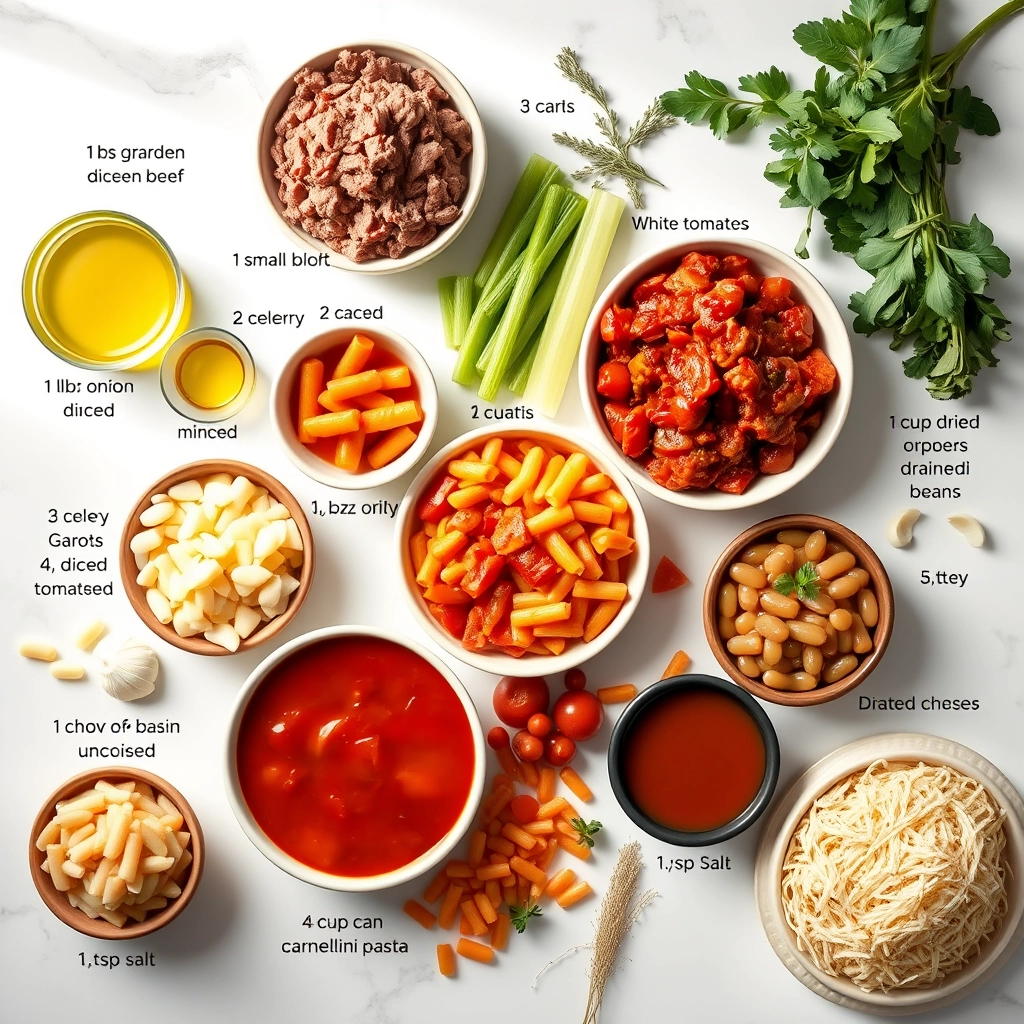
Ingredients You’ll Need
Gathering these ingredients feels like prepping for a little Italian feast. Here’s what you’ll need:
- 1 tablespoon olive oil – The foundation of so many good things, it adds that rich, fruity depth to the soup.
- 1 pound ground beef – I like using 85% lean for the perfect balance of flavor without too much grease.
- 1 small onion, diced – Sweet and aromatic, it’s the first layer of flavor.
- 2 carrots, peeled and diced – A pop of color and natural sweetness.
- 2 celery stalks, diced – Don’t skip this! It adds that classic Italian soffritto base.
- 3 cloves garlic, minced – Because what’s an Italian dish without garlic?
- 1 (15 oz) can diced tomatoes – Juicy, tangy, and full of brightness.
- 1 (15 oz) can red kidney beans, drained and rinsed – Creamy and hearty, they make the soup so satisfying.
- 1 (15 oz) can great northern beans, drained and rinsed – A mix of beans gives the best texture.
- 4 cups beef broth – Homemade is wonderful, but store-bought works just fine.
- 1 teaspoon dried oregano – Earthy and fragrant, it ties everything together.
- 1 teaspoon dried basil – A touch of sweetness and warmth.
- 1/2 teaspoon dried thyme – A subtle, herby note that makes a difference.
- 1/2 teaspoon red pepper flakes (optional) – For those who like a little kick!
- 1 cup ditalini pasta – The perfect tiny tubes for scooping up all that goodness.
- Salt and pepper to taste – Because seasoning is everything.
- Freshly grated Parmesan and chopped parsley for serving – The crowning glory!
Let’s Get Cooking
Now, let’s turn these humble ingredients into a pot of soul-warming goodness. Follow along—I’ll share my little tricks along the way!
Step 1: Sauté the Aromatics
Heat the olive oil in a large pot or Dutch oven over medium heat. Add the ground beef, breaking it up with a wooden spoon as it browns. Once the beef is no longer pink, toss in the onion, carrots, and celery. Sauté until the veggies soften and the onion turns translucent—about 5 minutes. This is where the magic starts! The smell alone will have your kitchen feeling like an Italian trattoria.
Step 2: Garlic & Tomatoes
Stir in the minced garlic and let it cook for just 30 seconds—long enough to release its fragrance but not so long it burns. Then, pour in the diced tomatoes with their juices. Let everything simmer together for another 2-3 minutes, allowing the flavors to meld. Tip: If you love a richer tomato flavor, a splash of tomato paste here works wonders!
Step 3: Beans & Broth
Add both cans of beans—kidney and great northern—along with the beef broth. Sprinkle in the oregano, basil, thyme, and red pepper flakes if using. Give it a good stir, then bring the soup to a gentle boil. Reduce the heat to low, cover, and let it simmer for about 15 minutes. This slow simmer lets the herbs infuse the broth with all their cozy, savory goodness.
Pro Tips, Variations, and Substitutions
This Olive Garden Pasta e Fagioli is wonderfully forgiving, so don’t be afraid to make it your own! Here are some ideas to customize it to your taste:
- Vegetable swaps: Swap carrots for celery or add a handful of spinach for extra greens.
- Protein boost: Stir in cooked ground turkey or Italian sausage for a heartier version.
- Beans: Cannellini beans are classic, but kidney beans or even chickpeas work beautifully.
- Pasta: Ditalini is traditional, but small shells or elbow macaroni are great substitutes.
- Slow cooker friendly: Sauté the veggies first, then transfer everything (except pasta) to a slow cooker and cook on low for 6–8 hours. Add cooked pasta just before serving.
What to Serve with Pasta e Fagioli
This soup is a meal in itself, but a few simple sides can turn it into a feast:
- A crusty loaf of garlic bread or warm breadsticks for dipping.
- A crisp Italian salad with romaine, olives, and pepperoncini.
- A glass of Chianti or a sparkling water with lemon for a refreshing contrast.
Storage and Reheating Tips
Like many soups, this one tastes even better the next day! Here’s how to keep it fresh:
- Refrigerator: Store in an airtight container for up to 4 days.
- Freezer: Freeze without pasta for up to 3 months. Thaw overnight in the fridge and add freshly cooked pasta when reheating.
- Reheating: Warm gently on the stovetop over medium-low heat, adding a splash of broth if the soup thickens too much.
Frequently Asked Questions
Can I make this soup vegetarian?
Absolutely! Simply use vegetable broth instead of chicken broth, and omit the pancetta (or swap it for sautéed mushrooms for depth).
Why does my soup taste bland?
Don’t skimp on seasoning! Taste and adjust with extra salt, a pinch of red pepper flakes, or a splash of balsamic vinegar to brighten the flavors.
Can I use dried beans instead of canned?
Yes, but you’ll need to soak and cook them first. Use ¾ cup dried beans (soaked overnight) to replace one 15-oz can.
How do I prevent the pasta from getting mushy?
Cook the pasta separately and add it to individual bowls when serving, especially if you plan to store leftovers.
A Bowl of Comfort Awaits
There’s something magical about a steaming bowl of Pasta e Fagioli—it’s the kind of meal that warms you from the inside out, just like Nonna used to make. Whether you’re craving a taste of Olive Garden at home or need a cozy dinner to share with loved ones, this soup delivers every time. Ladle it up, sprinkle with Parmesan, and savor each comforting bite. After all, the best meals are the ones made with love (and maybe an extra garlic breadstick or two).
Print
Olive Garden Pasta e Fagioli
Description
A hearty Italian soup with pasta, beans, and vegetables, inspired by the Olive Garden classic.
Ingredients
For the Crust:
- 1 tbsp olive oil
- 1 lb ground beef
- 1 small onion, diced
- 2 carrots, diced
- 2 celery stalks, diced
- 3 cloves garlic, minced
- 1 (15 oz) can diced tomatoes
- 1 (15 oz) can red kidney beans, drained and rinsed
- 1 (15 oz) can white cannellini beans, drained and rinsed
- 4 cups beef broth
- 1 (15 oz) can tomato sauce
- 1 tsp dried oregano
- 1 tsp dried basil
- 1/2 tsp dried thyme
- 1/2 tsp salt
- 1/4 tsp black pepper
- 1 cup ditalini pasta, uncooked
- Grated Parmesan cheese for serving
Instructions
1. Prepare the Crust:
- Heat olive oil in a large pot over medium heat. Add ground beef and cook until browned, breaking it into small pieces. Drain excess fat.
- Add onion, carrots, celery, and garlic to the pot. Cook for 5 minutes, stirring occasionally, until vegetables soften.
- Stir in diced tomatoes, kidney beans, cannellini beans, beef broth, tomato sauce, oregano, basil, thyme, salt, and pepper. Bring to a boil.
- Reduce heat to low and simmer for 15 minutes, stirring occasionally.
- Add ditalini pasta and cook for an additional 10 minutes, or until pasta is tender.
- Serve hot, garnished with grated Parmesan cheese.
Notes
You can customize the seasonings to taste.