The Best Bang Bang Chicken Bowl – Easy & Flavorful
There’s something so comforting about a bowl that’s packed with flavor, texture, and just the right amount of kick—don’t you think? I first fell in love with Bang Bang Chicken at a little food truck in Austin, where the sauce was so good I shamelessly licked my fingers. Since then, I’ve been on a mission to recreate that magic at home, and after a few (okay, many) attempts, I’ve landed on this easy, vibrant version that’s become a weeknight staple in my kitchen. Whether you’re craving something quick, satisfying, or just need a little spice in your life, this bowl is here to deliver.
What You’ll Need
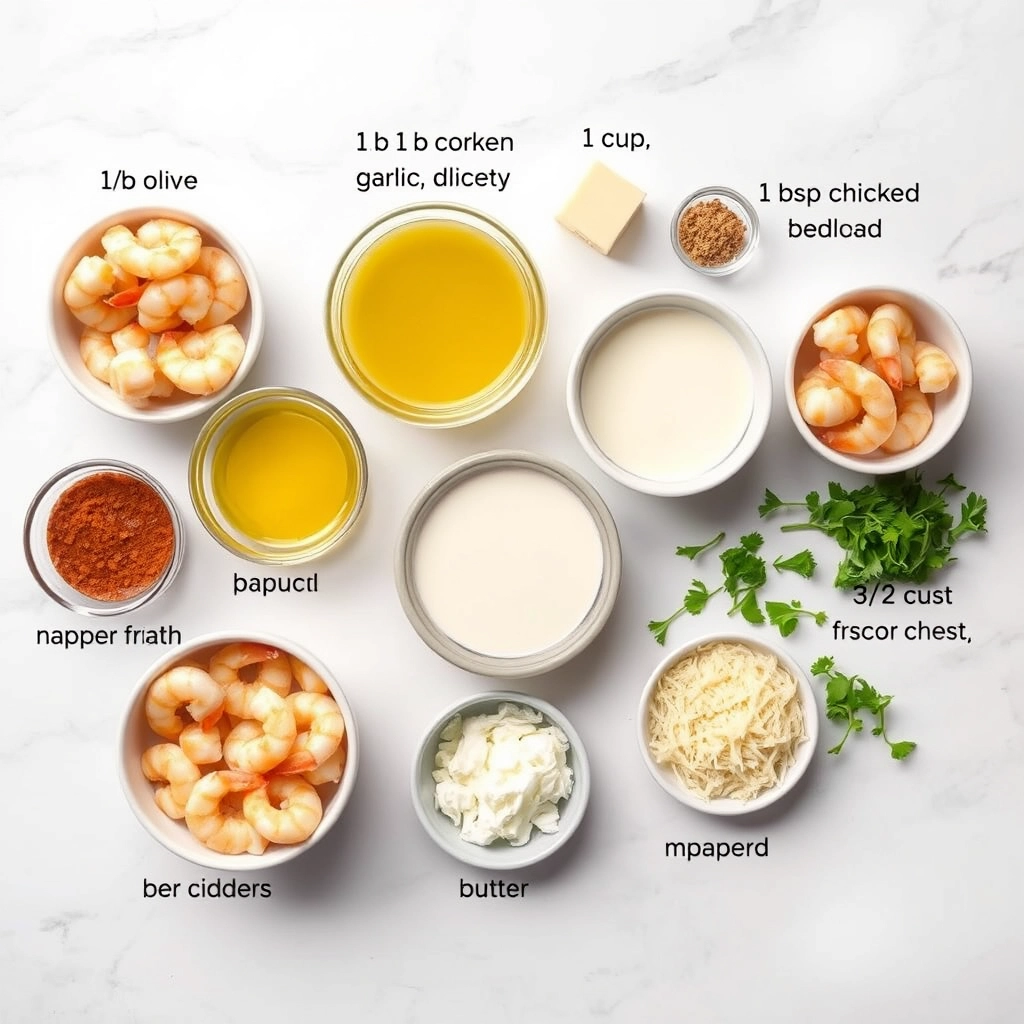
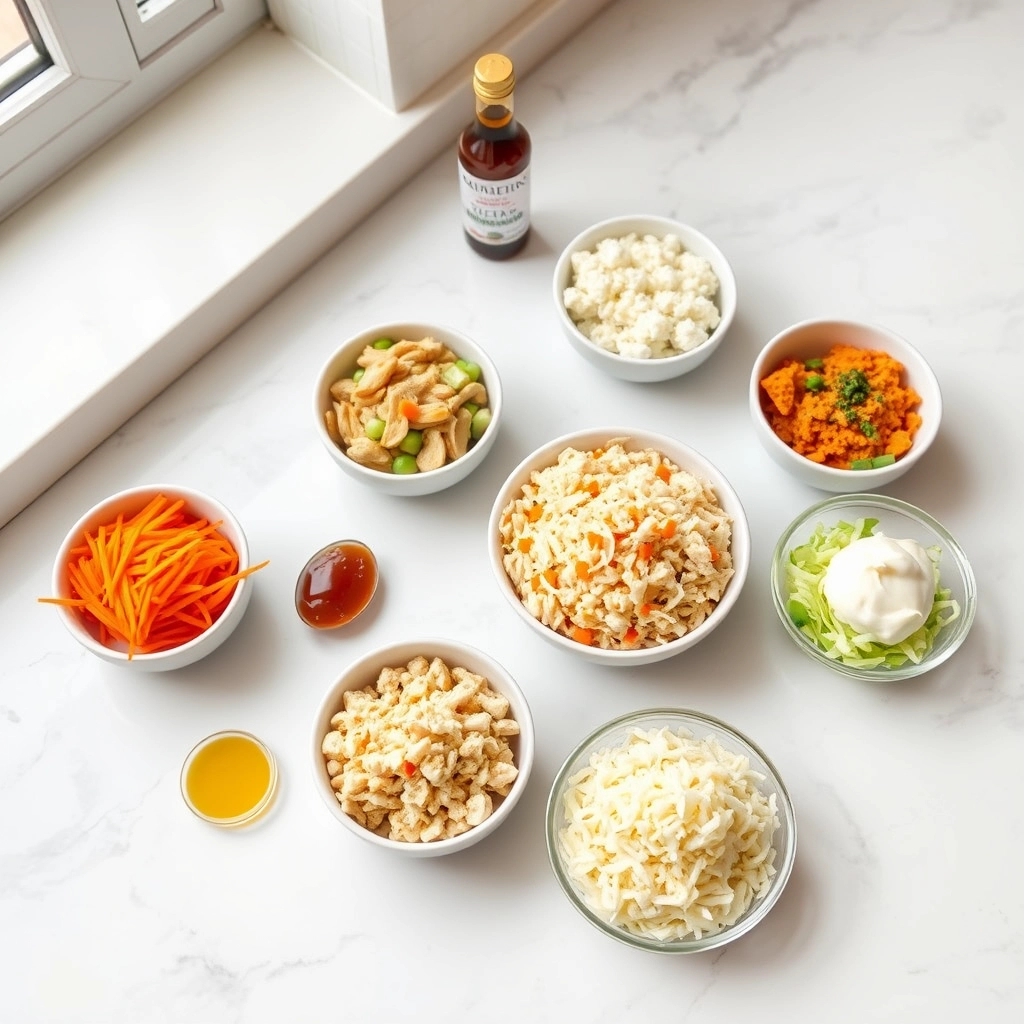
Let’s talk ingredients—because the magic is in the details. Here’s what you’ll need to bring this Bang Bang Chicken Bowl to life:
- Chicken breast or thighs: Tender, juicy, and the perfect protein base. Thighs add extra richness, but breasts work beautifully too.
- Cornstarch & flour: The crispy coating dream team. A light dredge gives the chicken that irresistible crunch.
- Buttermilk or regular milk: For soaking the chicken—it keeps every bite tender and helps the coating stick.
- Panko breadcrumbs: Because extra crunch never hurt anybody.
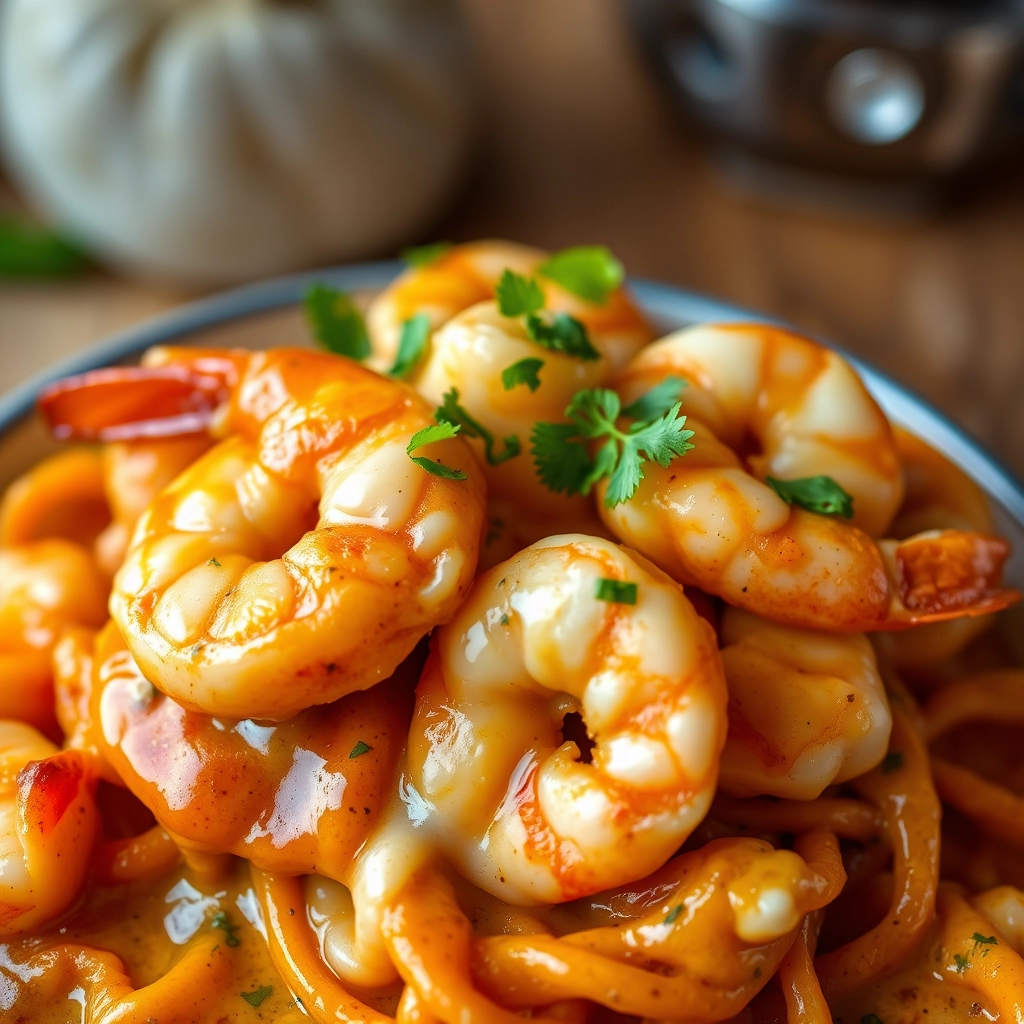
- Bang Bang Sauce: The star! A mix of mayo, sweet chili sauce, sriracha, and honey for that perfect sweet-spicy-creamy trifecta.
- Rice or quinoa: A fluffy base to soak up all that saucy goodness.
- Fresh veggies: I love shredded cabbage, cucumber ribbons, and avocado for cool contrast.
- Garnishes: Sesame seeds, cilantro, and a squeeze of lime—because pretty bowls taste better.
Let’s Make It Happen
Now, let’s get cooking! This recipe comes together in under 30 minutes, but tastes like you spent hours. Here’s how:
- Prep the chicken: Cut your chicken into bite-sized pieces and soak them in buttermilk for at least 10 minutes (or up to an hour if you’re patient). This step is non-negotiable for tenderness!
- Make the coating: In a shallow bowl, mix equal parts cornstarch and flour with a pinch of salt and pepper. In another bowl, add your panko. Double-coating (first in the flour mix, then panko) ensures maximum crispiness.
- Fry or air-fry: Heat a thin layer of oil in a skillet over medium-high heat. Cook the chicken in batches until golden and crispy, about 3-4 minutes per side. If you’re using an air fryer, spritz with oil and cook at 400°F for 10-12 minutes, flipping halfway.
- Whip up the sauce: While the chicken cooks, stir together mayo, sweet chili sauce, sriracha, and honey. Taste and adjust—more sriracha for heat, more honey for sweetness. Easy!
Now, the fun part: assembling your bowl. But we’ll get to that in just a moment—because trust me, the finishing touches are worth savoring.
Pro Tips, Variations, and Substitutions
Want to make your Bang Bang Chicken Bowl even more irresistible? Here are some expert tips and fun twists to try:
- Spice it up: Add a pinch of red pepper flakes or a drizzle of sriracha to the sauce for extra heat.
- Protein swap: Not a fan of chicken? Try shrimp, tofu, or even crispy cauliflower for a vegetarian version.
- Extra crunch: Toss in some chopped peanuts or crispy wonton strips for added texture.
- Sauce consistency: If your sauce is too thick, thin it with a splash of water or lime juice. Too thin? Add more mayo or honey.
What to Serve With Your Bang Bang Chicken Bowl
While this dish is satisfying on its own, here are some delicious pairings to round out your meal:
- A simple cucumber salad with rice vinegar dressing
- Steamed or stir-fried vegetables like broccoli or snap peas
- Crispy spring rolls or potstickers
- A refreshing glass of iced green tea or citrus-infused water
Storage and Reheating Tips
Got leftovers? Here’s how to keep your Bang Bang Chicken Bowl tasting fresh:
- Store components separately in airtight containers for up to 3 days.
- The sauce may thicken when chilled – just stir in a teaspoon of warm water to loosen it up.
- Reheat chicken gently in the microwave or a skillet over medium heat to maintain texture.
- For best results, assemble fresh bowls with reheated components rather than storing fully assembled bowls.
Frequently Asked Questions
Can I make this dish ahead of time?
Absolutely! Prep the chicken and sauce up to 2 days in advance. Store them separately and assemble when ready to serve for the freshest taste.
Is there a dairy-free version of the sauce?
Yes! Simply substitute the mayonnaise with vegan mayo and use dairy-free yogurt or additional vegan mayo in place of sour cream.
How can I make this dish gluten-free?
Use tamari instead of soy sauce and ensure your mayonnaise and other condiments are gluten-free certified. Serve over rice or quinoa instead of noodles if needed.
What if I don’t have sriracha?
No problem! Any hot sauce you enjoy will work, or you can use chili garlic sauce or even a pinch of cayenne pepper for heat.
Final Thoughts
There’s something truly special about a meal that comes together effortlessly yet delivers bold, satisfying flavors in every bite. This Bang Bang Chicken Bowl is that perfect combination of easy weeknight dinner and exciting takeout-style treat. Whether you’re cooking for one or feeding the whole family, this versatile recipe is sure to become a regular in your rotation. The best part? Every component can be tweaked to suit your taste, making it endlessly adaptable. So grab your favorite bowl, pile it high with goodness, and enjoy the delicious rewards of your simple yet spectacular homemade creation.
Print
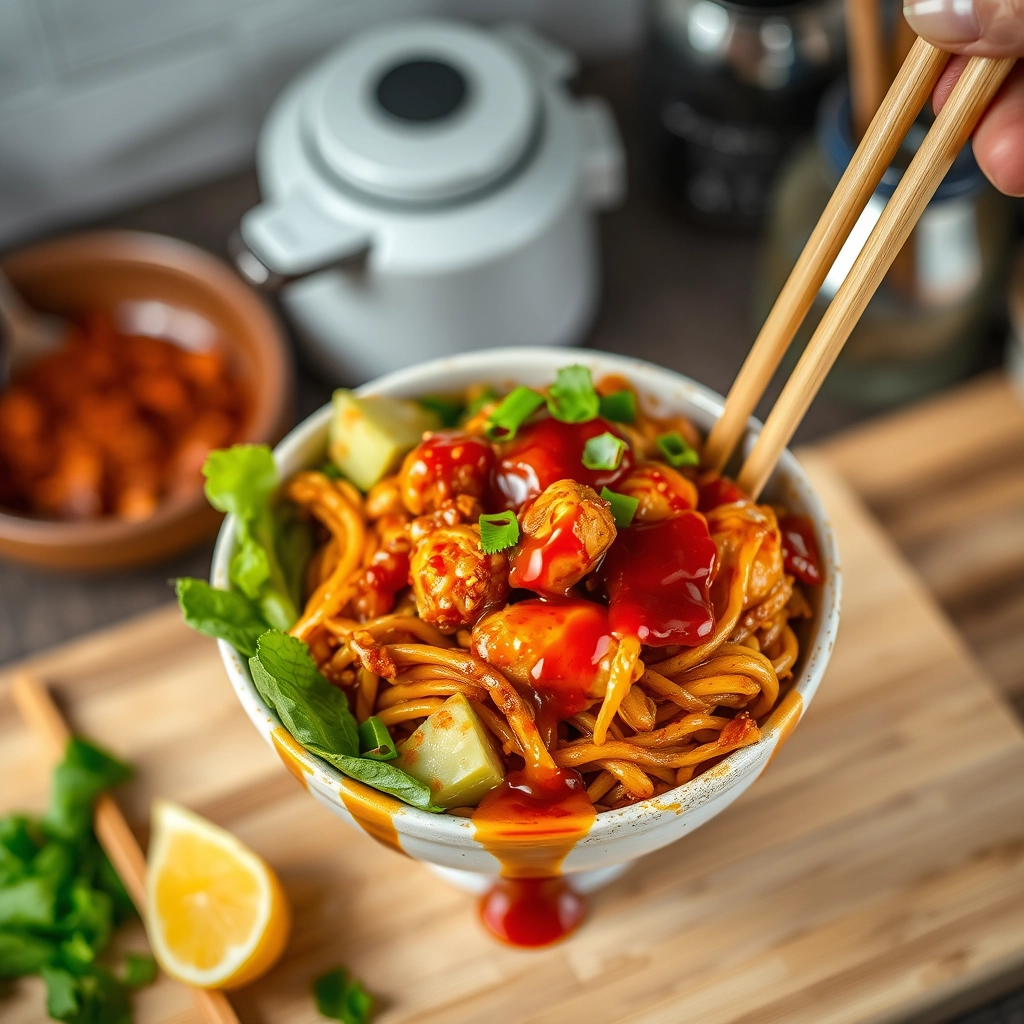
Bang Bang Chicken Bowl
Description
A delicious and spicy chicken bowl with a creamy bang bang sauce, served over rice and fresh vegetables.
Ingredients
For the Crust:
- 1 lb boneless, skinless chicken breast, diced
- 1 cup cooked rice
- 1/2 cup shredded cabbage
- 1/2 cup shredded carrots
- 1/4 cup chopped green onions
- 1/4 cup mayonnaise
- 2 tbsp sweet chili sauce
- 1 tbsp sriracha
- 1 tsp lime juice
- 1 tbsp olive oil
- Salt and pepper to taste
Instructions
1. Prepare the Crust:
- Heat olive oil in a pan over medium heat. Add diced chicken, season with salt and pepper, and cook until fully done, about 8-10 minutes.
- In a small bowl, mix mayonnaise, sweet chili sauce, sriracha, and lime juice to make the bang bang sauce.
- Assemble bowls by dividing cooked rice, shredded cabbage, carrots, and cooked chicken among serving bowls.
- Drizzle the bang bang sauce over the chicken and garnish with chopped green onions.
- Serve immediately and enjoy.
Notes
You can customize the seasonings to taste.