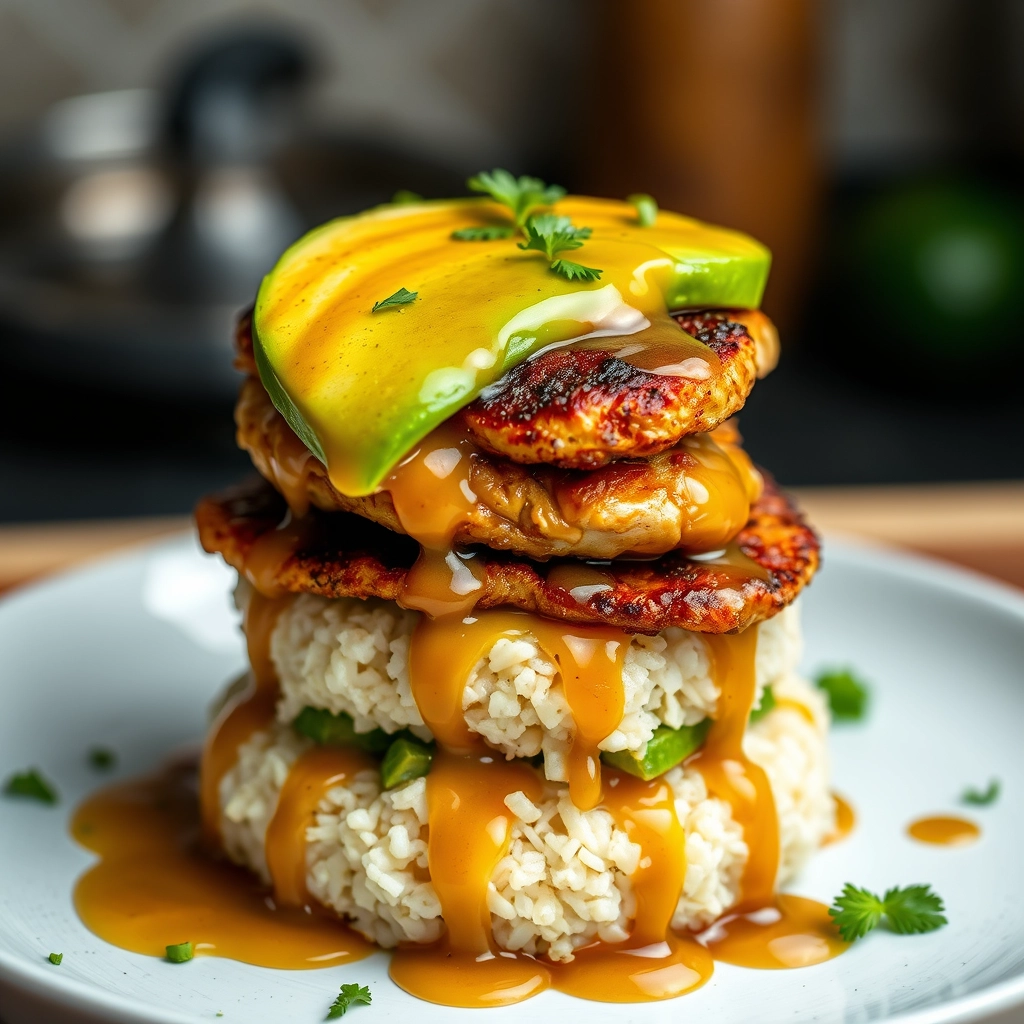
The Honey Lime Chicken & Avocado Rice Stack That Stole My Heart
It was one of those golden afternoons when the kitchen windows were thrown open, letting in the lazy hum of summer. My best friend Sarah had just dropped by unannounced—the way we used to in college—with a grocery bag full of limes and that particular sparkle in her eye that meant “I’m craving something spectacular.” What unfolded next was pure kitchen magic: tender chicken glazed with honey and lime, piled high over fluffy rice with creamy avocado slices. One bite and we both knew—this wasn’t just dinner, it was a memory in the making.
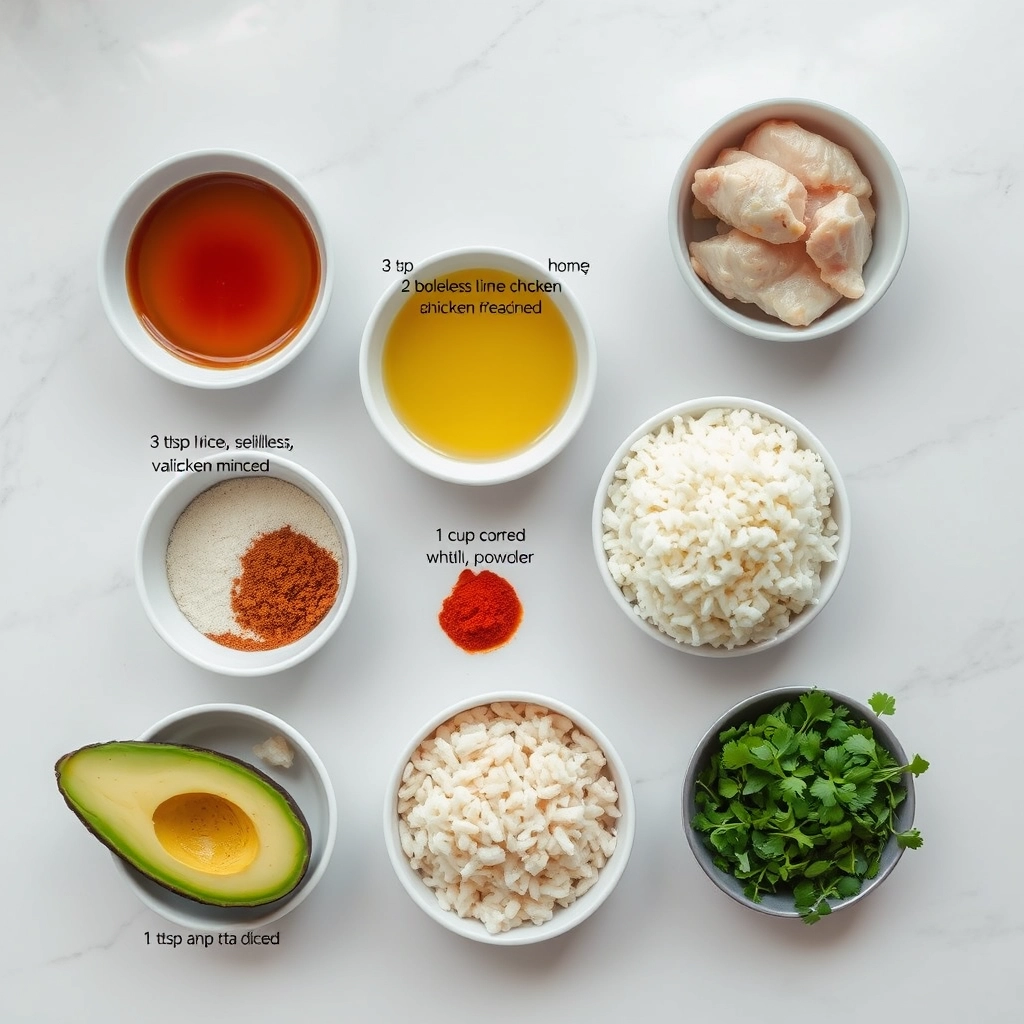
Ingredients You’ll Want to Hug
- 2 boneless, skinless chicken breasts – Look for plump, even-sized ones so they cook uniformly (I learned this the hard way after one hockey puck and one underdone piece!)
- 1/3 cup honey – Local if you can find it—that floral depth makes all the difference
- 3 limes – One for juice, one for zest, and one for pretty garnishes that make you feel fancy
- 2 garlic cloves, minced – Because every great love story starts with garlic
- 1 tsp smoked paprika – The secret whisper of warmth in every bite
- 1 ripe avocado – Wait until it yields gently to pressure—patience rewards you with creaminess
- 1 cup jasmine rice – That delicate fragrance is like wrapping the dish in a perfumed hug
- Handful of cilantro – For those who adore it (or parsley for the cilantro-haters—no judgment here)
Let’s Build Some Deliciousness
Step 1: The Honey Lime Glaze That’ll Make You Swoon
In a small bowl, whisk together the honey, zest and juice of one lime (save the other two for later!), garlic, and smoked paprika. Take a moment to inhale—that citrusy sweetness with the smoky undertones is everything. Set aside half for basting; the other half will be our golden drizzle at the end.
Step 2: Chicken That Dreams Are Made Of
Pound your chicken breasts gently to even thickness (I use a rolling pin—great stress reliever!). Season both sides with salt and pepper, then brush generously with the glaze. Heat your skillet over medium-high until it sizzles when you flick water droplets. Cook for 5-6 minutes per side, basting often, until the edges caramelize into sticky perfection. Pro tip: Let it rest for 5 minutes before slicing—those juices need time to settle!
Step 3: Rice With Benefits
While the chicken rests, fluff your cooked jasmine rice with a fork and gently fold in diced avocado, a squeeze of lime juice, and a pinch of salt. The warmth from the rice will soften the avocado just enough to create the most luscious texture. This is when I usually sneak a bite—quality control, you understand.
Pro Tips, Variations, and Substitutions
This Honey Lime Chicken & Avocado Rice Stack is wonderfully adaptable—here are some ways to make it your own!
- Protein Swap: Not a fan of chicken? Try shrimp, grilled tofu, or even black beans for a vegetarian twist.
- Spice It Up: Add a pinch of chili flakes or a drizzle of sriracha to the honey lime marinade for a little heat.
- Grain Alternatives: Swap the white rice for brown rice, quinoa, or cauliflower rice for a lighter option.
- Extra Crunch: Top with toasted sesame seeds, crushed tortilla chips, or crispy fried onions for added texture.
What to Serve It With
This dish is a meal in itself, but if you’re looking to round out your table, here are some perfect pairings:
- A simple side salad with a tangy vinaigrette
- Grilled corn on the cob with a sprinkle of cotija cheese
- Warm tortillas or crusty bread for scooping up every last bite
- A chilled glass of citrusy white wine or sparkling water with lime
Storage and Reheating Tips
Leftovers? No problem! Here’s how to keep your rice stack fresh and tasty:
- Storage: Store components separately if possible—especially the avocado, which can brown. Keep in airtight containers for up to 3 days.
- Reheating: Warm the chicken and rice in the microwave with a splash of water to prevent drying out. Add fresh avocado and toppings just before serving.
- Make-Ahead Tip: The honey lime marinade can be prepared up to 2 days in advance for even deeper flavor.
Frequently Asked Questions
Can I make this dish ahead of time?
Absolutely! Prep the rice, marinade, and chicken in advance, then assemble when ready to serve for the freshest taste.
How do I prevent the avocado from browning?
A squeeze of lime juice over the avocado helps slow oxidation. You can also store cut avocado with the pit and wrap tightly in plastic wrap.
Can I use bottled lime juice instead of fresh?
Fresh lime juice is ideal for the brightest flavor, but in a pinch, bottled will work—just reduce the amount slightly as it tends to be more concentrated.
Is there a way to make this gluten-free?
This recipe is naturally gluten-free—just double-check that your soy sauce or tamari is certified gluten-free if using.
Final Thoughts
There’s something so satisfying about a meal that’s both vibrant and comforting, and this Honey Lime Chicken & Avocado Rice Stack delivers exactly that. Whether you’re meal prepping for the week or serving it up for a casual dinner with friends, it’s sure to become a fast favorite. The balance of sweet, tangy, and creamy flavors makes every bite irresistible. I hope this dish brings as much joy to your table as it does to mine—happy cooking!
Print
Honey Lime Chicken & Avocado Rice Stack
Description
A flavorful and colorful dish featuring tender honey lime chicken layered with creamy avocado rice for a satisfying meal.
Ingredients
For the Crust:
- 2 boneless, skinless chicken breasts
- 3 tbsp honey
- 2 tbsp lime juice
- 1 clove garlic, minced
- 1 tsp chili powder
- 1 cup cooked white rice
- 1 ripe avocado, diced
- 1 tbsp chopped cilantro
- Salt and pepper to taste
Instructions
1. Prepare the Crust:
- In a bowl, whisk together honey, lime juice, garlic, chili powder, salt, and pepper. Marinate chicken in this mixture for at least 30 minutes.
- Grill or pan-sear chicken until fully cooked, about 6-7 minutes per side. Let rest, then slice into strips.
- In another bowl, gently mix cooked rice, diced avocado, and cilantro. Season with salt and pepper.
- To assemble, layer avocado rice in a bowl or plate, top with sliced honey lime chicken, and garnish with extra cilantro if desired.
Notes
You can customize the seasonings to taste.