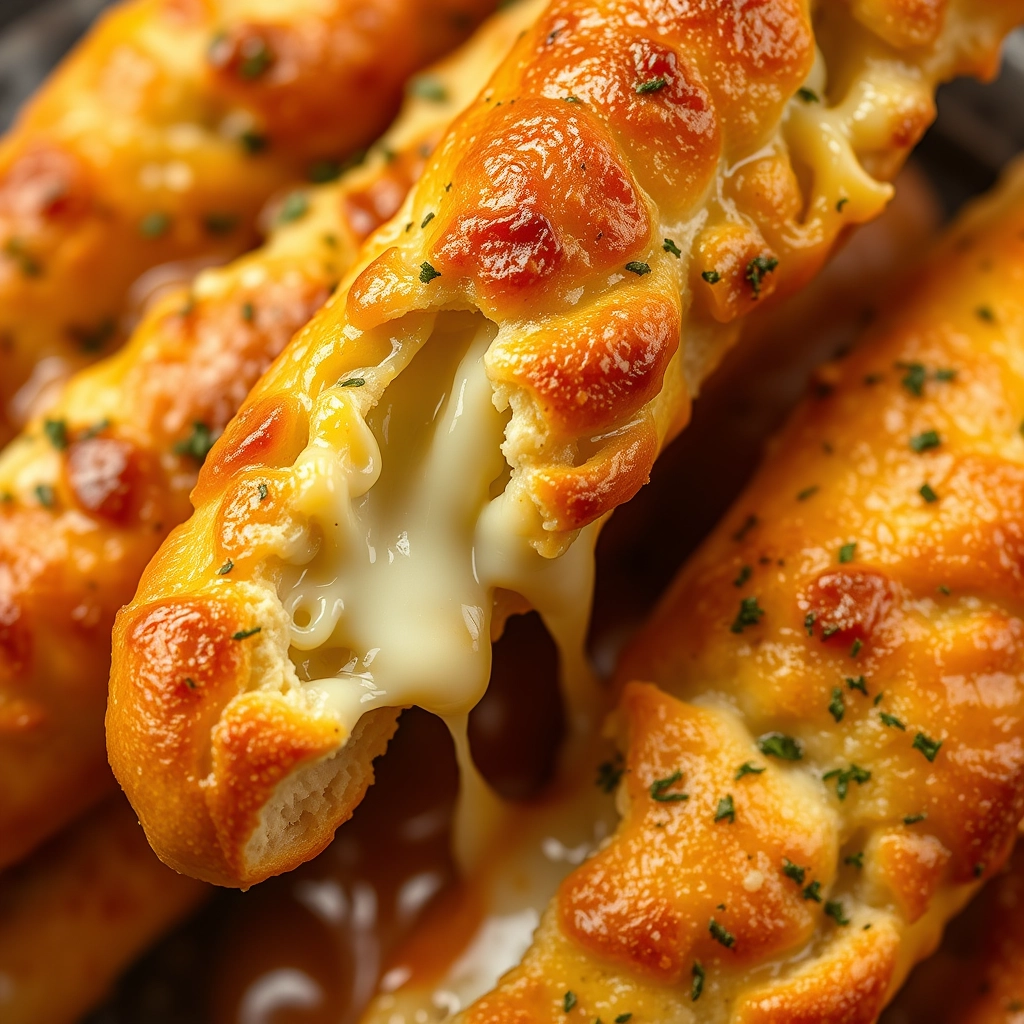
When Comfort Calls for Cheesy, Pepperoni Goodness
There are days when only the warm embrace of melted cheese and golden dough will do. You know the ones—when the rain taps steadily against the window, or the chaos of life leaves you craving something simple, satisfying, and utterly indulgent. That’s when my Easy Cheesy Pepperoni Stromboli makes its grand appearance in my kitchen. It’s the kind of recipe that feels like a hug, with its layers of gooey mozzarella, spicy pepperoni, and just the right amount of garlic butter glossing the crust. Best of all? It comes together with minimal fuss, making it perfect for weeknights or lazy weekends when you want to impress without the stress.
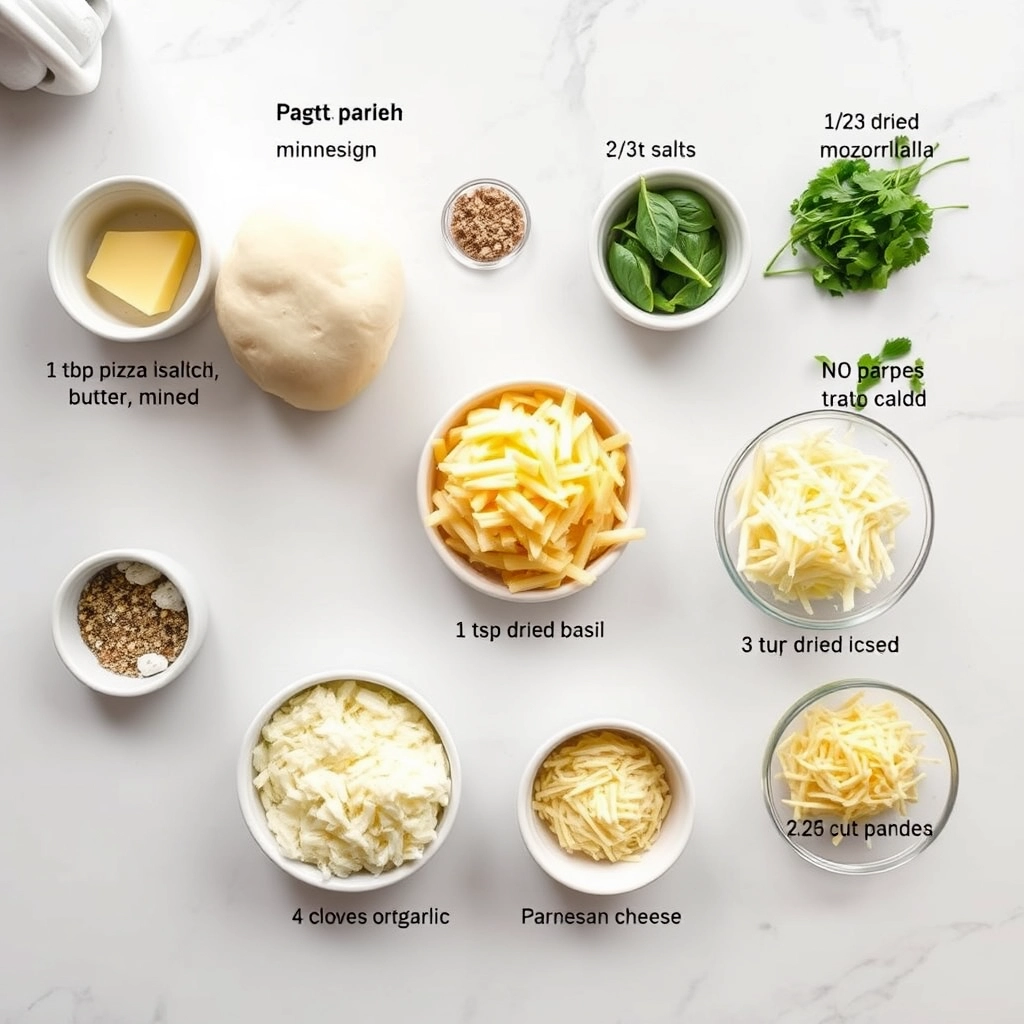
Ingredients You’ll Need
- 1 lb pizza dough – Store-bought or homemade, whichever you prefer. I often grab a ball from my local pizzeria for convenience!
- 1 ½ cups shredded mozzarella cheese – Freshly grated melts better than pre-shredded, but we won’t judge if you take the shortcut.
- ½ cup grated Parmesan cheese – For that extra savory depth.
- 30-40 slices of pepperoni – Go for the classic or spice it up with hot Calabrese if you’re feeling bold.
- ½ cup marinara sauce – Homemade or your favorite jarred variety. (I sneak in a pinch of red pepper flakes for a subtle kick.)
- 1 egg, beaten – This gives the crust that beautiful golden sheen.
- 2 tbsp melted butter – Because everything’s better with butter.
- 1 tsp garlic powder – Or freshly minced garlic if you’re feeling fancy.
- 1 tsp Italian seasoning – A little herbaceous magic never hurts.
- Pinch of salt & black pepper – To tie it all together.
Let’s Make Some Stromboli Magic
Step 1: Preheat & Prep
Preheat your oven to 375°F (190°C) and line a baking sheet with parchment paper. Lightly flour your work surface—this dough can be a bit sticky, and we want to avoid any kitchen tantrums.
Step 2: Roll It Out
Gently stretch or roll your pizza dough into a rough rectangle, about 12×10 inches. Don’t stress over perfection; rustic is charming! If the dough fights you, let it rest for 5 minutes—it’ll relax and cooperate.
Step 3: Sauce & Layer
Spread the marinara sauce evenly over the dough, leaving a 1-inch border around the edges. Sprinkle half the mozzarella and Parmesan, then lay down those pepperoni slices in a single (or slightly overlapping) layer. Top with the remaining cheese—because more cheese is always the answer.
Step 4: Fold & Seal
Starting from the long side, carefully roll the dough into a tight log, tucking in any rogue pepperoni as you go. Pinch the seams and ends to seal everything inside—this keeps the cheese from making a dramatic escape during baking.
Pro Tips, Variations, and Substitutions
Making the perfect stromboli is easier than you think—especially with these handy tips and creative twists!
- For extra crispiness: Brush the dough with melted butter or garlic butter before baking for a golden, irresistible crust.
- Cheese lovers: Swap mozzarella for provolone, fontina, or a mix of your favorites.
- Meatier options: Add cooked Italian sausage, ham, or crispy bacon alongside the pepperoni.
- Vegetarian twist: Skip the pepperoni and load up on sautéed bell peppers, mushrooms, and spinach.
- Spice it up: Sprinkle red pepper flakes or drizzle hot honey before baking for a sweet-heat kick.
What to Serve with Stromboli
This cheesy, savory stromboli is a meal on its own, but pairing it with the right sides makes it even better!
- A simple garden salad with Italian dressing cuts through the richness.
- Marinara or ranch dip for dunking—because extra sauce is always a good idea.
- Garlic knots or breadsticks for a carb-loaded feast.
- Roasted vegetables like zucchini or broccoli for a lighter balance.
Storage and Reheating Tips
Got leftovers? Here’s how to keep your stromboli tasting fresh and delicious:
- Storage: Wrap cooled stromboli tightly in foil or store in an airtight container in the fridge for up to 3 days.
- Freezing: Slice and freeze in a sealed bag for up to 2 months. Thaw in the fridge before reheating.
- Reheating: Warm slices in the oven at 350°F for 10 minutes or until crispy. A quick zap in the microwave works, but the oven keeps it crispier!
Frequently Asked Questions
Can I use homemade pizza dough?
Absolutely! Homemade dough adds extra flavor—just roll it out to about ¼-inch thickness before assembling.
How do I prevent the stromboli from getting soggy?
Avoid overloading with sauce inside. Serve extra marinara on the side for dipping instead.
Can I make this ahead of time?
Yes! Assemble the stromboli, wrap it tightly, and refrigerate for up to 12 hours before baking. Add 2–3 extra minutes to the bake time if baking straight from the fridge.
What’s the difference between stromboli and calzone?
Stromboli is rolled like a log and sliced, while calzones are folded into half-moons. Both are delicious, but stromboli is easier to share!
Final Thoughts
There’s something so comforting about pulling a golden, cheesy stromboli out of the oven—the aroma alone is worth it! Whether you’re feeding a crowd, meal prepping, or just craving a cozy homemade dinner, this easy recipe is sure to become a favorite. Don’t be afraid to make it your own with different fillings or dipping sauces. After all, the best meals are the ones made with a little love (and a lot of cheese). Happy baking!
Print
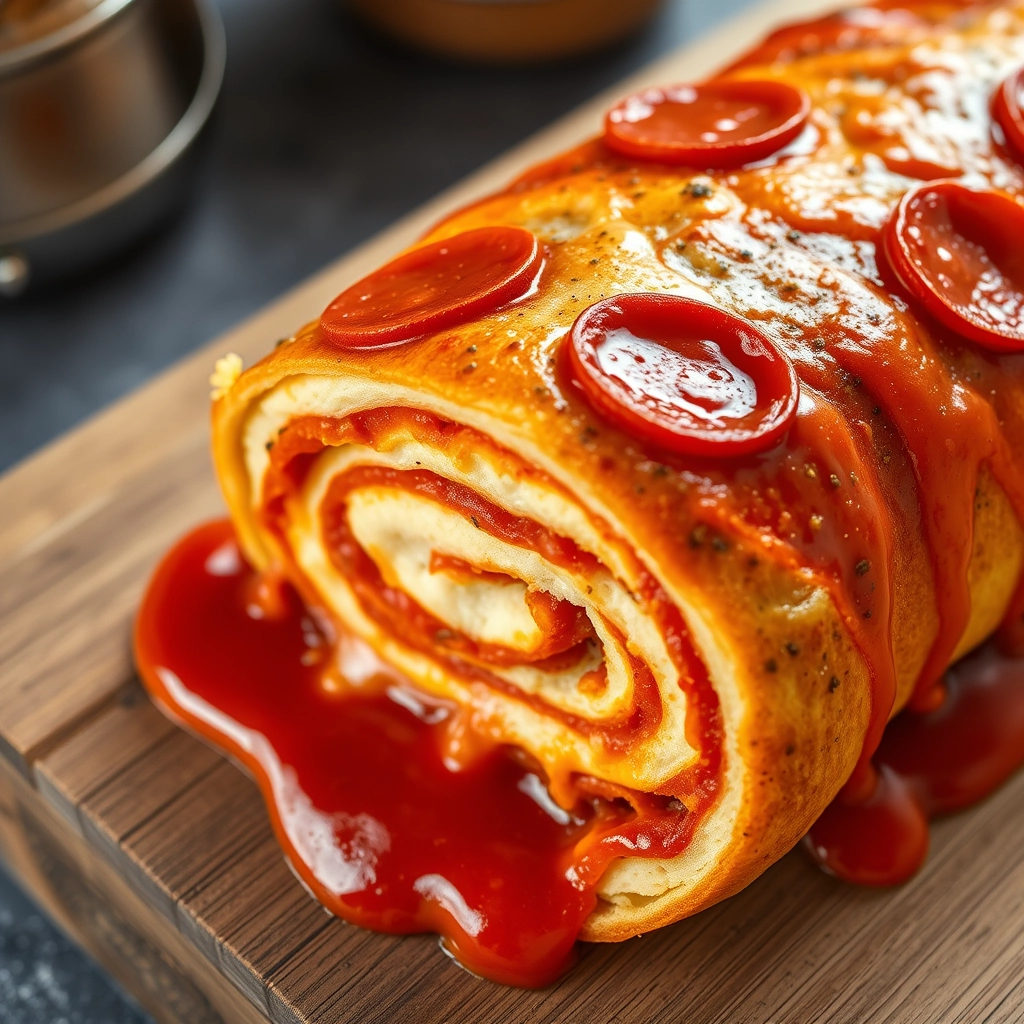
Cheesy Pepperoni Stromboli
Description
A delicious and easy-to-make stromboli filled with melted cheese and pepperoni, perfect for a quick dinner or party appetizer.
Ingredients
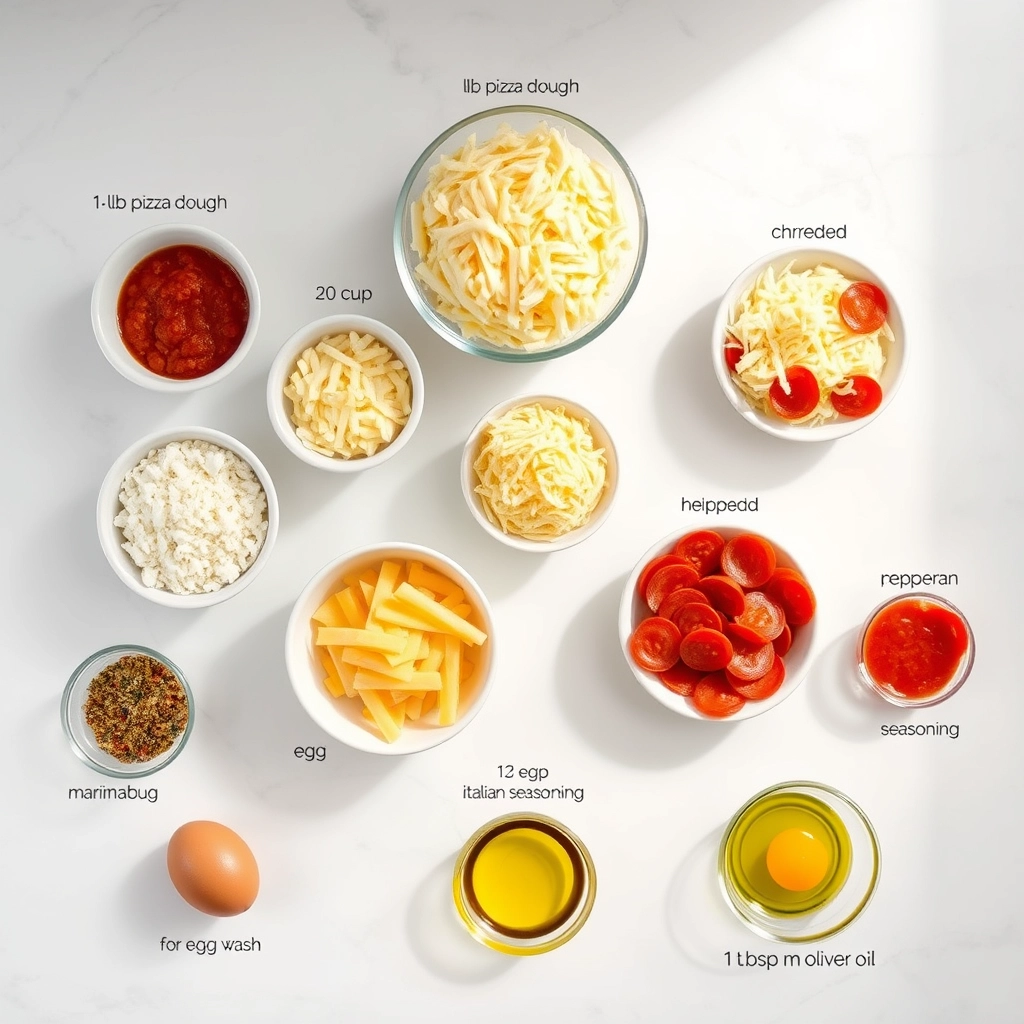
For the Crust:
- 1 lb pizza dough
- 1 1/2 cups shredded mozzarella cheese
- 1/2 cup grated Parmesan cheese
- 30 slices pepperoni
- 1/2 cup marinara sauce
- 1 tsp Italian seasoning
- 1 egg (for egg wash)
- 1 tbsp olive oil
Instructions
1. Prepare the Crust:
- Preheat oven to 375°F (190°C). Line a baking sheet with parchment paper.
- Roll out the pizza dough into a rectangle on a lightly floured surface.
- Spread marinara sauce evenly over the dough, leaving a 1-inch border around the edges.
- Sprinkle mozzarella and Parmesan cheeses over the sauce, then layer pepperoni slices on top.
- Sprinkle Italian seasoning over the filling.
- Roll the dough tightly into a log, starting from the long side. Pinch the edges to seal.
- Transfer the stromboli to the prepared baking sheet, seam side down.
- Brush the top with egg wash and make a few slits on top for steam to escape.
- Bake for 25-30 minutes or until golden brown and crispy.
- Let cool for 5 minutes before slicing. Serve with extra marinara sauce for dipping.
Notes
You can customize the seasonings to taste.