Easy Ground Beef Enchiladas – A Hug in Every Bite
There’s something magical about the way a pan of enchiladas can bring everyone to the table—no second call needed. I remember the first time I made these for my family on a chilly weeknight, the kitchen filled with the warm scent of cumin and melted cheese. My youngest, who usually takes her time coming downstairs, appeared in seconds, wide-eyed and asking, “Is it ready yet?” That’s the power of comfort food—it doesn’t just fill bellies, it gathers hearts.
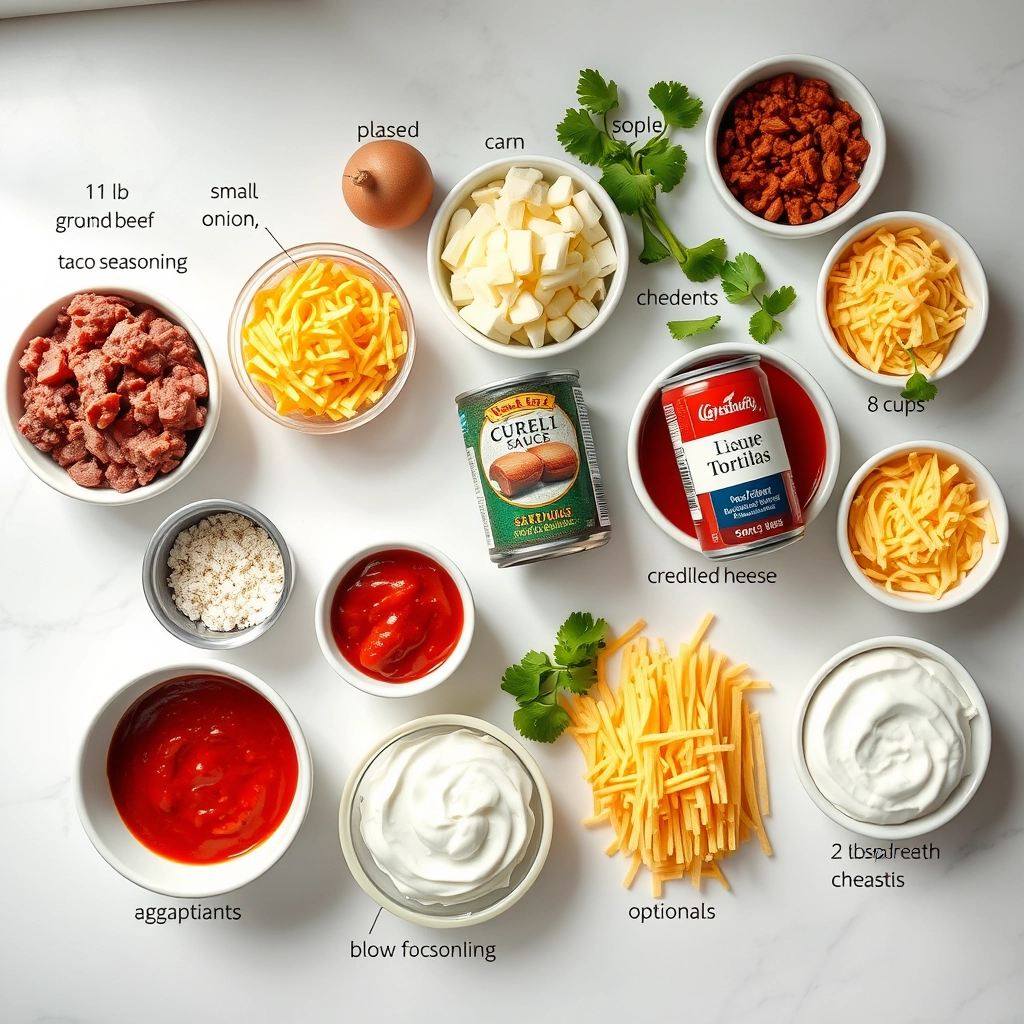
Ingredients You’ll Need
- 1 lb ground beef – I prefer 85/15 for the perfect balance of flavor without too much grease.
- 1 small onion, diced – Yellow or white, whatever’s in your pantry. It’s the sweet foundation of our filling.
- 2 cloves garlic, minced – Because no savory dish is complete without it.
- 1 tbsp taco seasoning – Homemade or store-bought, both work beautifully here.
- 1 (10 oz) can red enchilada sauce – My secret? A splash of extra sauce drizzled on top before baking.
- 8 flour tortillas – Soft taco size, warmed slightly so they roll without cracking.
- 2 cups shredded cheese – A mix of Monterey Jack and cheddar melts like a dream.
- Fresh cilantro & diced avocado (optional) – For that bright, creamy finish that makes every bite sing.
Let’s Make the Magic Happen
Step 1: In a large skillet over medium heat, brown the ground beef with the onion until no pink remains. Here’s my little trick—I like to season the beef with a pinch of salt as it cooks to build flavor from the start. Drain any excess grease, then stir in the garlic and taco seasoning. The aroma at this stage? Pure nostalgia.
Step 2: Pour in half the enchilada sauce, letting it simmer with the beef for just a minute. This melds everything together and keeps the filling juicy. Remove from heat and set aside while you prep your tortillas.
Step 3: Warm the tortillas for about 20 seconds in the microwave (covered with a damp paper towel) or a dry skillet. This makes them pliable and prevents tearing when you roll them. Spoon a generous portion of the beef mixture down the center of each tortilla, sprinkle with a little cheese (because more is always better), then roll tightly and place seam-side down in a greased 9×13 baking dish.
Pro Tips, Variations, and Substitutions
These easy ground beef enchiladas are wonderfully flexible—here are some ways to make them your own:
- Meat Swap: Try ground turkey or shredded chicken instead of beef for a lighter option.
- Cheese Choices: Monterey Jack, queso fresco, or even pepper jack add delicious variety.
- Vegetable Boost: Stir in sautéed bell peppers, onions, or zucchini for extra nutrition.
- Spice Level: Adjust the heat with mild or hot enchilada sauce and a pinch of cayenne.
- Shortcut: Use store-bought enchilada sauce if you’re pressed for time—it still tastes great!
What to Serve with Ground Beef Enchiladas
Round out your meal with these tasty sides:
- Fluffy cilantro-lime rice
- Warm refried beans or black beans
- Fresh avocado slices or homemade guacamole
- A crisp green salad with lime vinaigrette
- Crunchy tortilla chips and salsa
Storage and Reheating Tips
Leftovers? No problem! Here’s how to keep them tasting fresh:
- Refrigerate: Store in an airtight container for up to 3 days.
- Freeze: Wrap individual enchiladas tightly and freeze for up to 2 months.
- Reheat: Warm in the oven at 350°F (covered with foil) until heated through, or microwave single portions with a damp paper towel to prevent drying out.
Frequently Asked Questions
Can I make these enchiladas ahead of time?
Absolutely! Assemble them, cover tightly, and refrigerate overnight before baking. Add 5–10 extra minutes to the baking time if chilled.
What if my tortillas keep tearing?
Warm them briefly in a dry skillet or microwave (wrapped in a damp towel) to make them more pliable before rolling.
Can I use corn tortillas instead of flour?
Yes! Corn tortillas add authentic flavor—just double them up to prevent tearing and lightly fry them first for extra sturdiness.
How do I make this dish vegetarian?
Swap the beef for black beans, lentils, or sautéed mushrooms, and use vegetable broth in the sauce.
Final Thoughts
There’s something so comforting about a pan of bubbly, cheesy enchiladas fresh from the oven. Whether it’s a busy weeknight or a casual gathering with friends, this recipe delivers big flavor with minimal effort. The best part? Those happy faces around the table, asking for seconds. Whip up a batch soon—your family will thank you!
Print
Easy Ground Beef Enchiladas
Description
A simple and delicious recipe for cheesy ground beef enchiladas with a flavorful red sauce.
Ingredients
For the Crust:
- 1 lb ground beef
- 1 small onion, diced
- 1 packet taco seasoning
- 1 can (10 oz) red enchilada sauce
- 8 flour tortillas
- 2 cups shredded cheddar cheese
- 1/2 cup sour cream (optional)
- 2 tbsp chopped fresh cilantro (optional)
Instructions
1. Prepare the Crust:
- Preheat oven to 375°F (190°C).
- Brown ground beef with onion in a skillet over medium heat. Drain excess fat.
- Stir in taco seasoning and 1/4 cup of enchilada sauce. Cook for 2 minutes.
- Spread 1/4 cup of enchilada sauce in the bottom of a 9×13 baking dish.
- Fill each tortilla with beef mixture and cheese. Roll up and place seam-side down in dish.
- Pour remaining sauce over enchiladas and top with remaining cheese.
- Bake for 20 minutes until cheese is melted and bubbly.
- Garnish with sour cream and cilantro if desired.
Notes
You can customize the seasonings to taste.