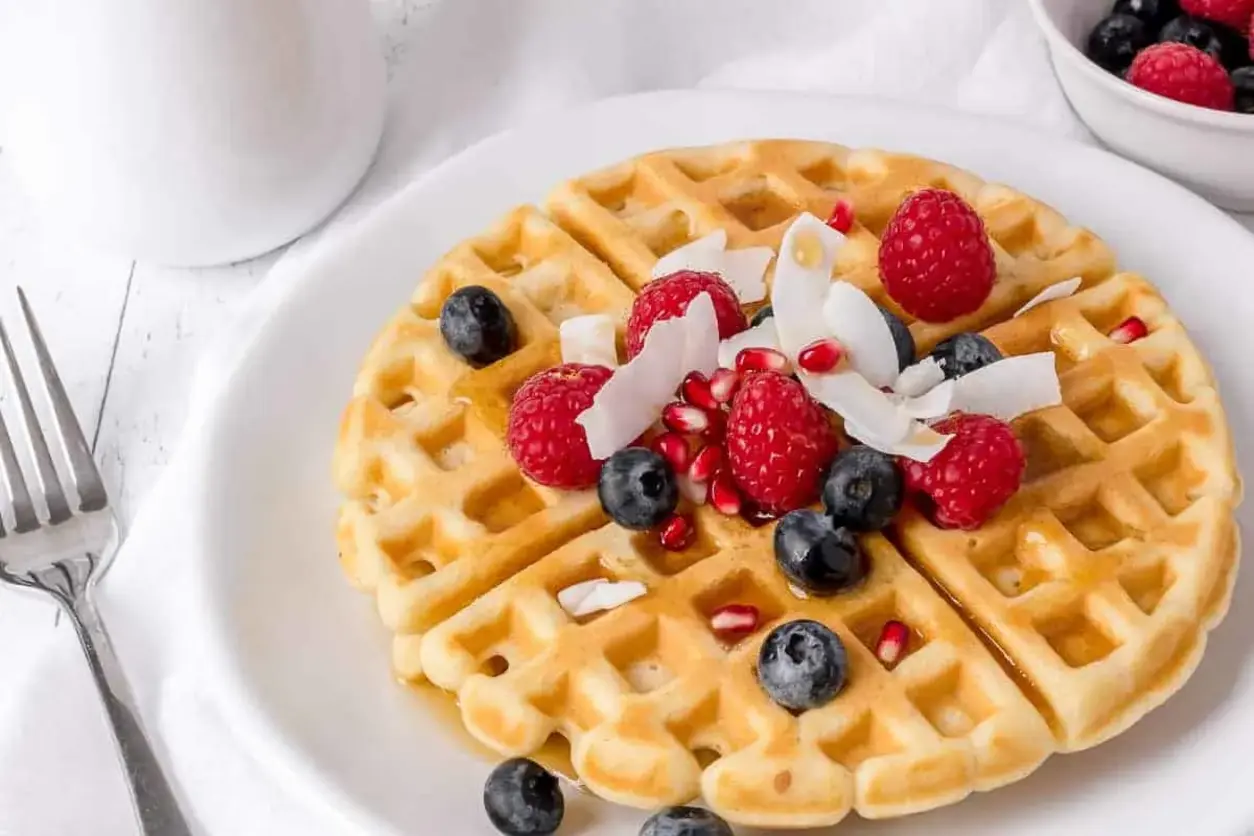
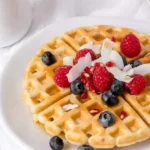
The Best Gluten Free Waffles Recipe
Description
This made from scratch gluten free waffle recipe will make the best gluten free waffles you have ever had. Made with Bob’s Redmill 1 to 1 Gluten Free Flour, this easy to make recipe produces fluffy waffles with crisp, golden brown edges. This recipe can easily be made dairy free by substituting your favorite plant based milk for the whole milk in the recipe.
Ingredients
Scale
- 2 cups gluten free flour I used Bob's RedMill 1:1
- 3 tablespoons sugar
- 1 tablespoon baking powder
- 1 teaspoon sea salt
- 1.25 cups whole milk add up to ¼ cup more to smooth out your batter
- 3 tablespoons canola oil melted coconut oil works well too
- 2 large eggs
- 1 tablespoon vanilla
Instructions
- Whisk together the gluten free flour, sugar, baking powder and salt in your mixing bowl.
- In a large measuring cup, combine 3 tablespoons of oil (canola or melted coconut oil work well) with the vanilla extract and milk. Finally, you will whisk the eggs. Mix the liquid ingredients until well combined.
- Add the liquid ingredients with the dry ingredients and mix until just combined. The batter may be slightly lumpy which is good. If the batter feels too thick, add a splash of milk and mix again. You want the batter to be smooth enough to pour or drizzle into your waffle iron.
- Choose your favorite waffle iron and turn it on to warm up. Spray the iron with a little bit of canola oil or nonstick cooking spray. Once the waffle iron is warm, use a measuring cup or ladle to pour a cup of batter onto the hot waffle iron. Cook waffles, following the directions on your waffle maker. Mine has a little orange light that turns off when the waffle is ready.
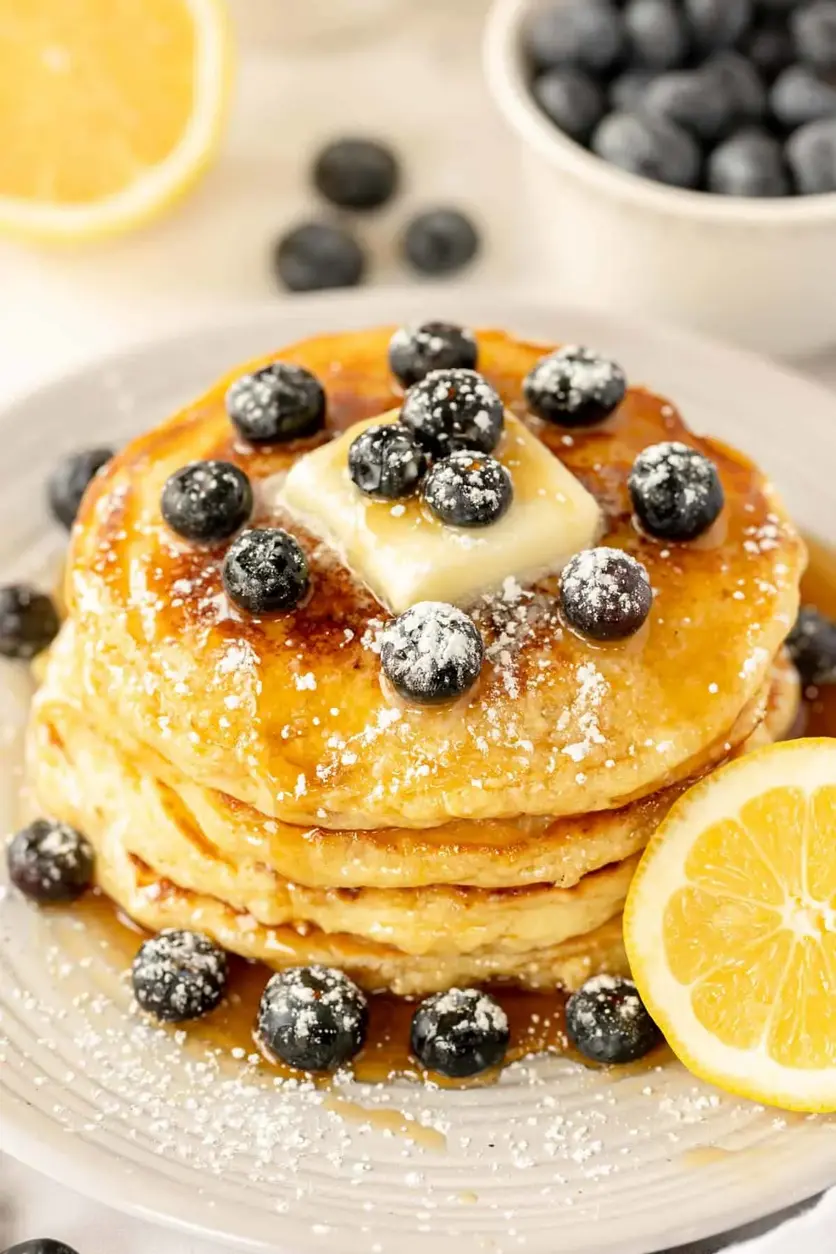
- Serve waffles with some fresh fruit and warm maple syrup.
- You can store leftover waffle batter in an airtight container in the refrigerator for 2-3 days. To make fresh waffles, simply warm your waffle iron and scoop batter directly from the refrigerator.
Nutrition
- Calories: 214kcal
- Sugar: 8g
- Protein: 6g