“`html
Table of Contents
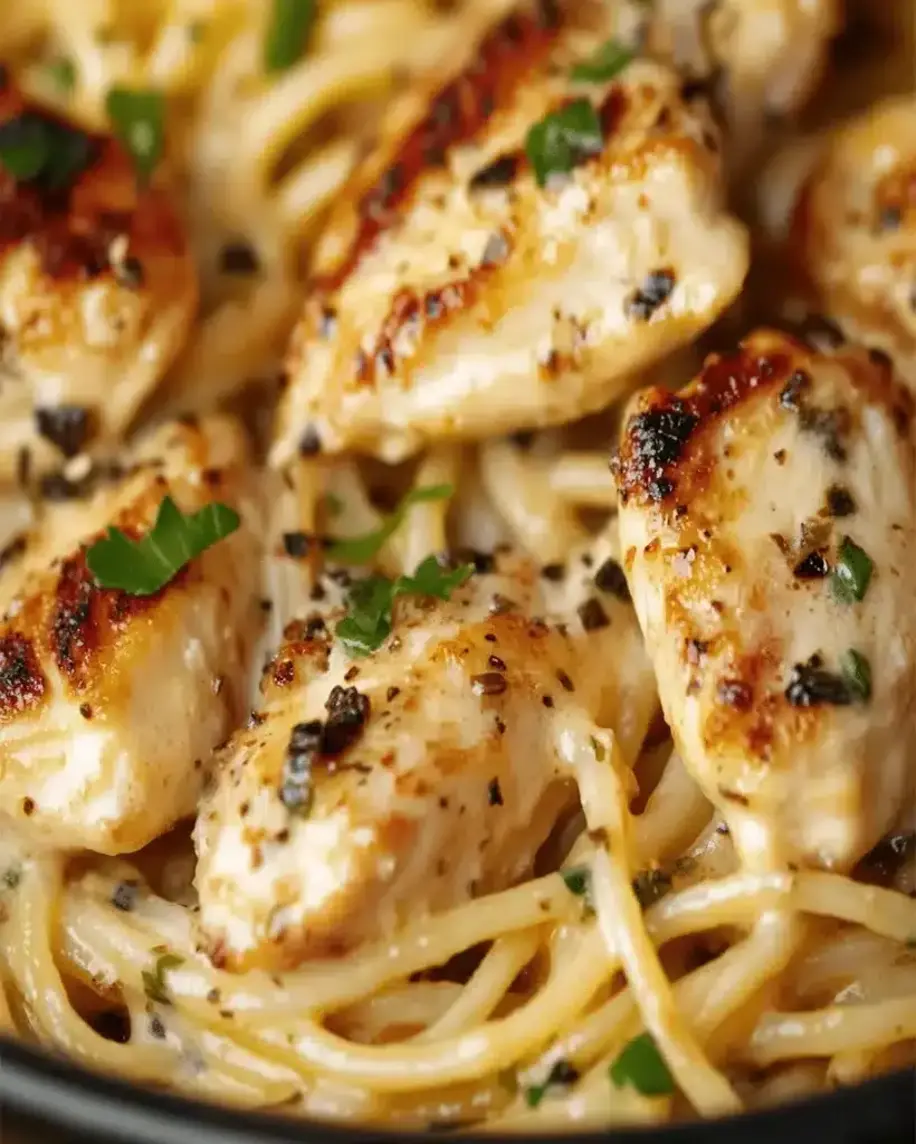
Monterey Chicken Spaghetti Casserole – Cheesy & Comforting! 🧀🥘
Welcome to a Flavorful Journey!
Are you searching for a weeknight dinner that promises ultimate comfort and flavor? This Monterey Chicken Spaghetti Casserole is the answer! Imagine tender, shredded chicken enveloped in a velvety, cheesy sauce, all tossed with perfectly cooked spaghetti and baked to golden perfection. If you’re craving a dish that combines the richness of Monterey Jack cheese with the heartiness of chicken and a creamy base, this recipe is tailor-made for you. It’s more than just a meal; it’s an experience that brings warmth and satisfaction to any table. This dish is poised to become your go-to family favorite, especially for lovers of all things comfort food and delicious casseroles.
Ingredients: The Heart of the Dish
Every ingredient plays a crucial role in creating the symphony of flavors in this Monterey Chicken Spaghetti Casserole. Here’s what you’ll need:
-
1 lb Boneless, Skinless Chicken Breasts or Thighs: The protein powerhouse. Thighs offer a richer flavor, while breasts are leaner. For tenderness, ensure they’re cooked completely.
- Substitution: Cooked rotisserie chicken, turkey breast, or even firm tofu for a vegetarian option.
-
8 oz Spaghetti: The classic pasta backbone of our casserole. Cooked al dente to prevent mushiness.
- Substitution: Linguine, fettuccine, or even elbow macaroni can be used.
-
1 tbsp Olive Oil or Butter: For sautéing and adding a touch of richness.
- Substitution: Avocado oil, or any preferred cooking oil.
-
1 medium Onion, finely chopped: Adds aromatic depth and a slight sweetness.
- Substitution: Shallots or leeks (white and light green parts only).
-
2 cloves Garlic, minced: The pungent, irreplaceable flavor booster.
- Substitution: Garlic powder (about 1/2 tsp) if fresh is unavailable.
-
1 (10.5 oz) can Cream of Chicken Soup: The creamy binder that makes this casserole luxuriously smooth.
- Substitution: Cream of Mushroom soup, or a homemade béchamel sauce for a from-scratch approach.
-
1 cup Milk (or half-and-half for extra richness): Thins out the soup base to a perfect sauce consistency.
- Substitution: Unsweetened almond milk or oat milk for dairy-free.
-
1 cup Chicken Broth: Adds moisture and savory depth.
- Substitution: Vegetable broth or water.
-
8 oz Monterey Jack Cheese, shredded: The star player, providing its signature meltiness and mild, nutty flavor.
- Substitution: Cheddar, Colby Jack, or a Mexican blend cheese.
-
1/2 cup Sour Cream: For an extra creamy, slightly tangy finish.
- Substitution: Greek yogurt or cream cheese.
- Salt and Black Pepper to taste: Essential for enhancing all the flavors.
- Optional Toppings: Chopped fresh parsley, chives, or a sprinkle of paprika for color and freshness.
Timing is Everything
This recipe is designed for delicious convenience, making it manageable even on a busy weeknight.
Compared to an average casserole recipe that might take 1 hour to prep and 45 minutes to bake, this Monterey Chicken Spaghetti Casserole comes in significantly faster, offering a delightful meal with less time commitment.

Step-by-Step Instructions
Let’s get cooking! Follow these simple steps to create your mouthwatering casserole.
Step 1: Cook the Chicken
If you’re not using pre-cooked chicken, start by cooking your chicken breasts or thighs. You can boil them until cooked through and then shred or dice them, or pan-sear them in a skillet with a little oil until no pink remains. Once cooked, shred the chicken using two forks or dice it into bite-sized pieces. Set aside.
Step 2: Prepare the Spaghetti
Bring a large pot of salted water to a rolling boil. Add your spaghetti and cook according to package directions until it’s al dente – tender but still with a slight bite. You don’t want it mushy, as it will continue to cook in the oven. Drain the spaghetti well and set it aside.
Step 3: Create the Creamy Sauce
In a large skillet or pot over medium heat, heat the olive oil or butter. Add the chopped onion and sauté until softened and translucent, about 5-7 minutes. Stir in the minced garlic and cook for another minute until fragrant. Now, whisk in the cream of chicken soup, milk, and chicken broth until smooth. Bring the mixture to a gentle simmer, stirring occasionally.
Step 4: Assemble the Casserole
Preheat your oven to 375°F (190°C) and lightly grease a 9×13 inch baking dish. Remove the sauce from the heat. Stir in the sour cream and about half of the shredded Monterey Jack cheese until melted and well combined. Add the cooked, shredded chicken and the drained spaghetti to the sauce. Gently toss everything together until the spaghetti and chicken are evenly coated in the creamy sauce. Season with salt and pepper to your liking.
Step 5: Bake to Perfection
Pour the spaghetti mixture into the prepared baking dish, spreading it evenly. Sprinkle the remaining Monterey Jack cheese over the top. Place the dish in the preheated oven and bake for 20-25 minutes, or until the casserole is heated through and the cheese on top is melted and bubbly, with perhaps a few golden-brown spots. Let it rest for a few minutes before serving.
Nutritional Information
Please note that nutritional values are approximate and can vary based on specific ingredients and portion sizes. This is a rich, comforting dish.
- Calories: ~450-550 per serving
- Protein: ~30-35g
- Fat: ~20-28g
- Carbohydrates: ~35-45g
Healthier Alternatives
You can lighten up this comforting casserole without sacrificing significant flavor:
- Leaner Protein: Use chicken breast and ensure it’s well-seasoned.
- Whole Wheat Pasta: Opt for whole wheat spaghetti for increased fiber.
- Reduced-Fat Dairy: Use 2% milk, reduced-fat cream of chicken soup, and a lighter hand with the cheese. Plain Greek yogurt can replace sour cream for added protein and less fat.
- Add Veggies: Stir in steamed broccoli florets, peas, or sautéed bell peppers for added nutrients and fiber.
Serving Suggestions
This hearty casserole is a meal in itself, but it pairs beautifully with:
- A fresh, crisp green salad with a light vinaigrette.
- Steamed or roasted vegetables like green beans or asparagus.
- Crusty bread for soaking up any extra sauce.
Common Mistakes to Avoid
To ensure your casserole turns out perfectly every time:
- Overcooking Pasta: Cook spaghetti only until al dente.
- Undercooking Chicken: Ensure chicken is fully cooked before shredding/dicing.
- Too Little Sauce: Adjust milk/broth if the mixture seems too thick before adding pasta.
- Not Enough Cheese: Don’t skimp on the Monterey Jack – it’s key to the flavor!
Storing Tips for Leftovers
Allow the casserole to cool completely. Store any leftovers in an airtight container in the refrigerator for up to 3-4 days. Reheat gently in the oven or microwave until heated through.
Conclusion: A Comfort Food Champion
The Monterey Chicken Spaghetti Casserole is more than just a meal; it’s a warm hug in a dish. With its creamy, cheesy goodness and tender chicken, it’s guaranteed to bring smiles to the dinner table. Whether you’re a seasoned cook or just starting, this recipe is straightforward, incredibly satisfying, and a fantastic way to create lasting memories through food. Gather your ingredients, follow these simple steps, and get ready to enjoy a truly comforting and delicious masterpiece.
Did you try this delicious Monterey Chicken Spaghetti Casserole? Let us know in the comments below how it turned out for you!
FAQs
***Can I make this ahead of time?***
Yes! You can assemble the casserole up to a day in advance. Cover it tightly and refrigerate. You may need to add a few extra minutes to the baking time.
***Can I freeze this casserole?***
It’s best enjoyed fresh, but you can freeze an unbaked or baked casserole. If freezing unbaked, thaw completely in the refrigerator before baking. Frozen baked casserole can be reheated directly from frozen, but it may take longer and the texture might be slightly softer.
***What kind of cheese is truly essential?***
Monterey Jack is essential for the “Monterey” flavor profile and its excellent melting quality. However, you can blend it with other cheeses like cheddar or a Mexican blend if desired.
***My sauce seems too thick, what should I do?***
You can thin out the sauce by adding a little more milk or chicken broth, a tablespoon at a time, until it reaches your desired consistency before mixing it with the spaghetti.

Monterey Chicken Spaghetti – Comforting Casserole Recipe
Description
Welcome to a flavorful journey with this Monterey Chicken Spaghetti! If you’re craving a dish that combines the richness of Monterey Jack cheese with tender chicken and a creamy base, this recipe is perfect for you. It’s not just a meal—it’s an experience. This dish will quickly become a family favorite, especially for those who love comfort food and delicious casseroles.
Ingredients
- Optional Substitutions
Instructions
- Heat your oven to 350°F and lightly spray a 9×13-inch baking dish with cooking spray.
- Follow the package instructions to cook the spaghetti until it isal dente. Once cooked, drain the water and set the pasta aside.
- In a large bowl, combine the cooked chicken, cream of chicken soup, sour cream, thawed spinach, 1 cup of shredded Monterey Jack cheese, minced garlic, and half a can of French Fried Onions.
- Add the cooked spaghetti to the chicken mixture. Stir well until all ingredients are fully combined.
- Pour the spaghetti and chicken mixture into your prepared baking dish. Smooth the top with a spatula to ensure even distribution.
- Sprinkle the remaining Monterey Jack cheese over the casserole, then top with the rest of the French Fried Onions.
- Place the casserole in the oven and bake uncovered for 40-50 minutes, or until the cheese is melted and bubbly and the onions are crispy and golden brown.
Notes
For extra flavor, add a pinch of red pepper flakes to the chicken mixture for a mild kick.
Monterey Chicken Spaghetti tips: Ensure you drain the spinach well to avoid making the casserole too watery.
Substitute rotisserie chicken for a quicker prep time.
“`