Savor this Cowboy Butter Lemon Bowtie Chicken with Broccoli recipe! Perfect for easy dinners, it’s packed with flavor and a budget-friendly choice. This delicious chicken bow tie pasta dish will be a hit with the whole family. Try it tonight and elevate your homecooked meals! #PastaRecipes #DinnerRecipes #ChickenRecipes
Print

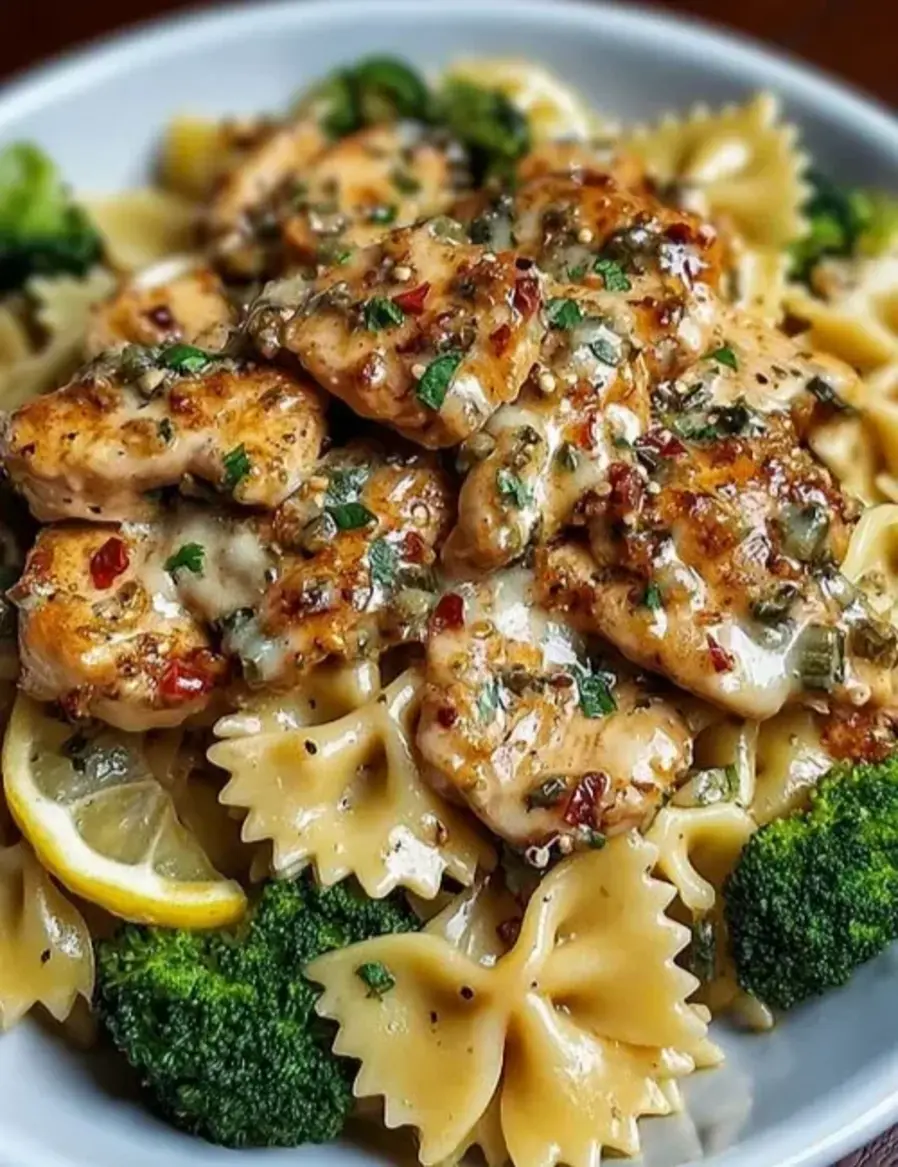
Cowboy Butter Lemon Bowtie Chicken with Broccoli
Description
A delightful dish featuring savory chicken, bright lemon, and tender broccoli mixed with creamy bowtie pasta, perfect for weeknight dinners.
Ingredients
Scale
- 1 lb boneless, skinless chicken breasts, cut into bite-sized pieces
- 12 oz bowtie (farfalle) pasta
- 2 cups broccoli florets
Instructions
- Bring a large pot of salted water to a boil. Add bowtie pasta and cook until al dente.
- In the last 3 minutes, add broccoli florets. Reserve 1/2 cup pasta water, then drain and set aside.
- In a bowl, season chicken pieces with Cajun seasoning, garlic powder, smoked paprika, salt, and pepper.
- Heat olive oil in a skillet over medium-high heat. Cook chicken for 6-7 minutes, turning occasionally, until golden and cooked through. Remove and set aside.
- In the same skillet over medium heat, melt butter. Add garlic and sauté for 1-2 minutes until fragrant.
- Stir in red pepper flakes, Dijon mustard, lemon juice, and zest. Mix in parsley and chives, seasoning with salt and pepper.
- Add pasta, broccoli, and chicken back to the skillet. Toss to coat in the sauce, adding reserved pasta water as needed.
- Stir in Parmesan cheese until creamy and well combined.
- Serve warm with extra Parmesan, fresh parsley, and a squeeze of lemon juice.
Notes
For a creamier sauce, add more butter and Parmesan cheese. Use gluten-free pasta for a healthier option. Toss quickly to prevent sticking.