This Marry Me Chicken is quick 30 minute recipe. An excellent dinner idea with chicken, sundried tomatoes, creamy and thick parmesan garlic cream sauce….
Print

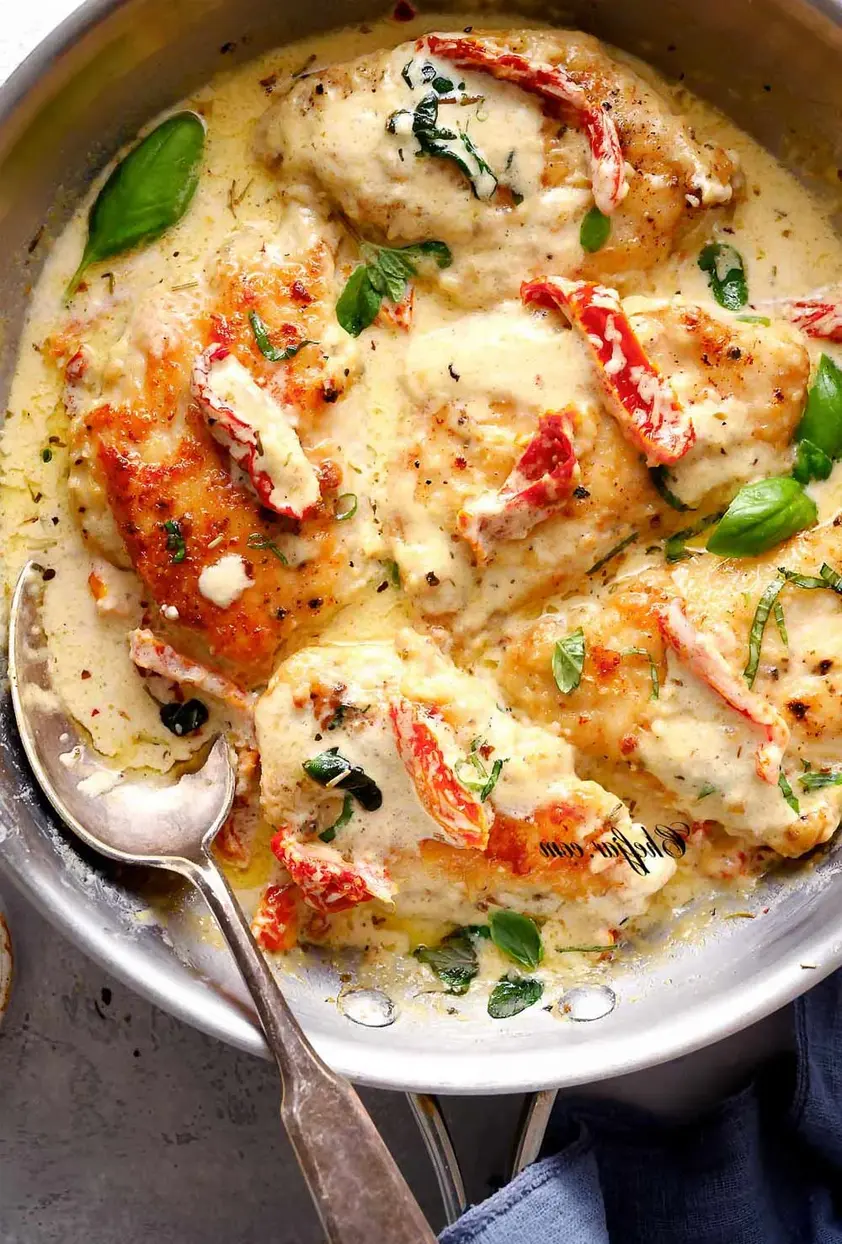
Easy Marry Me Chicken
Ingredients
- 3 medium boneless and skinless chicken breast, cut in half horizontally to make 6 fillets
- Salt and ground pepper, as needed
- 1/3 cup all-purpose flour
- 2 tablespoons olive oil
- 2 tablespoons unsalted butter
- 4 garlic cloves, minced
- 1/2 cup chicken stock or broth
- 1 1/2 cup heavy cream
- 3/4 cup fresh grated Parmesan cheese
- 1/2 teaspoon chili flakes
- 1 teaspoon Italian seasoning
- 5 ounces 150 grams jarred sun dried tomato strips, drained
- 1 tablespoon fresh basil leaves
- 1 tablespoon fresh oregano or parsley
Instructions
- Season chicken with salt and pepper on both sides. Dredge in flour and shake off any excess.
- Heat olive oil and melt butter over medium-high heat in a large skillet. Sear the chicken for 6-8 minutes each side, or until cooked through and golden brown. Work in batches not to overcrowd the pan. Transfer to a plate, cover, and set aside.
- In the same skillet cook garlic until fragrant, about 30 seconds to 1 minute. Add in the chicken stock, deglaze the pan, scraping any brown bits stuck to the bottom of the skillet with a wooden spatula.
- Reduce the heat to low-medium heat, add the heavy cream and parmesan cheese. Bring to a gentle simmer, while stirring from time to time. Season with Italian seasoning, chili flakes, salt and pepper.
- Add the sun dried tomatoes and cook further for a couple of minutes or until the sauce thickens slightly.
- Return the chicken back into the skillet; garnish with fresh basil and oregano leaves.
- Serve over pasta, steamed veggies or rice.
- Enjoy!
Notes
Chicken cutlets are actually commonly available in many supermarkets, so you can save yourself a step and buy them pre-made. That said, its pretty easy to just halve a chicken breast yourself, so its up to you which one youd prefer.
When sauteeing the garlic, throw in a little (a teaspoon or so) bit of the sundried tomato oil. This will add some sweetness and the characteristic subtle tartness of sundried tomatoes to your sauteed garlic!
Avoid light or half and half cream for this recipe. It wont thicken your sauce enough, and the key to this recipe is the thick, indulgent sauce.
If you can, buy yourself a block of parmesan cheese or better yet, parmigiano-reggiano and grate it yourself. The cheese will be moister, fresher, and more flavorsome compared with the pre-grated stuff you can buy at the store. Store-bought pre-grated cheese wont melt right or provide enough flavoring for your sauce.
Nutrition
- Calories: 534kcal
- Sugar: 11g
- Protein: 32g