
Easy Peach Cobbler
Description
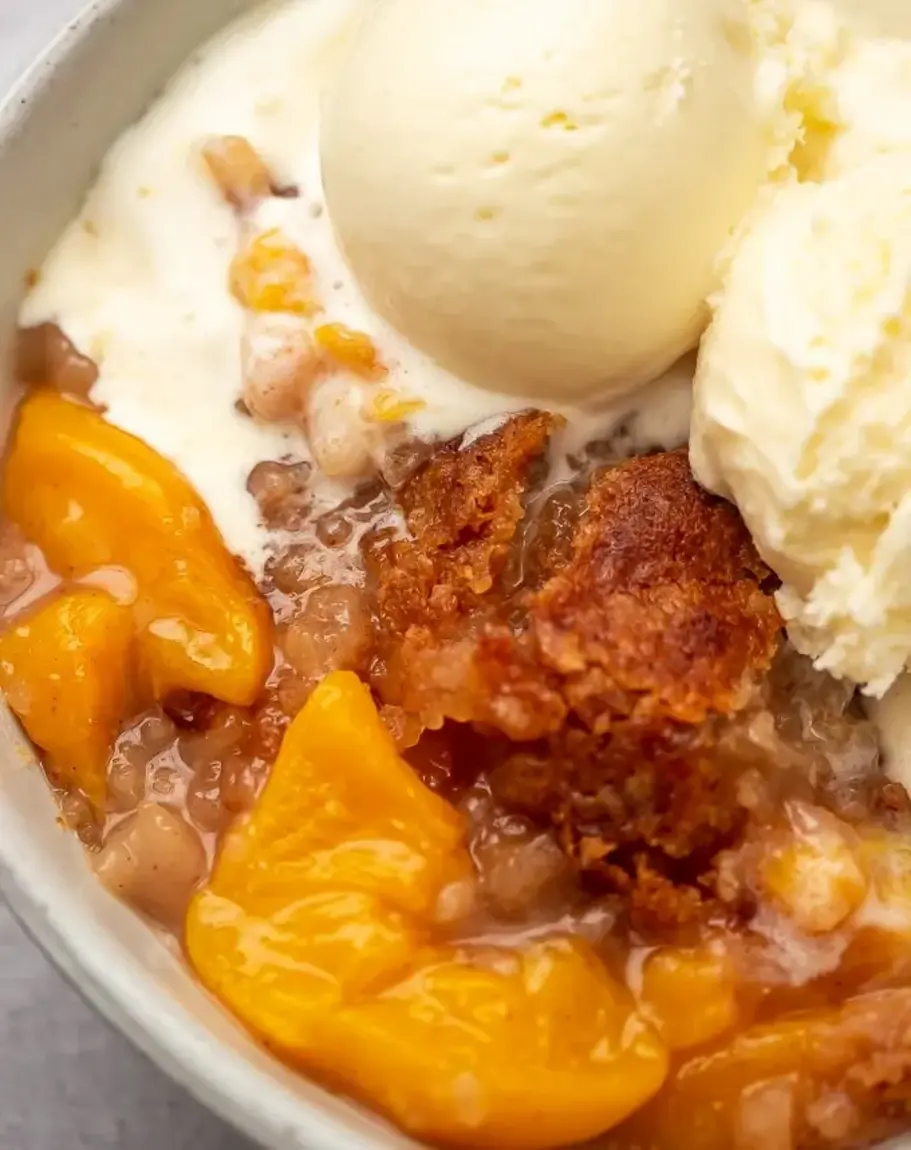
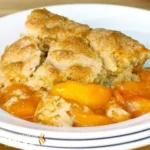
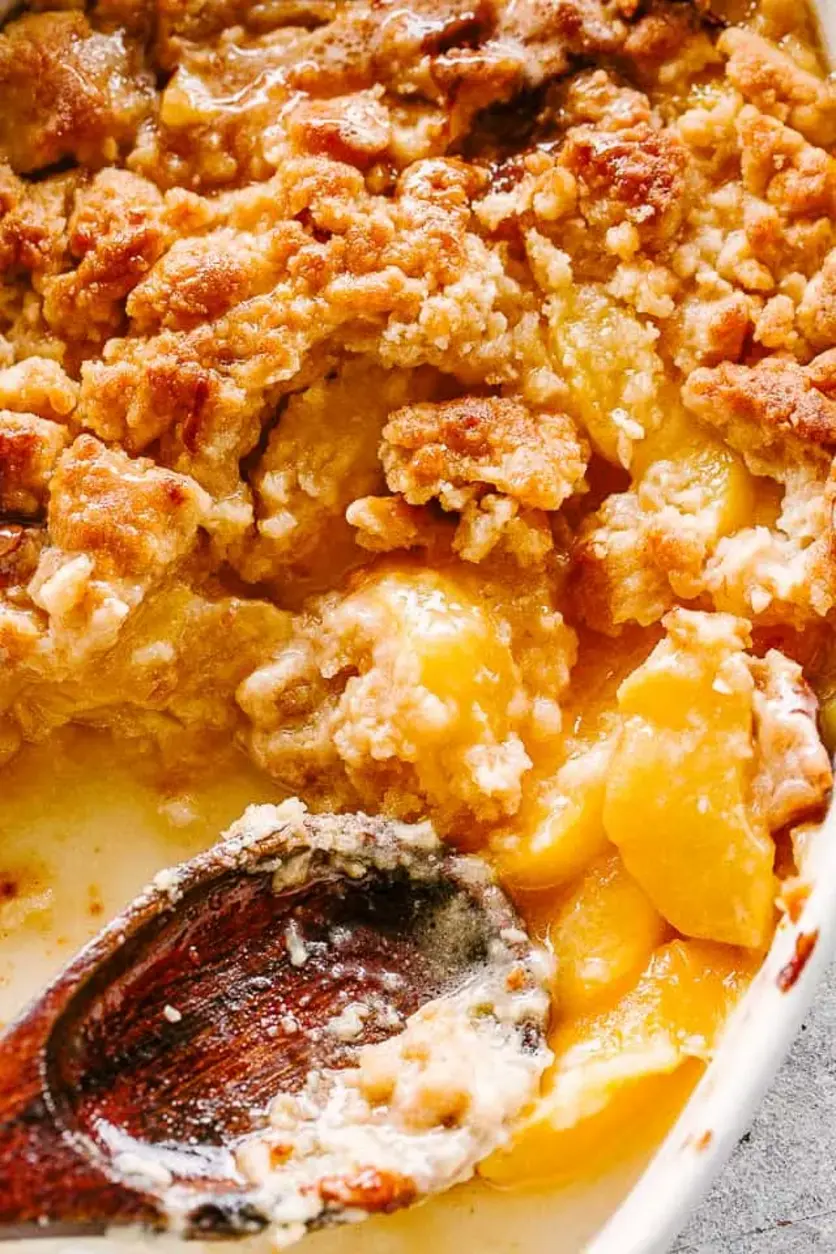
This recipe for Peach Cobbler is absolutely delicious, and it’s prepared with fresh ingredients. Juicy peaches and a wonderfully sweet and crumbly topping truly makes this a perfect summer dessert.
Ingredients
- 8 (about 2 pounds) fresh peaches, peeled, cored, and sliced
- 2 tablespoons granulated sugar
- 1 cup all-purpose flour
- ¾ cup granulated sugar
- 1 teaspoon baking powder
- 1 teaspoon ground cinnamon
- teaspoon ground nutmeg
- pinch of salt
- ½ cup butter, melted
- 1 teaspoon pure vanilla extract
Instructions
- Preheat the oven to 350F. Lightly grease a 2-quart baking dish with butter and set aside.
- Arrange the peach slices on the bottom of the baking dish. Sprinkle with 2 tablespoons of sugar and set aside. Tip: If the peaches are very soft and juicy, toss them with a tablespoon of cornstarch to help thicken the filling.
- In a mixing bowl, whisk together the flour, 3/4 cup sugar, baking powder, cinnamon, nutmeg, and salt.
- Melt the butter, then whisk in the vanilla. Pour the butter mixture over the flour mixture and stir until everything is incorporated and the batter is moist. It will resemble a cookie batter.
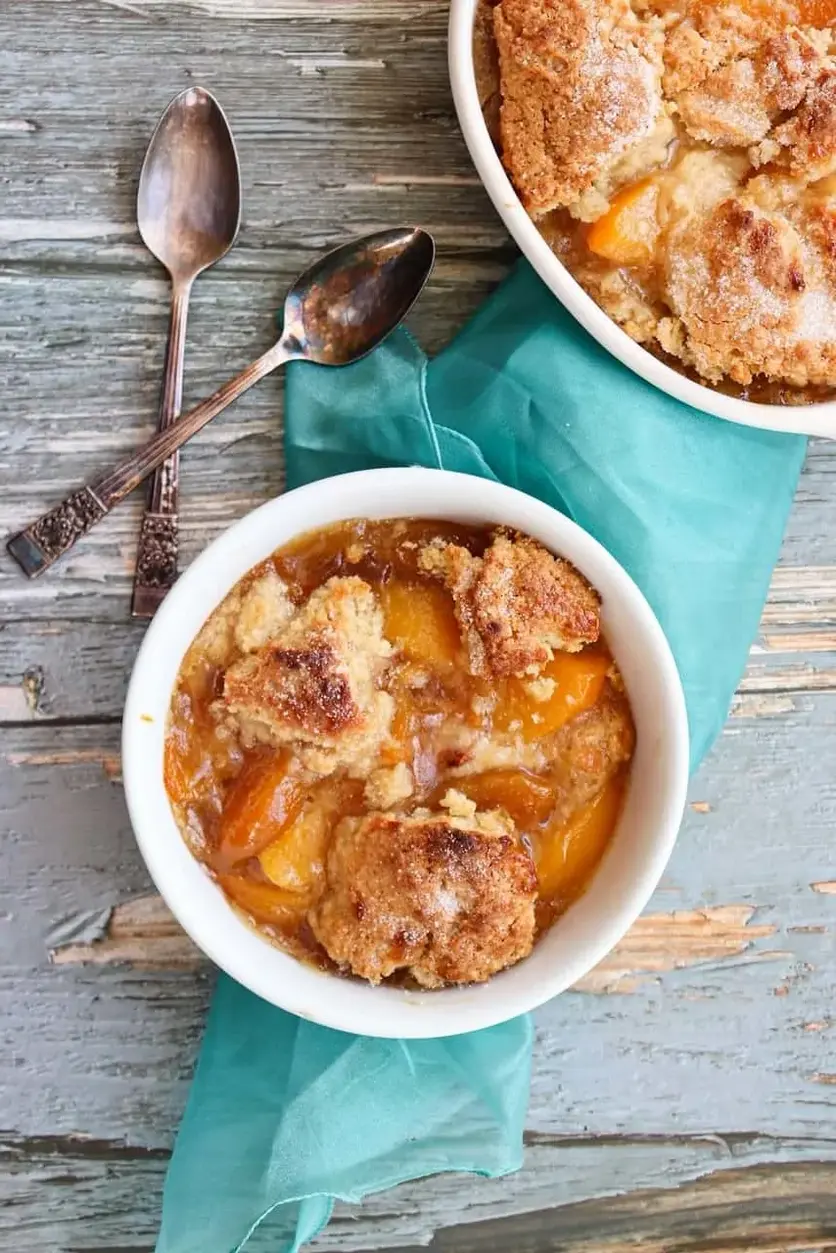
- Using your hands, sprinkle the batter over the peaches.
- Bake for 25 to 30 minutes, or until browned on top and bubbly.
- Remove from oven and let it rest at room temperature for 15 minutes.
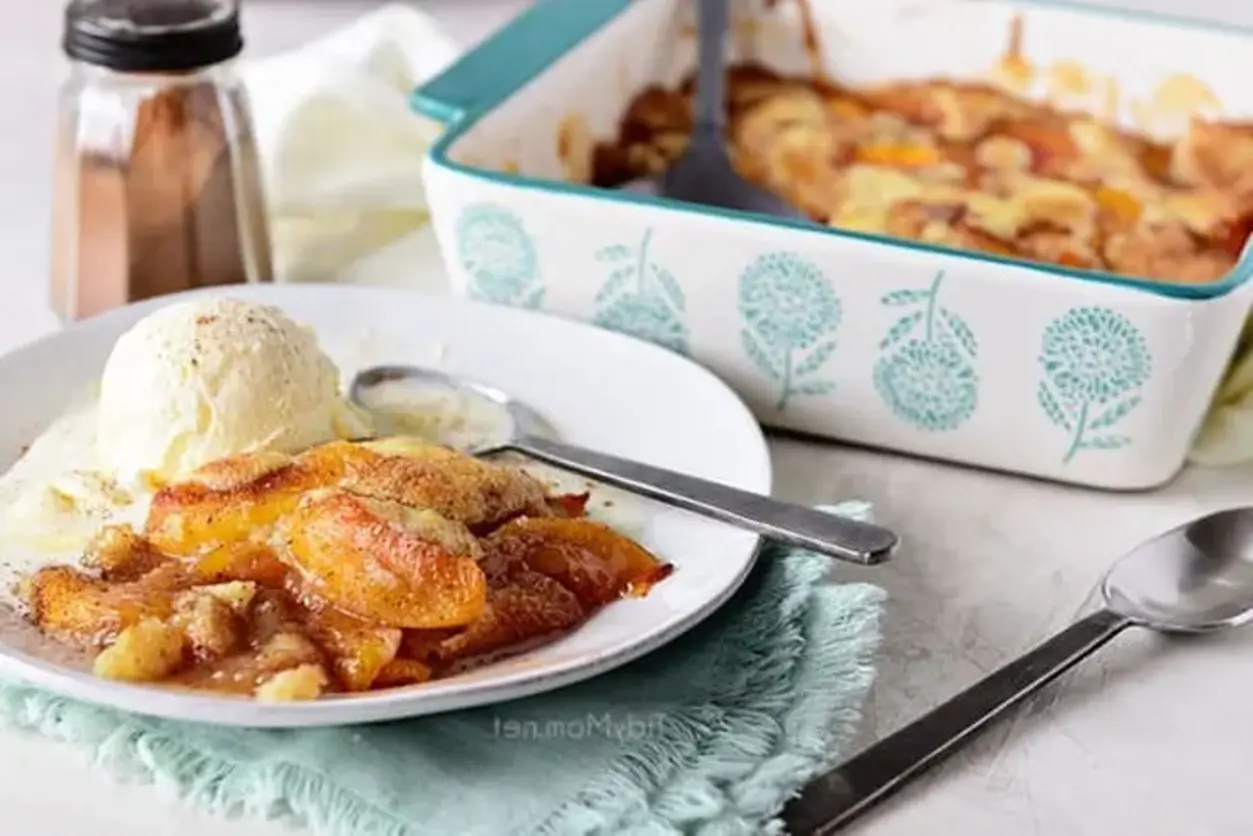
- Serve warm with ice cream.
Notes
Notes Peeling the peaches: Use ripe peaches for your cobbler, and peel them using the blanching method. Blanching the peaches: In a large pot, boil water. Meanwhile, prepare a bowl of ice water. Mark a small X on the bottom of each peach. Dip the peaches in the boiling water using a slotted spoon for 30-60 seconds, then transfer to the ice water. Once cooled, peel the peaches starting at the X. Using canned peaches: If you’re out of fresh peaches, swap in a 29-ounce can of sliced peaches in heavy syrup. Keep the syrup for extra sweetness and moisture. But, for less sweetness, use less syrup. Measuring butter: 1/2 cup butter is the same as 8 tablespoons butter or one full stick or 113 grams or 4 ounces. Some readers have made the mistake of using 1/2-cup melted butter instead of using solid 1/2 cup (8 tablespoons) butter and then melting it. The measurement for solid butter is based on its volume, while the measurement for melted butter is based on its weight. The conversion rate is not 1:1, so it’s important to use the correct measurement when following a recipe. Sweetness: Adjust the recipe’s sugar according to the sweetness of the peaches. Juicy, not soggy cobbler: Prevent a soggy cobbler by coating the fresh peach slices in flour or cornstarch to thicken the juice. Baking dish: Use a wider, shallow baking dish, about 2 to 2.5 quarts, for even cooking and a balanced peach-to-topping ratio. A 9×9 square pan works great. Double the recipe and bake it in a 9×13 baking dish. How to serve: For a perfect contrast, serve the cobbler warm from the oven, topped with vanilla ice cream.
Nutrition
- Calories: 317kcal
- Sugar: 38g
- Protein: 3g