
Easy Chicken Pot Pie Recipe
Description
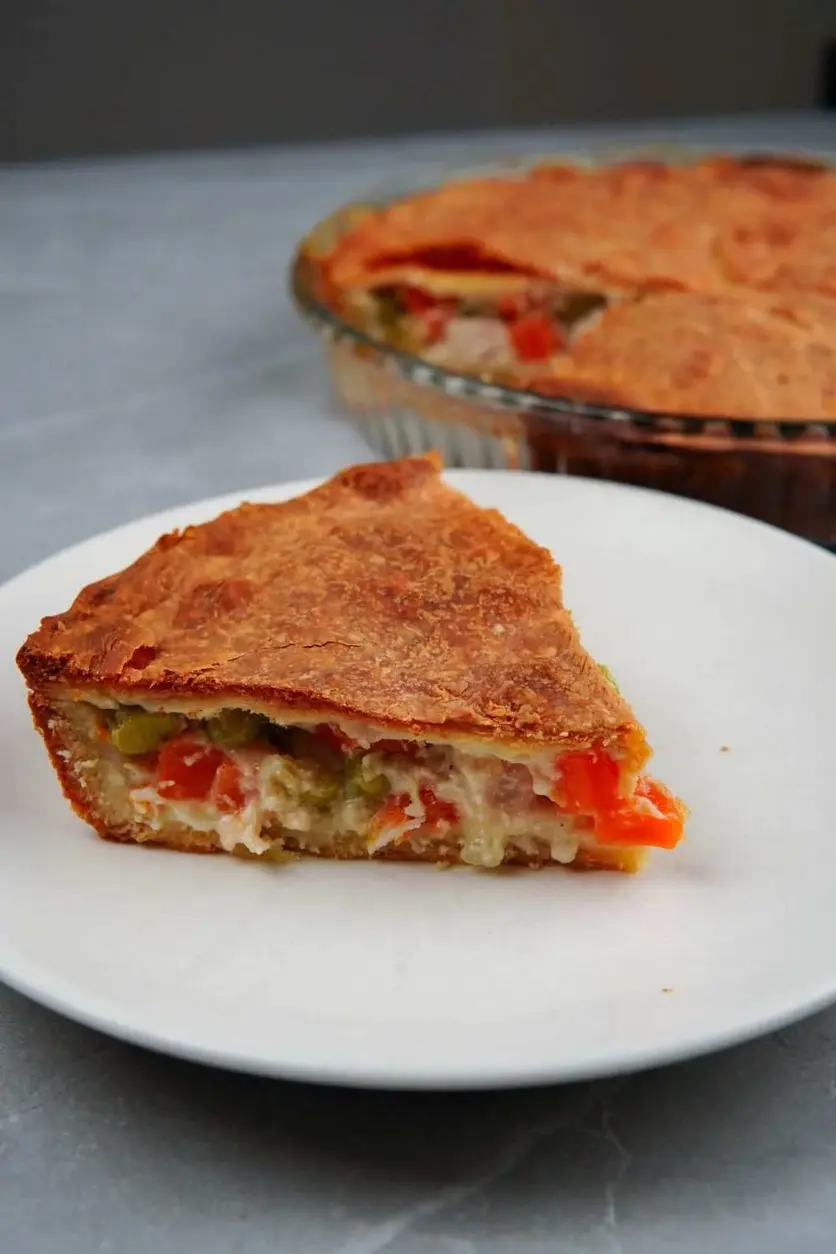
Using store-bought pie crust makes this recipe really as easy as pie!
Ingredients
Scale
- 3 cups chicken breast cooked and shredded
- 1– 10.5 oz can cream of chicken and herbs soup
- 1– 14.5 oz can chicken broth
- 1– 16 oz bag frozen mixed veggies
- 1 tablespoon dried parsley
- Salt and pepper to taste
- 2 refrigerated 9” pie crusts
- 1 egg beaten
Instructions
- Preheat the oven to 350 F. In a large bowl, mix the cooked chicken, cream of chicken and herb soup, chicken broth, frozen veggies, dried parsley, salt, and pepper to taste
- If using a 9 x 13-inch casserole dish, stretch the round pie crust with your rolling pin to fit the bottom of the casserole dish. You can also use a round pie dish. Poke holes in the crust with a fork and add the chicken/veggie mix on top
- Stretch the other crust and place it on top of the chicken/veggie mix. Try to seal the edges that match and brush with the beaten egg. Bake for 30 minutes or until the crust is brown.
Nutrition
- Calories: 523kcal
- Protein: 22.5g