One of the countless joys of being a home cook is discovering dishes that are both healthy and simple. The Turkey Zucchini Skillet is one of those gems that turns a busy weeknight dinner into a delightful gathering.
With just a handful of fresh ingredients, this skillet dish bursts with flavor while offering vital nutrients. I love how it feels like a nutritious hug on a plate, perfect for families seeking quick, wholesome meals. Plus, it’s adaptable—everyone can customize it to suit their tastes!
Print

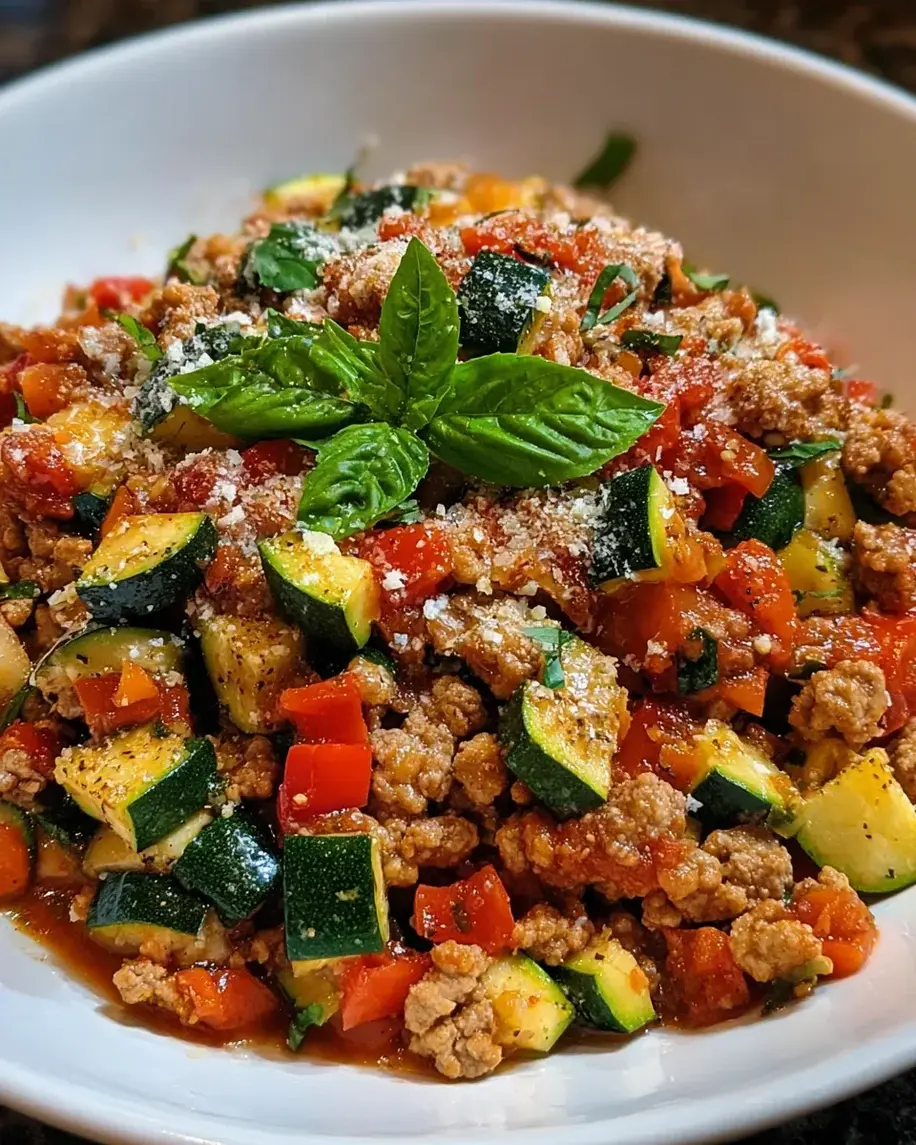
Turkey Zucchini Skillet
Description
A healthy and flavorful skillet dish made with ground turkey, fresh zucchini, and tomatoes for a nutritious dinner option.
Ingredients
- 1 pound ground turkey
- 2 medium zucchinis, diced
- 1 bell pepper, chopped
- 1 onion, chopped
- 3 cloves garlic, minced
- 1 can (14.5 oz) diced tomatoes, undrained
- 1 tablespoon olive oil
- 1 teaspoon Italian seasoning
- Salt and pepper to taste
- 1/4 cup grated Parmesan cheese
- Fresh basil for garnish
Instructions
- Heat olive oil in a large skillet over medium heat. Add the chopped onion and garlic, sautéing for 2-3 minutes until the onion is translucent.
- Add the ground turkey to the skillet, breaking it apart with a spatula. Cook for about 5-7 minutes, or until the turkey is browned and cooked through.
- Stir in the diced zucchini and bell pepper, cooking for an additional 5 minutes until the vegetables are tender.
- Pour in the diced tomatoes along with their juices, and sprinkle in the Italian seasoning, salt, and pepper. Stir well to combine and let simmer for 10 minutes, allowing the flavors to meld.
- Once cooked, remove from heat and sprinkle with grated Parmesan cheese. Garnish with fresh basil before serving.
Notes
Feel free to add other vegetables like spinach or mushrooms for extra nutrition.
This dish can be served over rice or pasta for a heartier meal.
Store leftovers in an airtight container in the fridge for up to 3 days.
Nutrition
- Calories: 290
- Sugar: 4g
- Protein: 30g