Table of Contents
- White Chocolate Cranberry Pecan Clusters Festive Treats: The Only Recipe You’ll Ever Need
White Chocolate Cranberry Pecan Clusters Festive Treats: The Only Recipe You’ll Ever Need
Imagine the holiday hustle where time is precious, but you still want to delight your family with homemade treats that scream festivity without the fuss. Enter the White Chocolate Cranberry Pecan Clusters Festive Treats, a no-bake wonder that’s perfect for busy bakers. This easy holiday candy recipe combines creamy white chocolate with tart dried cranberries and crunchy pecans for an unbeatable bite. As a staple on exorecipes.com, this recipe’s effortless no-bake technique makes it accessible for beginners and pros alike, ensuring you create professional-quality clusters in just 15 minutes. Say goodbye to holiday baking stress and hello to these irresistible no-bake festive treats that will be the star of your dessert table.
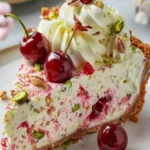
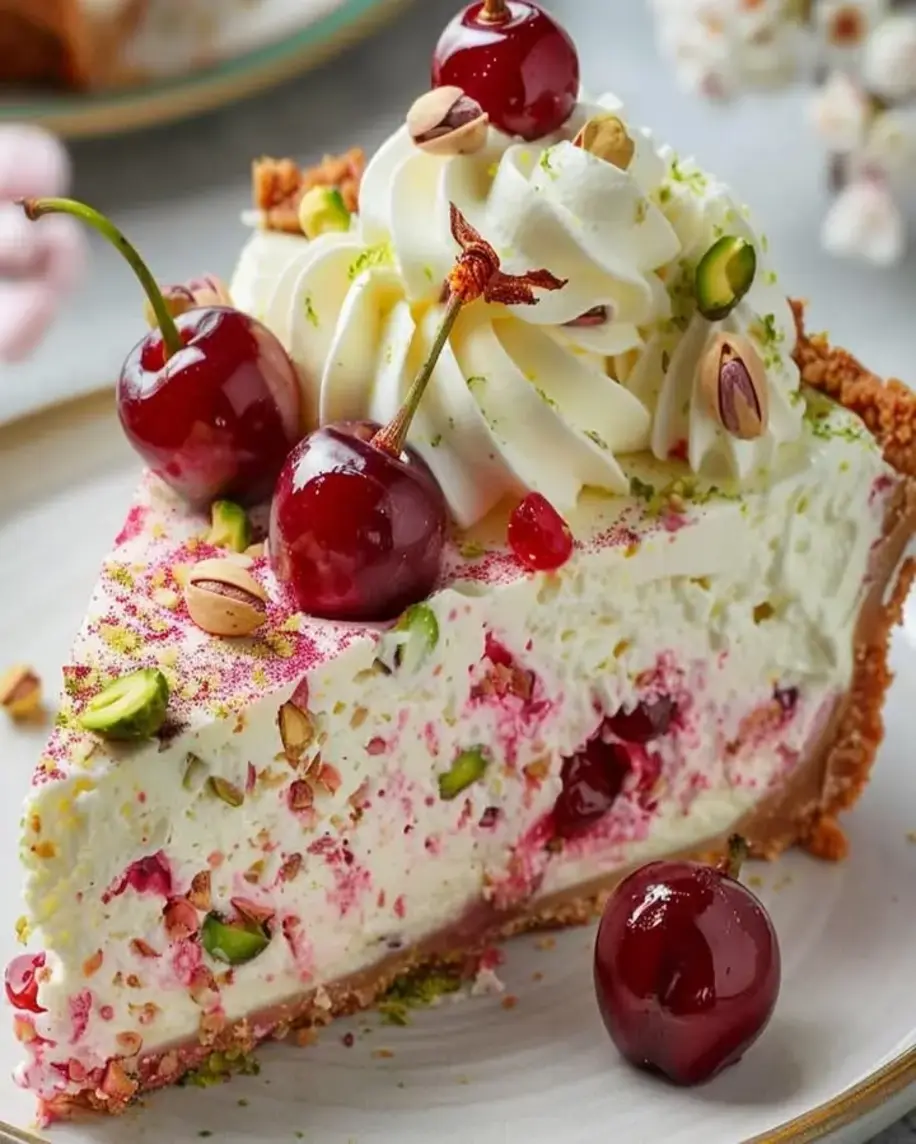
The moment you bite into these White Chocolate Cranberry Pecan Clusters, you’ll be greeted by a symphony of textures and flavors that dance on your palate. The smooth, velvety white chocolate envelops juicy bursts of dried cranberries, offering a tangy contrast that cuts through the sweetness. Meanwhile, the toasted pecans add a satisfying crunch, with their nutty aroma filling your kitchen like a warm holiday hug. This white chocolate bark recipe isn’t just about taste—it’s about the joy of creating something festive with minimal effort, leaving you with clusters that are visually stunning and utterly addictive.
What sets this White Chocolate Cranberry Pecan Clusters recipe apart on exorecipes.com is our commitment to making it the most reliable and comprehensive guide available. Crafted by Chef Sally and perfected through rigorous testing, it includes chef’s secrets, pro tips, and answers to common questions to ensure your success every time. You’ll learn how to achieve that perfect balance of creamy and crunchy, plus easy variations for dietary needs. Dive in for foolproof instructions that turn you into a holiday treat expert, making this cranberry pecan clusters recipe your go-to for effortless entertaining.
Why This White Chocolate Cranberry Pecan Clusters Festive Treats Recipe is a Game-Changer
The effortless no-bake technique is the unique selling proposition of this White Chocolate Cranberry Pecan Clusters recipe, transforming simple ingredients into festive delights without ever turning on the oven. This method not only saves time but also preserves the fresh, vibrant flavors of the cranberries and pecans, making it ideal for hot kitchens or last-minute holiday gatherings. By simply melting the white chocolate and mixing in the add-ins, you’ll achieve clusters that set perfectly every time, elevating your easy holiday candy game.
As for the unbeatable texture, the science lies in the contrast between the creamy white chocolate and the added crunch from toasted pecans. The fat content in high-quality white chocolate chips creates a smooth base that coats the ingredients evenly, while the pecans provide a satisfying bite that doesn’t go soggy. This combination ensures your White Chocolate Cranberry Pecan Clusters have that ideal snap and chew, making them far superior to traditional baked goods.
This recipe is foolproof for a reason—it’s been tested multiple times in our exorecipes.com kitchen to guarantee consistent results. Whether you’re a novice or a seasoned cook, the clear steps and tips minimize errors, ensuring your no-bake festive treats turn out picture-perfect and delicious. Trust us; this is the only white chocolate bark recipe you’ll need for hassle-free holiday success.
Ingredient Spotlight: Quality Makes the Difference
Starting with white chocolate chips, these are the heart of your White Chocolate Cranberry Pecan Clusters, providing a creamy, sweet base that melts smoothly for easy holiday candy. High-quality chips, like those from reputable brands, ensure a richer flavor without additives, resulting in a velvety texture that coats the other ingredients perfectly. If you’re looking for a substitution, try white chocolate bars chopped into pieces, but avoid low-fat versions as they can seize and ruin the consistency.
Dried cranberries add a tart, chewy element that balances the sweetness in these cranberry pecan clusters, making them a festive highlight. Opt for unsweetened or low-sugar varieties to control the overall sweetness and enhance the natural fruitiness. Their role is to provide moisture and flavor contrast, and if you need a substitute, dried cherries work well for a similar tang, though they might alter the color slightly.
Chopped pecans bring a nutty crunch and depth to your no-bake festive treats, elevating them from ordinary to extraordinary. Fresh, high-quality pecans ensure maximum flavor and texture, so always choose ones that are not stale. They add healthy fats and a toasty note; if substituting, walnuts can mimic the crunch, but pecans’ unique buttery taste is hard to beat, so stick with them for authenticity.
Optional vanilla extract, though not always necessary, enhances the overall aroma and ties the flavors together in this white chocolate bark recipe. Use pure extract for its authentic, warm essence rather than imitation for better taste. If omitting, a dash of almond extract can provide a subtle twist, but it’s truly optional for keeping things simple.
Step-by-Step Instructions
Step 1: Melting the White Chocolate
Begin by placing 2 cups of white chocolate chips in a microwave-safe bowl. Heat in 30-second intervals, stirring in between, until fully melted and smooth. This easy holiday candy step ensures a glossy base for your White Chocolate Cranberry Pecan Clusters.
Pro Tip: To avoid overheating, stir frequently and use a low power setting on your microwave for even melting.
Step 2: Mixing in the Cranberries and Pecans
Once melted, stir in 1 cup of dried cranberries and 1 cup of chopped pecans until evenly distributed. This step creates the signature clusters, blending the tartness and crunch into the creamy white chocolate for your no-bake festive treats.
Common Mistake to Avoid: Don’t overmix, as this can break down the pecans; stir gently to maintain texture.
Step 3: Dropping the Clusters
Using a spoon, drop tablespoon-sized portions of the mixture onto a lined baking sheet, spacing them about an inch apart. This forms the individual White Chocolate Cranberry Pecan Clusters, allowing them to set properly.
Pro Tip: For uniform sizes, use a cookie scoop to ensure each cluster is consistent and visually appealing.
Step 4: Refrigerating Until Set
Place the baking sheet in the refrigerator and chill for about 30 minutes, or until the clusters are firm and easy to handle. This final step locks in the flavors and textures of your cranberry pecan clusters.
Common Mistake to Avoid: Refrigerating for too long can make them overly hard; check after 20 minutes for the perfect snap.
Serving & Presentation
Elevate your White Chocolate Cranberry Pecan Clusters with creative plating for a show-stopping holiday display. Arrange them on a festive platter with fresh mint leaves or edible flowers for a pop of color, enhancing their visual appeal as easy holiday candy. The tart cranberries and crunchy pecans pair beautifully with creamy desserts like vanilla ice cream or as a topping for yogurt, making them versatile for both solo snacking and dessert boards.
For the best presentation, drizzle a bit of melted dark chocolate over the clusters for contrast, or package them in clear bags with ribbons for holiday gifts. These no-bake festive treats complement main courses like roasted turkey or spiced ham, providing a sweet finish that ties the meal together.
Make-Ahead & Storage Solutions
Make-Ahead Strategy: Prepare the White Chocolate Cranberry Pecan Clusters up to 3 days in advance by following the steps through mixing, then store the dropped clusters in the refrigerator uncovered until set. This allows you to focus on other holiday tasks while ensuring fresh, ready-to-serve treats.
Storing Leftovers: Keep your cranberry pecan clusters in an airtight container at room temperature for up to 1 week, or refrigerate for up to 2 weeks to maintain their crunch. For longer storage, freeze in a single layer and transfer to a freezer-safe bag for up to 3 months; thaw at room temperature to preserve texture.
The Best Way to Reheat: These clusters don’t need reheating, but if they’ve been refrigerated, let them sit at room temperature for 10-15 minutes to restore their original creamy and crunchy texture without melting the white chocolate.
Frequently Asked Questions (FAQ)
How do I prevent the white chocolate from seizing when making these clusters?
To prevent seizing in your White Chocolate Cranberry Pecan Clusters, ensure all tools and ingredients are dry, as any moisture can cause the chocolate to clump. Melt slowly in the microwave or over a double boiler, stirring frequently. If it starts to seize, add a teaspoon of vegetable oil and stir vigorously to smooth it out. This tip is crucial for achieving silky, professional results in this easy holiday candy recipe.
What’s the best way to toast the pecans for maximum flavor?
For maximum flavor in your no-bake festive treats, toast pecans in a dry skillet over medium heat for 3-5 minutes, stirring constantly until fragrant and lightly browned. Alternatively, bake at 350°F for 8-10 minutes. Let them cool before adding to the mixture; this enhances their nutty taste and adds extra crunch to your White Chocolate Cranberry Pecan Clusters without overpowering the other flavors.
Can I substitute dried cranberries for fresh ones in this recipe?
Yes, you can substitute dried cranberries for fresh in White Chocolate Cranberry Pecan Clusters, but fresh ones will add more moisture and might make the clusters softer. Dried cranberries are recommended for their chewy texture and ability to hold up during storage. If using fresh, pat them dry and reduce the quantity slightly to avoid excess liquid, ensuring your white chocolate bark recipe sets properly.
How long do white chocolate cranberry pecan clusters typically take to set?
These cranberry pecan clusters typically take about 30 minutes to set in the refrigerator, though this can vary based on thickness and fridge temperature. For faster setting, place them in the freezer for 10-15 minutes. Once firm, they’re ready to enjoy, making this a quick no-bake festive treats option for holiday parties.
What are some variations to make this recipe more festive?
To make your White Chocolate Cranberry Pecan Clusters even more festive, add holiday spices like cinnamon or nutmeg to the melted chocolate for a warm twist. You could also incorporate mini chocolate chips or sprinkles for color and extra flavor, turning this easy holiday candy into a customizable favorite.
Is this recipe suitable for gifting during the holidays?
Absolutely, these White Chocolate Cranberry Pecan Clusters are perfect for gifting! Their beautiful appearance and long shelf life make them ideal; just package in decorative tins or bags. Ensure they’re stored properly to maintain freshness, and they’ll be a hit at any holiday gathering.
Can I make this recipe vegan or gluten-free?
Yes, you can easily adapt this recipe to be vegan or gluten-free. For a vegan version, swap the white chocolate chips for a plant-based alternative, like those made from cocoa butter, and ensure your pecans and cranberries are from vegan sources. The recipe is naturally gluten-free as long as you verify that the white chocolate doesn’t contain hidden gluten; no other changes are needed for a delicious, inclusive treat.
Tried This Recipe? Leave a Comment!
Did you make this recipe? I’d love to hear how it turned out! Please leave a comment and a rating below. Your feedback helps other home cooks and supports exorecipes!
For more delicious inspiration, follow me on Pinterest!
.
Print
White Chocolate Cranberry Pecan Clusters Festive Treats
- Prep Time: 10 minutes
- Cook Time: 5 minutes
- Total Time: 15 minutes
- Yield: 12 1x
- Method: Dessert
- Cuisine: American
Description
A festive holiday treat made with white chocolate, dried cranberries, and pecans.
Ingredients
- 2 cups white chocolate chips
- 1 cup dried cranberries
- 1 cup chopped pecans
- Optional: 1 tsp vanilla extract
Instructions
- Melt white chocolate in a microwave-safe bowl.
- Stir in cranberries and pecans.
- Drop spoonfuls onto a baking sheet.
- Refrigerate until set.
Notes
Store in an airtight container.
Nutrition
- Calories: 150
- Sugar: 12g
- Fat: 10g
- Carbohydrates: 15g
- Protein: 2g