There’s something heartwarming about the aroma of fresh baked goods wafting through the house. These Cinnamon Sugar Soft Pretzels are just that—a sweet hug for your taste buds! Perfect for busy moms or professionals, this recipe simplifies your day with a delectable treat that can be whipped up in no time. Whether you’re treating your family or impressing friends, these pretzels are sure to bring smiles and joy to everyone around. So, let’s dive into this delightful culinary adventure together and create something truly special!
Print

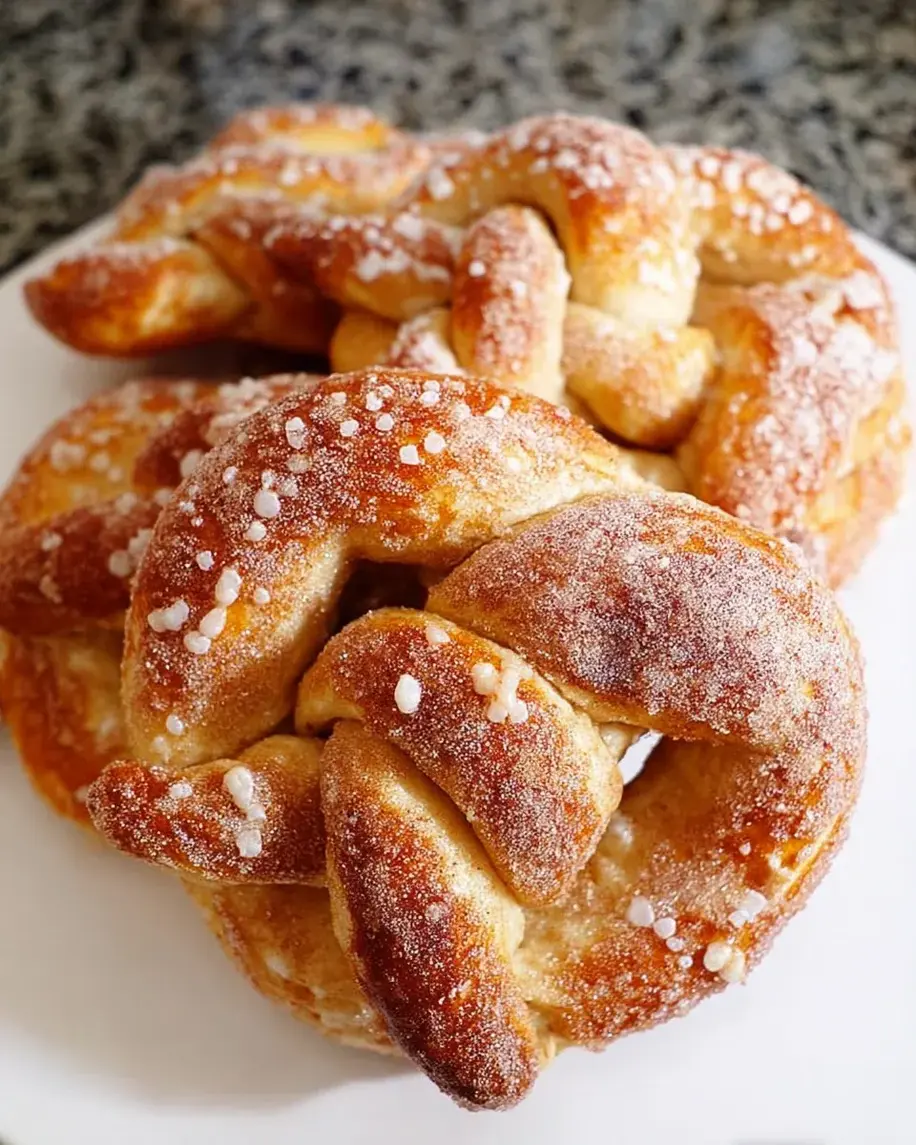
Cinnamon Sugar Soft Pretzels
Description
Delicious and soft pretzels coated with a sweet cinnamon sugar topping, perfect for a snack or dessert.
Ingredients
- 2 cups warm milk
- 1 1/2 tablespoons active dry yeast (or instant)
- 1/4 cup Brown sugar
- 4 tablespoons Butter (melted)
- 2 teaspoons Salt
- 4 1/2 cups Flour (more or less as needed)
- 1/3 cup Baking soda
- 3 cups Warm water
- 4 tablespoons Butter (melted)
- 1/2 cup Sugar
- 2 teaspoons Cinnamon
Instructions
- In a large bowl or the bowl of a stand mixer, dissolve the yeast in the warm milk. When the mixture is bubbly, mix in the brown sugar, butter, one cup flour, and salt, and mix until combined.
- Add the remaining flour, one cup at a time, and mix until a smooth and slightly sticky dough forms. Cover the bowl with plastic wrap and let rise about one hour, until doubled in size.
- After the dough has risen, preheat the oven to 450°F. Line two baking sheets with parchment paper and set aside.
- Divide the dough into twelve equal sized pieces, and roll each piece into a long skinny rope. Twist into a pretzel shape.
- In a medium bowl, mix together the warm water and baking soda until dissolved. Dip each pretzel into the baking soda mixture and place on the prepared baking sheets.
- Bake 7 to 11 minutes, or until golden brown.
- In a shallow dish, whisk together the sugar and cinnamon. Brush the pretzels with melted butter, then dip them in the cinnamon sugar mixture.
Notes
Ensure the yeast is fresh for best results.
The dough can be refrigerated overnight for convenience.
For extra flavor, consider adding nutmeg to the cinnamon sugar mixture.
Nutrition
- Calories: 220
- Sugar: 8g
- Protein: 4g