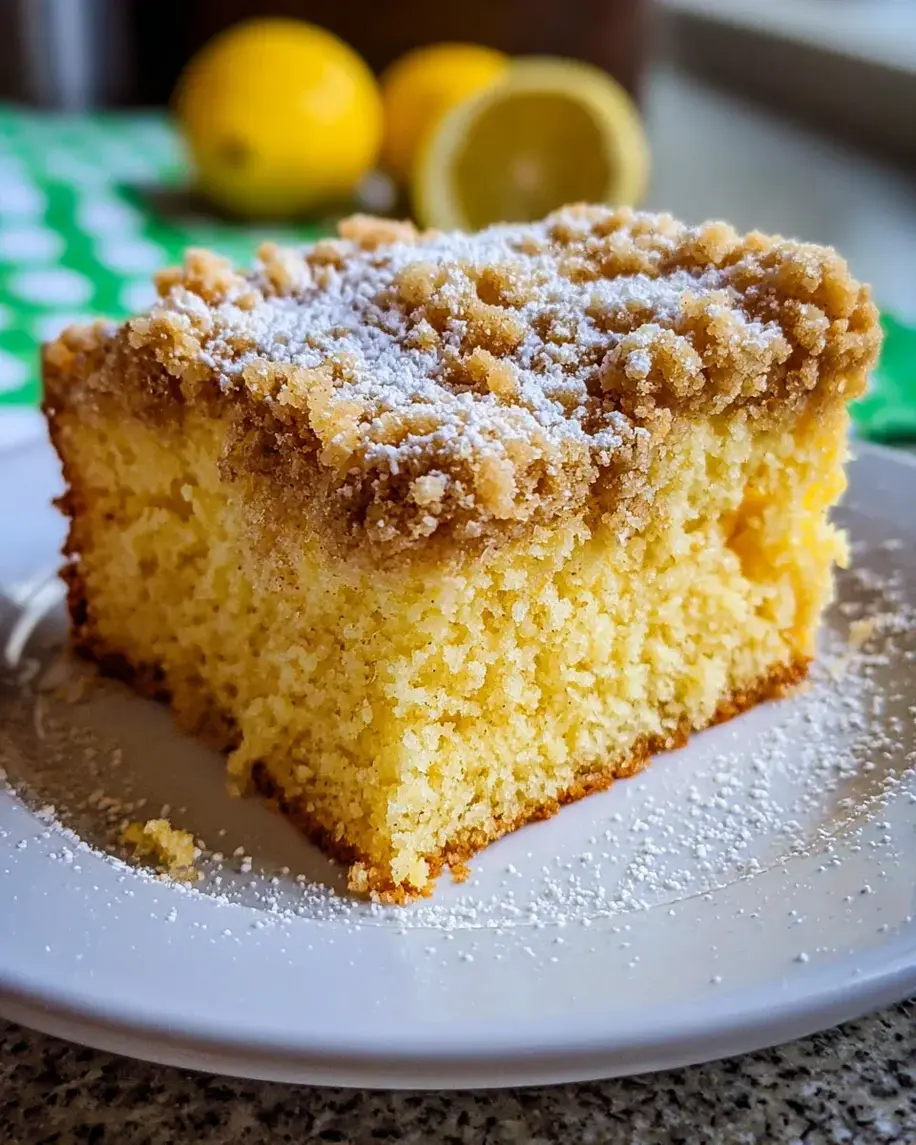
There’s something magical about the aroma of a freshly baked Lemon Crumb Coffee Cake wafting through the house. It feels like a warm embrace from a beloved friend. I know how busy life can get, whether you’re juggling work, kids, or both. That’s why this Lemon Crumb Coffee Cake is my go-to recipe for those moments when I want to impress my loved ones without spending all day in the kitchen. It’s delightful, moist, and topped with a crunchy lemon crumb that sings of sunshine. Trust me, this cake makes every occasion feel special!
Print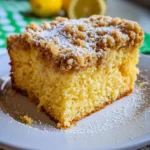
Lemon Crumb Coffee Cake
Description
A deliciously moist Lemon Crumb Coffee Cake topped with a crunchy lemon crumb topping, perfect for any occasion.
Ingredients
- ¾ cup all-purpose flour
- 6 tablespoons brown sugar, packed
- 1 tablespoon lemon zest (about 1 lemon)
- ¼ teaspoon kosher salt (use ½ teaspoon if using unsalted butter)
- 6 tablespoons butter, room temperature, cut into small pieces
- ½ cup butter, room temperature (1 stick, add ¼ teaspoon salt if using unsalted butter)
- ¾1 cup granulated sugar (reduce to ¾ cup for high altitude)
- 3 large eggs, room temperature
- 1 teaspoon vanilla extract
- 4 tablespoons lemon zest (plan for one lemon per tablespoon)
- 4 tablespoons fresh lemon juice
- 1 ½ cups all-purpose flour (plus 2 tablespoons for high-altitude)
- ¼ teaspoon kosher salt (increase to ½ teaspoon if using unsalted butter)
- ½ teaspoon baking soda
- ¼ teaspoon baking powder
- cup Greek yogurt (or use sour cream)
Instructions
- Remove eggs, Greek yogurt, and butter from the fridge before you start preparations for the recipe.
- Start by making your crumb topping; in a medium bowl, mix together the flour, brown sugar, and lemon zest. Add cubes of butter, using a fork, blend until combined, then place in the fridge or freezer until ready to top the lemon coffee cake.
- Preheat the oven to 350° F (175° C) and butter or spray with baking spray an 8×8 square baking pan.
- In a medium bowl, whisk together flour, baking soda, salt, and baking powder; set aside.
- In a large mixing bowl or bowl of a stand mixer fitted with the paddle attachment, beat butter and sugar together for 2-3 minutes.
- Add in eggs, one at a time, beating for 30 seconds after each addition.
- Next, add the vanilla extract, Greek yogurt, lemon zest, and lemon juice; mix until combined, scraping down the sides if needed. Dont worry if it looks a little curdled; it will come together once you add the flour mixture.
- With the mixer on low, add cup of the flour mixture at a time until just combined.
- Spread lemon cake batter into the prepared baking dish.
- Remove the lemon crumb topping from the freezer and, breaking apart the larger lumps, sprinkle evenly over the top of the cake batter.
- Bake for 35-45 minutes until a toothpick or skewer comes out clean or just a few moist crumbs.
- If desired, after cooling, sprinkle the top of the cake with a bit of powdered sugar or make a quick vanilla glaze.
Notes
For gluten-free, Keto and sugar-free options, refer to specific notes provided in the recipe.
If using unsalted butter, adjust the salt quantities accordingly.
Reduce sugar for high altitude baking as noted.
Nutrition
- Calories: 220
- Sugar: 12g
- Protein: 3g