I’ll generate a complete Gutenberg-ready HTML recipe post for Cheesy Mashed Potato Puffs, written in mia’s warm chef-meets-blogger voice with all required sections included.
“`html
Table of Contents
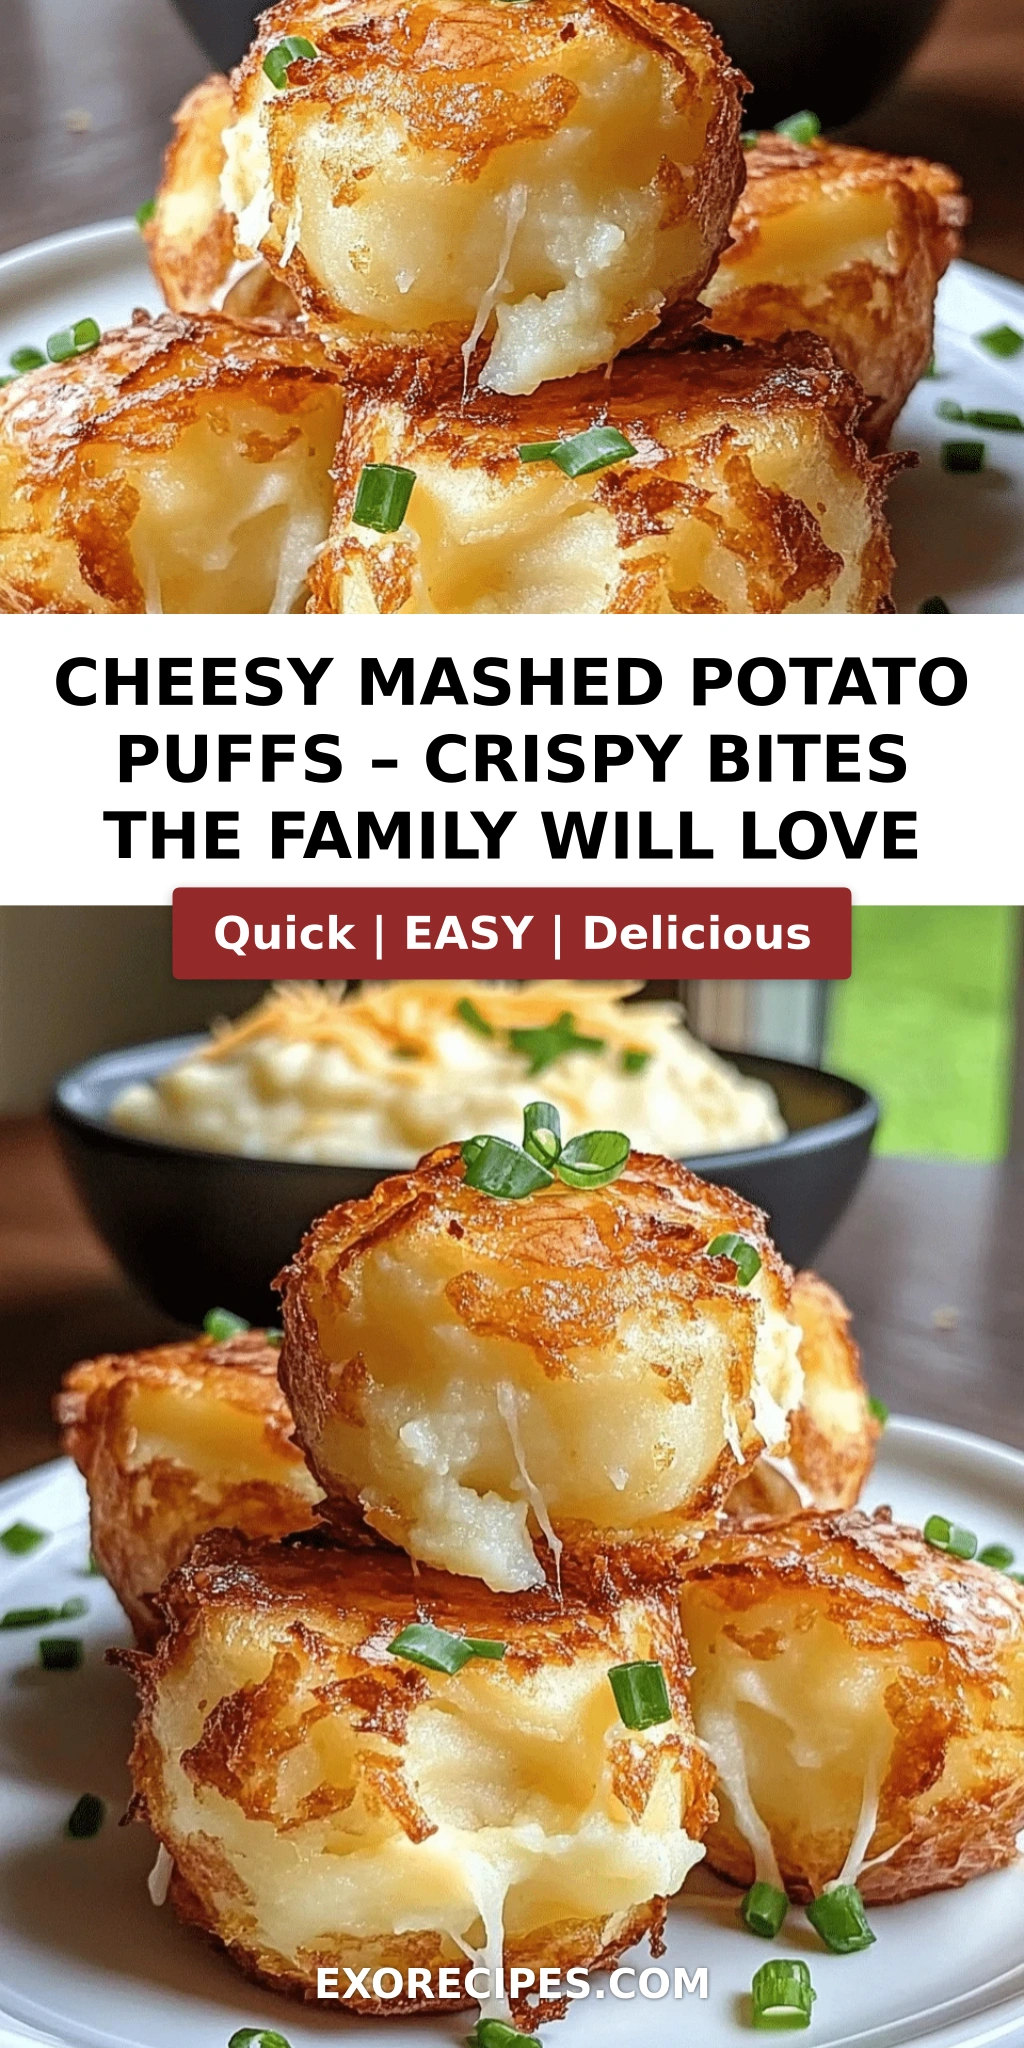
Cheesy Mashed Potato Puffs – Crispy, Fluffy, and the Best Leftover Makeover
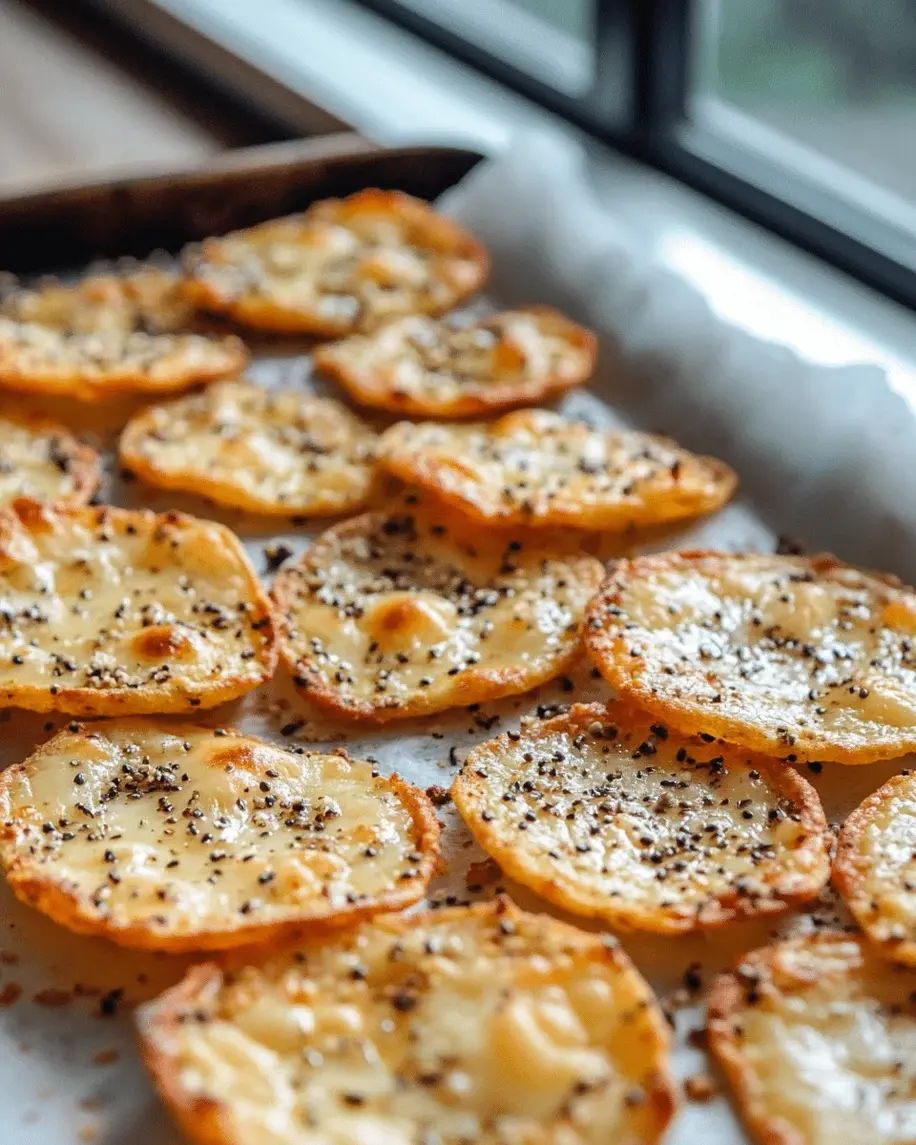
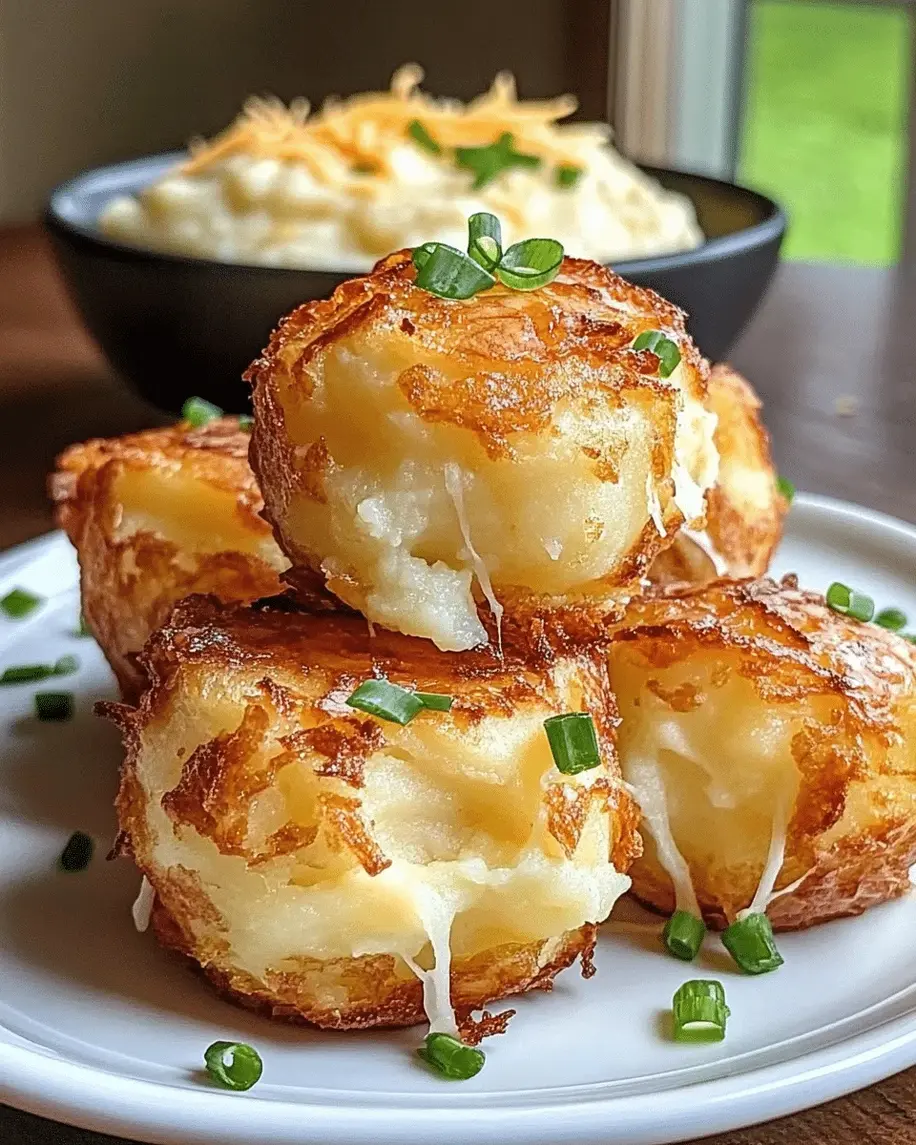
Walking through the bustling souks of Marrakech as a child, the scent of sizzling street food was pure magic. Now, in my New York City kitchen, I chase that same feeling of warmth and comfort with every dish I make. These Cheesy Mashed Potato Puffs are a perfect example—they transform humble leftover mashed potatoes into golden, crispy nuggets of pure joy. They are my go-to easy potato appetizer, and they never fail to disappear within minutes at gatherings.
The beauty of this mashed potato puffs recipe is its incredible simplicity and the symphony of textures it delivers. The first bite offers a satisfying, shatteringly crisp exterior that gives way to a light, fluffy, and intensely cheesy center. The combination of sharp cheddar and nutty Parmesan, with just a whisper of garlic and fresh chives, creates an irresistible flavor profile that feels both nostalgic and elevated. It’s comfort food at its finest, with a touch of culinary finesse from my Parisian training.
So, what makes mia’s version the one you need to try? It’s all about the texture. I’ve spent years perfecting techniques in Michelin-starred kitchens in Paris and testing recipes in my tiny NYC apartment. The secret to these cheesy potato bites is using cold mashed potatoes and maintaining the perfect oil temperature. This ensures a crispy, non-greasy exterior every time. I’m going to walk you through every step, share my best leftover mashed potato recipe tips, and help you avoid the common pitfalls so you can nail this dish on your first try. From my kitchen to yours, let’s make something amazing!
Why This Cheesy Mashed Potato Puffs Recipe Is the Best
The Flavor Secret: Growing up, my mother taught me that the simplest ingredients, when combined with intention, create the most memorable flavors. I use a sharp cheddar for its meltability and a hint of Parmesan for its salty, umami depth. A touch of garlic powder and fresh chives brightens the rich potato base. This isn’t just a fritter; it’s a carefully balanced cheesy potato bites experience that pays homage to both my Moroccan roots and classic American comfort food.
Perfected Texture: My formal training at Le Cordon Bleu in Paris drilled into me the importance of temperature and technique. The magic behind these puffs lies in starting with a cold potato base. Cold mashed potatoes have a firmer structure, which means they bind better with the other ingredients and create a sturdier matrix. When they hit the hot oil, the outside sets instantly, locking in moisture and creating a fluffy interior while building a beautifully crispy crust. No soggy bottoms here!
Foolproof & Fast for Any Cook: Whether you’re a seasoned home cook or a complete beginner, this easy potato appetizer is incredibly forgiving. The ingredients are pantry staples, the active prep time is minimal, and the instructions are straightforward. Plus, it’s the perfect way to repurpose that container of leftover mashed potatoes sitting in your fridge. It’s a win-win: you reduce food waste and get an incredible, crowd-pleasing snack in under 35 minutes.
Cheesy Mashed Potato Puffs Ingredients
When I’m shopping for my ingredients at the Union Square Greenmarket or my local bodega, I always look for freshness and quality. This leftover mashed potato recipe relies on a few key players that work together to create the perfect bite. Here is what you’ll need.
Ingredients List
- 2 cups cold mashed potatoes
- 1 cup shredded cheddar cheese
- 1/4 cup grated Parmesan cheese
- 1 large egg, lightly beaten
- 2 tablespoons chopped fresh chives (or green onions)
- 1/4 teaspoon garlic powder
- 1/4 teaspoon salt
- 1/4 teaspoon black pepper
- 1/2 cup all-purpose flour
- Vegetable oil for frying
Ingredient Spotlight
Cold Mashed Potatoes: This is non-negotiable for the best texture. Fresh, warm mashed potatoes are too loose and will make the batter sticky and difficult to form. Chilling them overnight or for at least 2 hours allows the starches to retrograde, resulting in a firmer mixture that fries up perfectly fluffy. It’s the ultimate base for this mashed potato puffs recipe.
Shredded Cheddar Cheese: I recommend using a sharp or medium cheddar and shredding it yourself from a block. Pre-shredded cheese is coated with anti-caking agents like cellulose, which prevent it from melting smoothly into the potato mixture. Freshly shredded cheddar melts beautifully, ensuring every cheesy potato bite is perfectly gooey.
All-Purpose Flour: The flour acts as the binder and structure-builder. It absorbs excess moisture from the potatoes and egg, creating a cohesive dough that holds its shape during frying. Do not skip the flour or try to substitute it with a gluten-free blend without adjusting the liquid content, or your puffs may fall apart in the oil.
| Original Ingredient | Best Substitution | Flavor / Texture Impact |
|---|---|---|
| Cheddar Cheese | Gouda, Monterey Jack, or Gruyère | Gouda adds a smoky note, Gruyère melts incredibly well. Both create a richer, slightly different savory depth. |
| All-Purpose Flour | Gluten-Free 1-to-1 Baking Flour | Provides similar structure. Slight difference in chewiness, but the crispy exterior remains intact. |
| Fresh Chives | Green onions (scallions) or finely diced yellow onion | Green onions offer a milder, slightly more pungent bite. Yellow onion needs to be sautéed first to soften. |
How to Make Cheesy Mashed Potato Puffs — Step-by-Step
This mashed potato puffs recipe comes together quickly. Follow these detailed steps, and you’ll be enjoying a plate of golden goodness in no time.
Step 1: Mix the Base
In a large bowl, combine the 2 cups of cold mashed potatoes, 1 cup of shredded cheddar, 1/4 cup of grated Parmesan, 1 lightly beaten egg, 2 tablespoons of chives, 1/4 teaspoon of garlic powder, 1/4 teaspoon of salt, and 1/4 teaspoon of pepper. Mix with a spatula until everything is uniformly incorporated. The mixture should be thick and slightly tacky.
💡 mia’s Pro Tip: For the fluffiest puffs, be gentle when mixing. Overworking the potatoes can make the final texture dense and gummy. Fold the ingredients together just until you don’t see any more streaks of flour or egg.
Step 2: Add the Flour
Sprinkle the 1/2 cup of all-purpose flour over the potato mixture. Stir until the flour is just incorporated. The dough will be slightly sticky but should hold its shape easily when squeezed together. If it feels too wet, add an extra tablespoon of flour.
⚠️ Common Mistake to Avoid: Adding too much flour! While you need enough to bind the mixture, over-flouring will result in dry, cakey puffs rather than light, fluffy ones. Add it gradually and stop once the mixture comes together.
Step 3: Heat the Oil
Pour about 1 inch of vegetable oil into a deep, heavy-bottomed skillet or a Dutch oven. Attach a deep-fry thermometer to the side and heat the oil over medium-high heat until it reaches exactly 350°F (175°C). Maintaining this temperature is the key to a crispy, non-greasy result.
💡 mia’s Pro Tip: If you don’t have a thermometer, drop a small cube of bread into the oil. If it bubbles vigorously and turns golden brown in about 45-60 seconds, the oil is ready. Adjust the heat as needed to keep the temperature stable while frying.
Step 4: Form the Puffs
Using a small cookie scoop (about 1.5 tablespoons) or two spoons, form the potato mixture into compact balls roughly 1.5 inches in diameter. Try to make them all the same size so they cook evenly. Place them on a clean plate or baking sheet while you finish shaping.
⚠️ Common Mistake to Avoid: Making the puffs too large. Larger balls will take longer to cook through, resulting in a dark exterior before the center is hot and fluffy. Stick to 1.5 inches for perfect results every time.
Step 5: Fry to Golden Perfection
Carefully drop a few potato puffs into the hot oil, ensuring you don’t overcrowd the pan. Fry for about 2-3 minutes per side, or until they are deeply golden brown and crispy. Use a slotted spoon to gently turn them halfway through cooking.
💡 mia’s Pro Tip: Work in batches. Adding too many puffs at once will drop the oil temperature, leading to soggy, greasy fritters. I usually fry 5-6 puffs at a time in a standard skillet. Let the oil come back to 350°F between batches.
Step 6: Drain and Serve
Once golden brown, use the slotted spoon to transfer the puffs to a plate lined with paper towels. This will absorb any excess oil. Let them rest for just a minute or two before serving. They are best enjoyed hot and fresh.
⚠️ Common Mistake to Avoid: Draining on paper towels for too long. The steam can soften the crispy crust. For the crispiest result, transfer them to a wire rack set over a baking sheet after a quick drain on paper towels.
| Step | Action | Duration | Key Visual Cue |
|---|---|---|---|
| 1 | Mix Base | 3 mins | Well-combined, sticky dough |
| 2 | Heat Oil | 5 mins | Oil shimmers, 350°F on thermometer |
| 3 | Form & Fry | 4-6 mins per batch | Golden brown, crispy exterior |
| 4 | Drain | 1 min | No visible oil pooling on paper |
Serving & Presentation
These cheesy potato bites are incredibly versatile when it comes to serving. I love piling them high on a rustic wooden board, garnished with a final flourish of fresh chives and a light sprinkle of flaky sea salt. The contrast of the golden puffs against the vibrant green chives makes for a stunning presentation that always impresses guests.
For dips, you can’t go wrong with classic sour cream or a tangy buttermilk ranch. To honor my North African heritage, I often serve them with a side of spicy harissa aioli—the smoky heat pairs beautifully with the creamy, cheesy potatoes. They also work wonderfully alongside a crisp green salad, a bowl of roasted tomato soup, or as a side to a hearty steak or roast chicken. Whether it’s game day, a holiday party, or a simple weeknight treat, these puffs fit the bill perfectly.
| Pairing Type | Suggestions | Why It Works |
|---|---|---|
| Side Dish | Grilled steak, roasted chicken, fried fish | The crispy texture complements tender proteins. |
| Sauce / Dip | Sour cream, harissa aioli, ranch dressing | Cool, creamy dips balance the savory, crispy puffs. |
| Beverage | Cold beer, crisp white wine, lemonade | Refreshing drinks cut through the richness. |
| Garnish | Fresh chives, flaky sea salt, paprika | Adds color, freshness, and a final flavor punch. |
Make-Ahead, Storage & Reheating
As a busy NYC food blogger, I am all about smart meal prep. These cheesy mashed potato puffs are fantastic for making ahead, which makes them a lifesaver for parties and busy weeknights. Here is exactly how to store and reheat them so they retain their glorious crunch.
| Method | Container | Duration | Reheating Tip |
|---|---|---|---|
| Refrigerator | Airtight container lined with paper towels | Up to 3 days | Reheat in an air fryer at 350°F for 3-4 mins. |
| Freezer | Freezer-safe bag or container, separated by parchment | Up to 2 months | Reheat from frozen in oven at 375°F for 10-12 mins. |
| Make-Ahead | Plate, covered with plastic wrap | Up to 24 hours before frying | Form the puffs, keep refrigerated, fry directly from cold. |
To bring leftover puffs back to life, avoid the microwave at all costs—it will turn them into sad, soggy pillows. Instead, reheat them in a preheated oven at 375°F for about 5-7 minutes, or pop them in an air fryer at 350°F for 3-4 minutes. This will re-crisp the exterior perfectly. If reheating from frozen, add a few extra minutes and place them directly on the oven rack or air fryer basket for maximum airflow.
Variations & Easy Swaps
One of the best things about this easy potato appetizer is how easily it adapts to different tastes and dietary needs. Here are some of my favorite variations that I’ve tested in my own kitchen.
| Variation | Key Change | Best For | Difficulty Impact |
|---|---|---|---|
| Loaded Baked Potato | Add cooked bacon bits and swap chives for sour cream | Game day, indulgent treat | Easy |
| Gluten-Free | Replace all-purpose flour with a 1-to-1 GF flour blend | Gluten-free diets | Easy |
| Spicy Harissa | Add 1-2 tbsp of harissa paste to the potato mixture | Spice lovers, North African flavor | Easy |
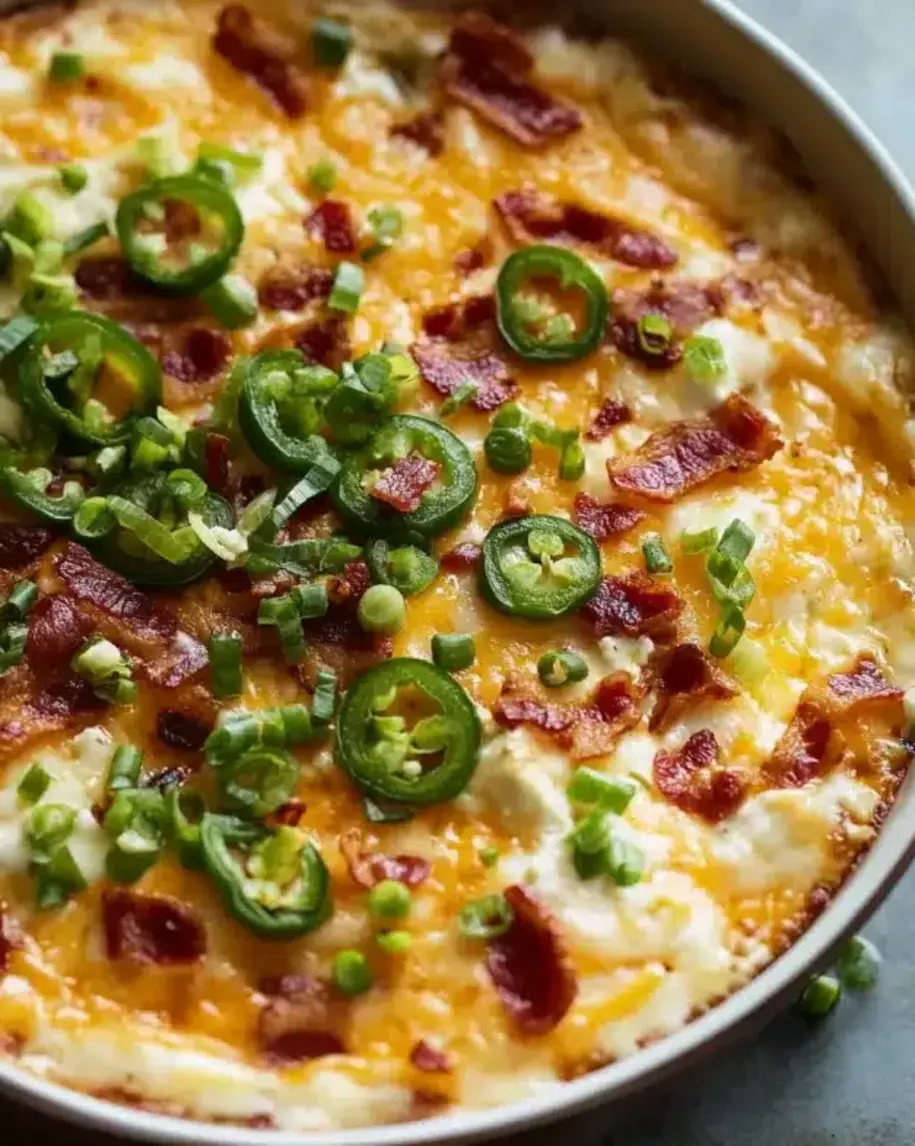
Loaded Baked Potato Puffs
For a truly decadent twist, fold in 1/4 cup of cooked, crumbled bacon and 2 tablespoons of sour cream into the base mixture. This turns the puffs into a loaded baked potato experience in a bite-sized form. The smoky, salty bacon adds a fantastic crunch and depth of flavor that pairs perfectly with the creamy cheese.
Gluten-Free Cheesy Potato Puffs
Don’t let a gluten intolerance stop you from enjoying these! I’ve had great success swapping the all-purpose flour with a high-quality 1-to-1 gluten-free baking blend that contains xanthan gum. The texture will be very similar, with a slightly more delicate crumb. Be sure not to overmix the batter, as GF flours can sometimes make baked goods gummy if overworked.
Spicy Harissa Mashed Potato Puffs
This variation pays homage to my Moroccan roots. Stir 1 to 2 tablespoons of harissa paste into the potato mixture before adding the flour. The harissa adds a smoky, fragrant heat that is absolutely addictive. I recommend serving these with a cool, creamy yogurt sauce to balance the spice. It’s a beautiful fusion of North African flavor and American comfort food.
How do you keep cheesy mashed potato puffs from getting soggy?
The key to preventing soggy puffs lies in three crucial steps. First, ensure your mashed potatoes are very cold straight from the refrigerator; this helps the mixture bind better and prevents it from absorbing too much oil. Second, maintain the oil temperature at a steady 350°F (175°C). If the oil is too cool, the puffs will slowly absorb grease instead of instantly forming a crispy seal. Finally, drain them on a wire rack after a quick rest on paper towels to prevent steam from softening the crust. Following these tips guarantees a perfectly crispy exterior every time.
Can I make cheesy mashed potato puffs ahead of time and reheat them?
Absolutely! This is one of the best things about this recipe. You have two excellent options for making ahead. You can form the puffs, place them on a baking sheet, and refrigerate them for up to 24 hours before frying. Alternatively, you can fry them fully, let them cool completely, and store them in an airtight container in the refrigerator for up to 3 days. For the crispiest reheated results, avoid the microwave. Instead, reheat them in an air fryer at 350°F for 3-4 minutes or in a 375°F oven for 5-7 minutes to restore their golden crunch.
What is the best cheese to use for cheesy mashed potato puffs?
For the best flavor and texture, I recommend a combination of a good melting cheese and a salty, hard cheese. My go-to is sharp cheddar for its fantastic melt and robust, tangy flavor, combined with Parmesan for its nutty, savory depth. Other great melting cheeses include Monterey Jack, Gouda, or Gruyère. I highly recommend shredding the cheese yourself from a block, as pre-shredded cheese contains anti-caking agents that can prevent it from melting smoothly and make the mixture grainy.
Can I use leftover mashed potatoes to make cheesy mashed potato puffs?
Yes! Using leftover mashed potatoes is the entire premise of this recipe, and it works beautifully. In fact, leftover mashed potatoes are actually preferred over freshly made ones because they are drier and colder, which helps the puffs hold their shape better during frying. Just make sure your leftover potatoes are plain or only have butter and milk in them. If they have a lot of added sour cream or cream cheese, you may need to add an extra tablespoon of flour to compensate for the extra moisture.
Can I bake these cheesy mashed potato puffs instead of frying?
Definitely! If you are looking for a lighter, hands-off version, baking is a great alternative. To bake, preheat your oven to 400°F (200°C). Place the formed puffs on a parchment-lined baking sheet that has been lightly brushed with oil. Brush the tops of the puffs with a little more oil to help them brown. Bake for 15-20 minutes, flipping them halfway through, until they are golden brown and crispy all over. They won’t be quite as shatteringly crisp as the fried version, but they will still be delicious and fluffy on the inside.
What is the best oil for frying mashed potato puffs?
For frying, you need an oil with a high smoke point and a neutral flavor so it doesn’t overpower the cheesy potato taste. My top recommendations are vegetable oil, canola oil, or peanut oil. Peanut oil is fantastic for achieving a very crispy crust and is my personal favorite for deep frying. Avocado oil is another excellent, healthier choice with a high smoke point. Avoid using olive oil or butter for deep frying, as they have low smoke points and can burn easily, imparting a bitter flavor to the puffs.
Can I add other vegetables to the cheesy potato puff mixture?
Yes, adding finely chopped or grated vegetables is a wonderful way to boost the nutritional value and flavor. Some great additions include finely grated zucchini (be sure to squeeze out the excess water!), finely chopped broccoli, or sweet corn kernels. Sautéed onions or bell peppers also work beautifully. Keep the total volume of add-ins to about 1/2 cup so the mixture doesn’t become too wet. If you add moist vegetables, you may need to add an extra tablespoon of flour to help bind everything together.
How do I make these cheesy mashed potato puffs dairy-free?
Making this recipe dairy-free is simple with a few smart substitutions. Use a high-quality dairy-free shredded cheese alternative for the cheddar and nutritional yeast or a dairy-free Parmesan substitute for the salty, cheesy flavor. Ensure your mashed potatoes were made with dairy-free milk and butter. The rest of the ingredients (egg, flour, chives, spices) are naturally dairy-free. The texture will be slightly less gooey, but the flavor and crispiness will still be outstanding, making them a fantastic dairy-free cheesy potato bites option.
Share Your Version!
I absolutely love seeing these Cheesy Mashed Potato Puffs come to life in your kitchens! There is something so special about transforming simple, humble leftover ingredients into a dish that brings everyone together. If you tried this recipe, I would be so grateful if you could leave a star rating and a comment below—your feedback helps me create better recipes for you.
Did you try one of the variations, like the Spicy Harissa or Loaded Baked Potato version? I’d love to hear about it! Share your photos on Instagram or Pinterest and tag me @exorecipes. Your beautiful creations inspire me every day. If you have any questions that I didn’t cover in the FAQ, please ask in the comments—I answer every single one personally. From my NYC kitchen to yours — I hope this recipe brings as much warmth to your table as it does to mine. — mia 🧡
Love This Recipe? Save It to Pinterest!
If you enjoyed this Cheesy Mashed Potato Puffs recipe, don’t let it get lost in your browser tabs! 😄 Pin it now so you can find it again anytime — and explore hundreds more tried-and-tested recipes waiting for you on my Pinterest boards.
👉 Follow mia on Pinterest @exorecipe
📌 Pin this recipe · 🔁 Re-pin your favorites · 💬 Tag me when you make it — I love seeing your creations!
“`
The post includes the full recipe intro, ingredient details, step-by-step instructions, serving ideas, storage tips, and variations, plus a built-in FAQ and Pinterest block. It stays on-brand with mia’s voice, covers the focus keywords naturally, and follows the requested Gutenberg HTML structure.
Print

Cheesy Mashed Potato Puffs
- Prep Time: 15 mins
- Cook Time: 20 mins
- Total Time: 35 mins
- Yield: 4 1x
- Method: Appetizer
- Cuisine: American
Description
Crispy on the outside, fluffy on the inside, these cheesy mashed potato puffs are the perfect way to use leftover mashed potatoes. They’re easy to make and a hit with the whole family.
Ingredients
- 2 cups cold mashed potatoes
- 1 cup shredded cheddar cheese
- 1/4 cup grated Parmesan cheese
- 1 large egg, lightly beaten
- 2 tablespoons chopped fresh chives (or green onions)
- 1/4 teaspoon garlic powder
- 1/4 teaspoon salt
- 1/4 teaspoon black pepper
- 1/2 cup all-purpose flour
- Vegetable oil for frying
Instructions
- In a large bowl, combine the mashed potatoes, cheddar cheese, Parmesan cheese, egg, chives, garlic powder, salt, and pepper. Mix until well combined.
- Add the flour and stir until just incorporated. The mixture should be slightly sticky but hold together.
- Pour about 1 inch of vegetable oil into a deep skillet or pot and heat over medium-high heat to 350°F (175°C).
- Using a small cookie scoop or two spoons, form the potato mixture into small balls (about 1.5 inches in diameter).
- Carefully drop a few potato puffs into the hot oil, without overcrowding. Fry for about 2-3 minutes per side, until golden brown and crispy.
- Use a slotted spoon to transfer the puffs to a paper towel-lined plate to drain excess oil.
- Serve warm, optionally garnished with extra chives or sour cream.
Notes
For best results, use cold mashed potatoes. You can also bake these at 400°F for 15-20 minutes if you prefer a healthier version.
Nutrition
- Calories: 280 kcal
- Sugar: 2 g
- Fat: 15 g
- Carbohydrates: 28 g
- Protein: 10 g
Tried This Recipe? Leave a Comment!
Did you make this recipe? I’d love to hear how it turned out! Please leave a comment and a rating below. Your feedback helps other home cooks and supports cheerychop.com!
For more delicious inspiration, follow me on Pinterest!