Here’s the comprehensive recipe article, converted into clean, Gutenberg-compatible HTML, styled for spicemingle.com, and including a dynamic Table of Contents.
“`html
Table of Contents
Best Egg Fried Rice Recipe for Quick Dinners
Is Egg Fried Rice the Ultimate Weeknight Winner?
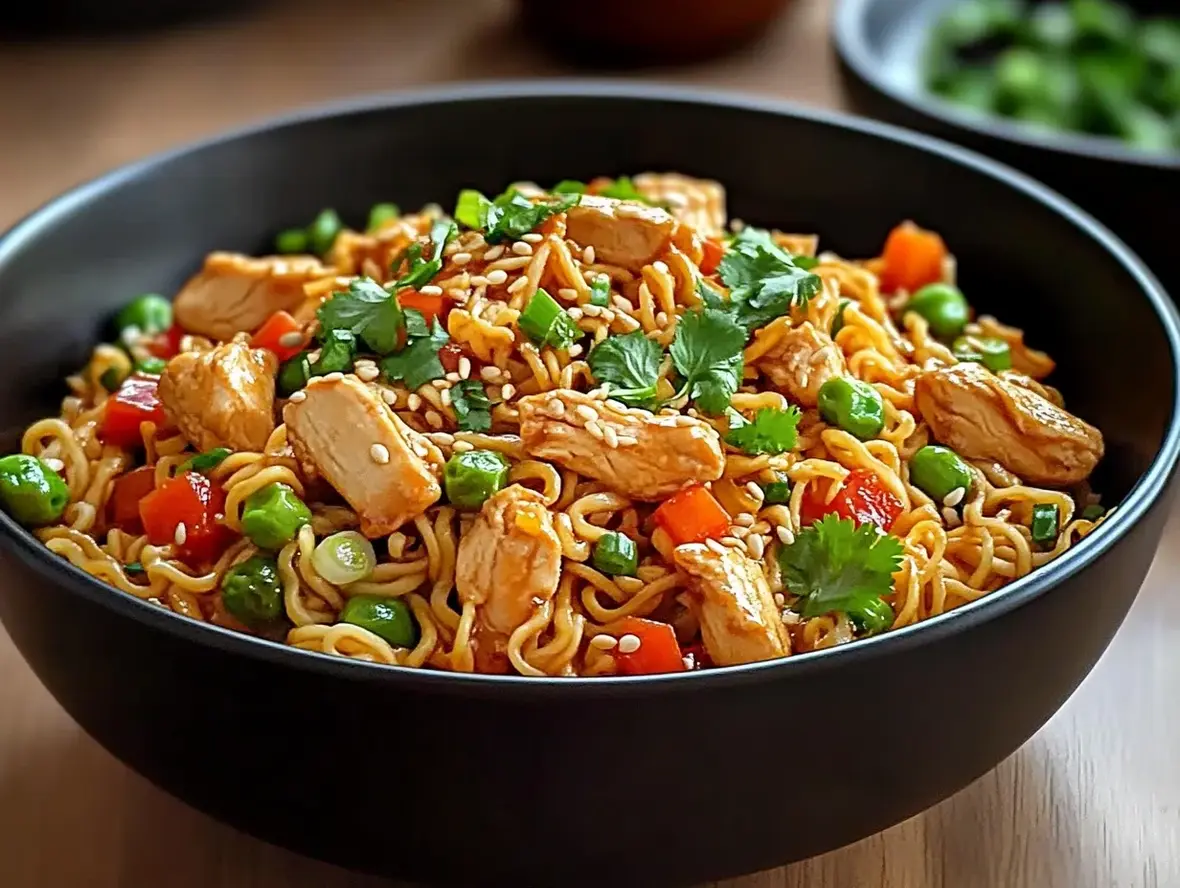
Searching for a quick, satisfying, and unbelievably delicious meal that can solve your weeknight dinner dilemma? You’re not alone! Many home cooks wonder if a restaurant-quality egg fried rice recipe can truly be achieved in under 30 minutes. The answer is a resounding yes! This isn’t just about speed; it’s about harnessing simple ingredients to create a symphony of savory flavors and delightful textures. Perfect as a standalone main course or a versatile side dish, this recipe transforms fluffy jasmine rice, scrambled eggs, and a touch of soy and sesame into an aromatic, deeply satisfying meal that’s both comforting and exciting. Get ready to master the art of the quick, flavorful stir-fry.
Ingredients: The Building Blocks of Flavor
The magic of great egg fried rice lies in the quality and balance of its components. Here’s what you’ll need, with tips for substitutions to suit your pantry and preferences:
Rice: The Foundation
- 2 cups cooked, cold jasmine rice (day-old is best): This is crucial! Freshly cooked rice is too moist and will clump, leading to a mushy fried rice. Cold, slightly dry rice fries up fluffy and separates beautifully. Substitution: Basmati or long-grain white rice can work, but jasmine offers a distinct fragrant aroma. Brown rice can be used, but it may require longer cooking and a slightly different liquid balance due to its denser texture.
Eggs: The Star Protein
- 2 large eggs, lightly beaten with a pinch of salt: Provides richness, protein, and that signature eggy bite.
Aromatics and Flavor
- 1 tablespoon cooking oil (high smoke point like canola, vegetable, or peanut oil): Essential for stir-frying without burning. Substitution: Grapeseed or avocado oil are excellent alternatives. Olive oil is generally not recommended for high-heat stir-frying due to its lower smoke point and distinct flavor profile.
- 2 cloves garlic, minced: Adds a pungent, aromatic base.
- 1 teaspoon grated fresh ginger (optional but highly recommended): Lends a zesty warmth that complements the savory notes.
- 2-3 green onions, thinly sliced (whites and greens separated): The whites add a mild onion flavor when sautéed, while the greens are for garnish and fresh bite.
Vegetables (Optional but Recommended)
- 1/2 cup mixed vegetables (e.g., frozen peas and carrots, diced bell peppers, corn): Adds color, texture, and nutrients. Frozen vegetables are convenient and cook quickly.
Sauces and Seasonings
- 2 tablespoons soy sauce (low sodium preferred): The umami backbone of the dish. Substitution: Tamari for gluten-free. Coconut aminos for a soy-free option, though the flavor will be milder.
- 1 teaspoon sesame oil (toasted): Adds a nutty, aromatic finish. Use sparingly as it’s potent.
- Pinch of white pepper (optional): A traditional spice in Chinese cooking, offering a subtle heat without the visual specks of black pepper.
Timing is Everything
Compared to the average egg fried rice recipe, which can often take closer to 30-40 minutes due to longer prep or less efficient cooking methods, this recipe is designed for maximum speed without sacrificing flavor. The key is having everything prepped (mise en place) before you start cooking!
Step-by-Step Instructions
Let’s get cooking! Follow these simple steps for perfect egg fried rice every time.
Step 1: Prep Your Ingredients
This is non-negotiable for successful stir-frying. Ensure your rice is cold and broken up. Mince the garlic, grate the ginger, slice the green onions (separating whites from greens), and have your beaten eggs and sauces ready. If using fresh vegetables, ensure they are chopped into bite-sized pieces.
Step 2: Cook the Eggs
Heat 1/2 tablespoon of your cooking oil in a wok or large skillet over medium-high heat until shimmering. Pour in the beaten eggs. Scramble them quickly until just cooked but still slightly soft. Break them into bite-sized pieces with your spatula. Remove the scrambled eggs from the wok and set aside on a plate. This prevents them from overcooking and becoming tough.
Step 3: Sauté the Aromatics
Add the remaining 1/2 tablespoon of oil to the hot wok. Add the minced garlic, grated ginger (if using), and the white parts of the green onions. Stir-fry for about 30 seconds until fragrant, being careful not to burn the garlic. If using fresh vegetables like bell peppers, add them now and stir-fry for 1-2 minutes until slightly tender-crisp.
Step 4: Add the Rice
Add the cold, cooked rice to the wok. Break up any clumps with your spatula. Stir-fry for 2-3 minutes, allowing the rice grains to heat through and get slightly toasted. This step is key to achieving that desirable slightly chewy, individual grain texture.
Step 5: Season and Combine
Push the rice to one side of the wok. Pour the soy sauce over the empty side and let it sizzle for a few seconds before tossing it with the rice. This caramelizes the soy sauce slightly, enhancing its flavor. Add the cooked scrambled eggs back into the wok, along with any frozen vegetables (like peas and carrots) that haven’t been sautéed. Stir everything together thoroughly to ensure the soy sauce and ingredients are evenly distributed.
Step 6: Final Touches
Drizzle the toasted sesame oil over the rice and sprinkle with the green parts of the green onions and a pinch of white pepper (if using). Give it one final toss to combine. Taste and adjust seasoning if necessary – you might want a touch more soy sauce or a splash of water if it seems dry.
Nutritional Information (Approximate per serving, makes 2 main servings or 4 side servings)
- Calories: 400-500 kcal
- Protein: 15-20g
- Fat: 15-20g
- Carbohydrates: 50-60g
- Sodium: Varies based on soy sauce used (approx. 800-1200mg with regular soy sauce)
Note: Nutritional values are estimates and can vary based on specific ingredients and portion sizes.
Healthier Alternatives
Looking to lighten up this classic dish? Here are some simple swaps:
- Brown Rice: Use cooked brown rice for added fiber and a nuttier flavor. It may require a little more liquid and slightly longer stir-frying.
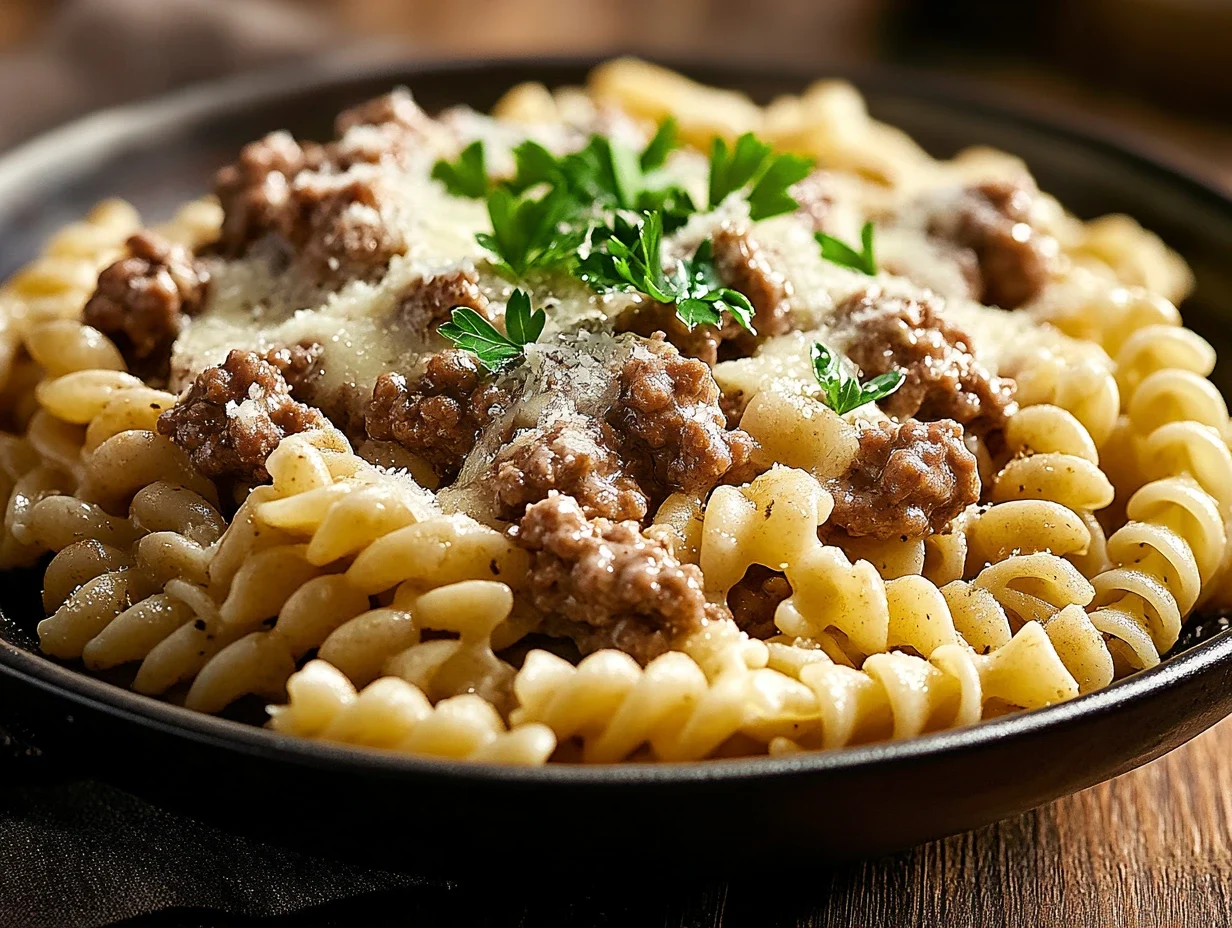
- Lean Protein: Add diced chicken breast, shrimp, or tofu for extra protein and make it a more complete meal.
- More Veggies: Load up on nutrient-dense vegetables like broccoli florets, snow peas, shredded carrots, or mushrooms.
- Lower Sodium Soy Sauce: Opt for low-sodium soy sauce or tamari to significantly reduce sodium intake.
- Less Oil: Use a non-stick wok or skillet and be mindful of the amount of oil you add. Air frying some components beforehand could also be an option for a drastically reduced oil version, though it changes the cooking method.
Serving Suggestions
Egg fried rice is incredibly versatile!
- As a Main: Enjoy it steaming hot on its own for a quick and satisfying meal.
- As a Side: Pair it with your favorite Asian-inspired dishes like stir-fried chicken, beef and broccoli, sweet and sour pork, or a simple grilled fish.
- Add Heat: A drizzle of sriracha or a sprinkle of red pepper flakes can add a welcome spicy kick.
- Garnish: A final sprinkle of sesame seeds or extra sliced green onions adds visual appeal and a fresh burst of flavor.
Common Mistakes to Avoid
- Using Freshly Cooked Rice: This is the #1 mistake. It leads to sticky, clumpy fried rice. Always use cold, day-old rice.
- Overcrowding the Wok: Cook in batches if necessary. Overcrowding lowers the pan’s temperature, causing ingredients to steam instead of fry, resulting in a soggy texture.
- High Heat is Key: Stir-frying requires high heat to achieve that slightly charred, “wok hei” flavor. Ensure your wok or pan is properly preheated.
- Burning Aromatics: Garlic and ginger cook very quickly. Stir-fry them briefly until fragrant, then move on.
- Too Much Sauce: Start with the amounts specified and add more to taste. Too much liquid can make the rice mushy.
Storing Tips
Leftover egg fried rice can be stored in an airtight container in the refrigerator for up to 3-4 days. When reheating, it’s best to do so in a skillet over medium heat with a tiny splash of water or oil to help revive the texture. Microwaving is also an option, but the rice may become a bit softer.
Your Quick Dinner Solution Awaits!
This Best Egg Fried Rice recipe is more than just a meal; it’s a testament to how simple ingredients, prepared with a little technique, can create something truly spectacular. It’s the perfect solution for busy weeknights, a satisfying lunch, or a delightful side dish. With its quick preparation and adaptable nature, it’s bound to become a staple in your recipe rotation. Give it a try and experience the joy of homemade, restaurant-quality fried rice in minutes!
Frequently Asked Questions
***Can I use freshly cooked rice?***
While possible, it’s highly discouraged for the best texture. Fresh rice is moist and will clump, making it difficult to achieve fluffy, separated grains. Day-old, cold rice is ideal.
***What kind of pan is best for fried rice?***
A wok is traditional and ideal due to its shape, which allows for even heating and easy tossing. However, a large, flat-bottomed skillet or frying pan (especially cast iron or stainless steel) will also work well.
***Can I add other proteins like chicken or shrimp?***
Absolutely! Cook your protein (diced chicken, shrimp, tofu, etc.) first, remove it from the wok, and add it back in at Step 5 with the eggs and vegetables. Ensure they are cooked through before adding back.
***Why is my fried rice mushy?***
This is usually due to using freshly cooked rice, overcrowding the pan, or using too much sauce/liquid. Ensure your rice is cold and dry, and cook in batches if necessary.
***How can I make it spicier?***
You can add a tablespoon or two of Sriracha or chili garlic sauce along with the soy sauce in Step 5, or sprinkle with red pepper flakes before serving.

Egg Fried Rice
Description
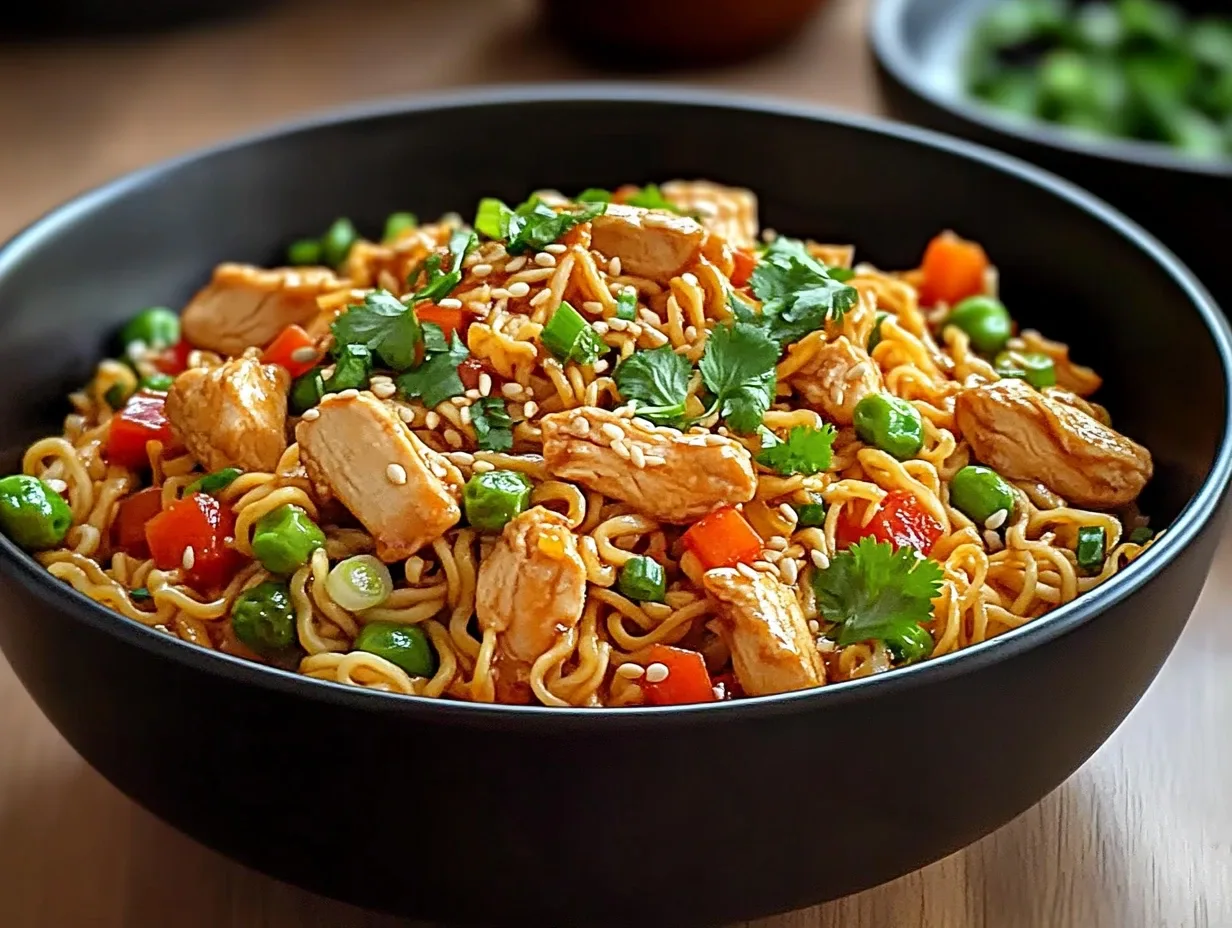
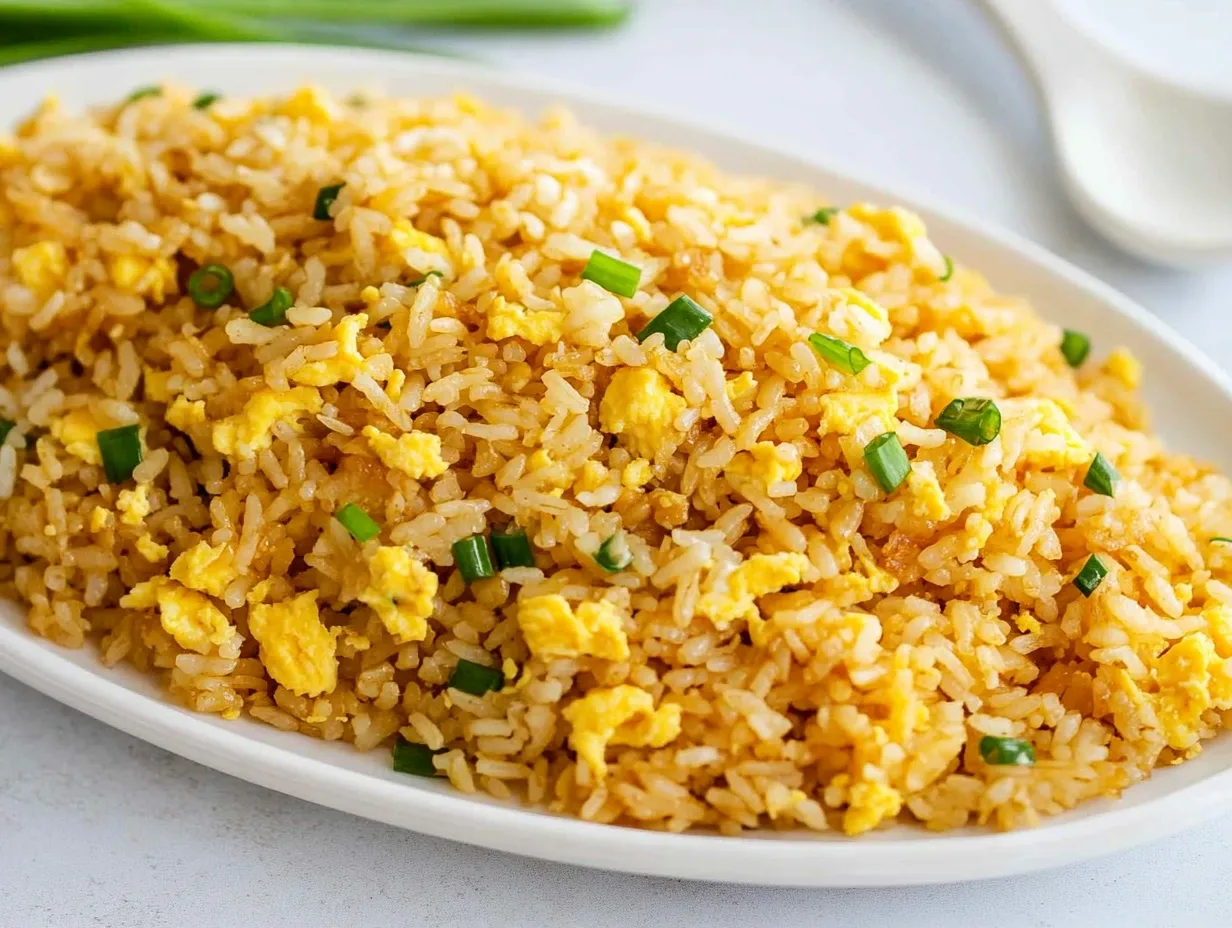
A simple yet flavorful dish that comes together in minutes. Perfect as a main dish or a side, it combines fluffy jasmine rice, eggs, and a touch of soy and sesame for an aromatic and savory delight.
Ingredients
- 2 cupscooked jasmine rice (cold, day-old rice works best)1green onion, finely chopped2.5 tablespoonsregular soy sauce (not dark soy sauce)½ tablespoonsesame oil4large eggs, beaten2 tablespoonsvegetable oil (or any neutral oil)
- 1green onion, finely chopped2.5 tablespoonsregular soy sauce (not dark soy sauce)½ tablespoonsesame oil4large eggs, beaten2 tablespoonsvegetable oil (or any neutral oil)
- 2.5 tablespoonsregular soy sauce (not dark soy sauce)½ tablespoonsesame oil4large eggs, beaten2 tablespoonsvegetable oil (or any neutral oil)
- ½ tablespoonsesame oil4large eggs, beaten2 tablespoonsvegetable oil (or any neutral oil)
- 4large eggs, beaten2 tablespoonsvegetable oil (or any neutral oil)
- 2 tablespoonsvegetable oil (or any neutral oil)
Instructions
- 1️⃣Heat the Oil:In a large pan or wok, heat 2 tablespoons of vegetable oil over medium-high heat. If using a wok, let the oil smoke lightly for enhanced flavor. Skip the smoking step if using a regular pan.2️⃣Cook the Eggs:Pour the beaten eggs into the hot oil. Stir-fry quickly, moving the eggs around the pan so they set but remain moist.3️⃣Add the Rice:Once the eggs are partially set, add the cooked jasmine rice. Break up any clumps of rice in the pan and toss to combine with the eggs.4️⃣Add Green Onions:Push the rice and eggs to one side of the pan, creating space on the other side. Add the remaining oil to this empty space, then toss in the chopped green onions. Mix the green onions into the rice and eggs.5️⃣Season the Rice:Drizzle the soy sauce and sesame oil along the edges of the pan. Toss everything together until the rice grains are evenly coated and turn a light brown color.6️⃣Serve:Remove from heat and serve hot. Enjoy the Egg Fried Rice as is or pair it with your favorite stir-fry or protein.
- 2️⃣Cook the Eggs:Pour the beaten eggs into the hot oil. Stir-fry quickly, moving the eggs around the pan so they set but remain moist.
- 3️⃣Add the Rice:Once the eggs are partially set, add the cooked jasmine rice. Break up any clumps of rice in the pan and toss to combine with the eggs.4️⃣Add Green Onions:Push the rice and eggs to one side of the pan, creating space on the other side. Add the remaining oil to this empty space, then toss in the chopped green onions. Mix the green onions into the rice and eggs.5️⃣Season the Rice:Drizzle the soy sauce and sesame oil along the edges of the pan. Toss everything together until the rice grains are evenly coated and turn a light brown color.6️⃣Serve:Remove from heat and serve hot. Enjoy the Egg Fried Rice as is or pair it with your favorite stir-fry or protein.
- 4️⃣Add Green Onions:Push the rice and eggs to one side of the pan, creating space on the other side. Add the remaining oil to this empty space, then toss in the chopped green onions. Mix the green onions into the rice and eggs.5️⃣Season the Rice:Drizzle the soy sauce and sesame oil along the edges of the pan. Toss everything together until the rice grains are evenly coated and turn a light brown color.6️⃣Serve:Remove from heat and serve hot. Enjoy the Egg Fried Rice as is or pair it with your favorite stir-fry or protein.
- 5️⃣Season the Rice:Drizzle the soy sauce and sesame oil along the edges of the pan. Toss everything together until the rice grains are evenly coated and turn a light brown color.
- 6️⃣Serve:Remove from heat and serve hot. Enjoy the Egg Fried Rice as is or pair it with your favorite stir-fry or protein.
Notes
Rice:Day-old rice is ideal as it is firmer and less sticky, making it easier to fry. Freshly cooked rice can work but should be cooled before using.Add-ins:Feel free to include additional ingredients like peas, carrots, diced chicken, shrimp, or tofu to make the dish heartier.Customization:Adjust soy sauce and sesame oil to taste. Add a dash of white pepper or chili flakes for extra flavor.Storage:Store leftovers in an airtight container in the refrigerator for up to 3 days. Reheat in a skillet for best results.
Add-ins:Feel free to include additional ingredients like peas, carrots, diced chicken, shrimp, or tofu to make the dish heartier.Customization:Adjust soy sauce and sesame oil to taste. Add a dash of white pepper or chili flakes for extra flavor.Storage:Store leftovers in an airtight container in the refrigerator for up to 3 days. Reheat in a skillet for best results.
Customization:Adjust soy sauce and sesame oil to taste. Add a dash of white pepper or chili flakes for extra flavor.Storage:Store leftovers in an airtight container in the refrigerator for up to 3 days. Reheat in a skillet for best results.
Storage:Store leftovers in an airtight container in the refrigerator for up to 3 days. Reheat in a skillet for best results.
“`