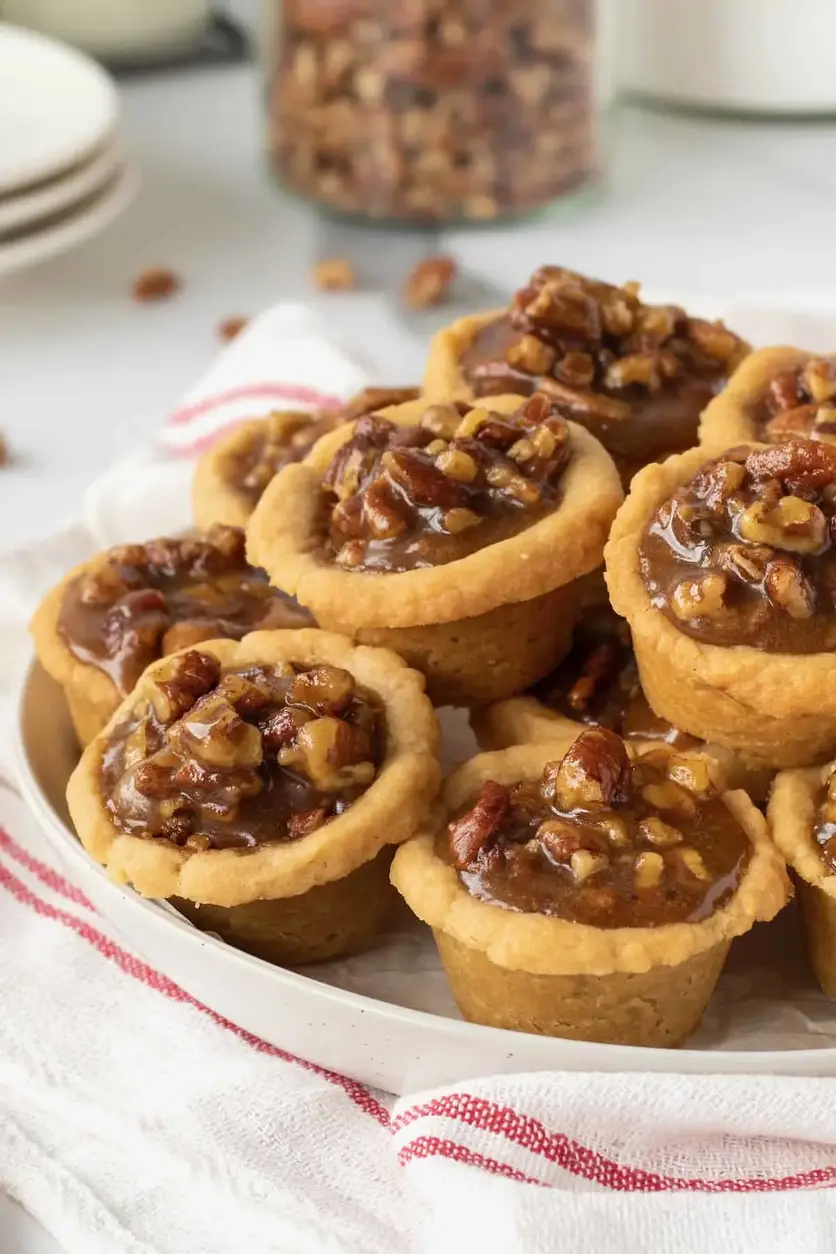
This easy Pecan Pie recipe is so delicious it will convert even the biggest skeptics! The caramel-like flavors of the filling make this pie one of my all-time favorites!
Print
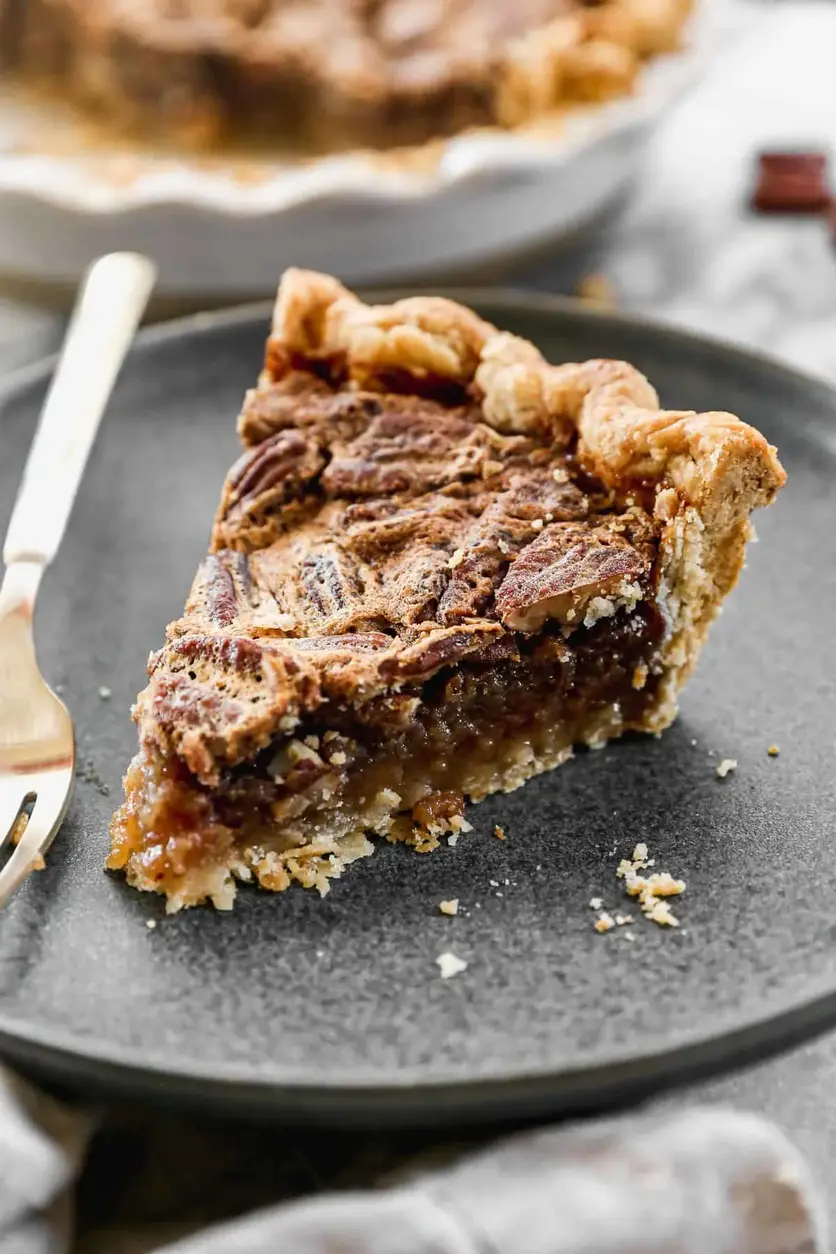
Pecan Pie
Description
Not only is this Pecan Pie recipe one of the easiest pies to make, it’s absolutely fantastic with its rich caramel pecan filling paired with a flakey, buttery crust.
Ingredients
- 1 Homemade pie crust, , unbaked (my recipe makes 2 crusts, so you can freeze the other crust)
- 1 cup granulated sugar
- 3 Tablespoons light brown sugar
- 1/2 teaspoon salt
- 1 cup light corn syrup
- 3/4 teaspoon vanilla extract
- 1/3 cup salted butter, , softened or melted
- 3 large eggs
- 1 1/2 cups pecan halves, (can chop the pecans or leave whole)
Instructions
- Prepare my perfect pie crust recipe and place pie dough in a deep dish pie plate. Refrigerate while you prepare the pecan pie filling.
- In a large bowl cream together sugar, brown sugar, salt, corn syrup, and softened (or melted) butter. Mix in the eggs and vanilla.
- Reserve a few pecans and stir the rest into the batter. Pour into unbaked pie shell. Add a few of the reserved pecans on top of the pie in any empty spots, to make it look pretty. Use a small spoon to cover them with batter.
- Bake at 425 degrees for 10 minutes, then lower the oven temp to 350 degrees F and continue baking for about 50 minutes. Check the pie half way through cooking and tent a large piece of greased aluminum foil over the top of the pie. (I tent it high so it doesn't touch the pie filling). You will know your pecan pie is done when you can shake it gently and it is not overly jiggly. If it jiggles a lot when shaking, continue cooking until the center is more set, 5-10 more minutes, or longer if needed. Err on the side of cooking it longer rather than shorter to ensure that the middle has set.
- Allow pie to cool completely for several hours before cutting and serving. Or refrigerate for 1-3 days, until ready to serve.
Notes
*This recipe is for a standard 9 pie dish. If you have a larger pie dish then I would suggest 1 ½ the recipe!
Make Ahead Instructions: Homemade Pecan Pie can be made 1-3 days in advance. Bake the pie, allow it to completely cool, then cover and store it in the refrigerator. I like to remove it from the fridge one hour before serving. You can also make the pecan pie filling (don’t add the nuts to the batter) and pie crust ahead of time and store them separately, then assemble the pie and bake on the day you want to serve it.
Freezing Instructions: Allow baked Pecan Pie to cool completely, then cover it with plastic wrap and aluminum foil. Freeze for up to 3 months. Thaw completely in the fridge before serving.
Nutrition
- Calories: 368kcal
- Sugar: 42g
- Protein: 3g