“`html
Table of Contents
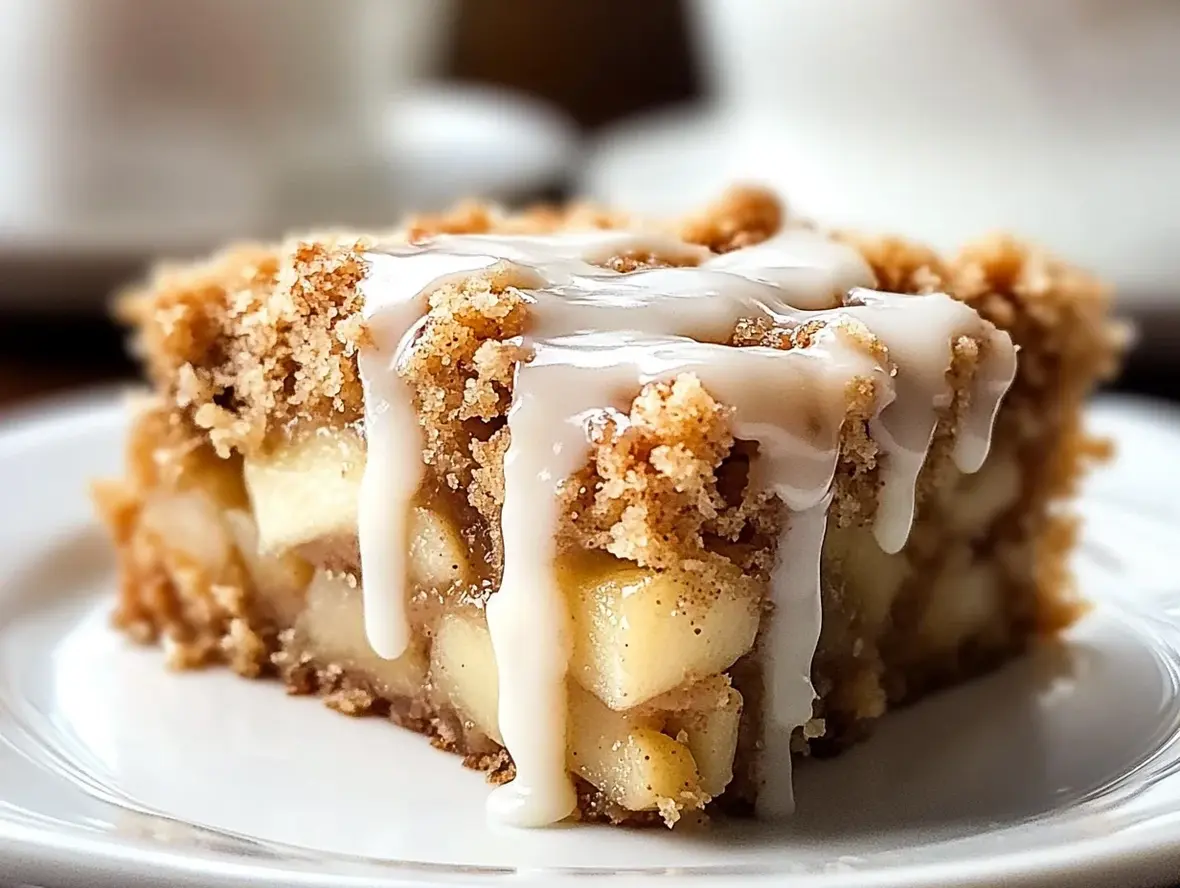
Delicious Apple Coffee Cakes with Easy Recipes
Introduction: Embrace the Comforting Fall Flavors
Are you craving a dessert that captures the essence of autumn with every bite? If you’re like many home bakers, finding that perfect balance between spiced apples and a tender cake can feel like a quest. This Easy Apple Pie Coffee Cake is designed to be your ultimate answer. It masterfully blends the heartwarming, cinnamon-kissed flavors of beloved apple pie with the comforting, soft, and incredibly moist texture of a classic coffee cake. Forget complicated steps; with a simple yellow cake mix as your foundation, a luscious apple filling, and a delightfully crunchy oat streusel topping, this recipe promises a treat that’s perfect for those cozy weekend mornings, an afternoon pick-me-up, or any occasion calling for a touch of homemade magic. Let’s dive into creating a delightful experience that will fill your home with irresistible aromas!
Ingredients: Gathering Your Sweet and Spiced Treasures
Gathering your ingredients is the first step to a successful bake. Here’s what you’ll need to create this delightful Apple Pie Coffee Cake. For the best results, we recommend using fresh, ripe apples.
-
For the Cake:
- 1 box (15.25 oz) yellow cake mix (look for a moist-style mix for extra tenderness)
- 3 large eggs (room temperature for better emulsification)
- 1/2 cup vegetable oil (can substitute with a neutral-flavored oil like canola or melted unsalted butter for a richer flavor)
- 1 cup milk (whole milk provides the richest texture; almond or oat milk can be used as dairy-free alternatives)
- 1 teaspoon vanilla extract (for that classic comforting aroma)
-
For the Apple Filling:
- 3-4 medium apples, peeled, cored, and diced (about 3 cups) (Honeycrisp, Gala, or Fuji are excellent choices for their sweet-tart balance and firm texture that holds up well to baking)
- 1/4 cup granulated sugar (adjust to apple sweetness)
- 1 teaspoon ground cinnamon (for that quintessential apple pie spice)
- 1/4 teaspoon ground nutmeg (adds a warm, aromatic depth)
- 1 tablespoon lemon juice (brightens the apple flavor and prevents browning)
- 1 tablespoon all-purpose flour (to thicken the juices slightly)
-
For the Oat Streusel Topping:
- 1 cup all-purpose flour
- 1/2 cup packed light brown sugar (for that delightful caramel note)
- 1 teaspoon ground cinnamon
- 1/2 cup (1 stick) cold unsalted butter, cut into small cubes (cold butter is key for a crumbly texture)
- 1/2 cup rolled oats (old-fashioned oats provide the best texture; quick oats can be used but may result in a finer crumb)
Timing Your Culinary Adventure
Compared to a traditional homemade apple pie (which can take over an hour just for prep and baking), this Ease Apple Pie Coffee Cake is wonderfully efficient. Typical coffee cake recipes often fall within a similar total time, but the beauty here is the integration of fruit and spice with such minimal effort. This recipe shaves off significant prep time thanks to the cake mix base, making it an ideal choice for busy bakers who still crave exceptional results.

Step-by-Step Instructions: Crafting Your Apple Coffee Cake
Step 1: Preheat and Prepare Your Baking Canvas
Let’s get your kitchen ready! Preheat your oven to 350°F (175°C). This consistent temperature is crucial for even baking. Now, grab a 9×13 inch baking pan. Grease it thoroughly with softened butter or non-stick cooking spray, and then lightly dust it with flour. This step is your insurance policy against sticking, ensuring your beautiful cake slides out with ease. You can also line the bottom with parchment paper for even easier removal.
Step 2: Create the Dreamy Cake Batter
In a large mixing bowl, combine your yellow cake mix, 3 large eggs, 1/2 cup vegetable oil, 1 cup milk, and 1 teaspoon vanilla extract. Using an electric mixer (handheld or stand mixer with paddle attachment) beat on medium speed for about 2 minutes, or until the batter is smooth and well combined. Scrape down the sides of the bowl as needed to ensure everything is incorporated. The batter should be thick yet pourable. Don’t overmix; just combine until smooth.
Step 3: Mix Up That Luscious Apple Filling
In a separate medium bowl, gently toss your diced apples with 1/4 cup granulated sugar, 1 teaspoon cinnamon, 1/4 teaspoon nutmeg, 1 tablespoon lemon juice, and 1 tablespoon flour. Stir until the apple pieces are evenly coated with the spices and sugar. This mixture will provide pockets of warm, spiced apple goodness throughout your cake. The flour helps to absorb some of the apple’s natural juices, preventing the cake from becoming too wet.
Step 4: Craft the Irresistible Oat Streusel
Now for the best part – the crunchy topping! In another bowl, whisk together 1 cup all-purpose flour, 1/2 cup packed light brown sugar, and 1 teaspoon cinnamon. Add the cold, cubed unsalted butter to the dry ingredients. Using a pastry blender, your fingertips, or a fork, cut the butter into the flour mixture until it resembles coarse crumbs. Stir in the 1/2 cup rolled oats. Make sure the butter is well distributed to create those lovely, buttery clusters. Your streusel should have some larger clumps and some finer crumbs; this texture is key!
Step 5: Assemble Your Masterpiece
Pour about two-thirds of the cake batter into your prepared 9×13 inch baking pan, spreading it evenly. Spoon the apple filling evenly over the batter, making sure to distribute the apples and any accumulated juices. Dollop or sprinkle the remaining one-third of the cake batter over the apple filling. This creates a lovely layered effect. Finally, generously sprinkle the prepared oat streusel topping evenly over the entire surface of the cake.
Step 6: Bake to Golden Perfection
Place the assembled cake into your preheated oven. Bake for 40-50 minutes, or until a wooden skewer or toothpick inserted into the center of the cake (avoiding an apple piece) comes out clean. The streusel topping should be golden brown and fragrant. Keep an eye on it during the last 10 minutes of baking; if the topping seems to be browning too quickly, you can loosely tent the pan with aluminum foil.
Step 7: Cool and Savor
Once baked to perfection, remove the cake from the oven and let it cool in the pan on a wire rack for at least 20-30 minutes before slicing and serving. This allows the cake to set properly and makes it easier to cut clean portions. The aroma that fills your kitchen during this cooling period is simply divine!
Nutritional Information: A Delectable Delight
- Calories: Approx. 350-450 per serving (varies based on exact ingredients and serving size)
- Fat: Approx. 18-25g
- Carbohydrates: Approx. 45-55g
- Protein: Approx. 4-6g
- Sugar: Approx. 25-35g
Please note: This is an approximate nutritional estimate. Actual values may vary based on the specific brands of ingredients used and serving portions.
Healthier Alternatives: Lighter, But Still Delicious
While this Apple Pie Coffee Cake is a delightful treat, you can make it a bit lighter without sacrificing too much flavor:
- Cake Mix: Opt for a whole wheat cake mix or a reduced-sugar version if available. You could also experiment with a spice cake mix for more intense flavor.
- Fat: Replace some or all of the vegetable oil with unsweetened applesauce in the cake batter. For the streusel, use a reduced-fat butter substitute or coconut oil, though this may alter the texture slightly.
- Sugar: Reduce the amount of sugar in both the filling and the streusel topping. Natural sweeteners like maple syrup or honey can be used, but be mindful they can affect the moisture content and browning.
- Flour: In the streusel, substitute half of the all-purpose flour with whole wheat flour for added fiber.
- Apples: Use fewer apples and more of the cake batter, or focus on the natural sweetness of your chosen apple variety.
Serving Suggestions: Elevate Your Experience
This Apple Pie Coffee Cake is heavenly on its own, but here are a few ways to make it even more special:
- Warm & Creamy: Serve slices warm with a dollop of whipped cream, a scoop of vanilla bean ice cream, or a drizzle of caramel sauce.
- Breakfast Boost: Enjoy a slice with your morning coffee or tea for a decadent breakfast treat. It’s a great alternative to traditional pastries.
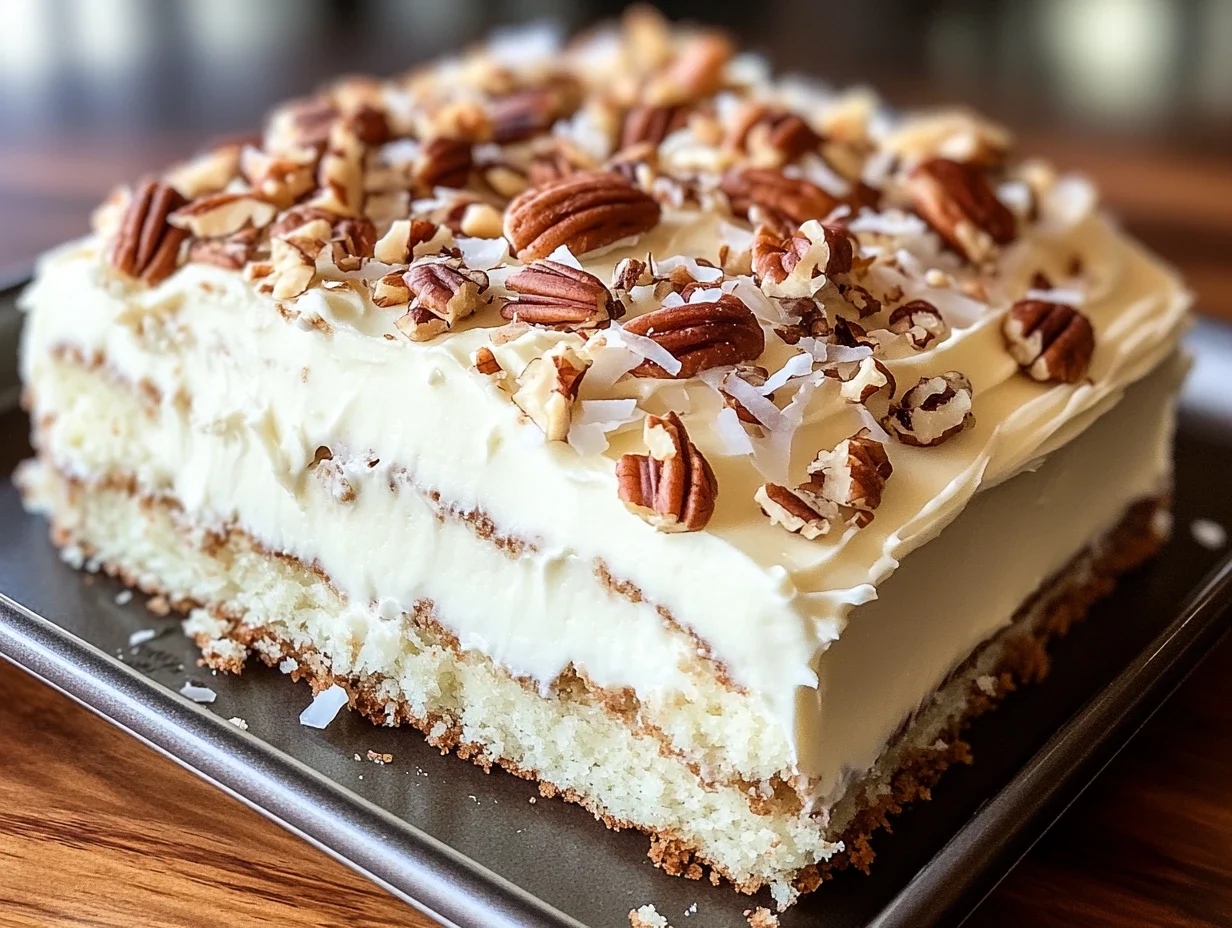
- Add Nuts: For extra crunch and flavor, add chopped pecans or walnuts to the streusel topping.
- Dusting: A light dusting of powdered sugar or an extra sprinkle of cinnamon can add a final touch of elegance.
Common Mistakes to Avoid
- Overmixing the Batter: Overmixing can develop the gluten in the cake mix, resulting in a tough cake rather than a tender crumb. Mix just until combined.
- Using Warm Butter for Streusel: Cold butter is essential for creating a crumbly streusel topping. If the butter is too warm, it will melt into the flour and create a paste rather than delightful crumbles.
- Uneven Apple Distribution: Ensure the apple filling is spread as evenly as possible so each slice gets a good portion of fruit.
- Cutting Too Soon: Allow the cake to cool sufficiently before slicing. Cutting into a hot cake can cause it to fall apart.
- Incorrect Baking Temperature: Ensure your oven is accurately preheated. An oven that’s too hot can burn the topping before the cake is cooked through, while one that’s too cool can lead to a dense, underbaked cake.
Storing Tips: Keeping Your Cake Fresh
- Room Temperature: Store cooled cake in an airtight container at room temperature for up to 3 days. Ensure it’s fully cooled before covering to prevent condensation.
- Refrigeration: For longer storage (up to 5 days), refrigerate the cake in an airtight container. The texture might become slightly firmer, so it’s best served at room temperature or gently warmed.
- Freezing: This cake freezes beautifully. Wrap individual slices or the entire cooled cake tightly in plastic wrap, then in aluminum foil or a freezer-safe bag. Freeze for up to 2-3 months. Thaw overnight in the refrigerator or at room temperature. Reheat gently in a low oven or microwave if desired.
Conclusion: Your New Favorite Fall Treat
This Easy Apple Pie Coffee Cake is more than just a recipe; it’s an experience. It brings together the best of two beloved baked goods into one simple, show-stopping dessert. The combination of moist cake, spiced apples, and crunchy streusel is truly irresistible. Perfect for any occasion and incredibly forgiving for bakers of all levels, it’s guaranteed to become a staple in your home, especially as the leaves begin to turn.
Have you tried this delicious Apple Pie Coffee Cake? We’d love to hear about your baking adventures! Share your thoughts, tips, or photos in the comments below and help inspire other bakers!
Frequently Asked Questions
***What kind of apples should I use?***
Firm, tart-sweet apples like Honeycrisp, Gala, Fuji, or Granny Smith work best. They hold their shape during baking and offer a balanced flavor to complement the sweet cake and streusel.
***Can I make this without a cake mix?***
Yes, absolutely! You can adapt a standard yellow or pound cake recipe for this. You’ll need to adjust the liquid and fat proportions to match what the cake mix calls for. However, for simplicity and speed, the cake mix is highly recommended.
***How do I get the streusel to be nice and crunchy?***
Ensuring your butter is cold and cutting it into the dry ingredients until it forms coarse crumbs is key. Using rolled oats also adds to the crunch. Baking until golden brown and not over-baking the cake can also help maintain streusel crispness.
***Can I add other fruits or spices?***
Certainly! You could add a handful of fresh or dried cranberries for a tart contrast, or even some chopped pears alongside the apples. For spices, a pinch of ground cloves or ginger could be added to the apple filling or streusel for extra warmth.
***My cake is browning too quickly on top. What should I do?***
If you notice the streusel topping or edges of the cake browning too rapidly before the center is cooked, loosely tent the baking pan with aluminum foil. This will shield the cake from direct heat and allow it to bake through without the top burning.

Easy Apple Pie Coffee Cake
Description
ThisEasy Apple Pie Coffee Cakecombines the warm, spiced flavors of apple pie with the soft, moist texture of a coffee cake. With a simple yellow cake mix base, a sweet apple filling, and a crunchy oat streusel topping, this is a perfect dessert or breakfast treat!
Ingredients
- 1box yellow cake mix½ cupunsalted butter, melted¼ cupwater3large eggs
- ½ cupunsalted butter, melted¼ cupwater3large eggs
- ¼ cupwater3large eggs
- 3large eggs
- 1can (21 oz) apple pie filling1 teaspooncinnamon½ cupbrown sugar, packed½ cuprolled oats¼ cupall-purpose flour¼ cupchopped pecans or walnuts (optional)
- 1 teaspooncinnamon½ cupbrown sugar, packed½ cuprolled oats¼ cupall-purpose flour¼ cupchopped pecans or walnuts (optional)
- ½ cupbrown sugar, packed½ cuprolled oats¼ cupall-purpose flour¼ cupchopped pecans or walnuts (optional)
- ½ cuprolled oats¼ cupall-purpose flour¼ cupchopped pecans or walnuts (optional)
- ¼ cupall-purpose flour¼ cupchopped pecans or walnuts (optional)
- ¼ cupchopped pecans or walnuts (optional)
- ½ cuppowdered sugar1–2tablespoons milk
- 1–2tablespoons milk
Instructions
- 1️⃣Preheat and prepare the pan:Preheat your oven to350°F (175°C)and grease a9×13-inchbaking dish.
- 2️⃣Mix the cake batter:In a large mixing bowl, combine the yellow cake mix, melted butter, water, and eggs. Mix until the batter is smooth and well incorporated.3️⃣Layer the first half of the batter:Spreadhalfof the batter evenly into the greased baking dish.4️⃣Add the apple pie filling:Spoon theapple pie fillingover the batter, spreading it gently. Sprinklecinnamonevenly over the apples.5️⃣Prepare the streusel topping:In a separate bowl, mix together thebrown sugar, rolled oats, flour, and chopped nuts (if using)until combined.6️⃣Layer the streusel topping:Evenly sprinkle the oat mixture over the apple pie filling.7️⃣Add the remaining batter:Carefully pour and spread theremaining cake batterover the top of the oat and apple layers. Spread gently to cover everything.8️⃣Bake the cake:Bake for30–35 minutes, or until a toothpick inserted into the center comes out clean.9️⃣Prepare the glaze:While the cake bakes, whisk together thepowdered sugarwithmilk(adding a little at a time) until you get a smooth, drizzling consistency.🔟Cool and drizzle:Let the cake cool slightly before drizzling the glaze over the top. Allow it to set for a few minutes before serving.
- 3️⃣Layer the first half of the batter:Spreadhalfof the batter evenly into the greased baking dish.4️⃣Add the apple pie filling:Spoon theapple pie fillingover the batter, spreading it gently. Sprinklecinnamonevenly over the apples.5️⃣Prepare the streusel topping:In a separate bowl, mix together thebrown sugar, rolled oats, flour, and chopped nuts (if using)until combined.6️⃣Layer the streusel topping:Evenly sprinkle the oat mixture over the apple pie filling.7️⃣Add the remaining batter:Carefully pour and spread theremaining cake batterover the top of the oat and apple layers. Spread gently to cover everything.8️⃣Bake the cake:Bake for30–35 minutes, or until a toothpick inserted into the center comes out clean.9️⃣Prepare the glaze:While the cake bakes, whisk together thepowdered sugarwithmilk(adding a little at a time) until you get a smooth, drizzling consistency.🔟Cool and drizzle:Let the cake cool slightly before drizzling the glaze over the top. Allow it to set for a few minutes before serving.
- 4️⃣Add the apple pie filling:Spoon theapple pie fillingover the batter, spreading it gently. Sprinklecinnamonevenly over the apples.
- 5️⃣Prepare the streusel topping:In a separate bowl, mix together thebrown sugar, rolled oats, flour, and chopped nuts (if using)until combined.6️⃣Layer the streusel topping:Evenly sprinkle the oat mixture over the apple pie filling.7️⃣Add the remaining batter:Carefully pour and spread theremaining cake batterover the top of the oat and apple layers. Spread gently to cover everything.8️⃣Bake the cake:Bake for30–35 minutes, or until a toothpick inserted into the center comes out clean.9️⃣Prepare the glaze:While the cake bakes, whisk together thepowdered sugarwithmilk(adding a little at a time) until you get a smooth, drizzling consistency.🔟Cool and drizzle:Let the cake cool slightly before drizzling the glaze over the top. Allow it to set for a few minutes before serving.
- 6️⃣Layer the streusel topping:Evenly sprinkle the oat mixture over the apple pie filling.7️⃣Add the remaining batter:Carefully pour and spread theremaining cake batterover the top of the oat and apple layers. Spread gently to cover everything.8️⃣Bake the cake:Bake for30–35 minutes, or until a toothpick inserted into the center comes out clean.9️⃣Prepare the glaze:While the cake bakes, whisk together thepowdered sugarwithmilk(adding a little at a time) until you get a smooth, drizzling consistency.🔟Cool and drizzle:Let the cake cool slightly before drizzling the glaze over the top. Allow it to set for a few minutes before serving.
- 7️⃣Add the remaining batter:Carefully pour and spread theremaining cake batterover the top of the oat and apple layers. Spread gently to cover everything.
- 8️⃣Bake the cake:Bake for30–35 minutes, or until a toothpick inserted into the center comes out clean.9️⃣Prepare the glaze:While the cake bakes, whisk together thepowdered sugarwithmilk(adding a little at a time) until you get a smooth, drizzling consistency.🔟Cool and drizzle:Let the cake cool slightly before drizzling the glaze over the top. Allow it to set for a few minutes before serving.
- 9️⃣Prepare the glaze:While the cake bakes, whisk together thepowdered sugarwithmilk(adding a little at a time) until you get a smooth, drizzling consistency.🔟Cool and drizzle:Let the cake cool slightly before drizzling the glaze over the top. Allow it to set for a few minutes before serving.
- 🔟Cool and drizzle:Let the cake cool slightly before drizzling the glaze over the top. Allow it to set for a few minutes before serving.
Notes
For extra apple flavor, add½ teaspoon apple pie spiceto the streusel.If you prefer a more homemade touch, swap thecanned apple pie fillingwithfresh apples sautéed with cinnamon, sugar, and butter.Try substitutingspice cake mixfor the yellow cake mix for a deeper, autumnal flavor.
If you prefer a more homemade touch, swap thecanned apple pie fillingwithfresh apples sautéed with cinnamon, sugar, and butter.Try substitutingspice cake mixfor the yellow cake mix for a deeper, autumnal flavor.
Try substitutingspice cake mixfor the yellow cake mix for a deeper, autumnal flavor.
“`